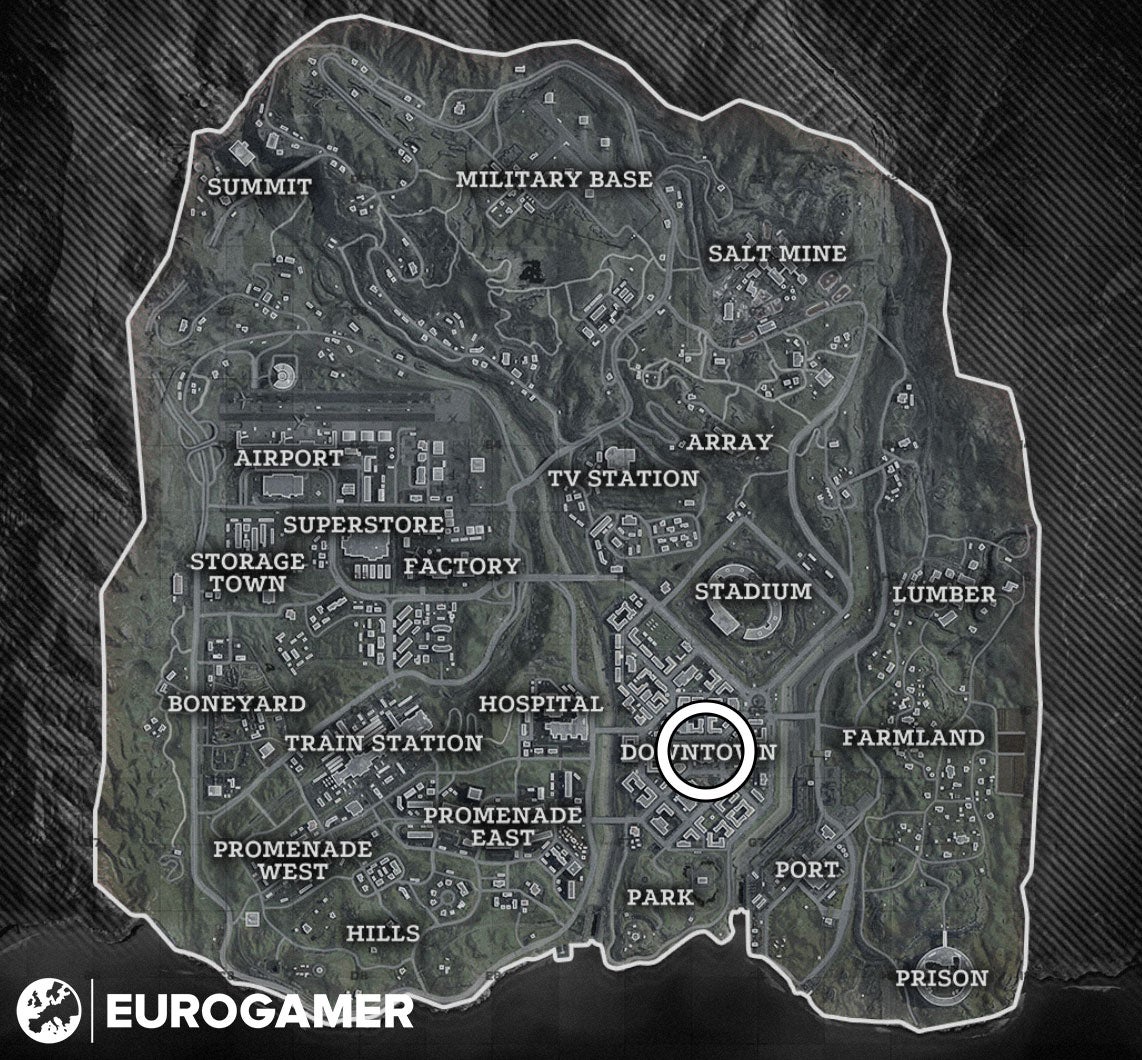
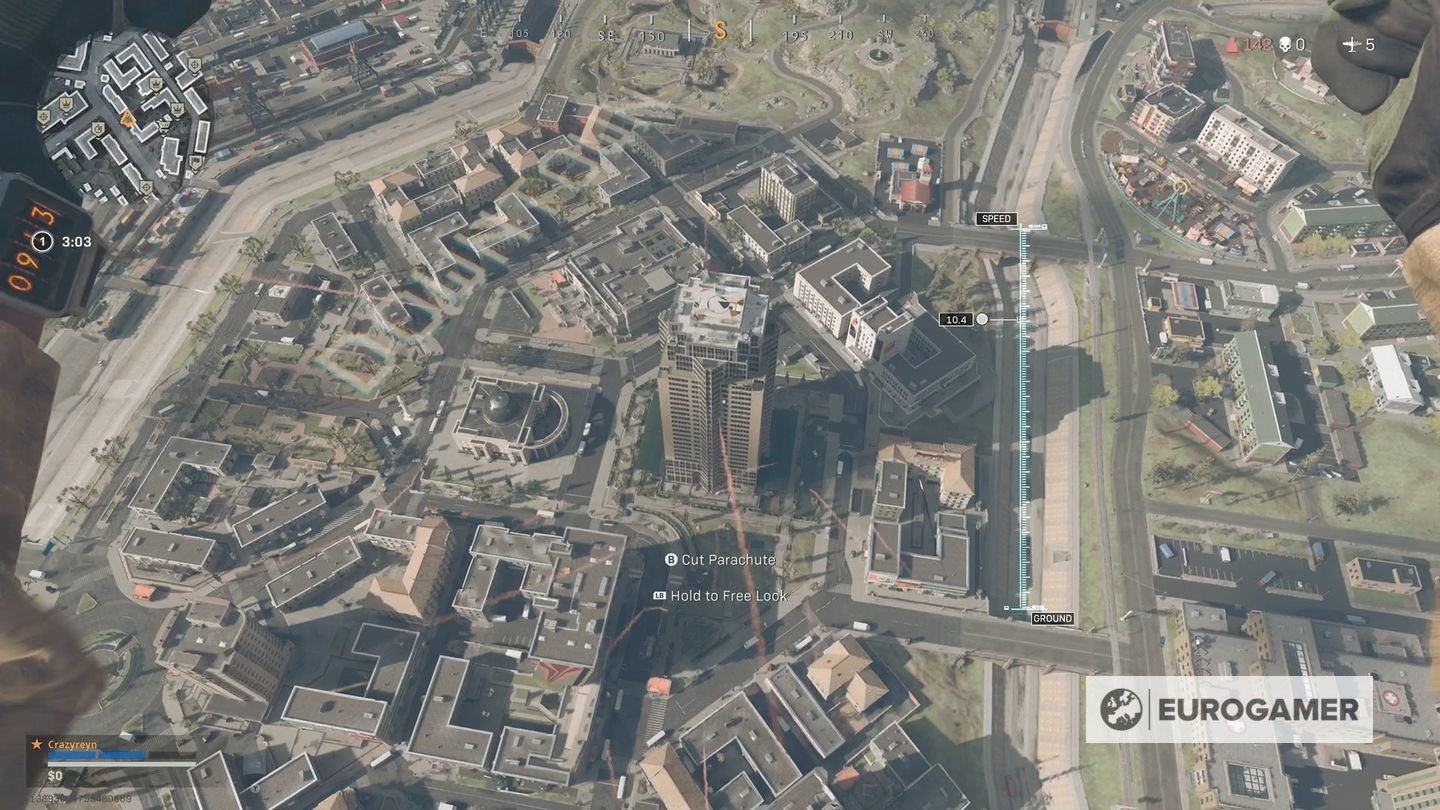
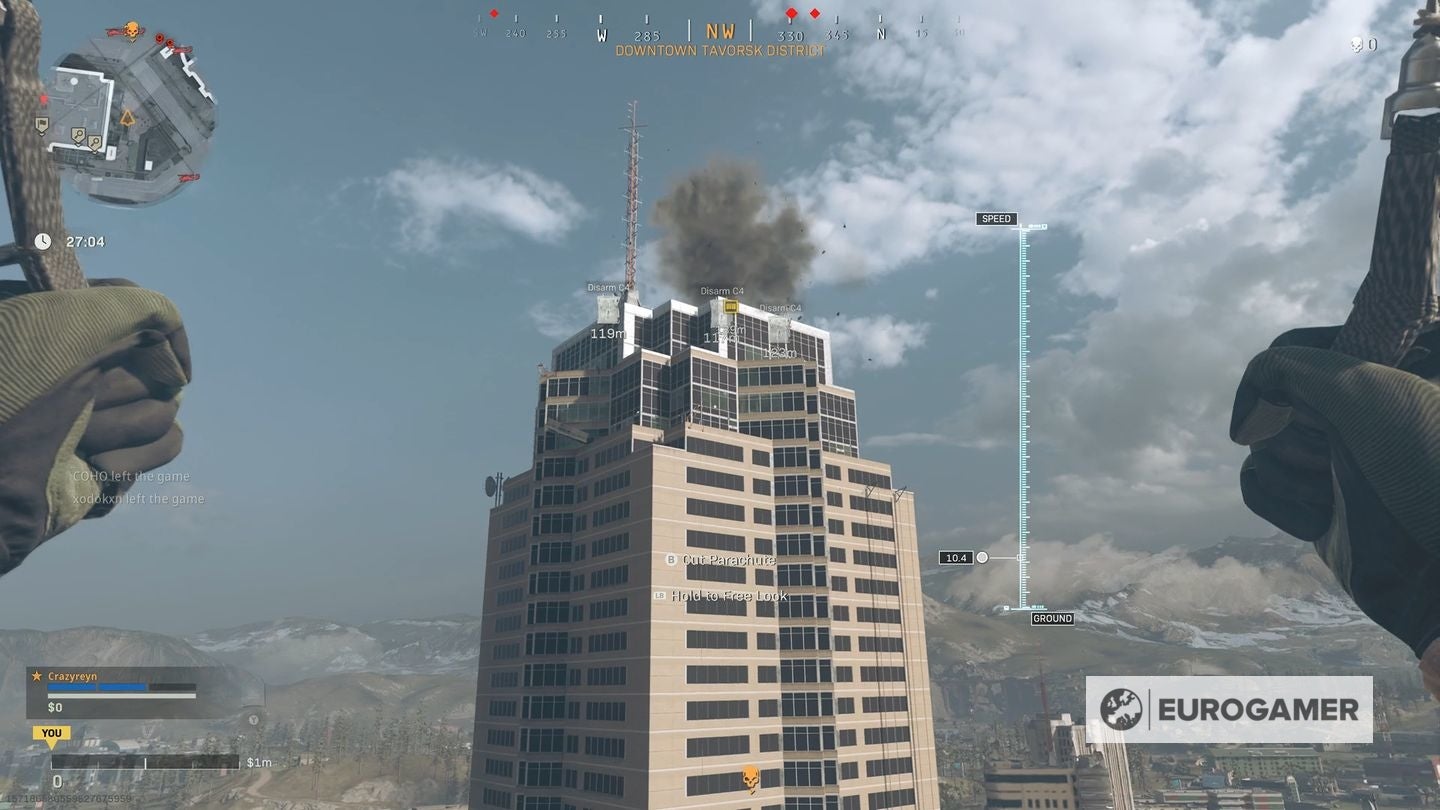
Lifted straight from the original Die Hard, this is the most iconic - and easiest to find - of the three additions to the 80s-themed map, towering above the Downtown location.
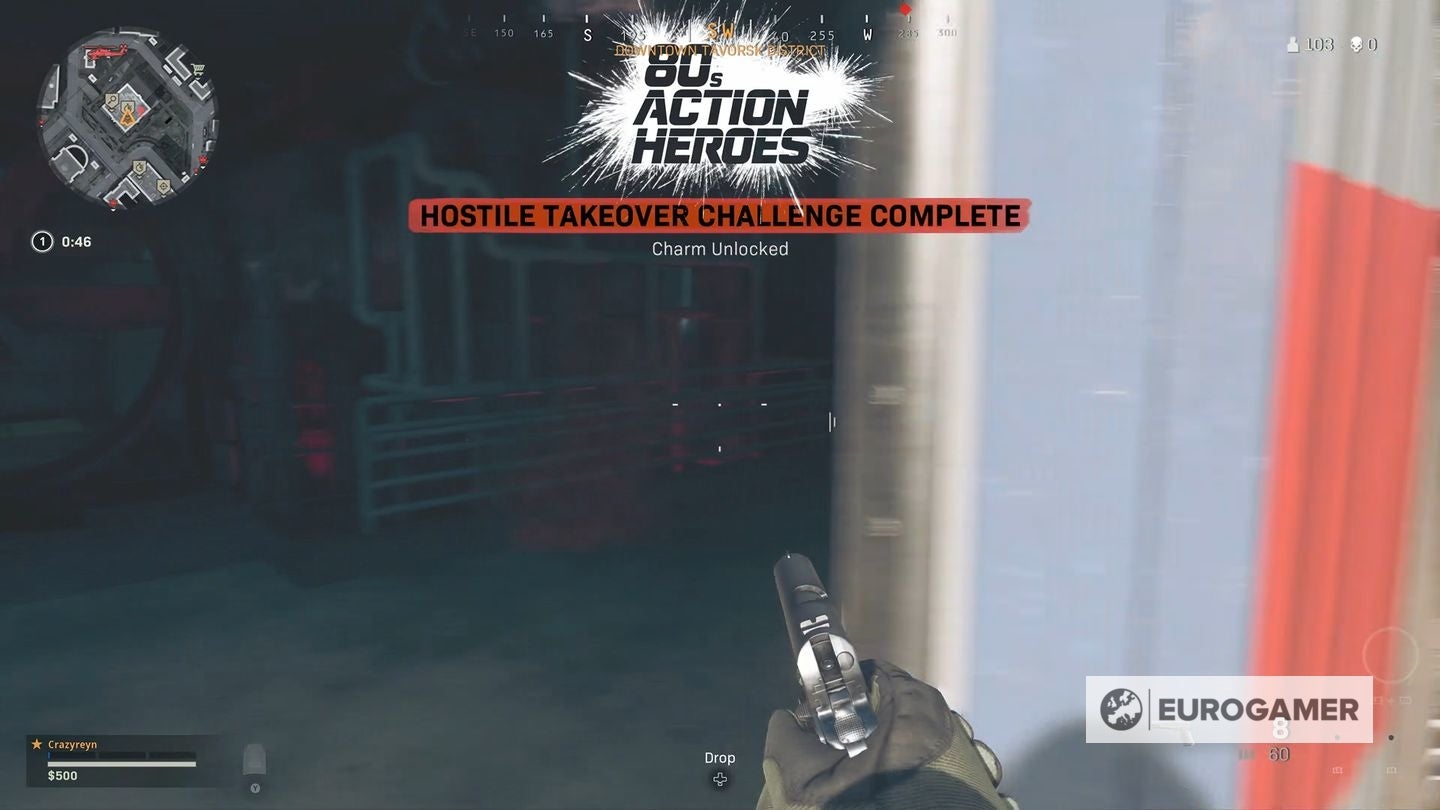
Once you have found the Nakatomi Plaza location, inside are a series of side missions which can emerge as you explore the tower - completing one of which is required as part of the 80s Action Heroes event’s challenges.
Currently, as of Warzone Season 4, you can no longer complete this activity.
If you’re looking for more help, check out our on-going best Warzone weapons page and the Vanguard Royale meta.
On this page:
It’s easy to spot from a distance, being by far the tallest building within the area.
You have a few choices of how to start exploring Nakatomi Plaza - landing on the roof (perhaps the fastest) and working down to the office floors, or from the ground floor and taking the lift shafts up.
As well as being an interesting location to explore in its own right, it’s home to a number of secrets and bonus side missions…
These are:
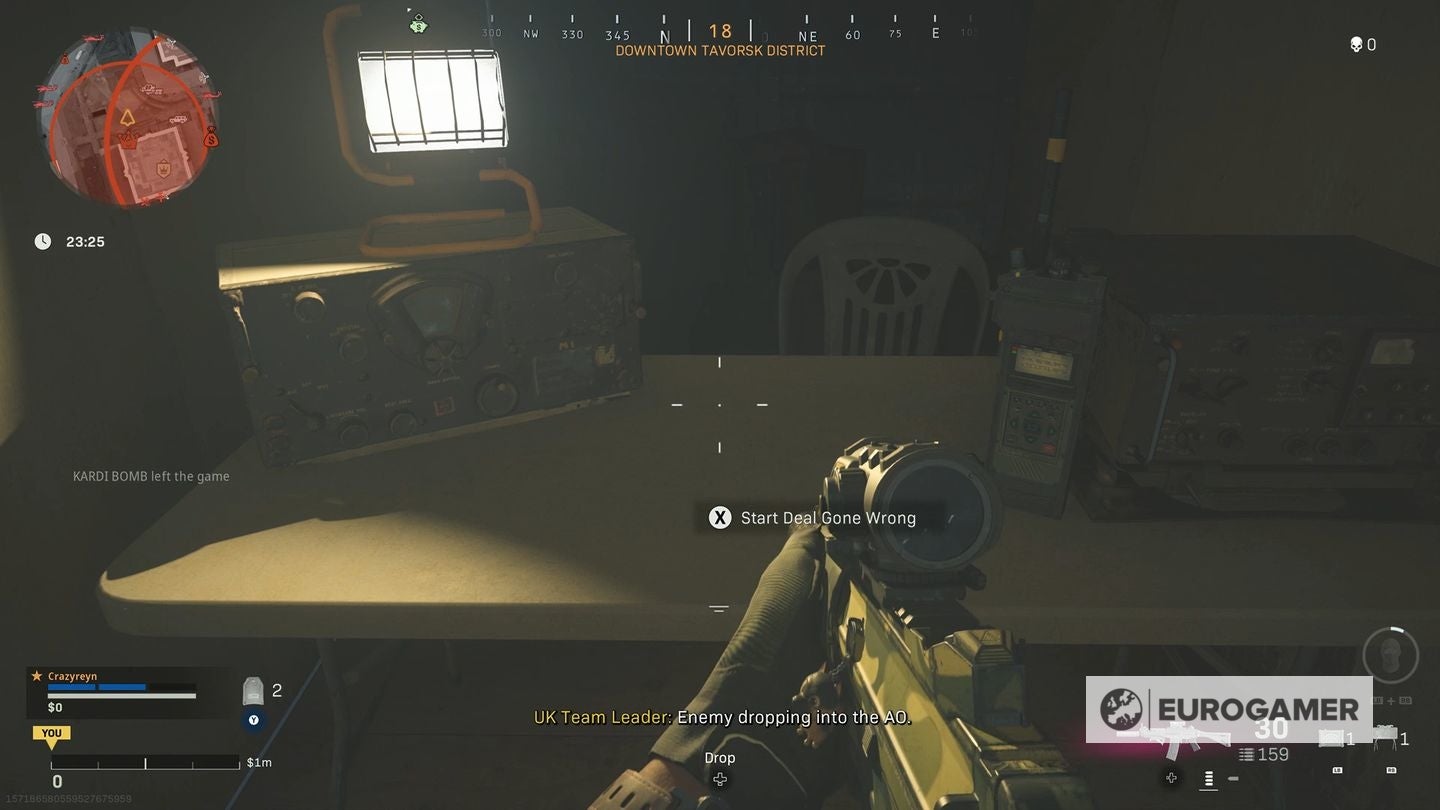
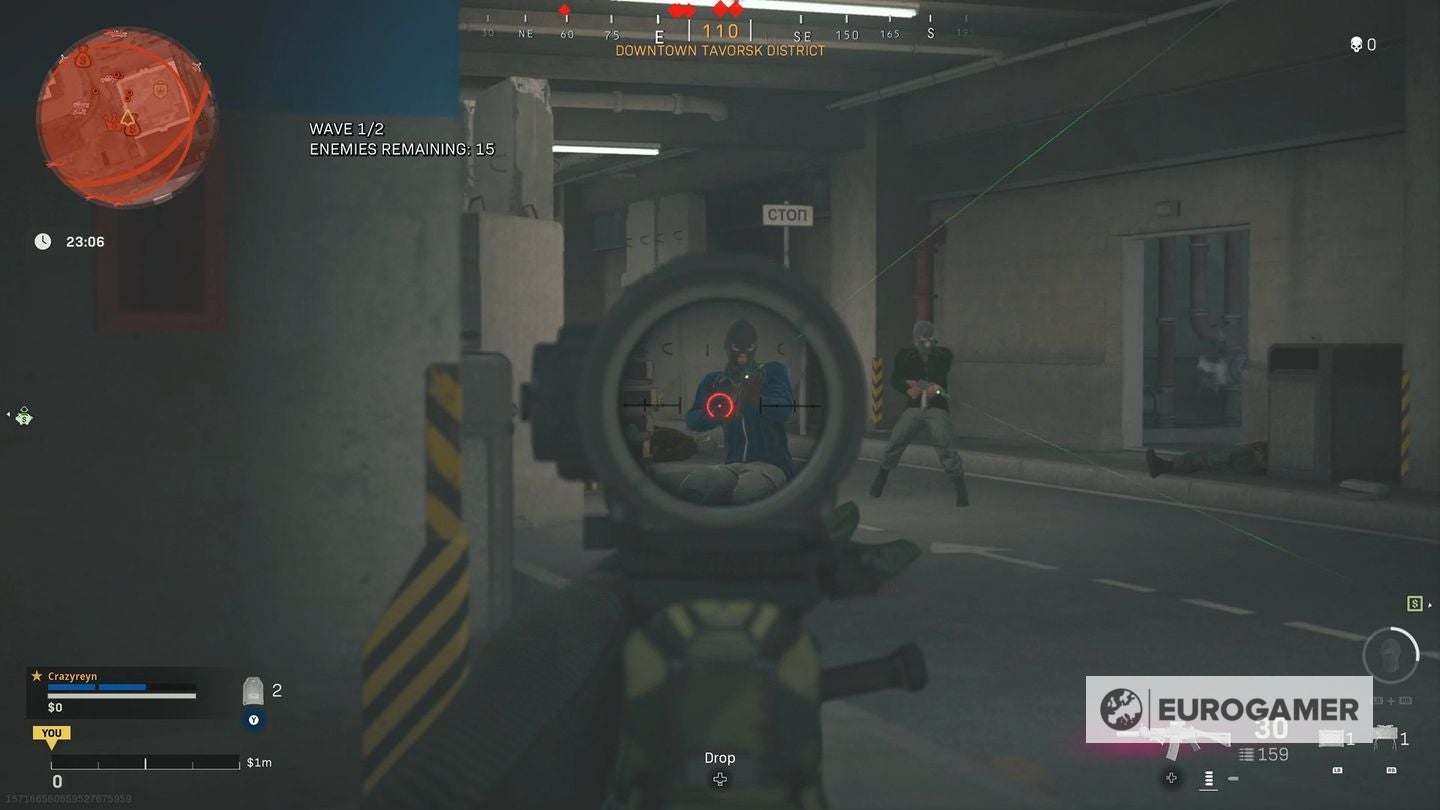
Hostile Fire: Find and disarm all C4 locations Unfinished Business: Find three crates Deal Gone Wrong: Eliminate waves of enemies
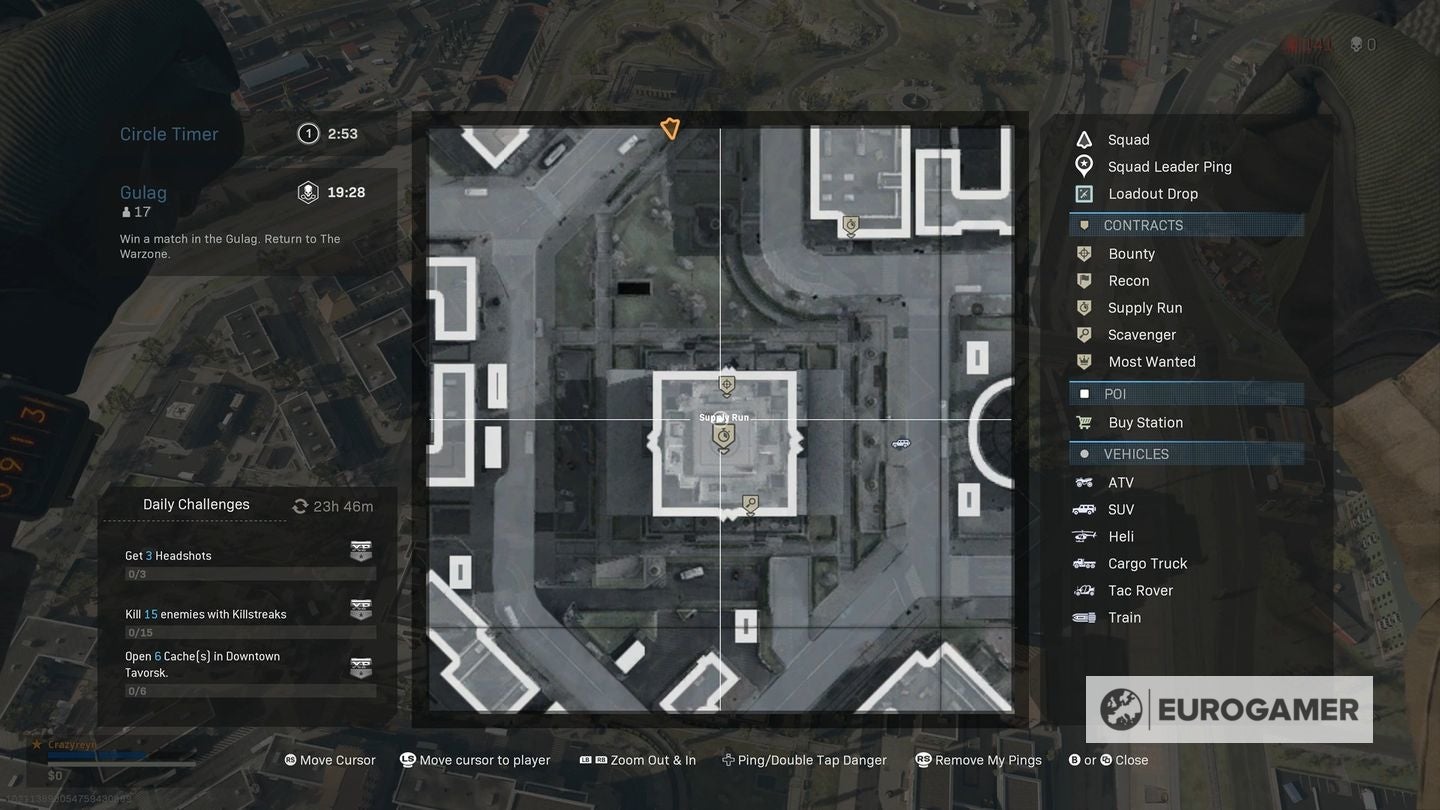
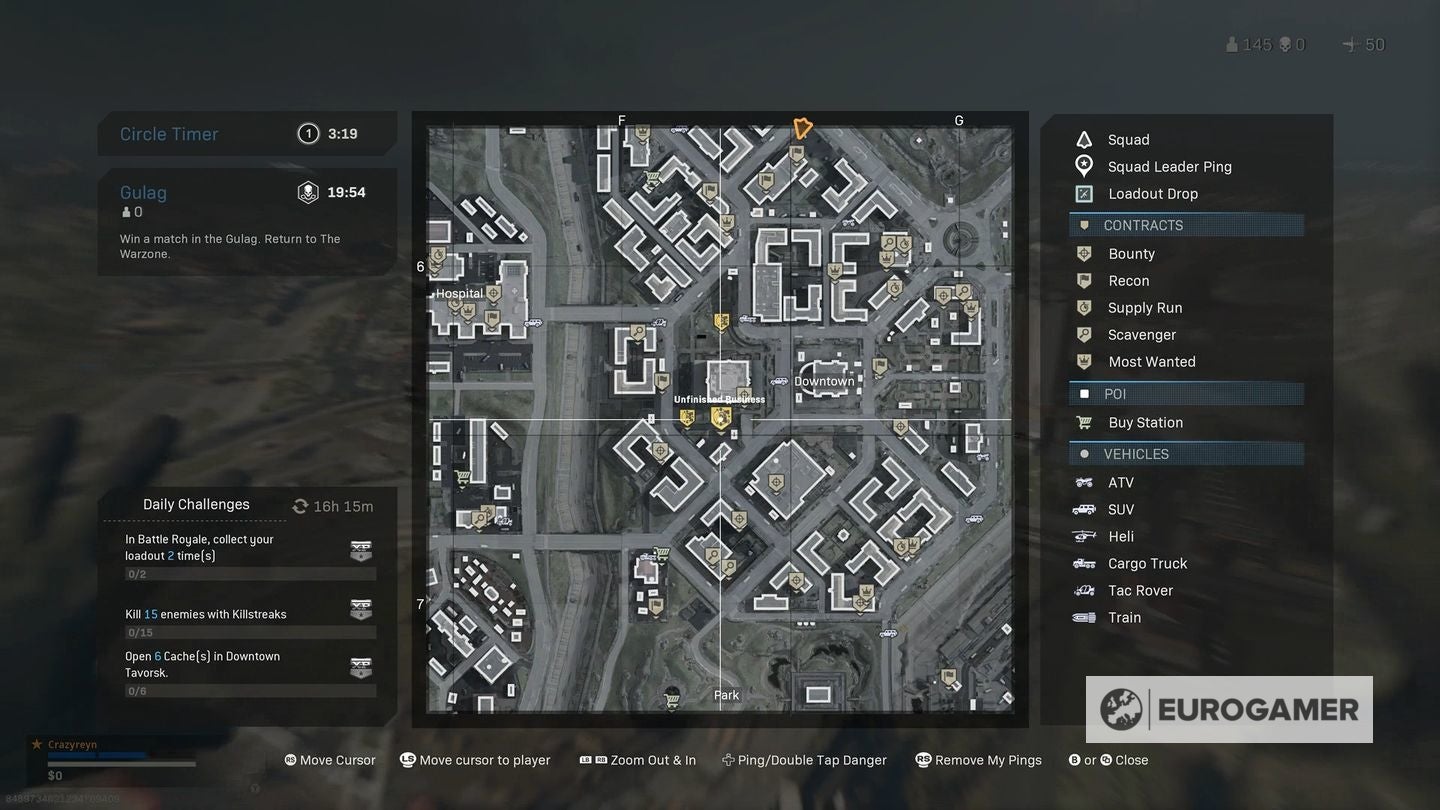
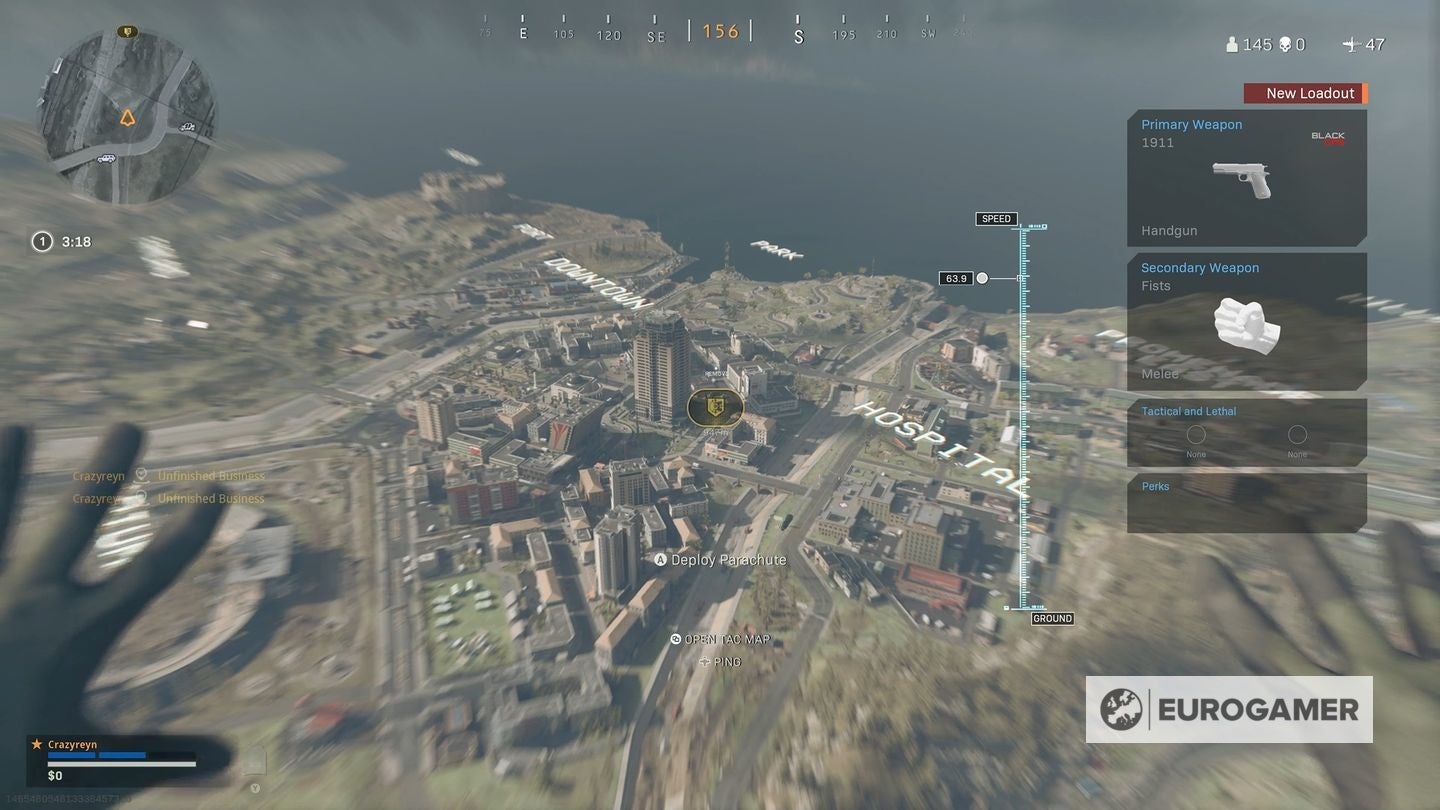
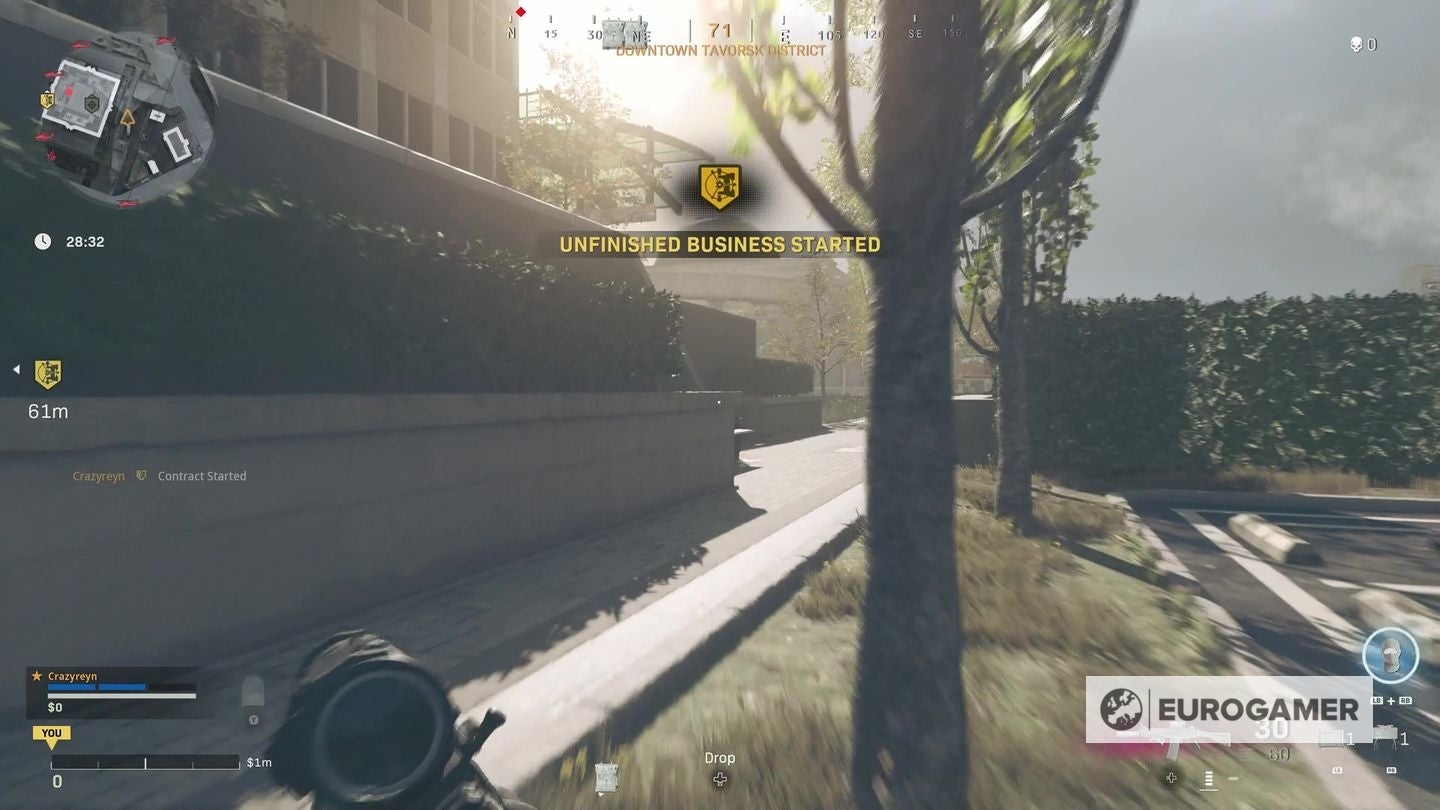
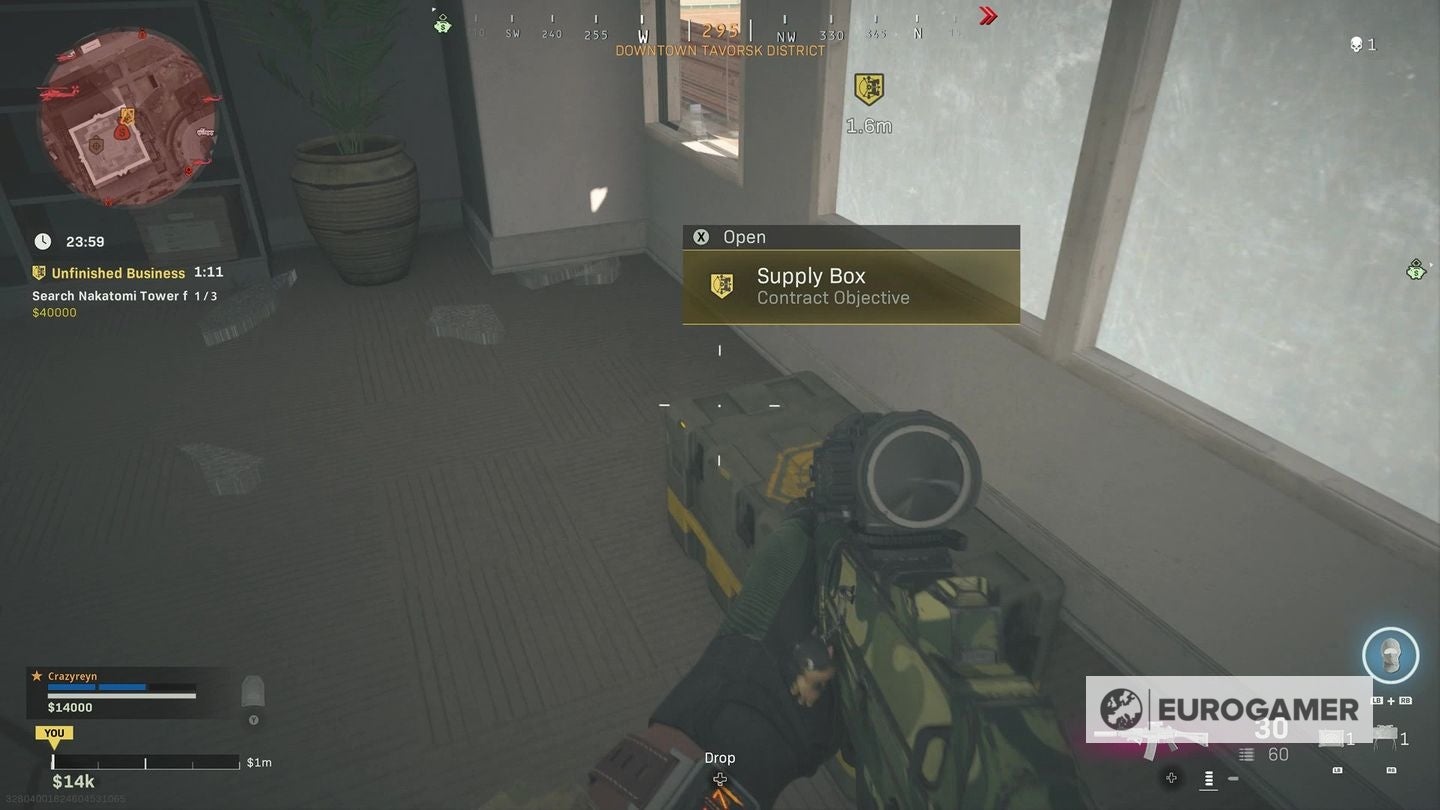
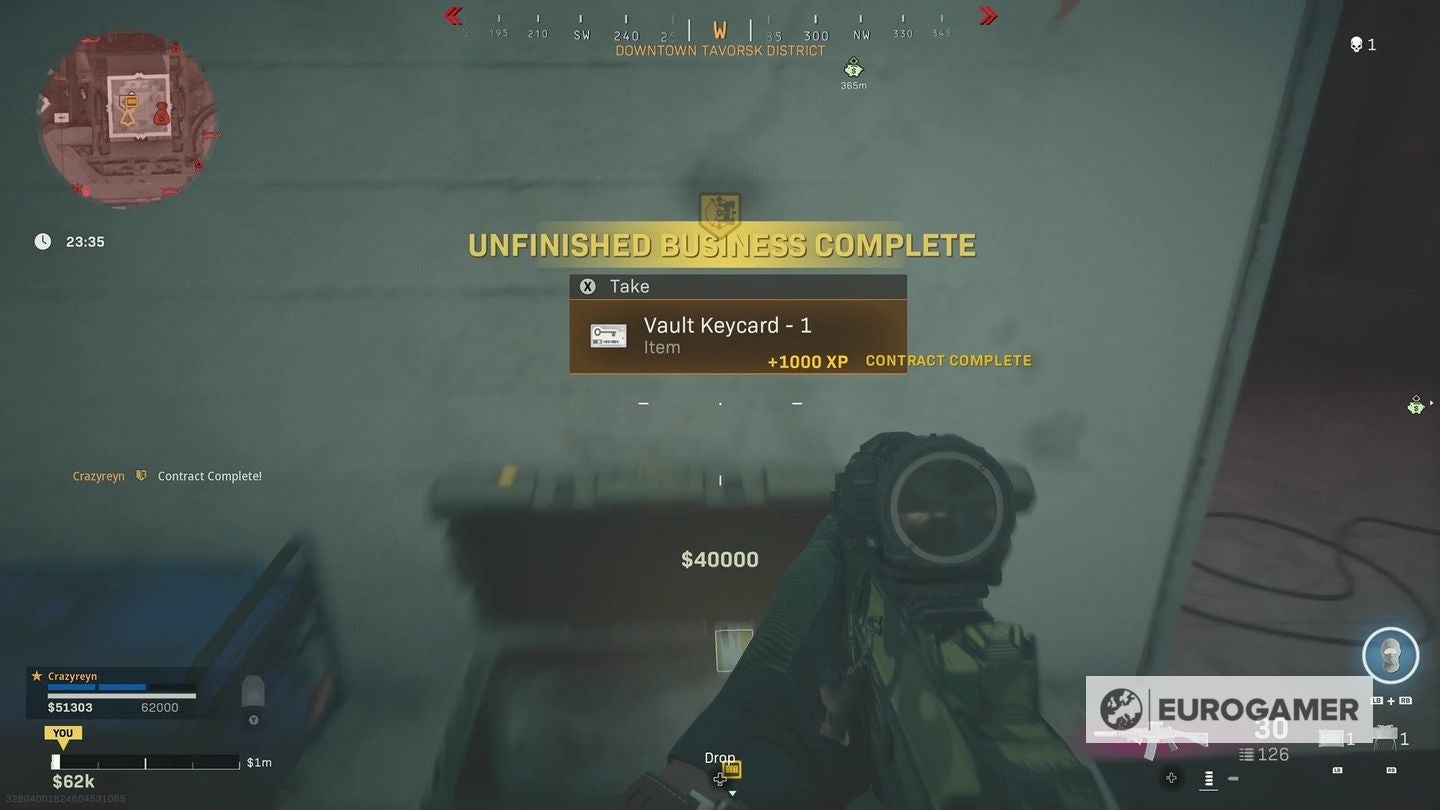
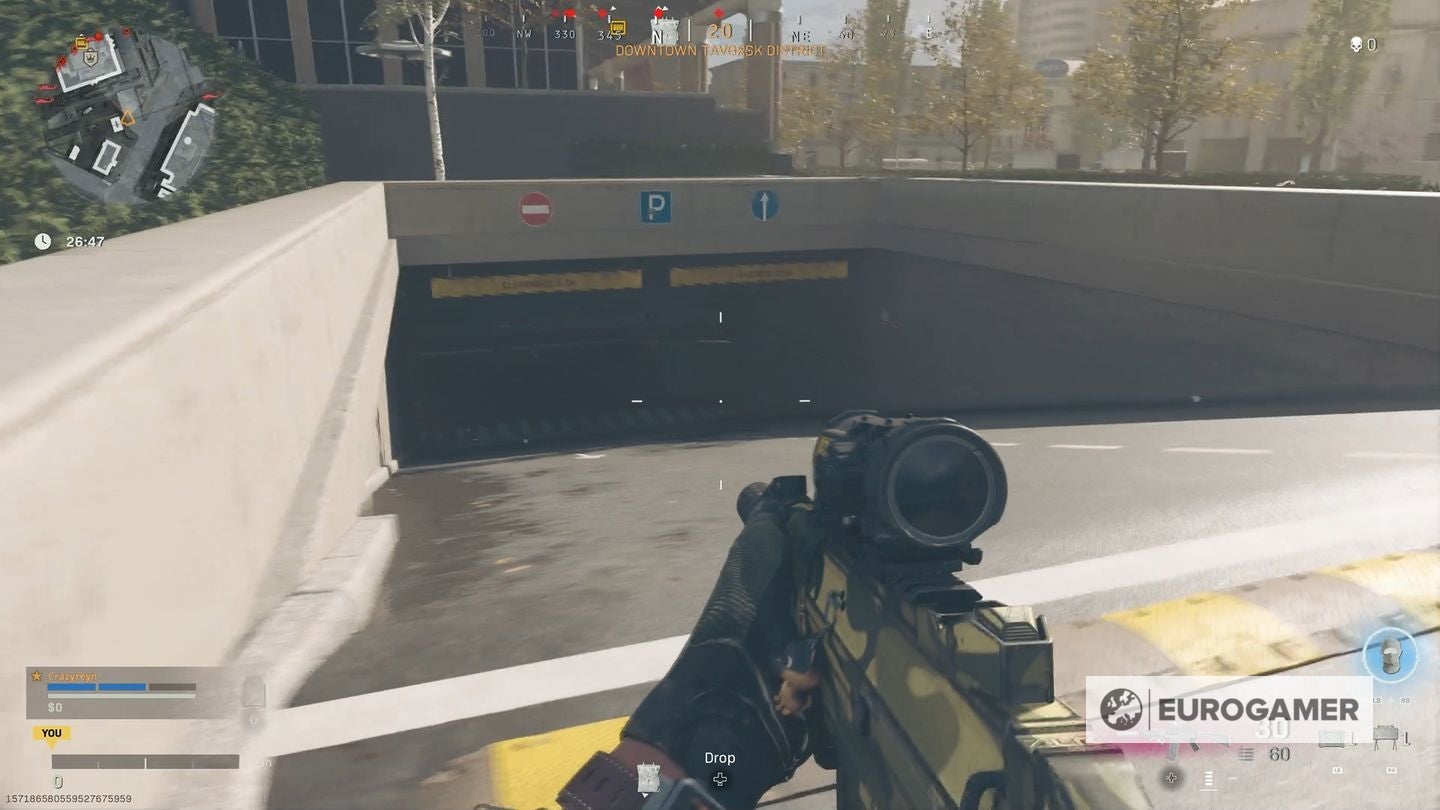
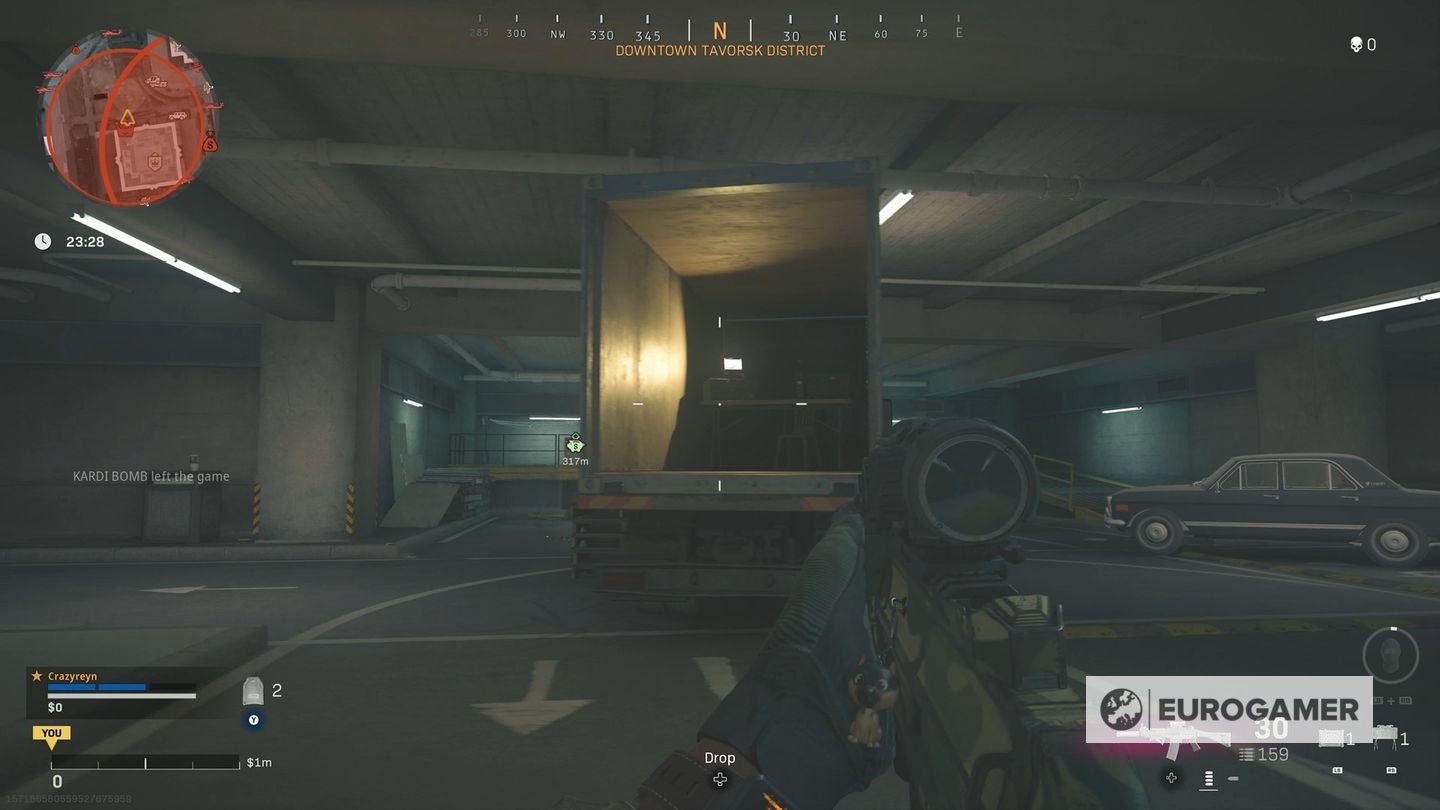
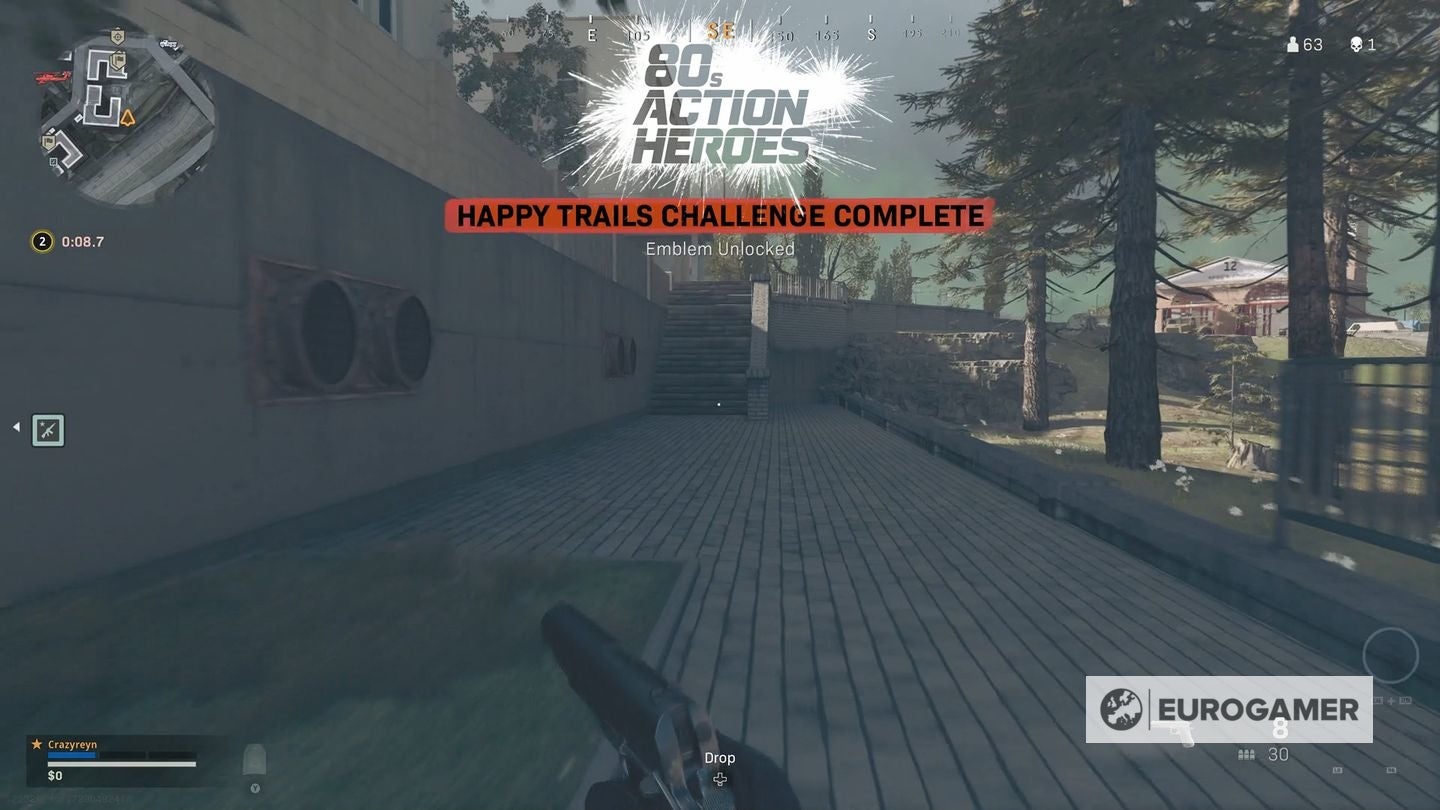
Below is how you can start and complete all Nakatomi Plaza side missions. Completing any will give you a Vault Keycard, and tick ‘Hostile Takeover’ off the list of 80s Action Heroes challenges set. In our experience, Unfinished Business on Plunder will be the easiest, as provided you start it, you can take as long and as many deaths as you need to find all three crates. We also found defusing C4 as part of Hostile Fire fairly quick to do - but as with Deal Gone Wrong, requires no other players interrupt your attempt as you go. From here, you must find another three C4 locations. For us, they were all located on the roof, with three outside and one inside on the same level. We managed to be lucky and have the roof location to ourselves so we could safely find all four. That said, there is a helicopter which spawns which you must contend with; it’ll move occasionally, allowing you to break cover and disarm any you have remaining. As a bonus, know that taking down the helicopter will spawn a special crate with a useful loot. C4 locations are likely randomised per match, but provided you stay on the roof and listen for beeps and telltale flashes of the C4, you should find them promptly. If you can’t find any C4, chances are another player has already started this challenge - in which case, it’s worth moving onto the others (or if you haven’t already, try attempting the Happy Trails challenge) is your best bet. Upon completion, you’ll receive Vault Keycard - 2. The best way to complete each contract is to open the map as soon as the match begins. Now zoom in on Nakatomi Plaza, and find the Unfinished Business intel - it’ll be a slightly brighter yellow to mark it out. As with any other contract, you can tag it so it’ll appear on your screen when you leave the map. Now reach it as soon as possible. The difficulty with these challenges is only a single team or player can pick one up - so you have to be quick off the mark. We’re not certain that they respawn over time - as they did with the Adler contracts - though they didn’t appear to from our experience. Plunder is recommended for these contracts, as if you pick one up and die, you can continue your progress throughout the match. Otherwise, playing as part of a team means the contract will continue to be active for your team mates if you pick up the contract and then get taken down by another player. From there, the process is then fairly straightforward - open each crate in sequence, as you would with a Scavenger contract. The middle floors can be awkward to get to, by the way - you might have to use the ladders and window cleaning platforms from the ground floor, then climb through windows, to reach each one. Upon completion, you’ll receive Vault Keycard - 1. Specifically, you’ll want to head to the lowest of the two parking lots under the tower. There’s two ways to reach the parking lot - either from the ramps outside and off to the side of the tower, or by entering the lift shift in the middle of the ground floor, and dropping down. Head another floor down to find a white lorry with equipment inside. Approaching it shows the ‘Start Deal Gone Wrong’ prompt. This will spawn two waves of enemies, the second of which has a juggernaut-style heavy which will take a little extra care and firepower. Between the various cover points and ammo station nearby, this isn’t a too difficult a challenge; where things get tricky is also fighting off any players who want to come in and take over. On the flip side, you can do the same to others - and chances are if you come down mid-match, you’ll interrupt someone else’s attempt. The good news is there is seemingly no limit to how many times you can do this - in Plunder, we interrupted someone else’s, and then come back later to start our own. Upon completion, you’ll receive Vault Keycard - 3. Warzone Season 5 is almost here! If you want to learn more about firepower from previously, we explain the best Welgun loadout, best Cooper Carbine loadout, best Gorenko Anti-Tank Rifle loadout, best STG44 loadout, best MP40 loadout, best Automaton loadout, best BAR loadout, best Combat Shotgun loadout, best Type 100 loadout, and best Kar98k loadouts. This is thankfully as straightforward as it sounds; you need to start on the roof, then run and jump off from the side. Deploy the parachute as you fall, then land somewhere on the ground nearby. If successful, the challenge complete notification should appear. That’s all there is to it. Though we didn’t test this, make sure you land specifically on the ground, and not another building, as that might be a specific requirement.