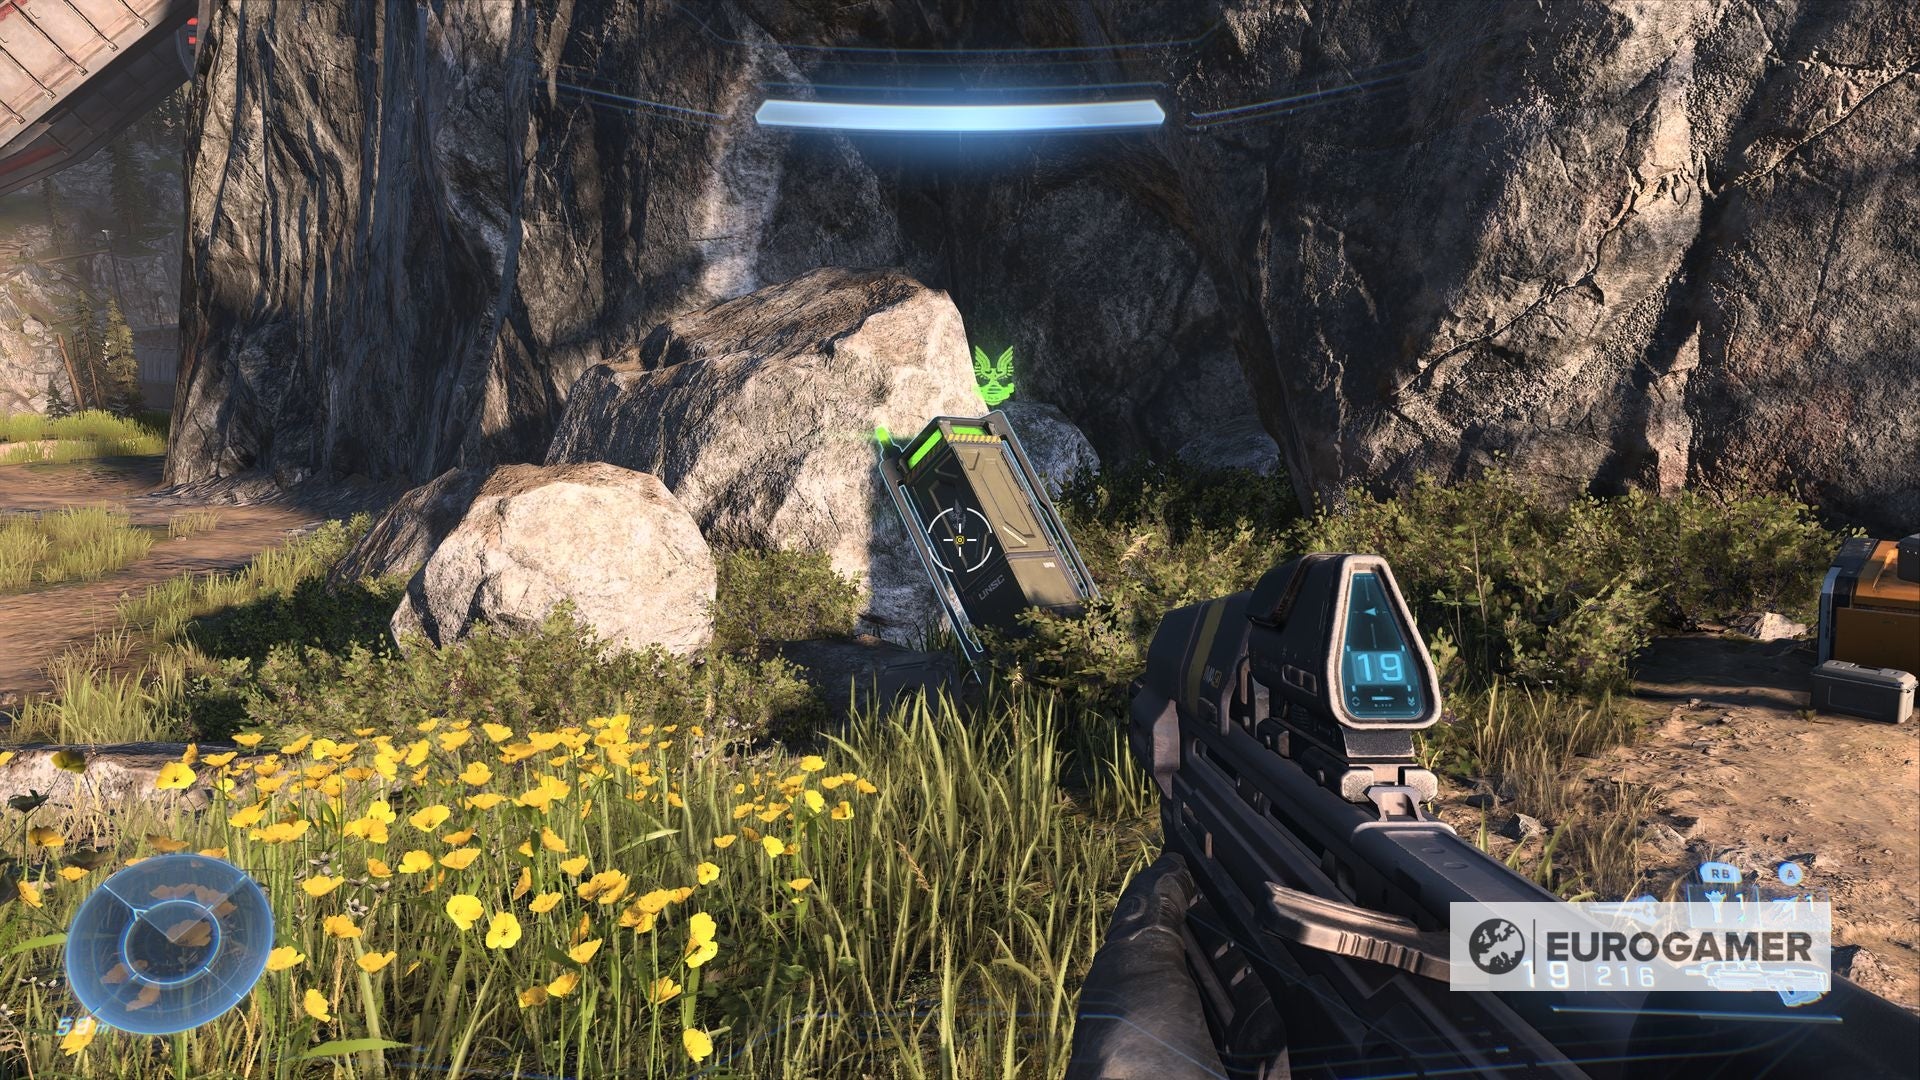
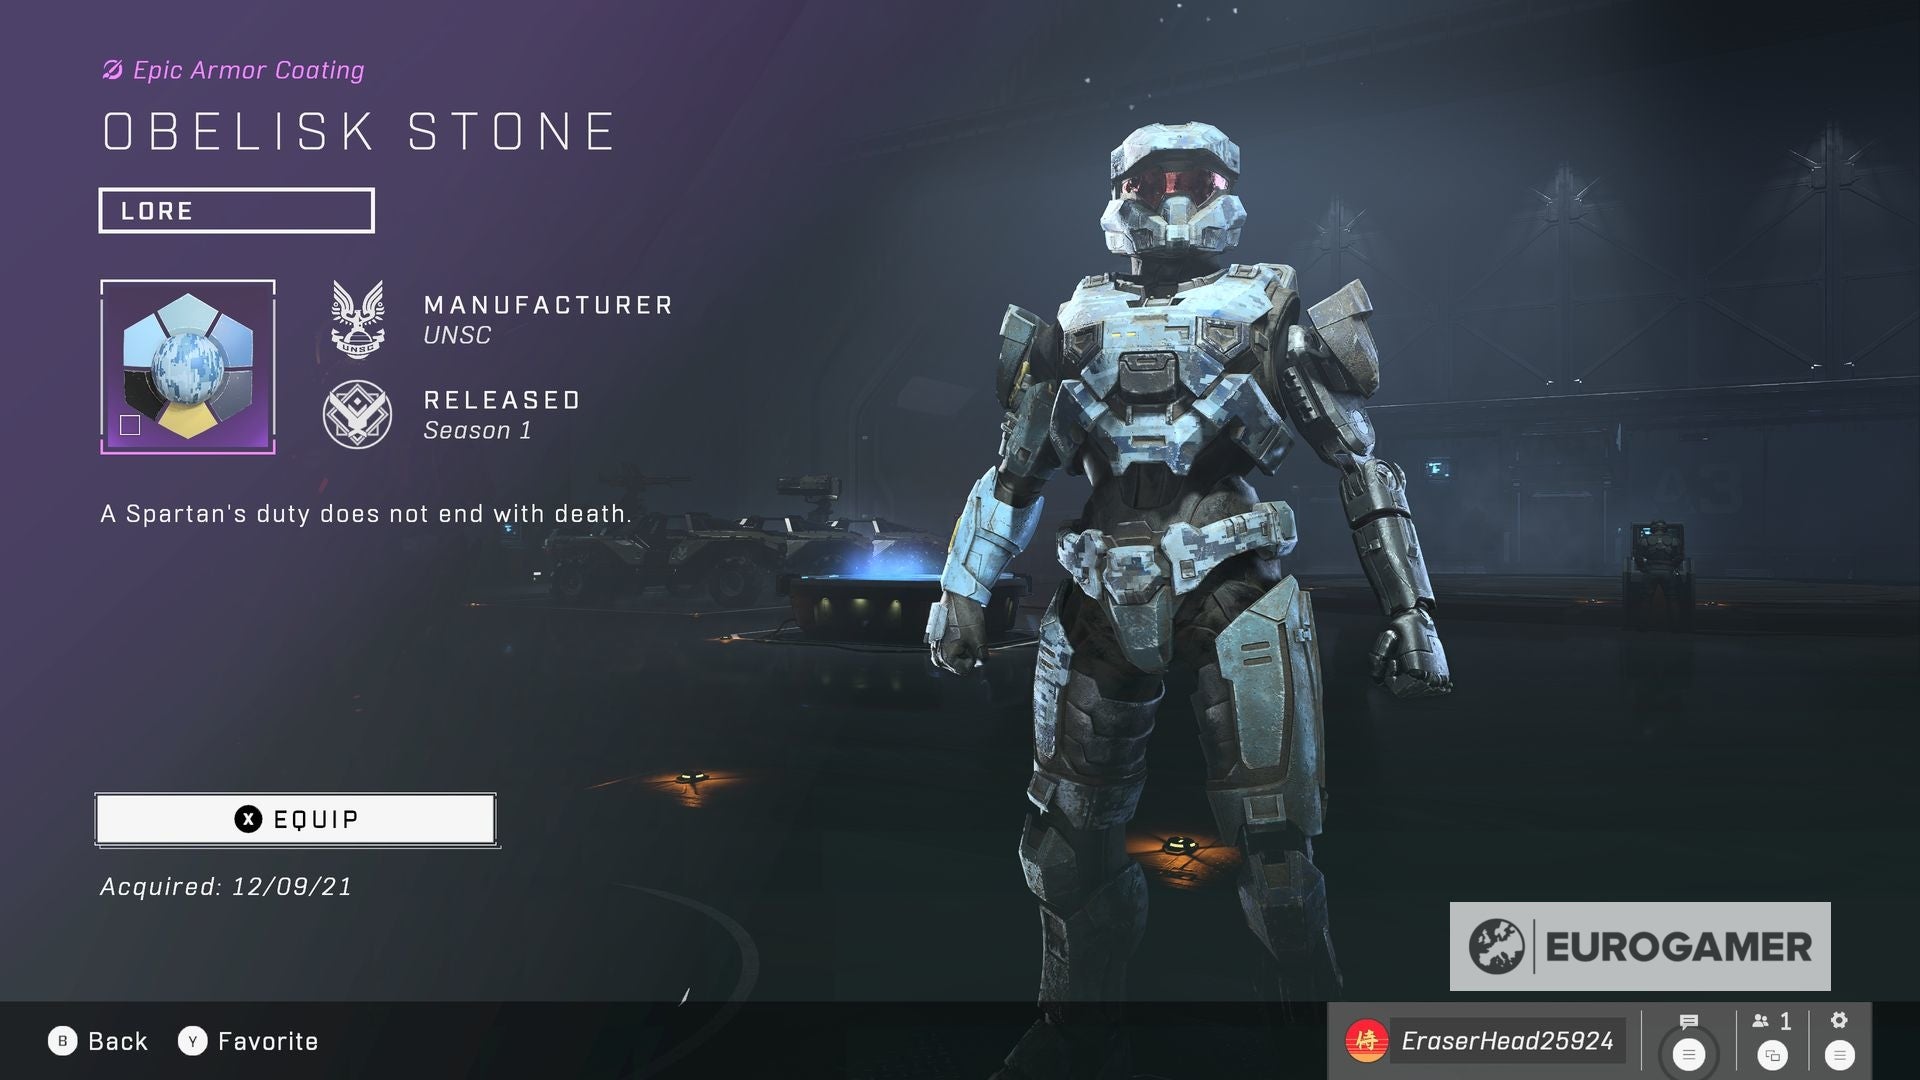
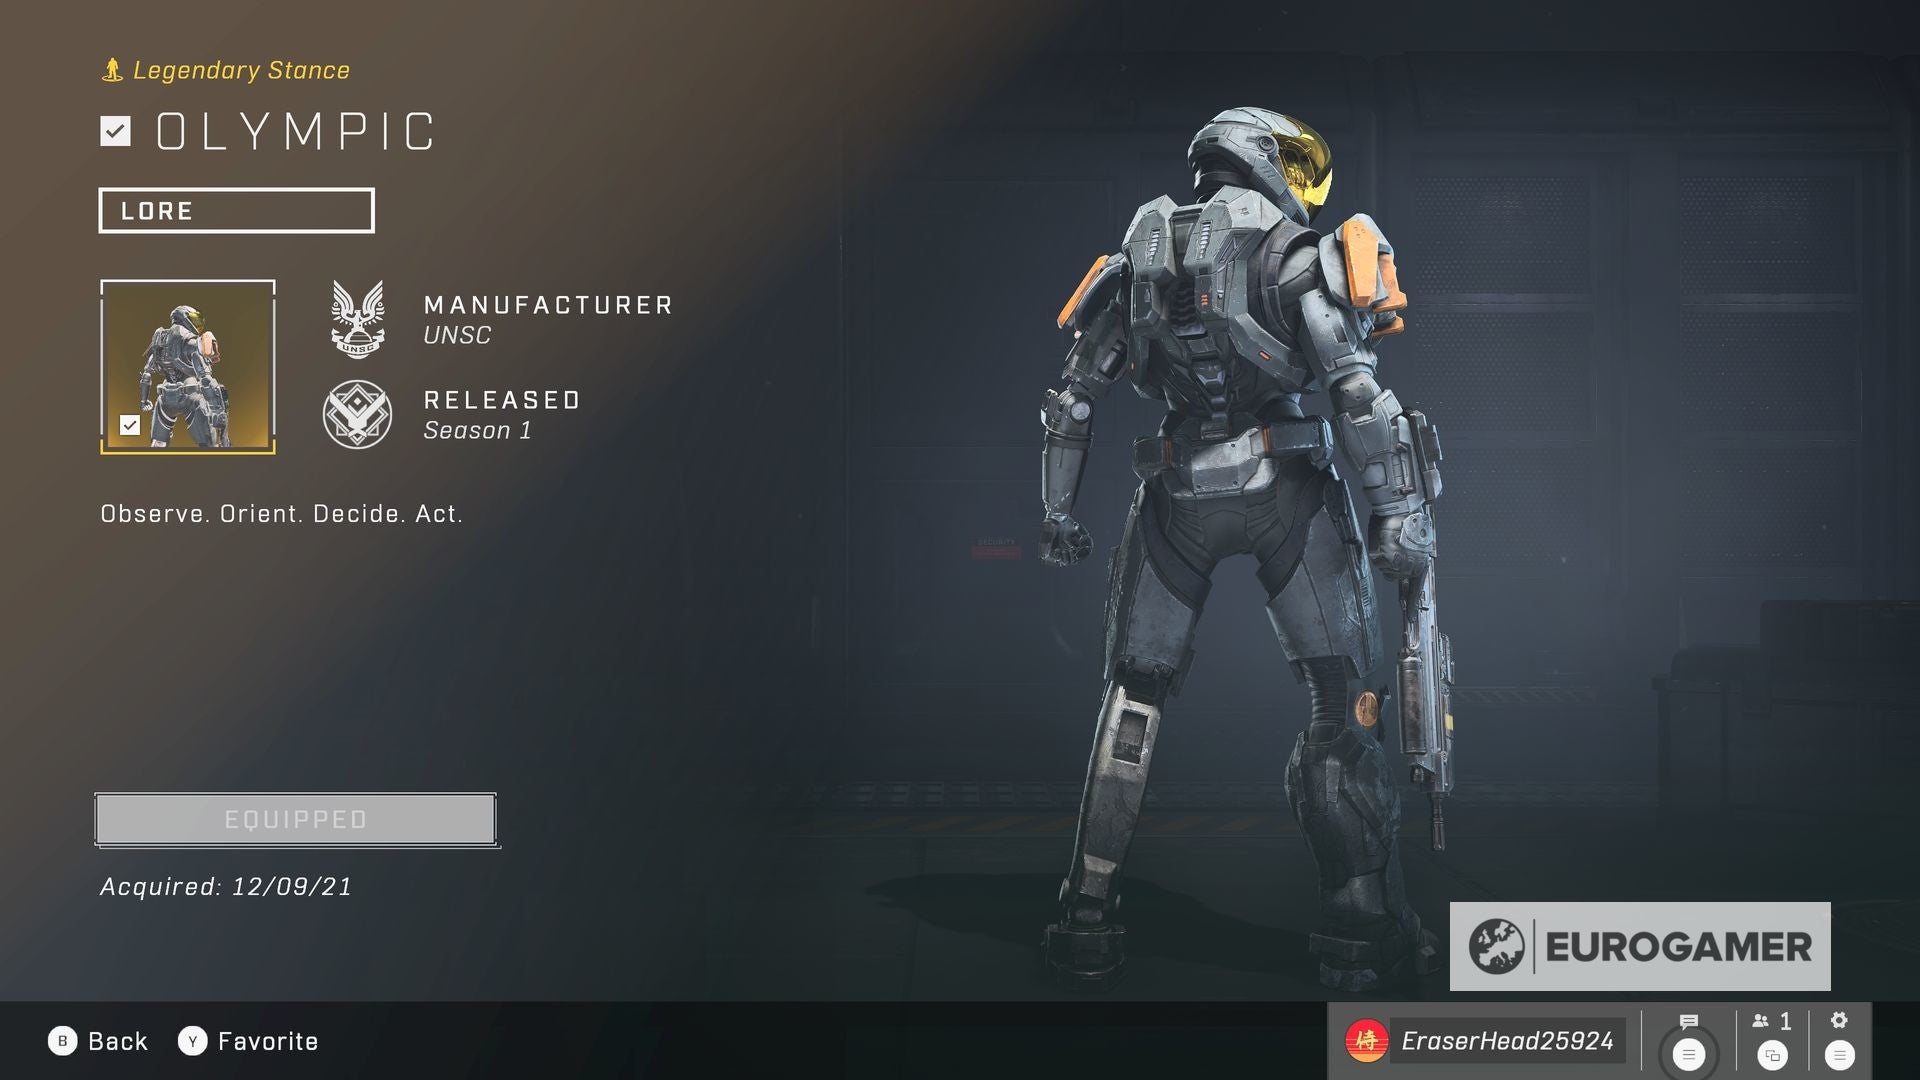
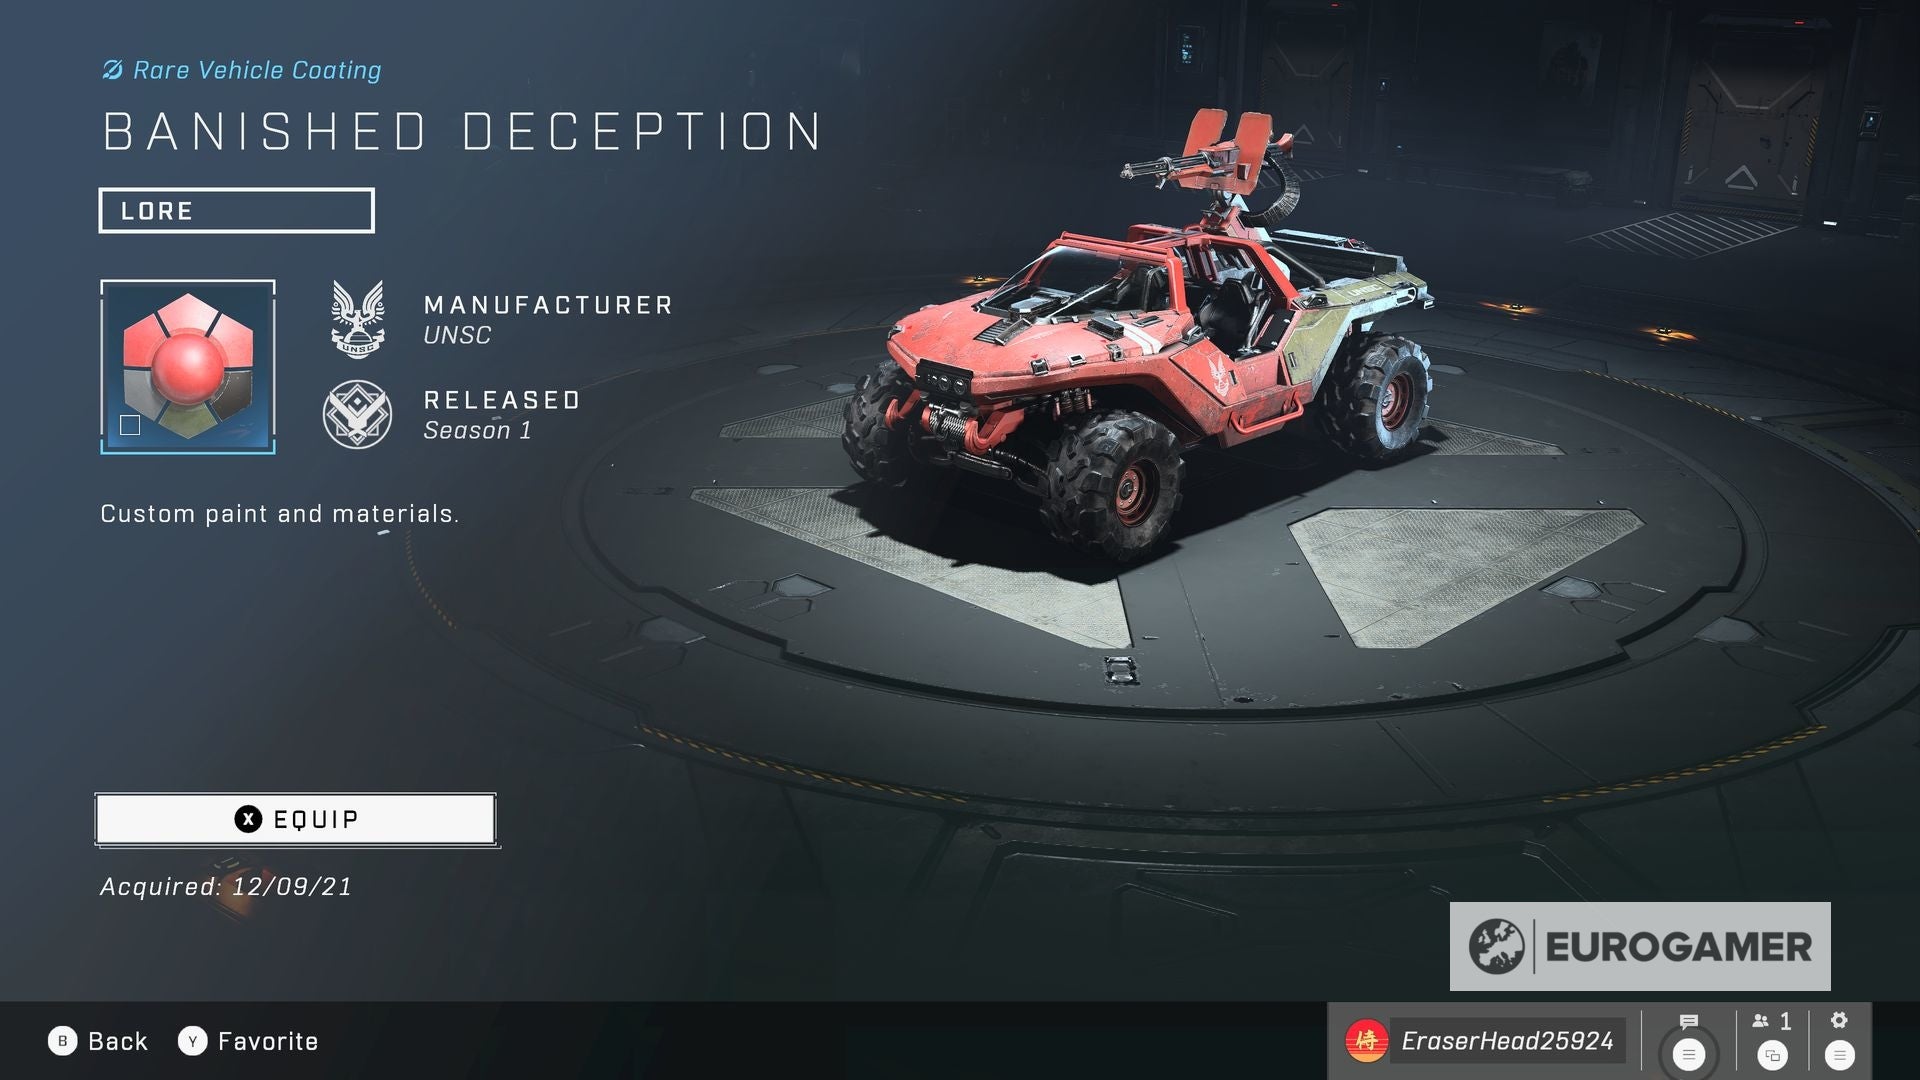
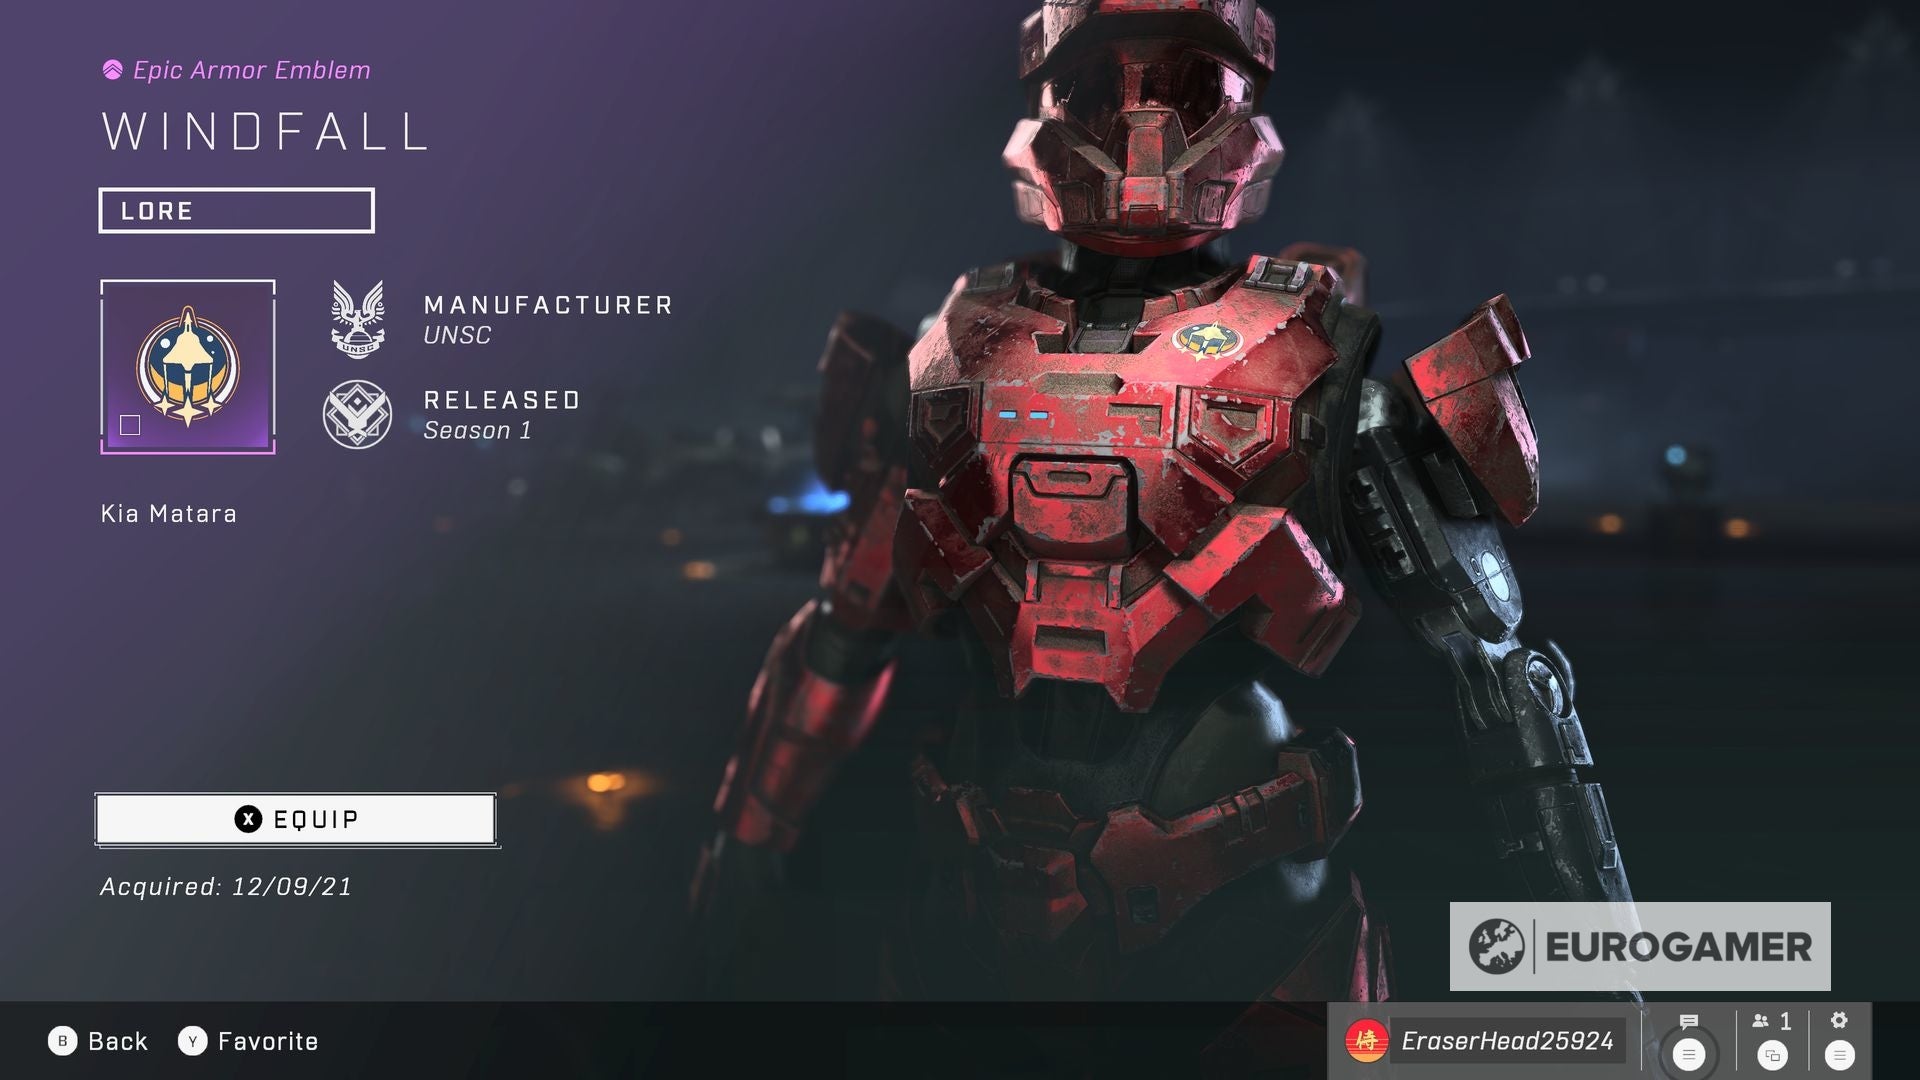
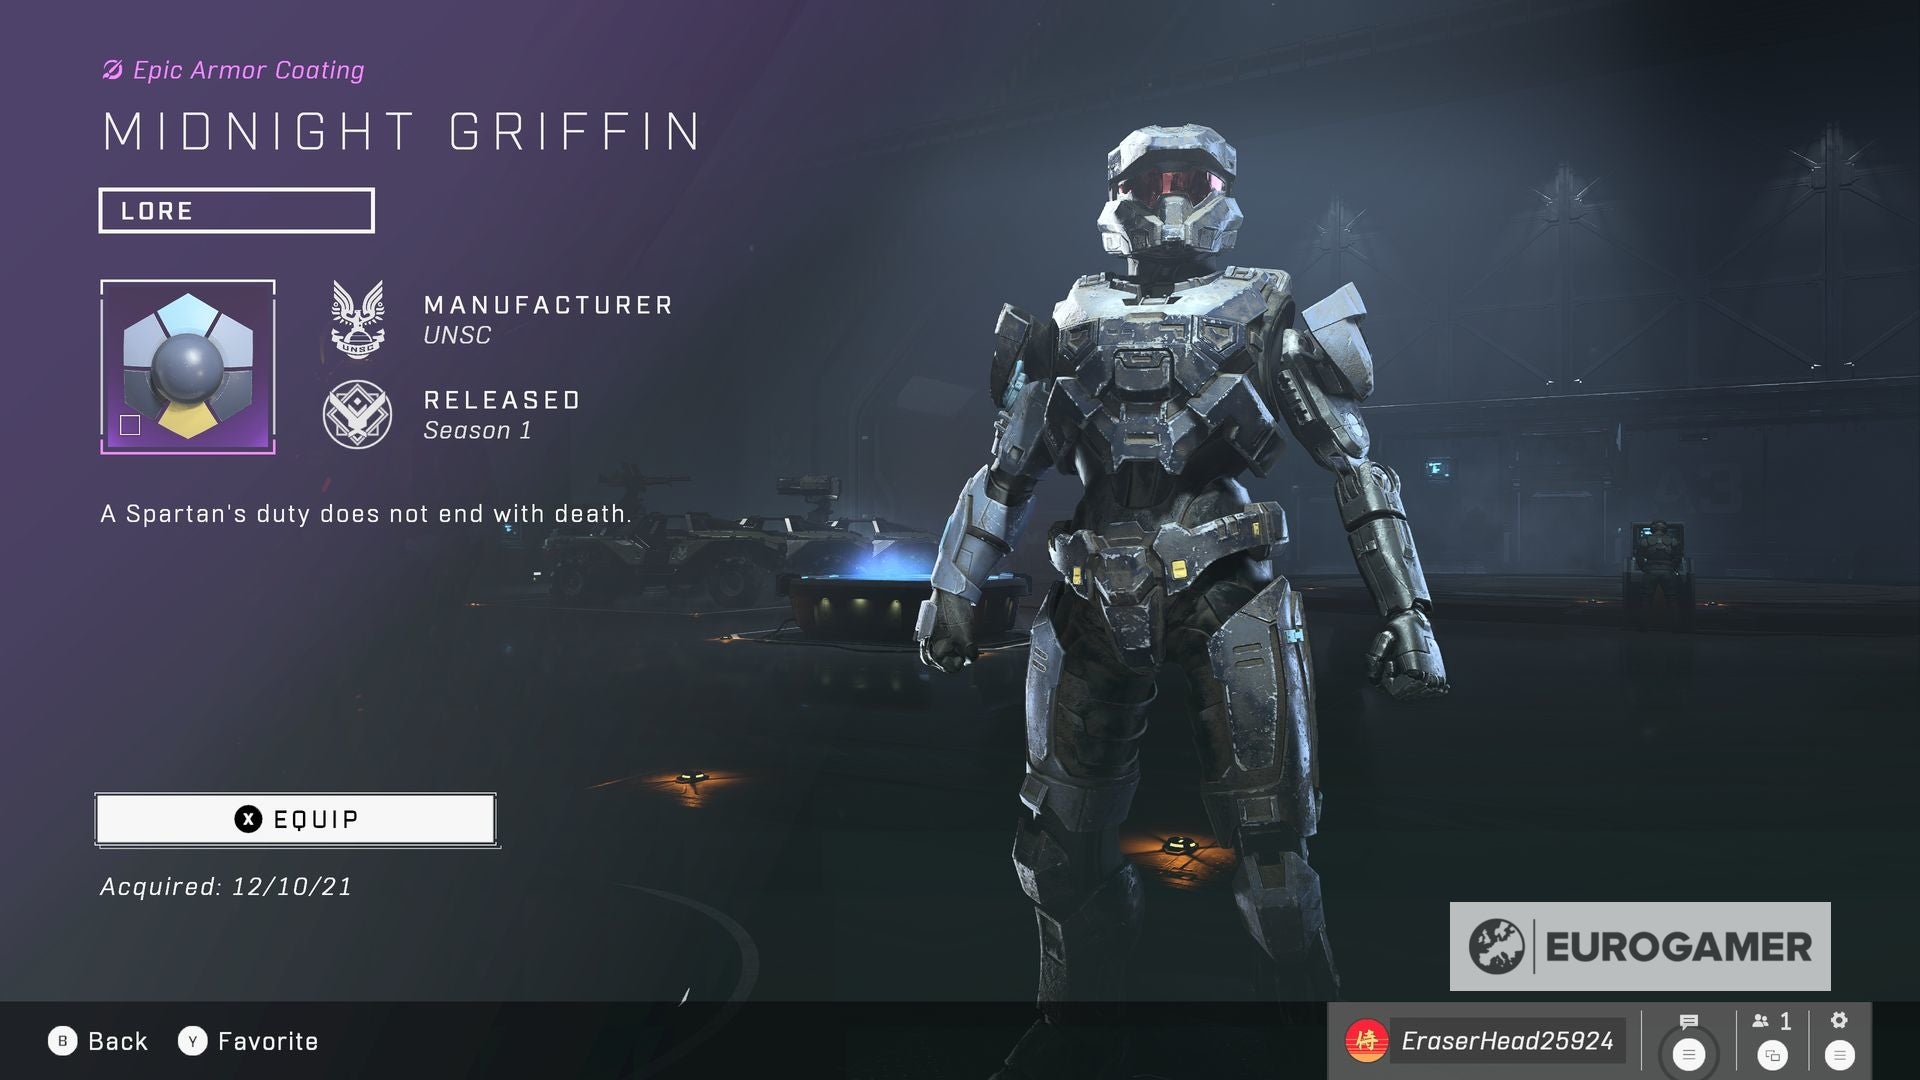
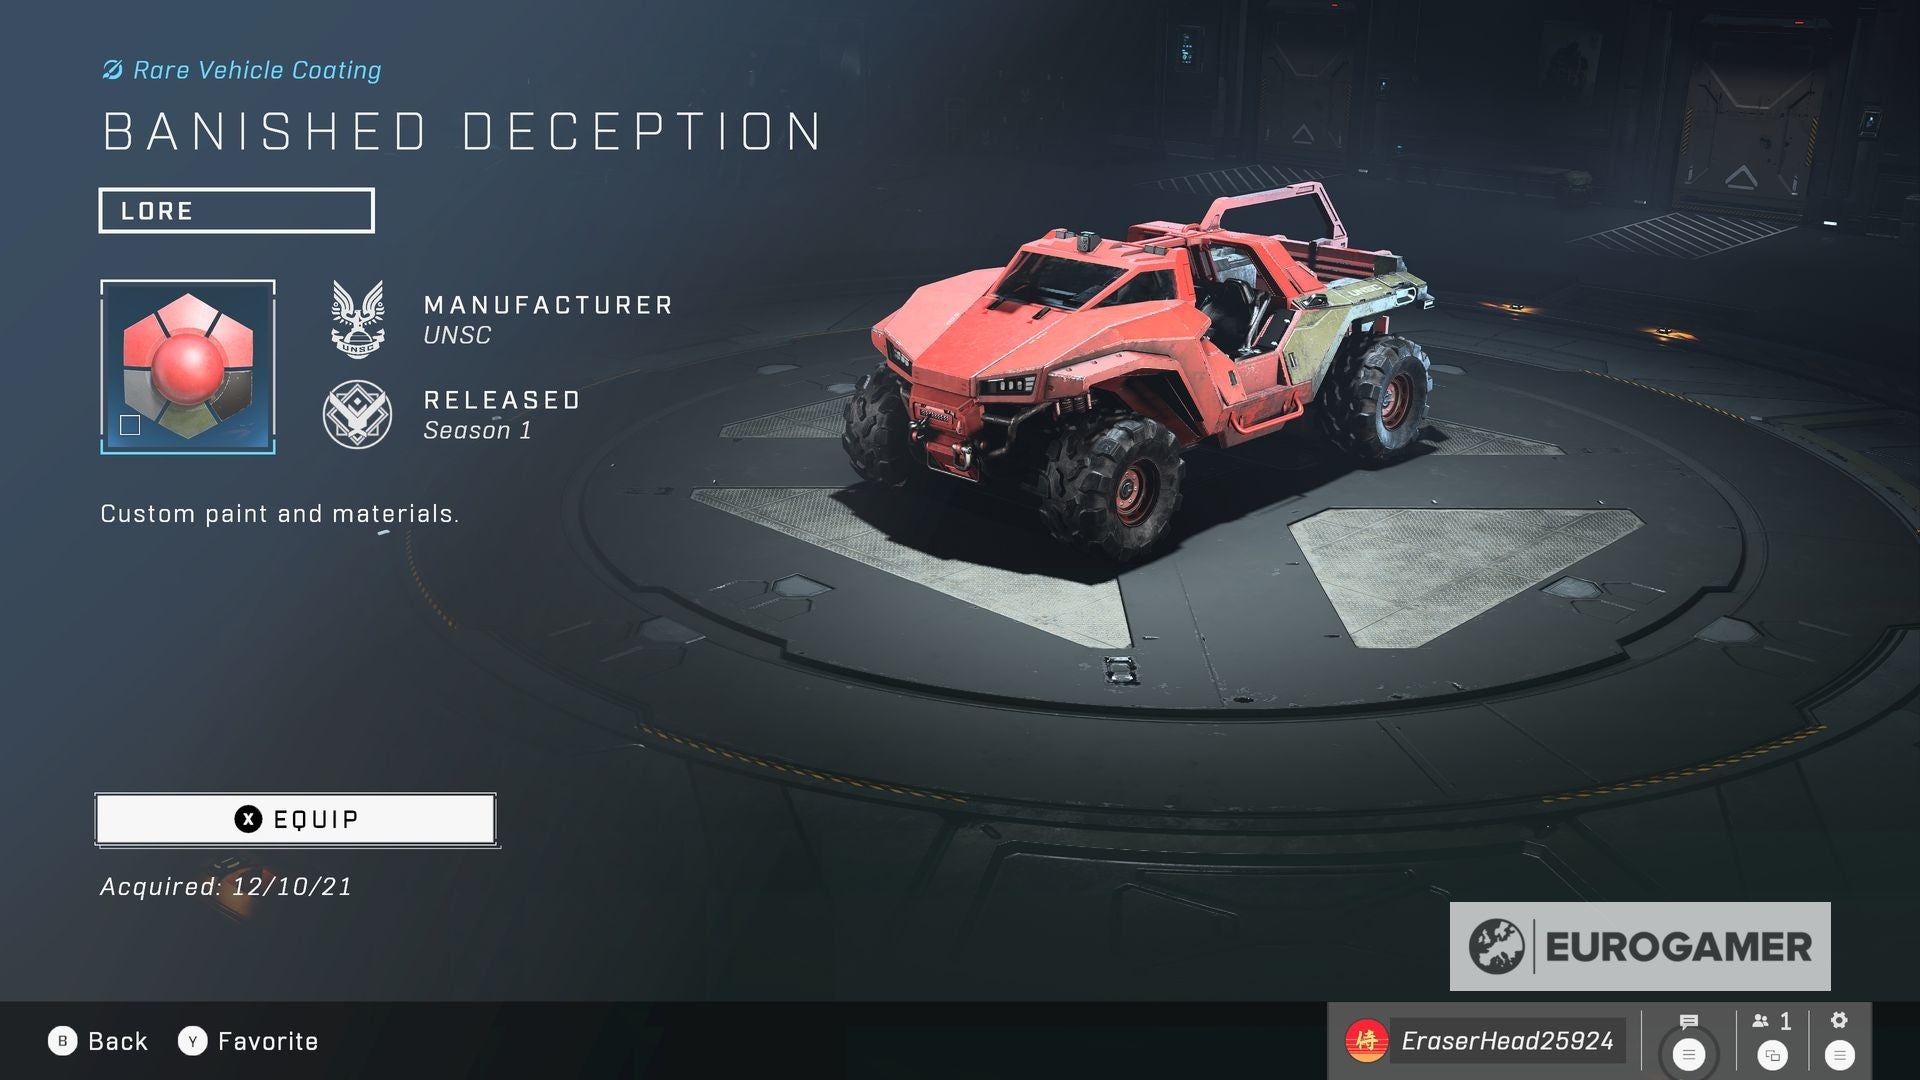
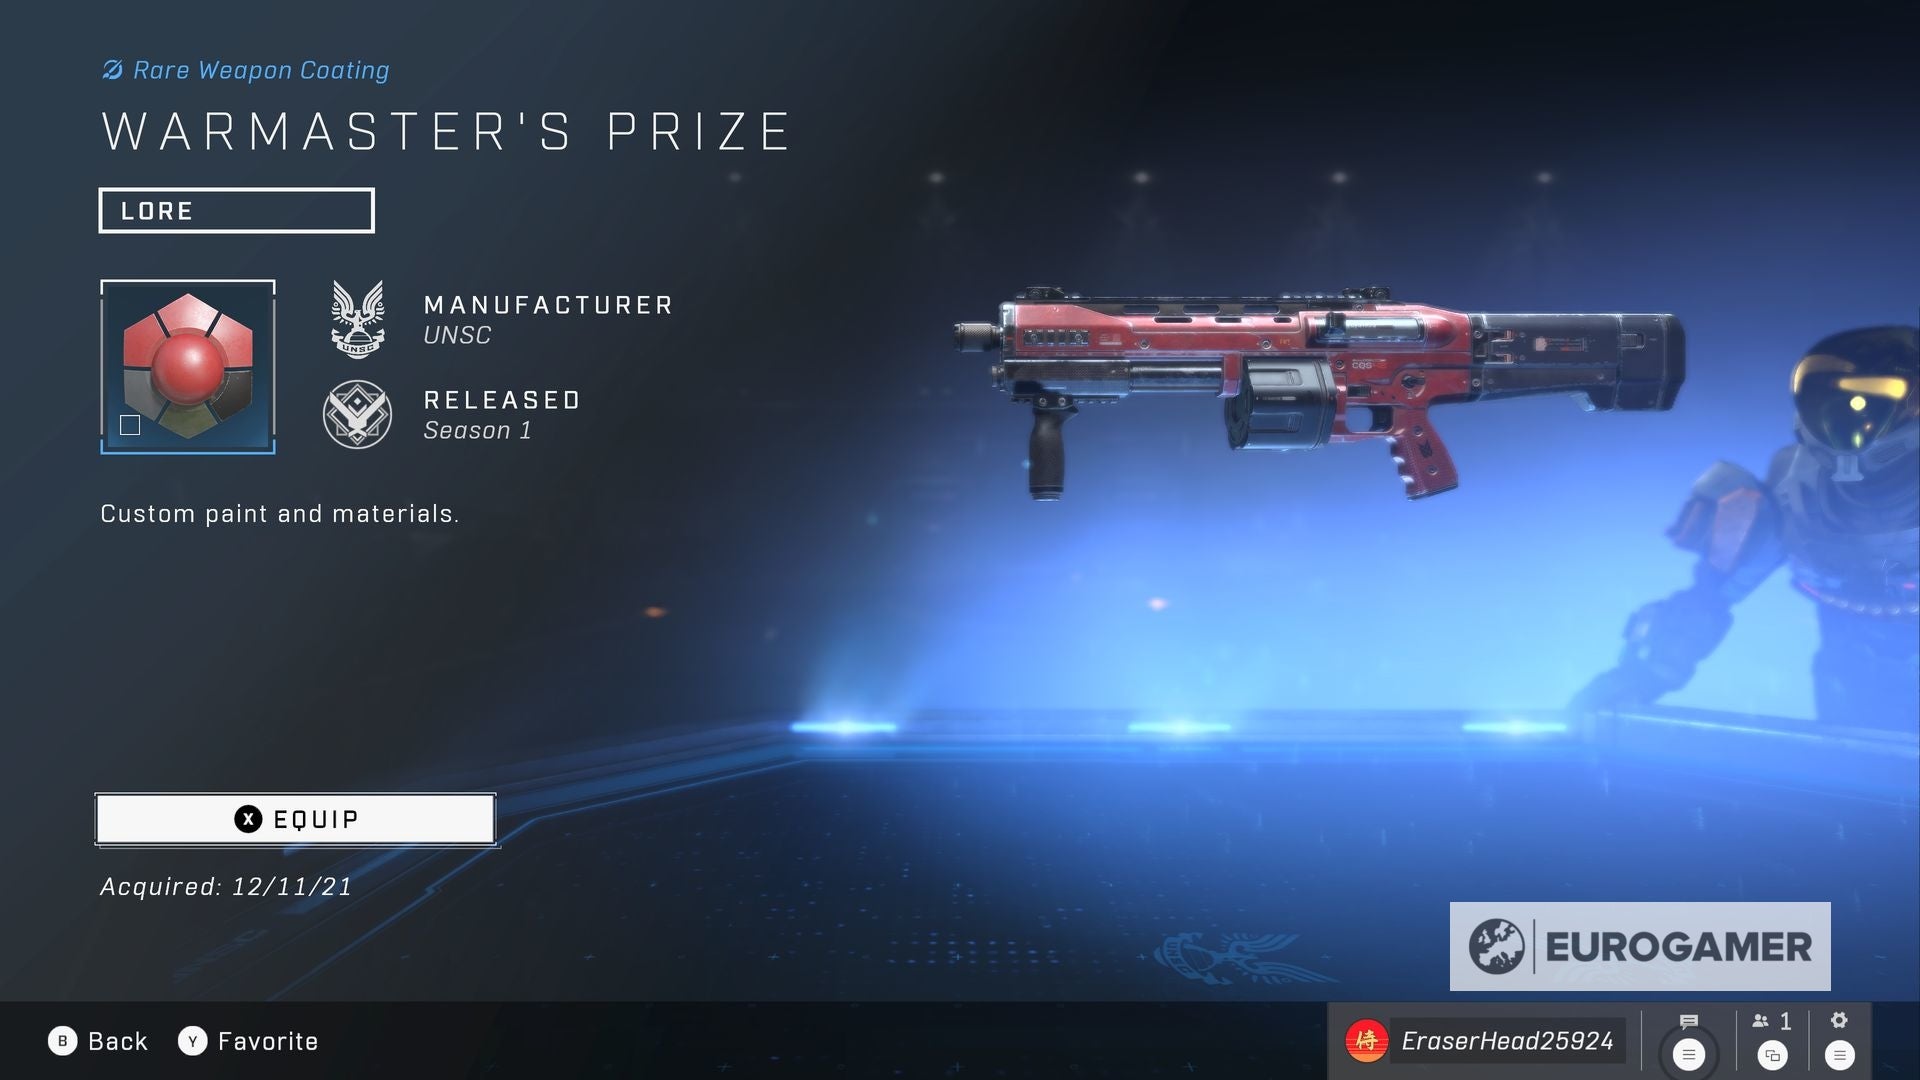
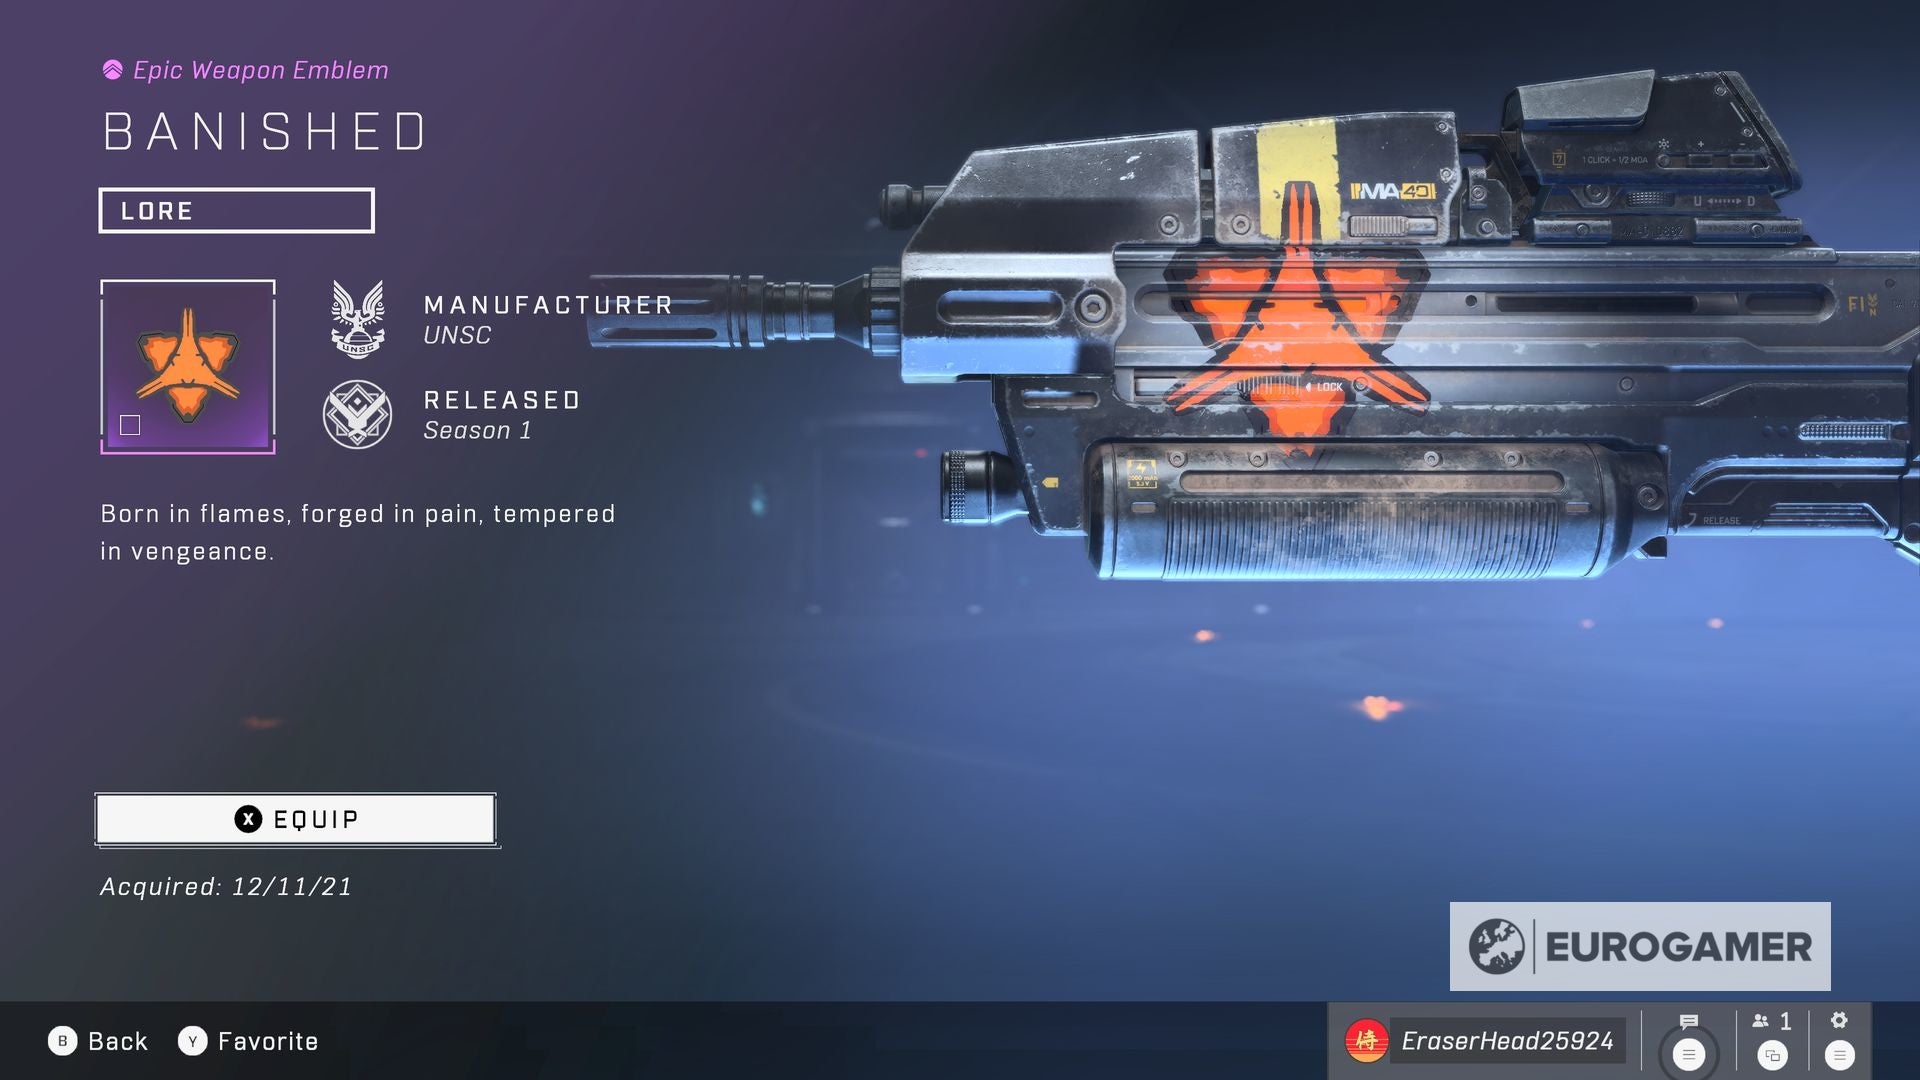
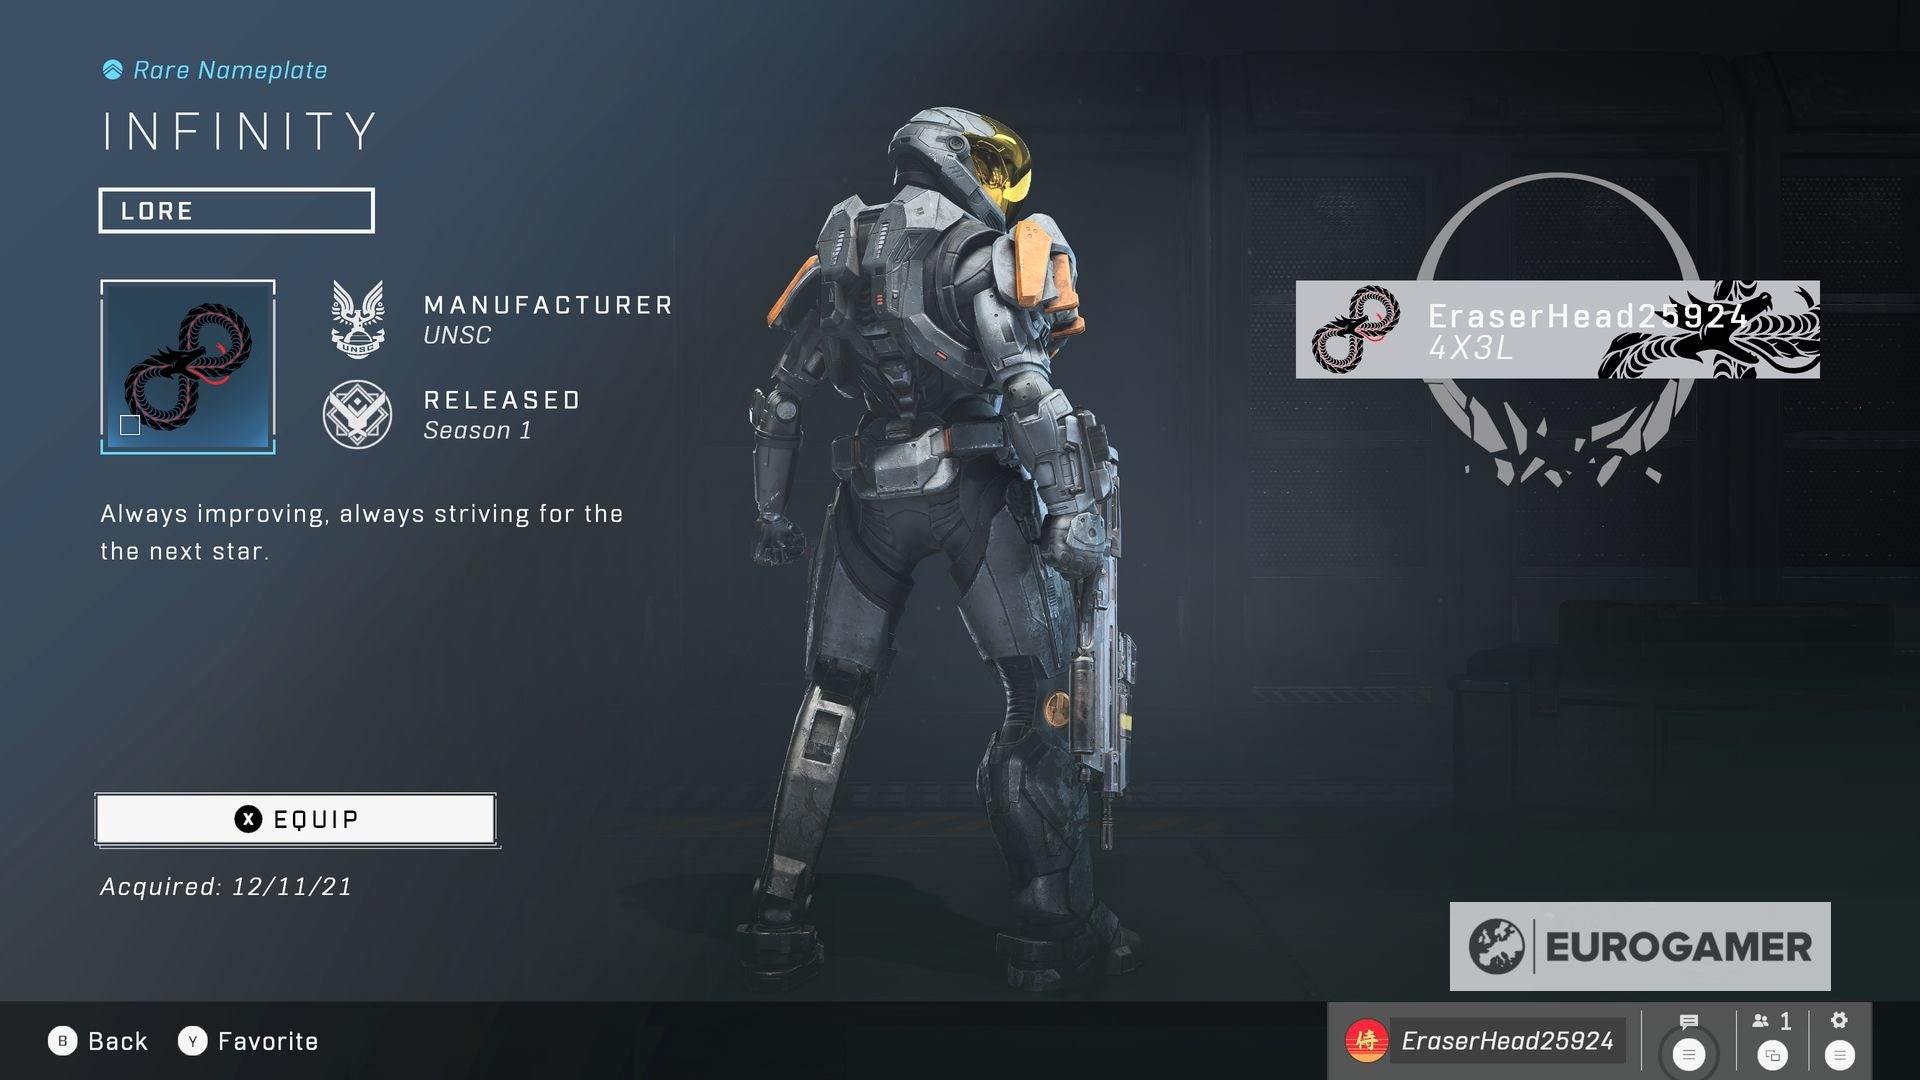
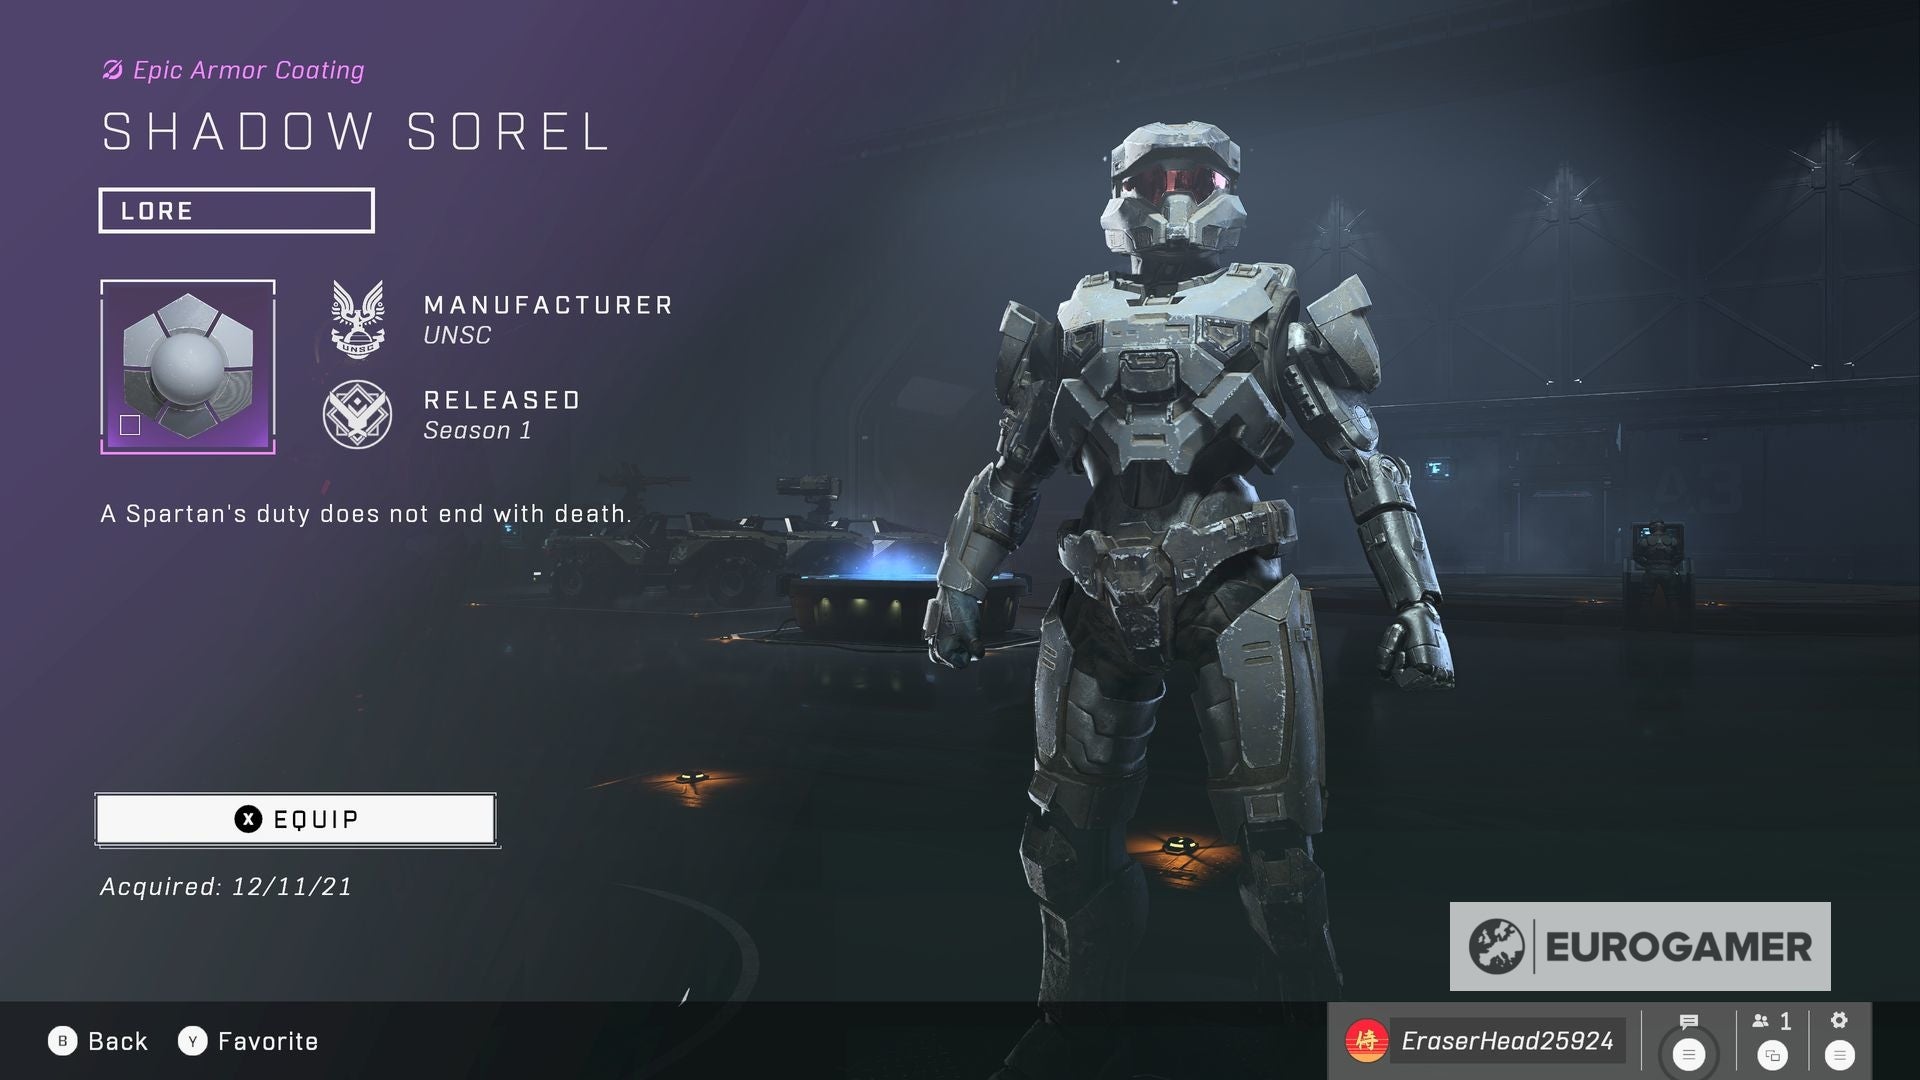
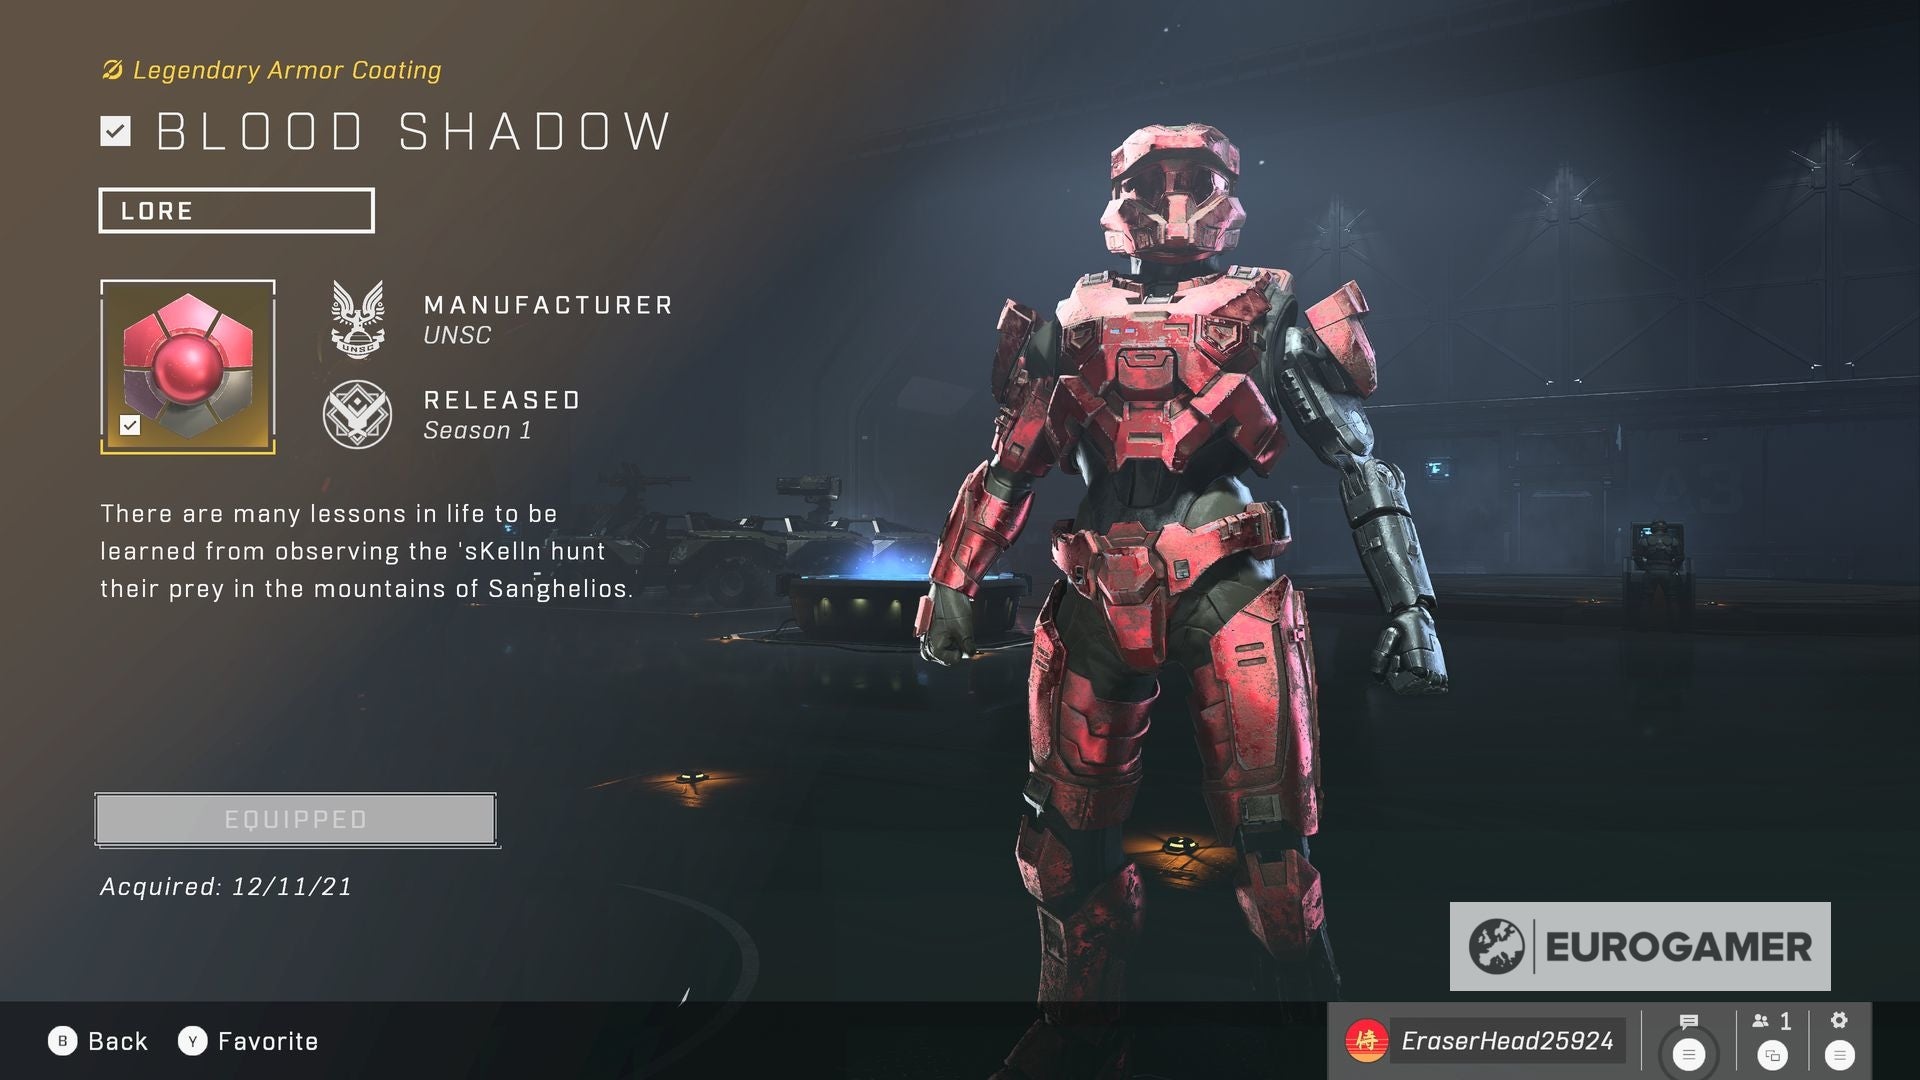
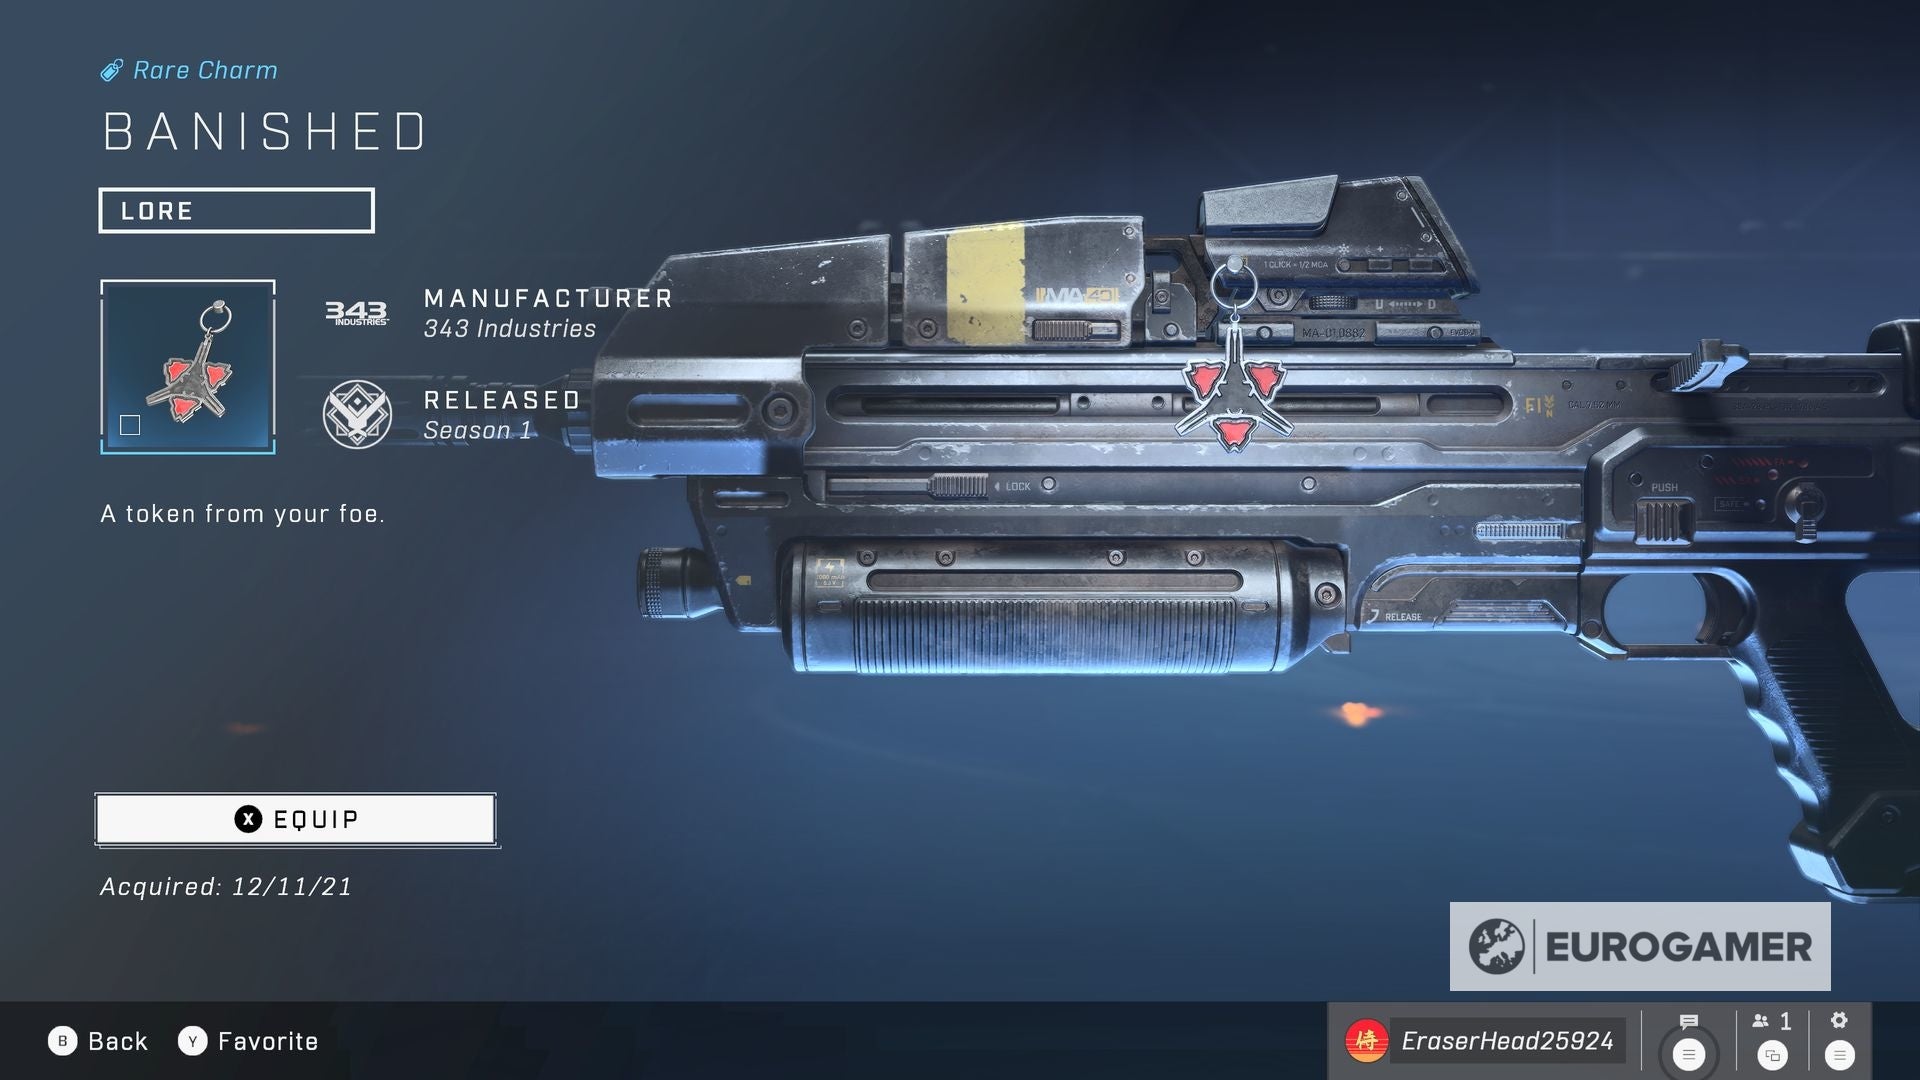
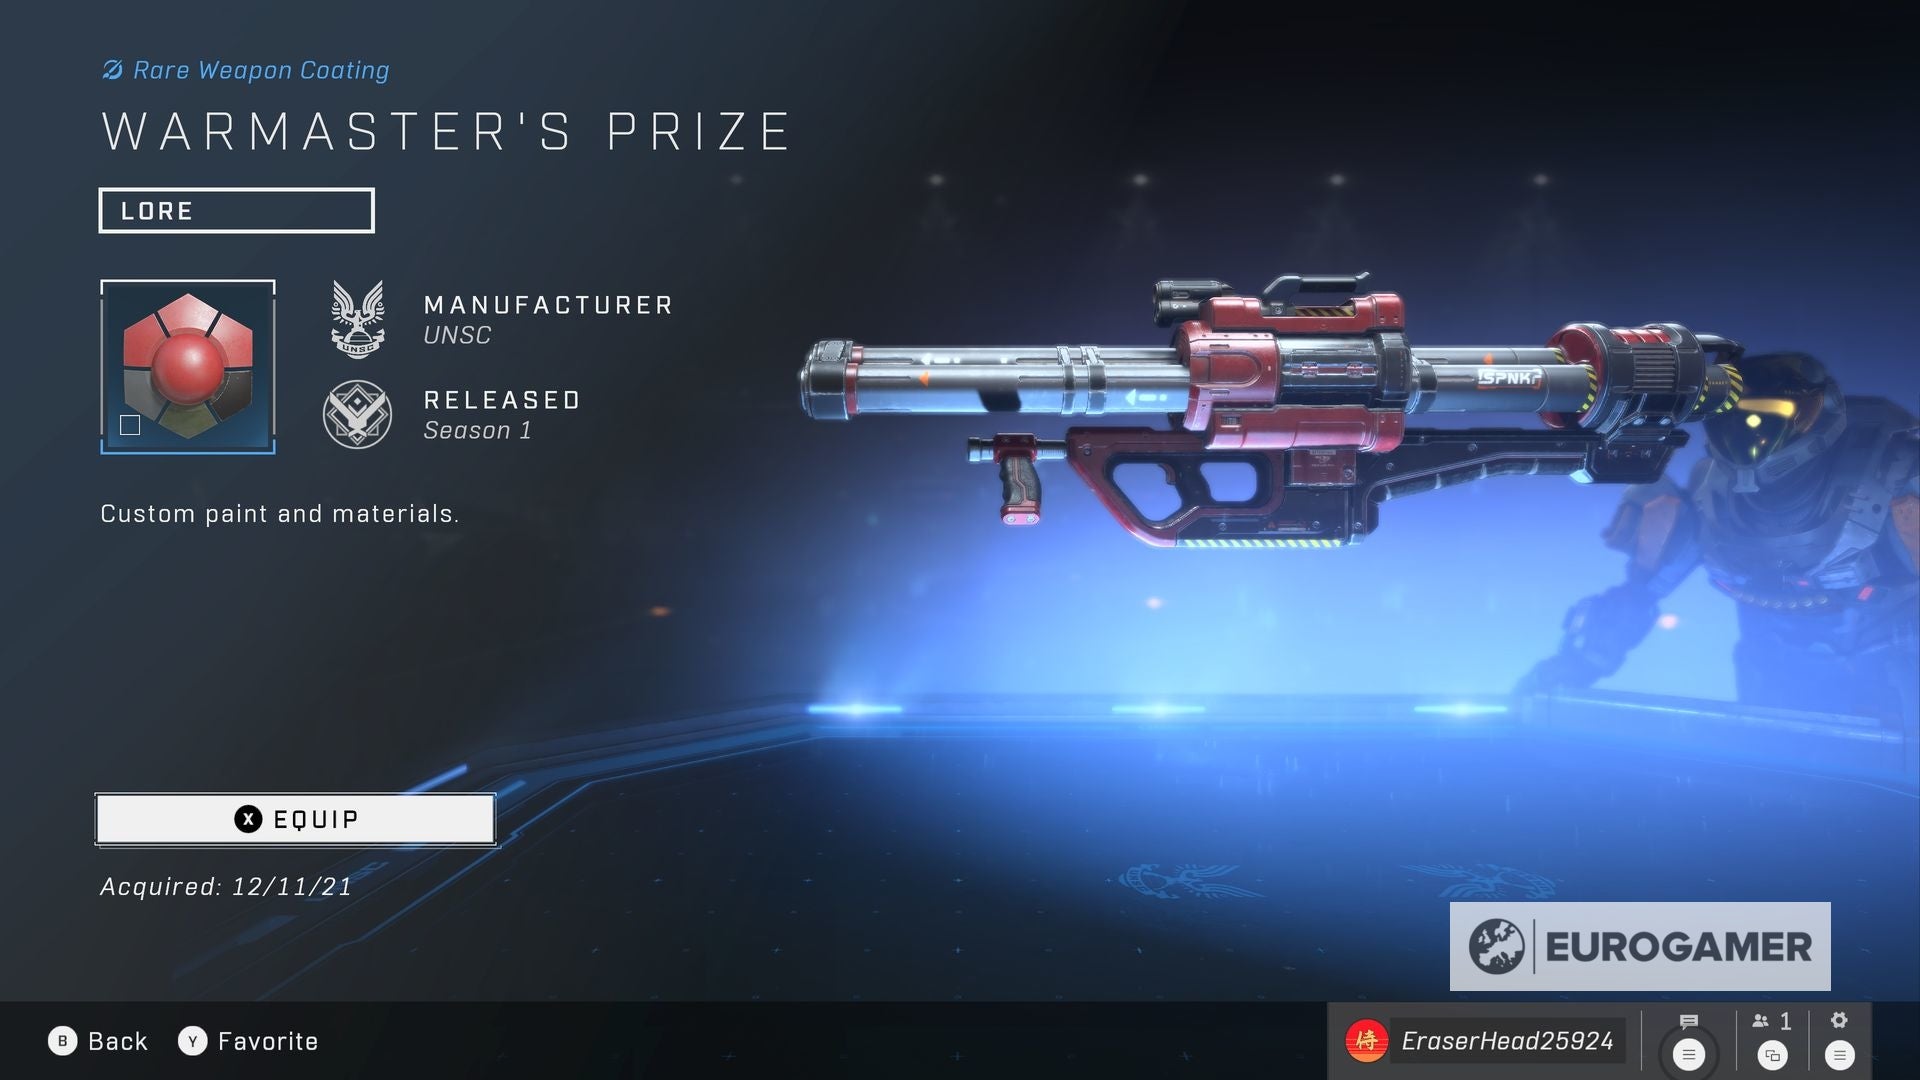
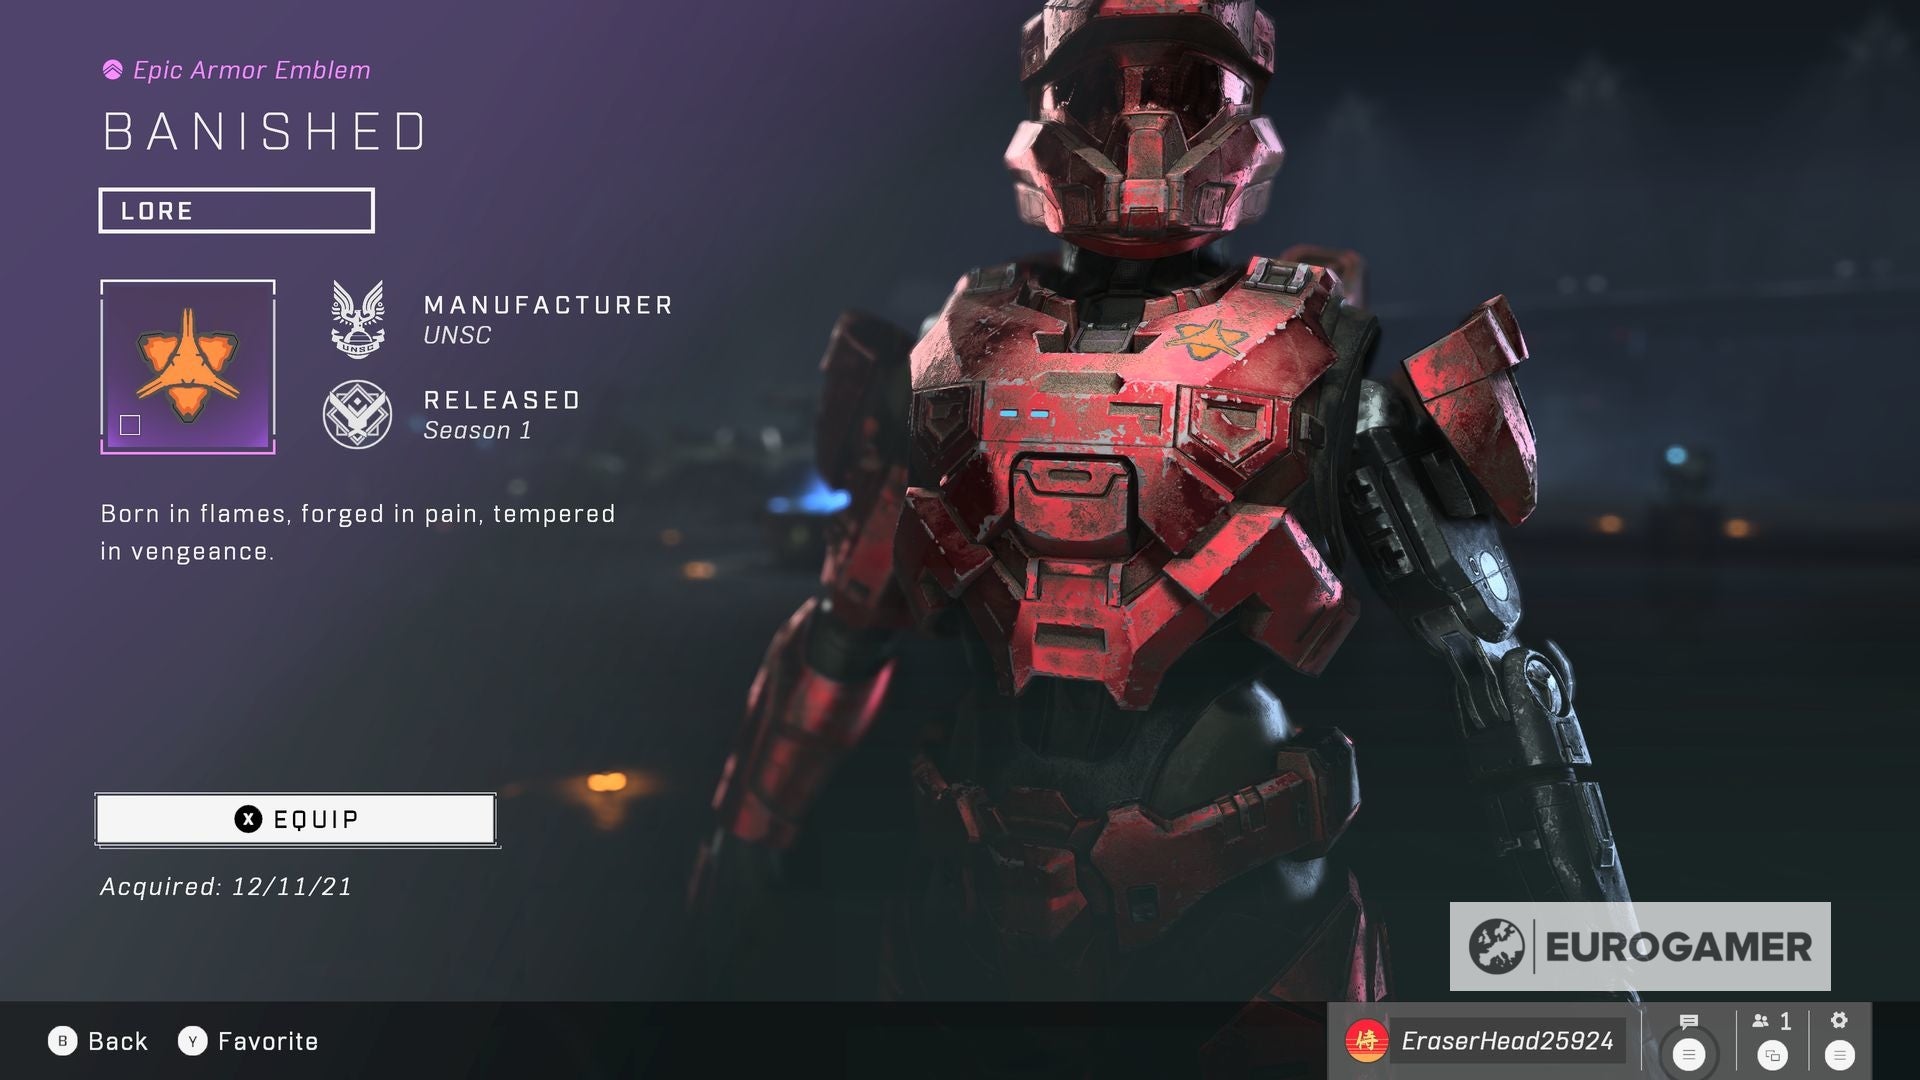
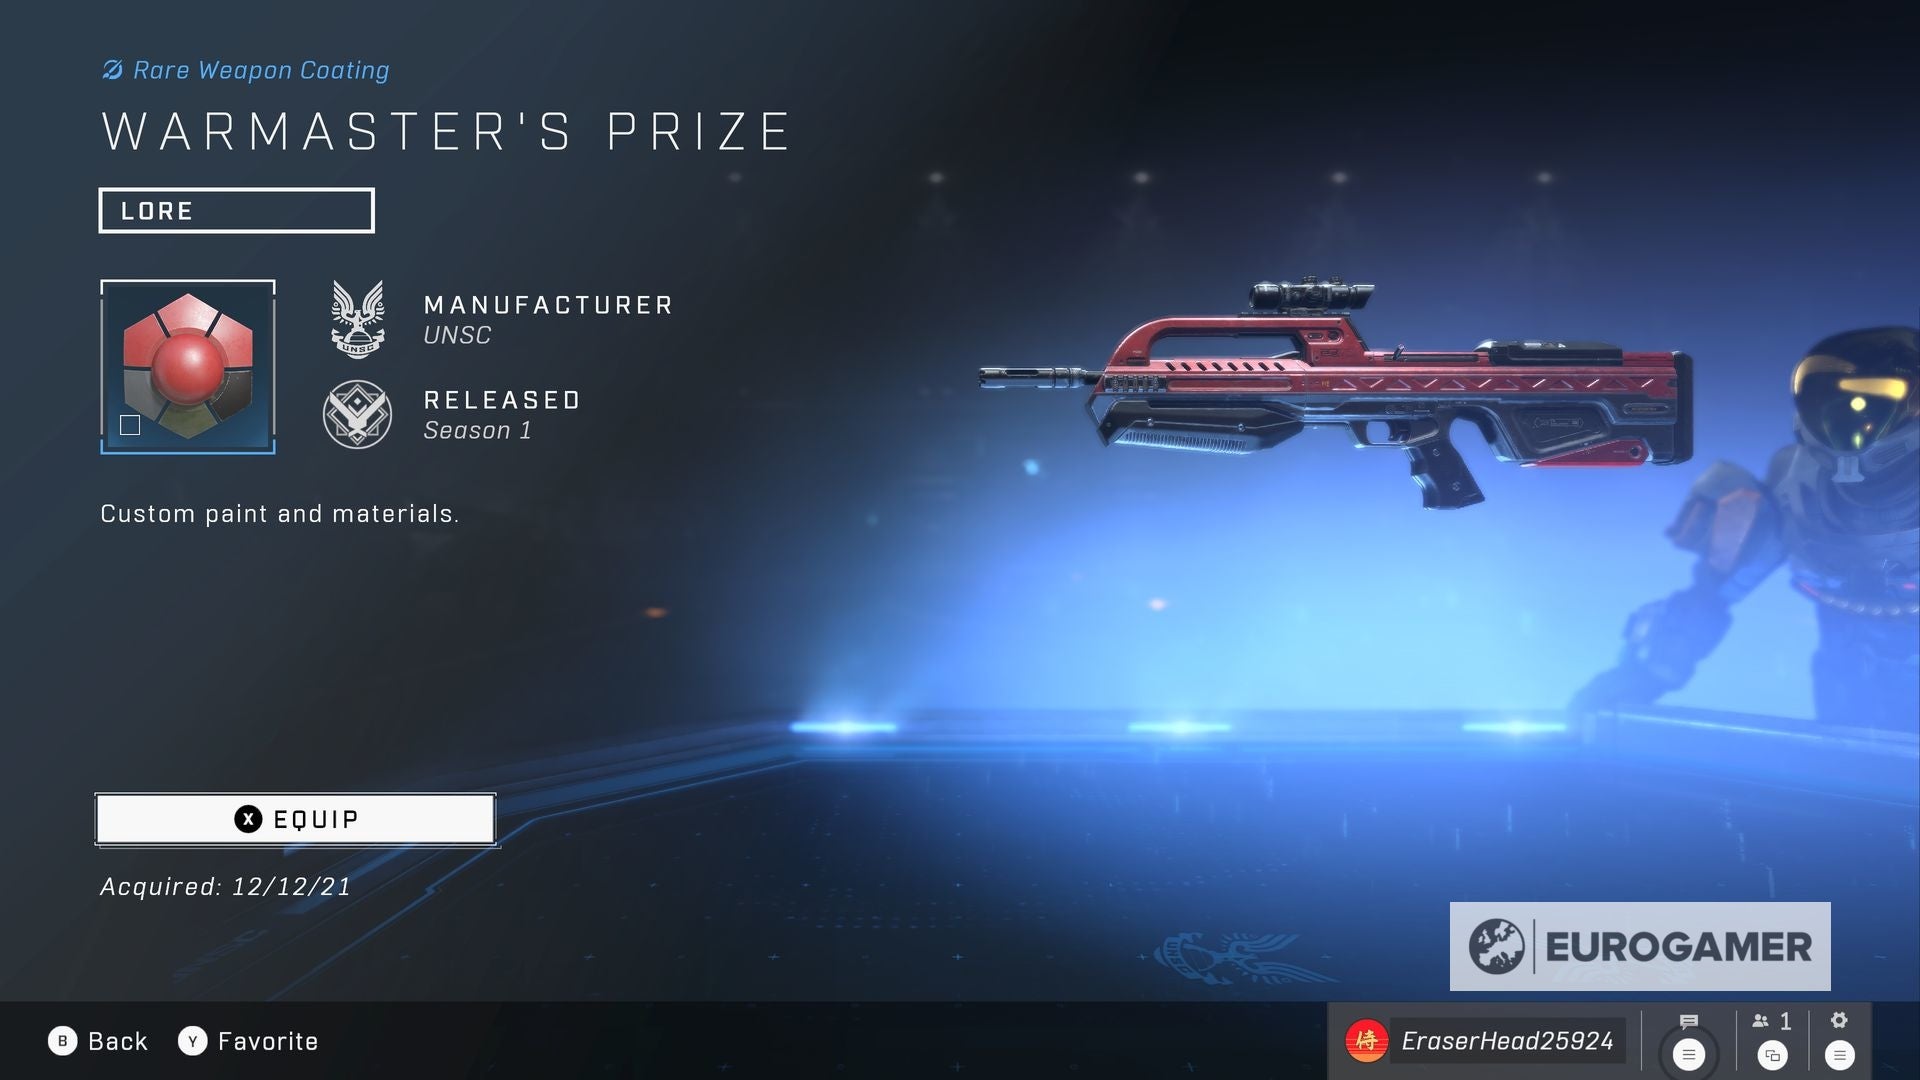
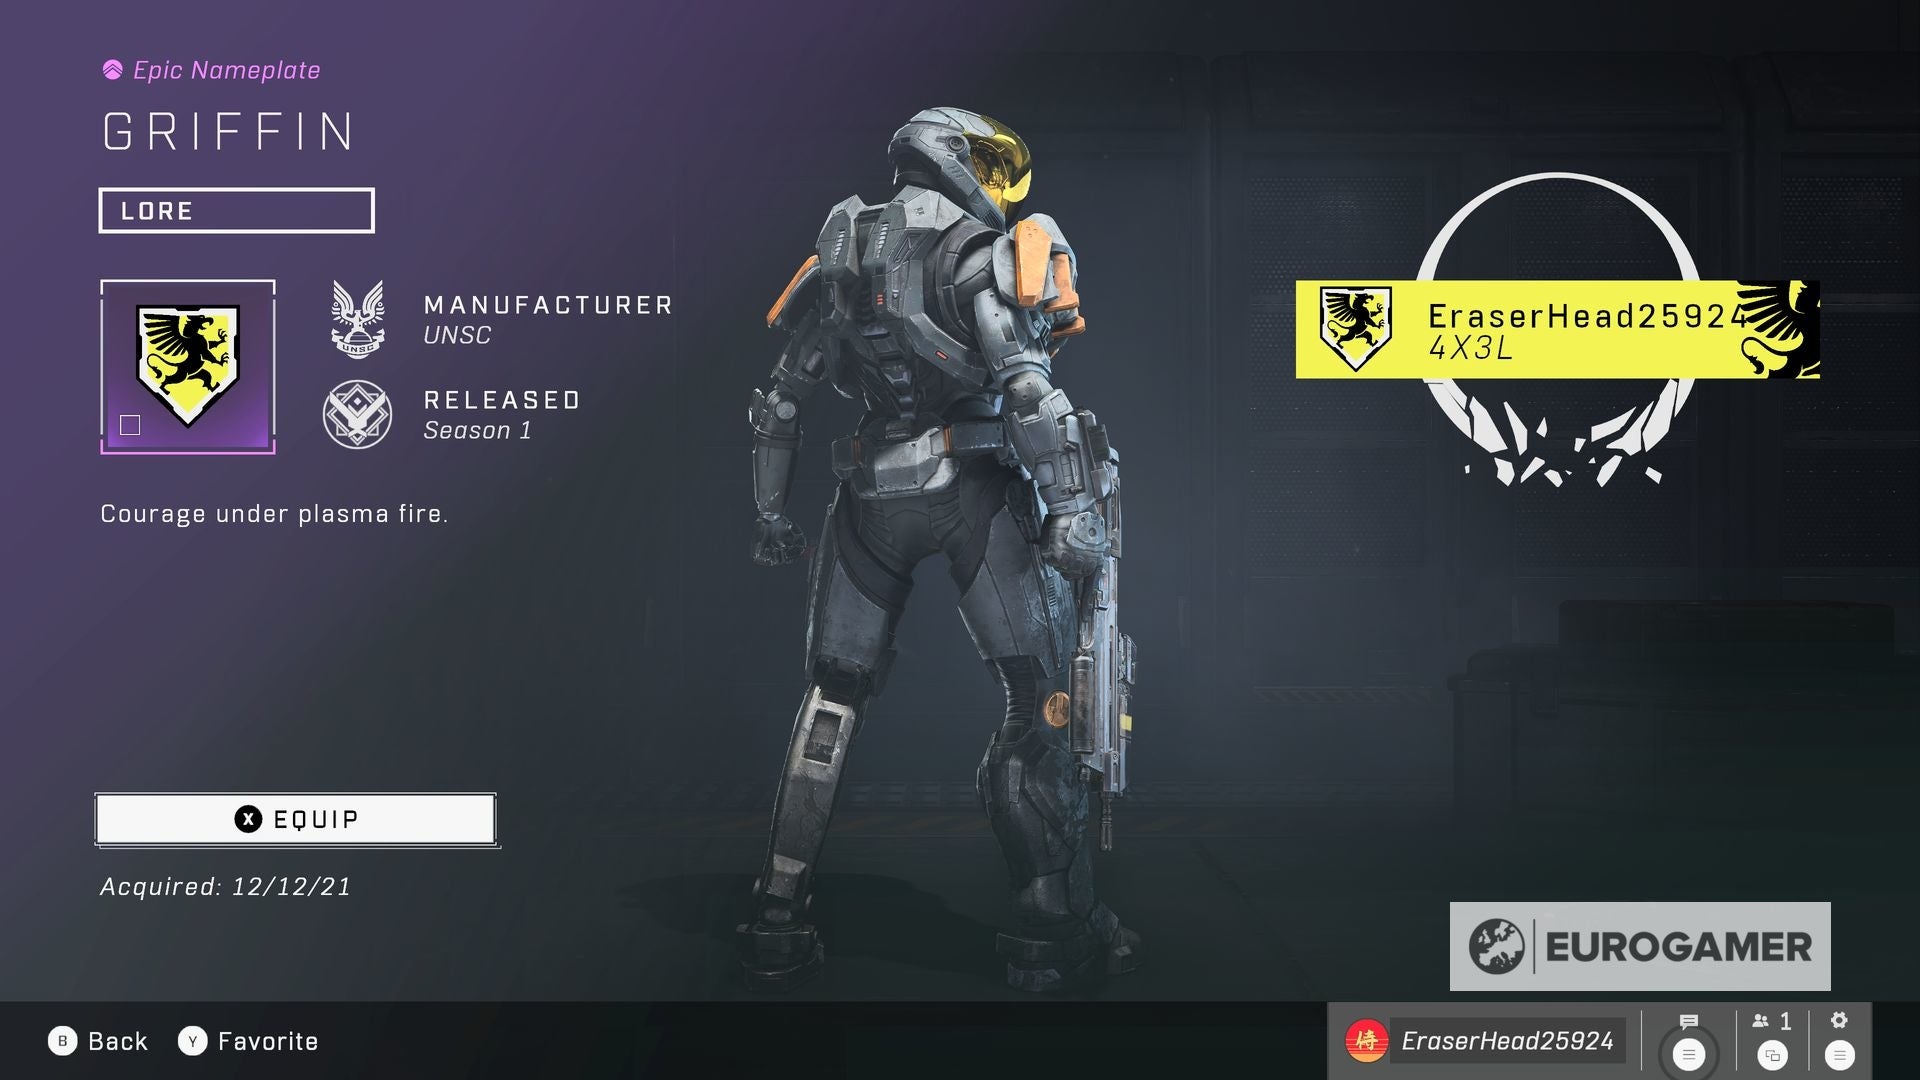
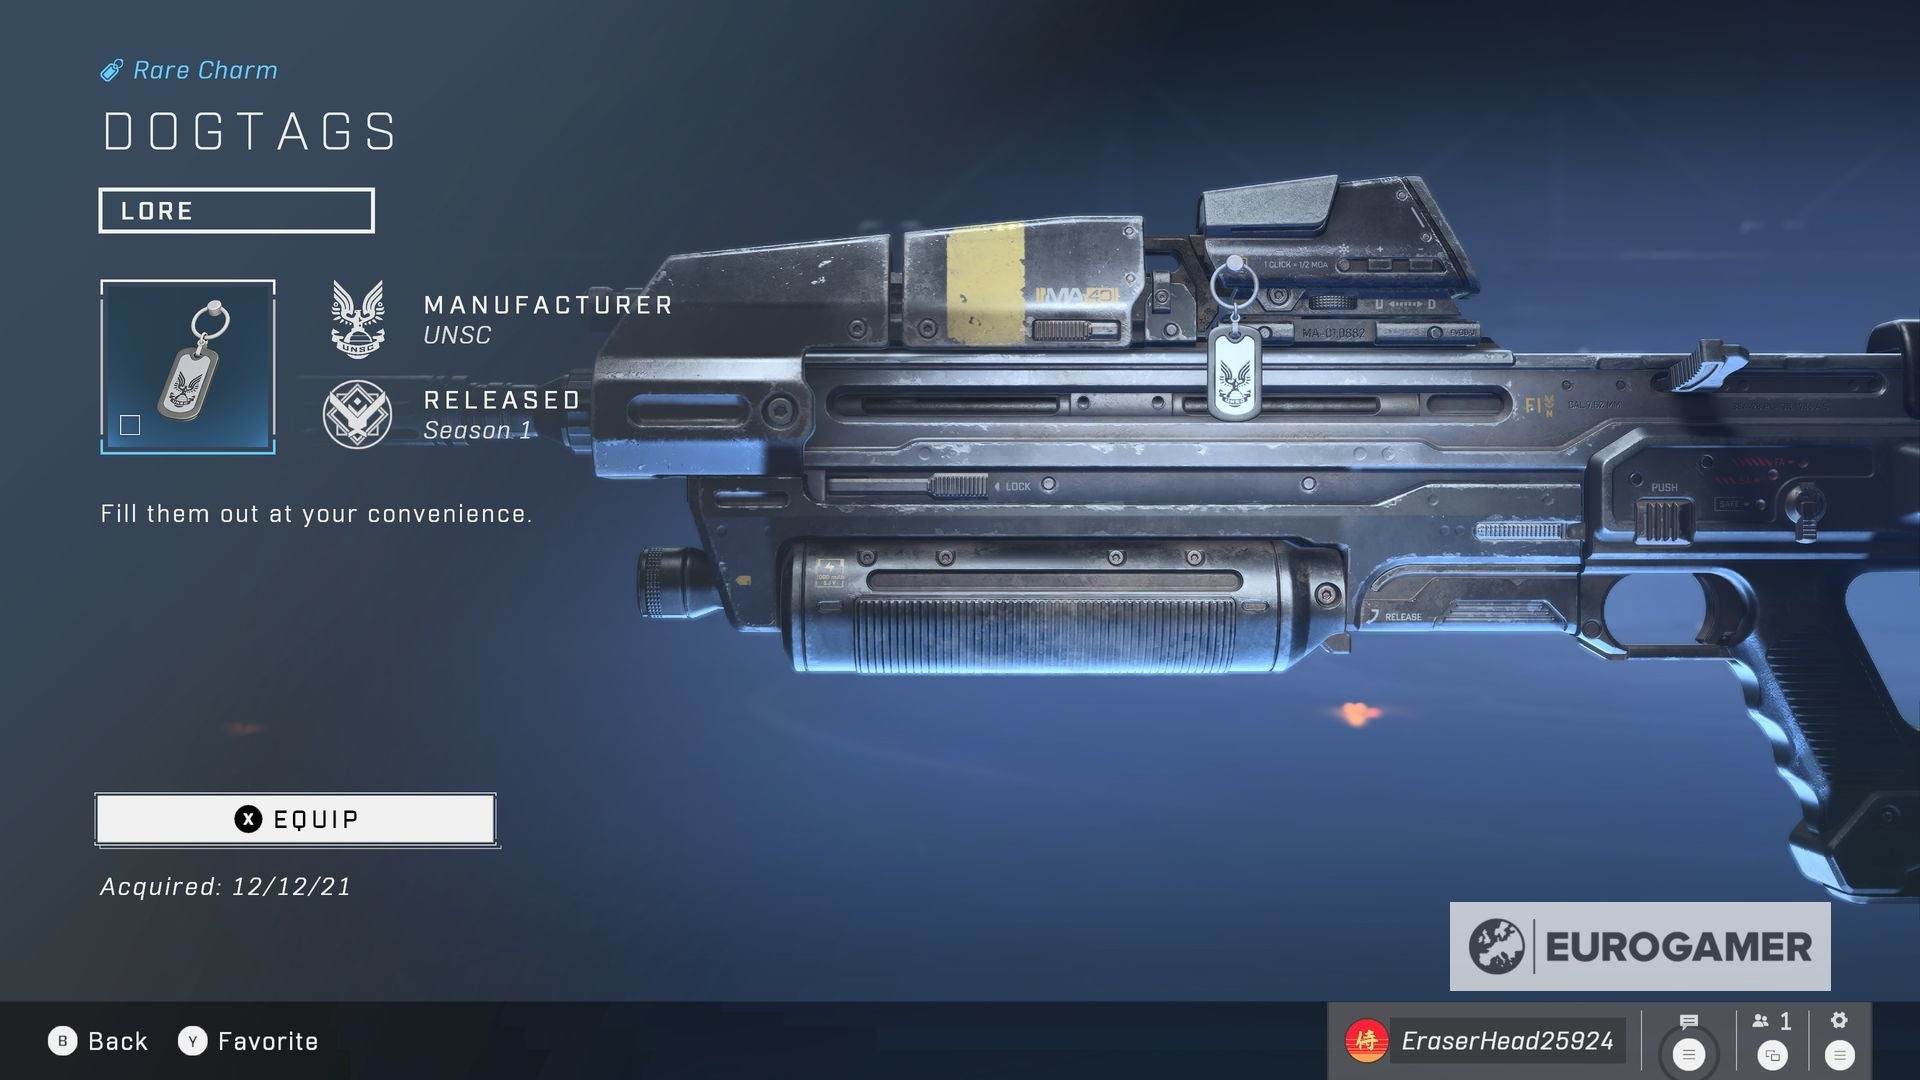
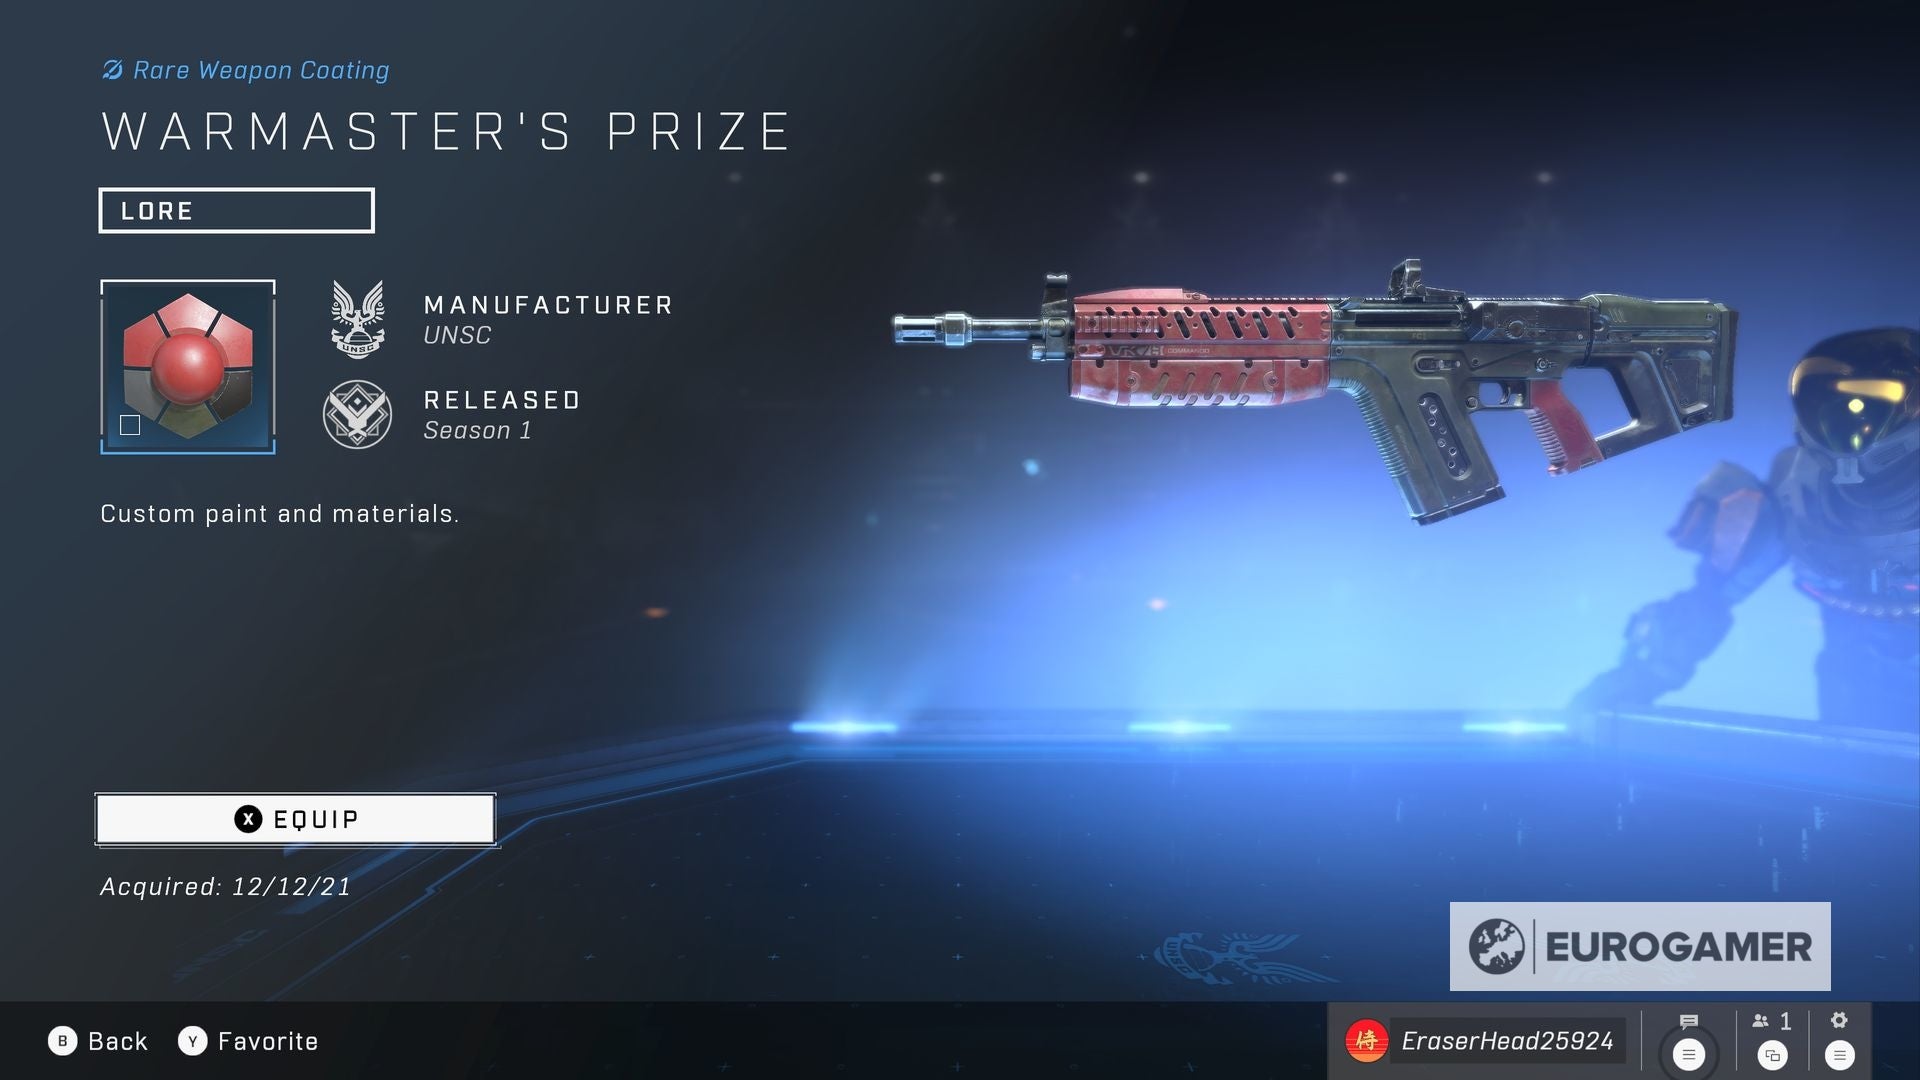
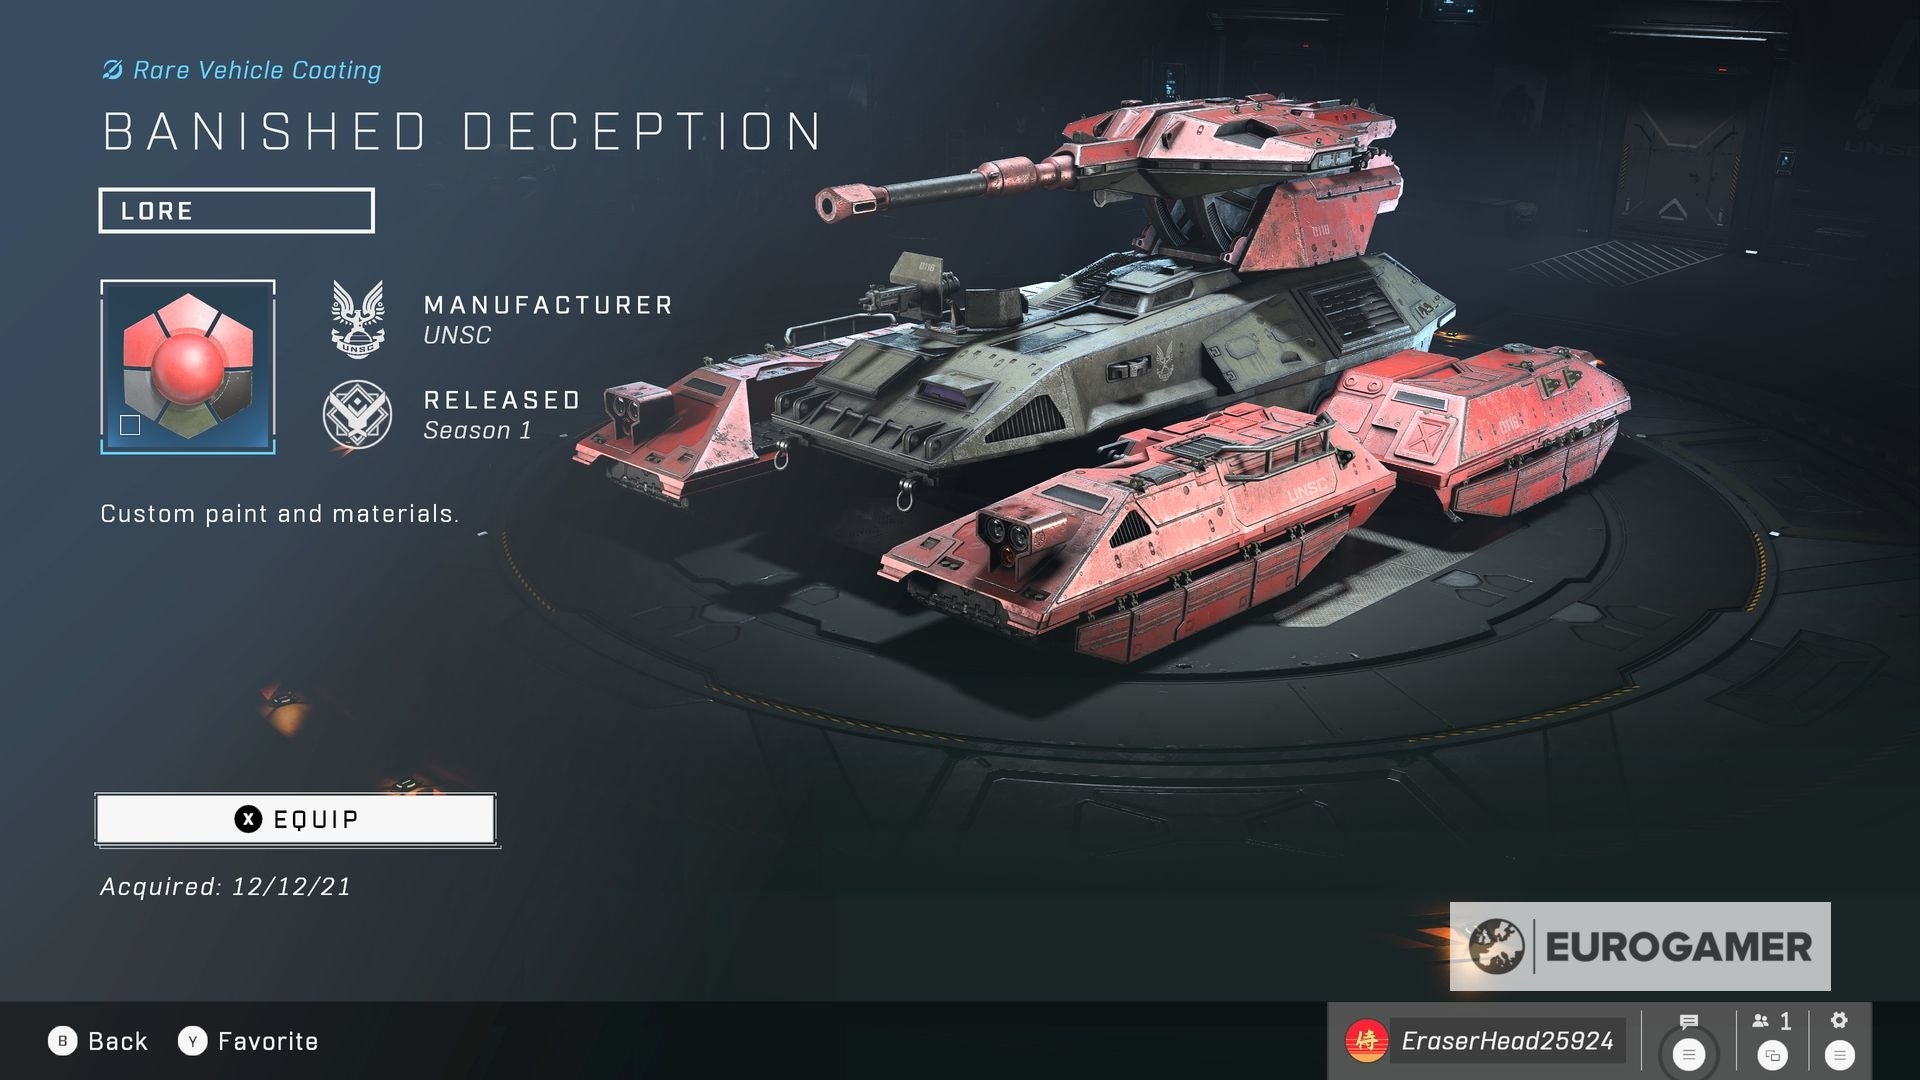
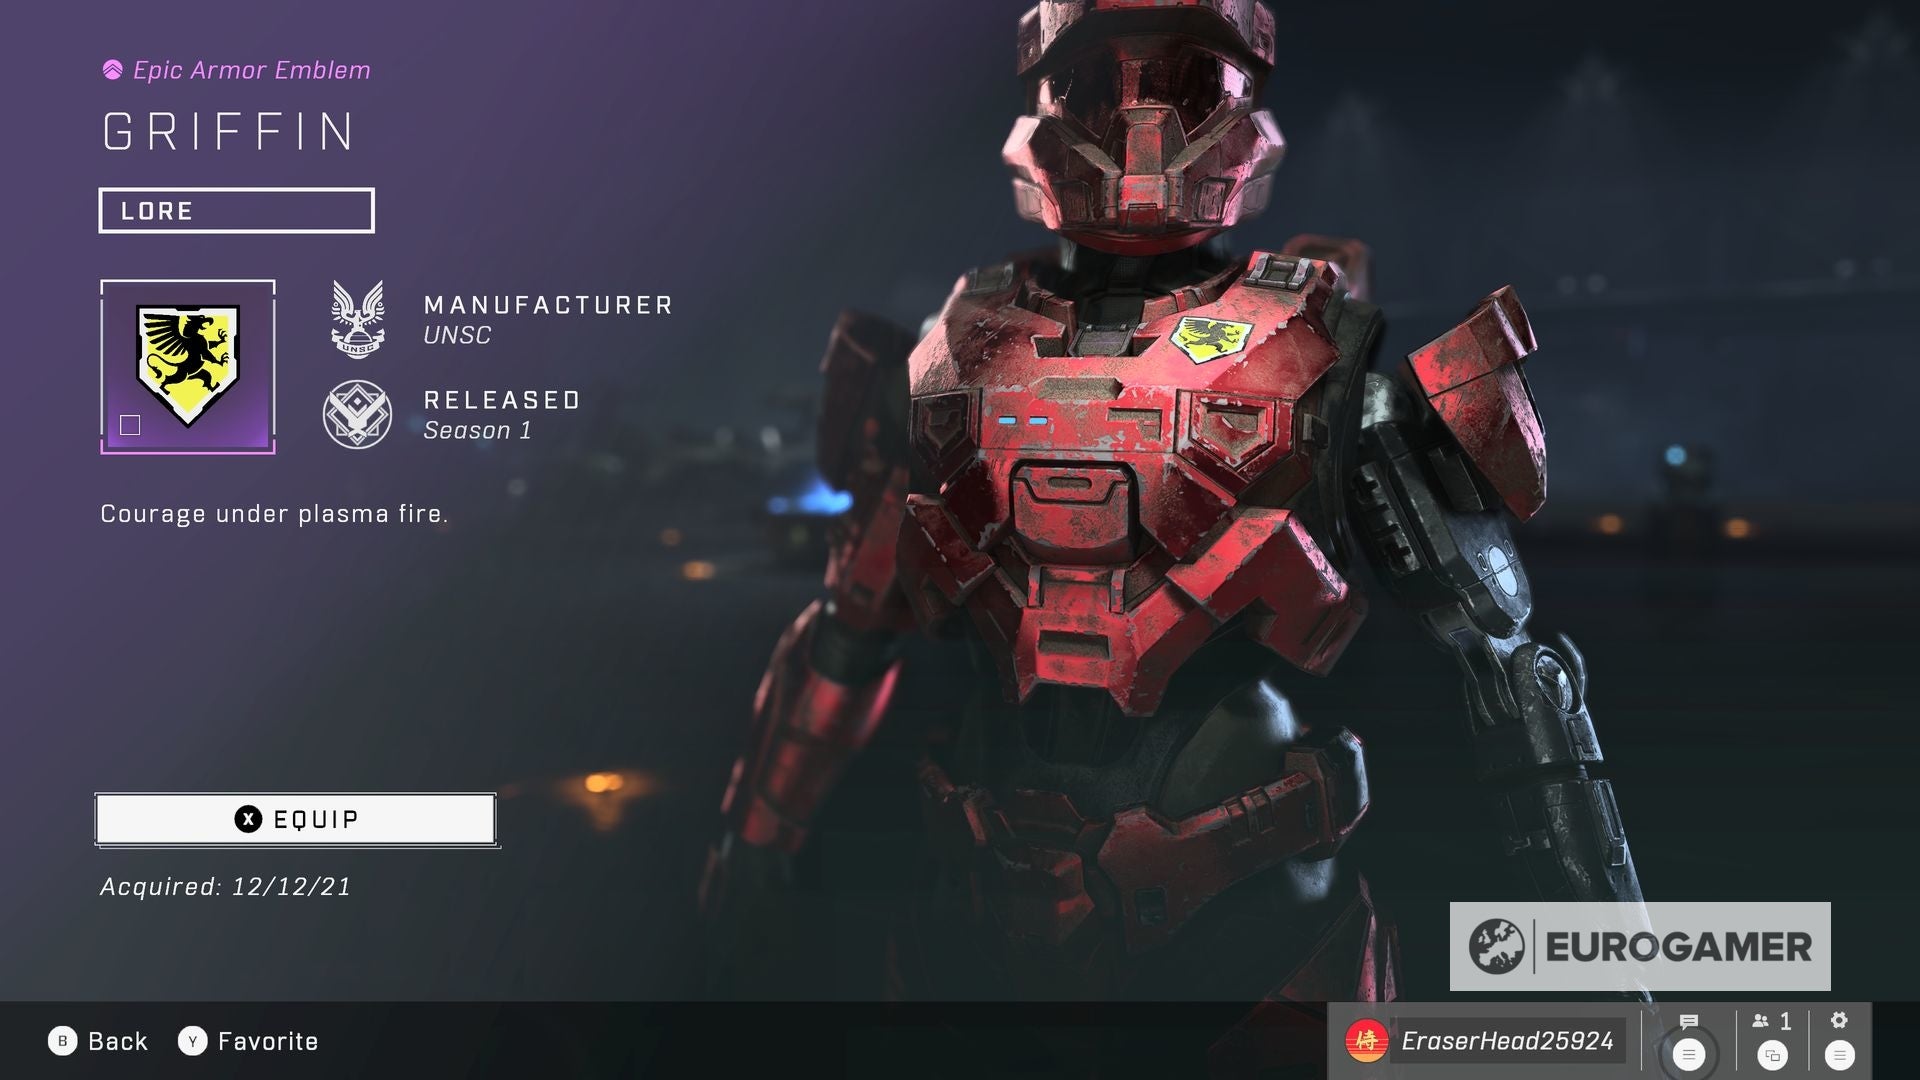
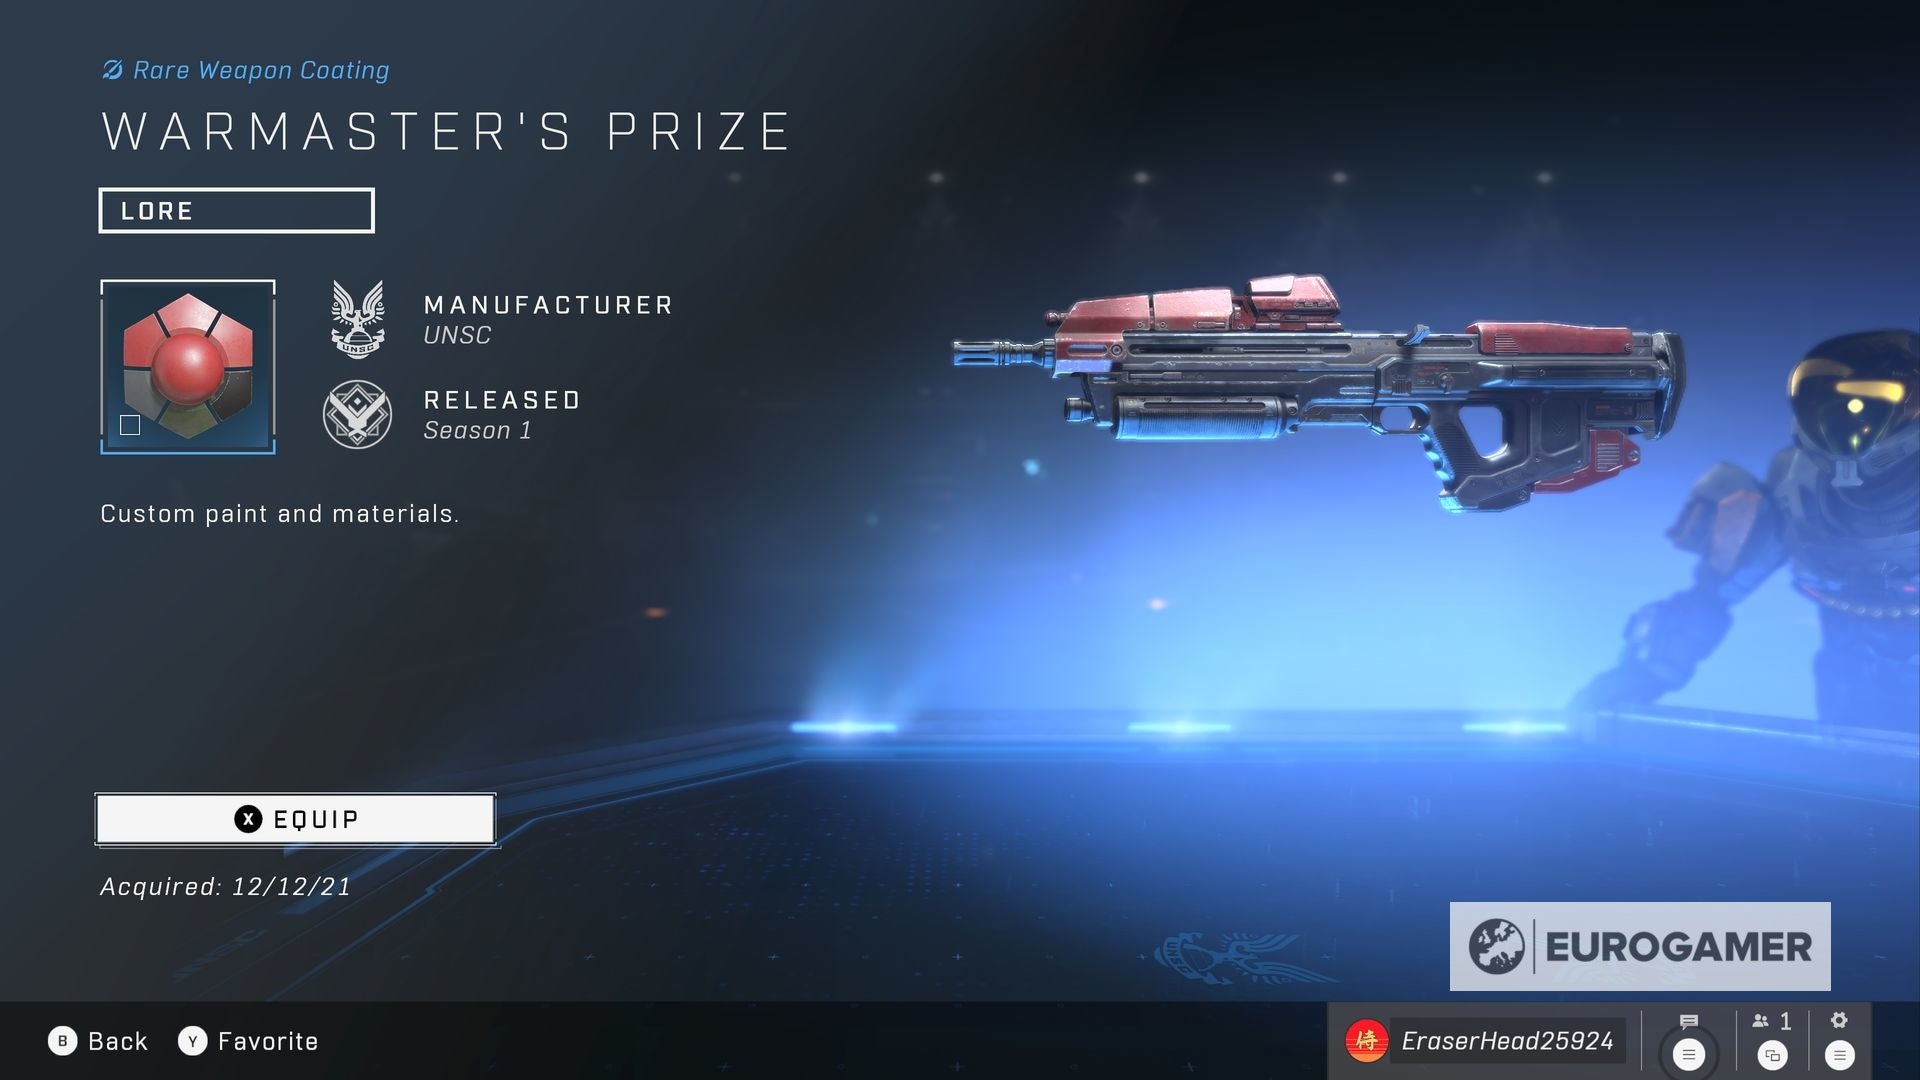
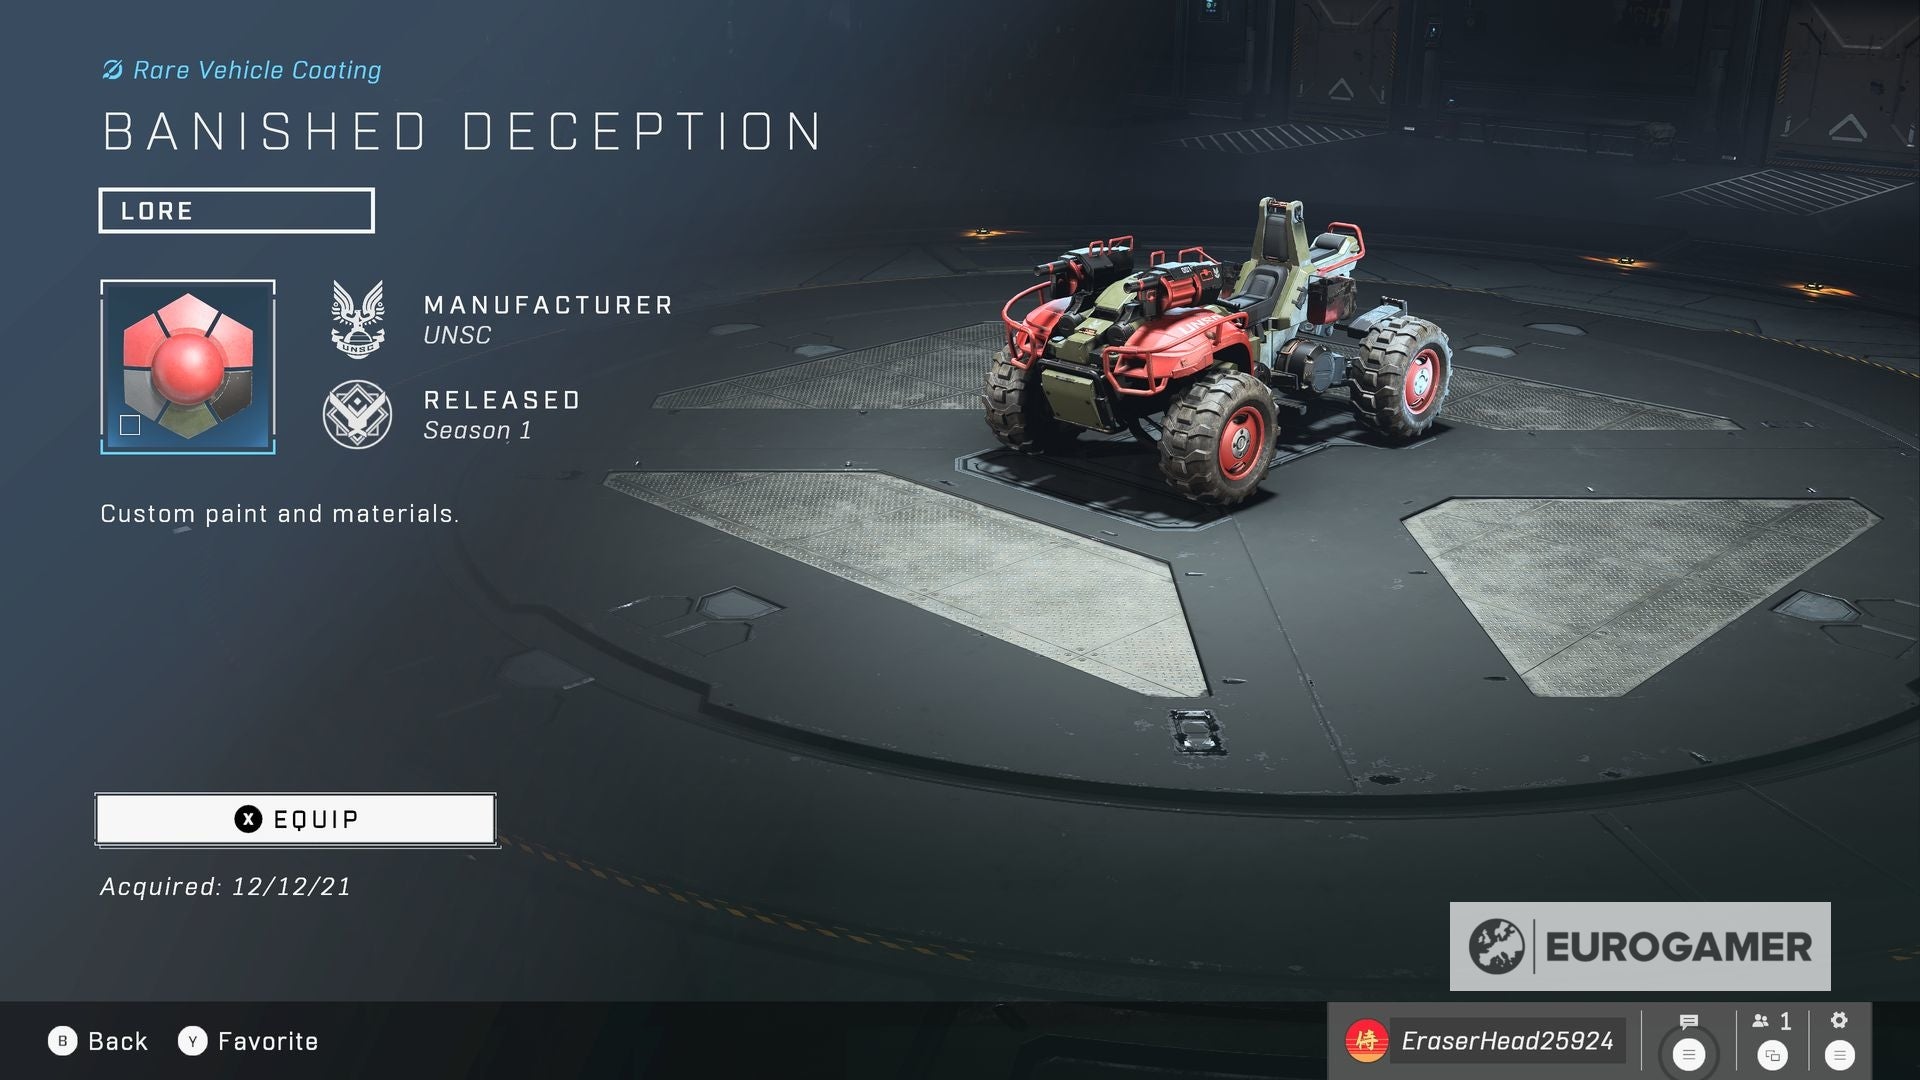
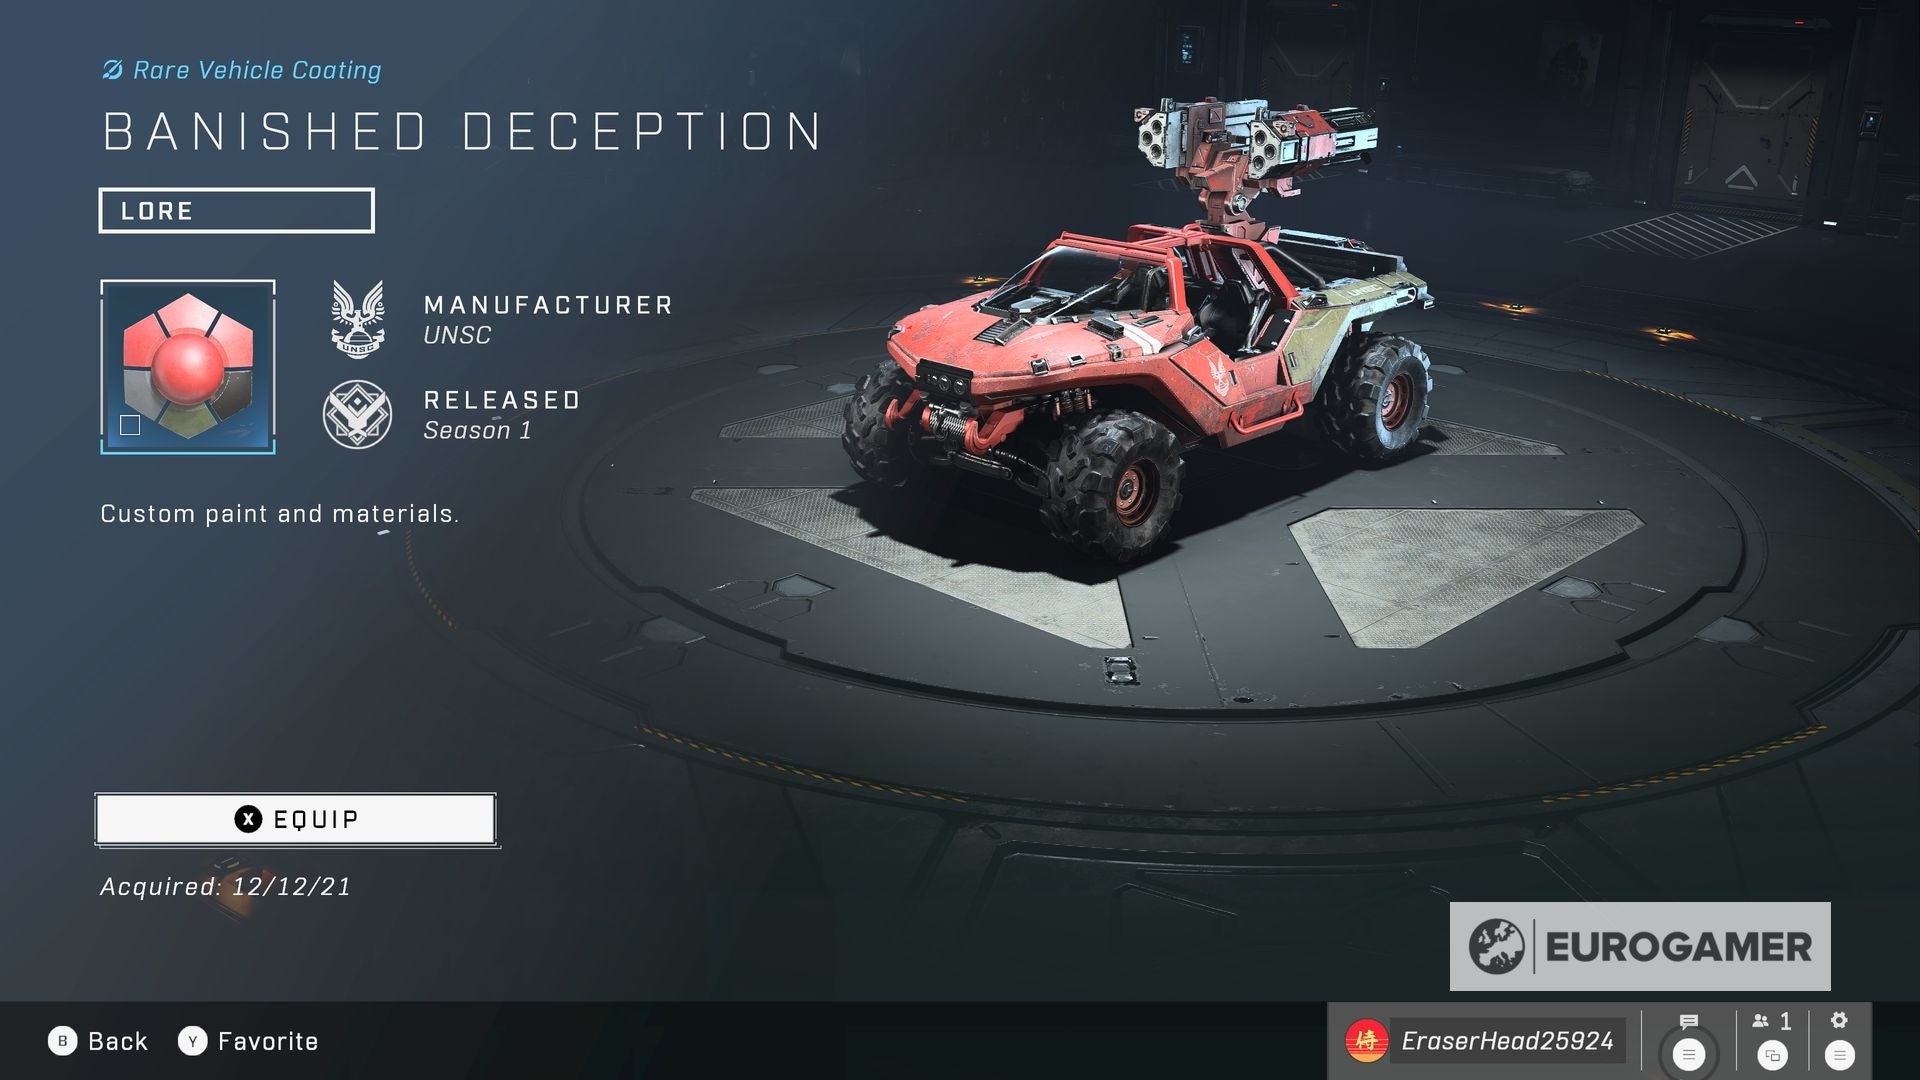
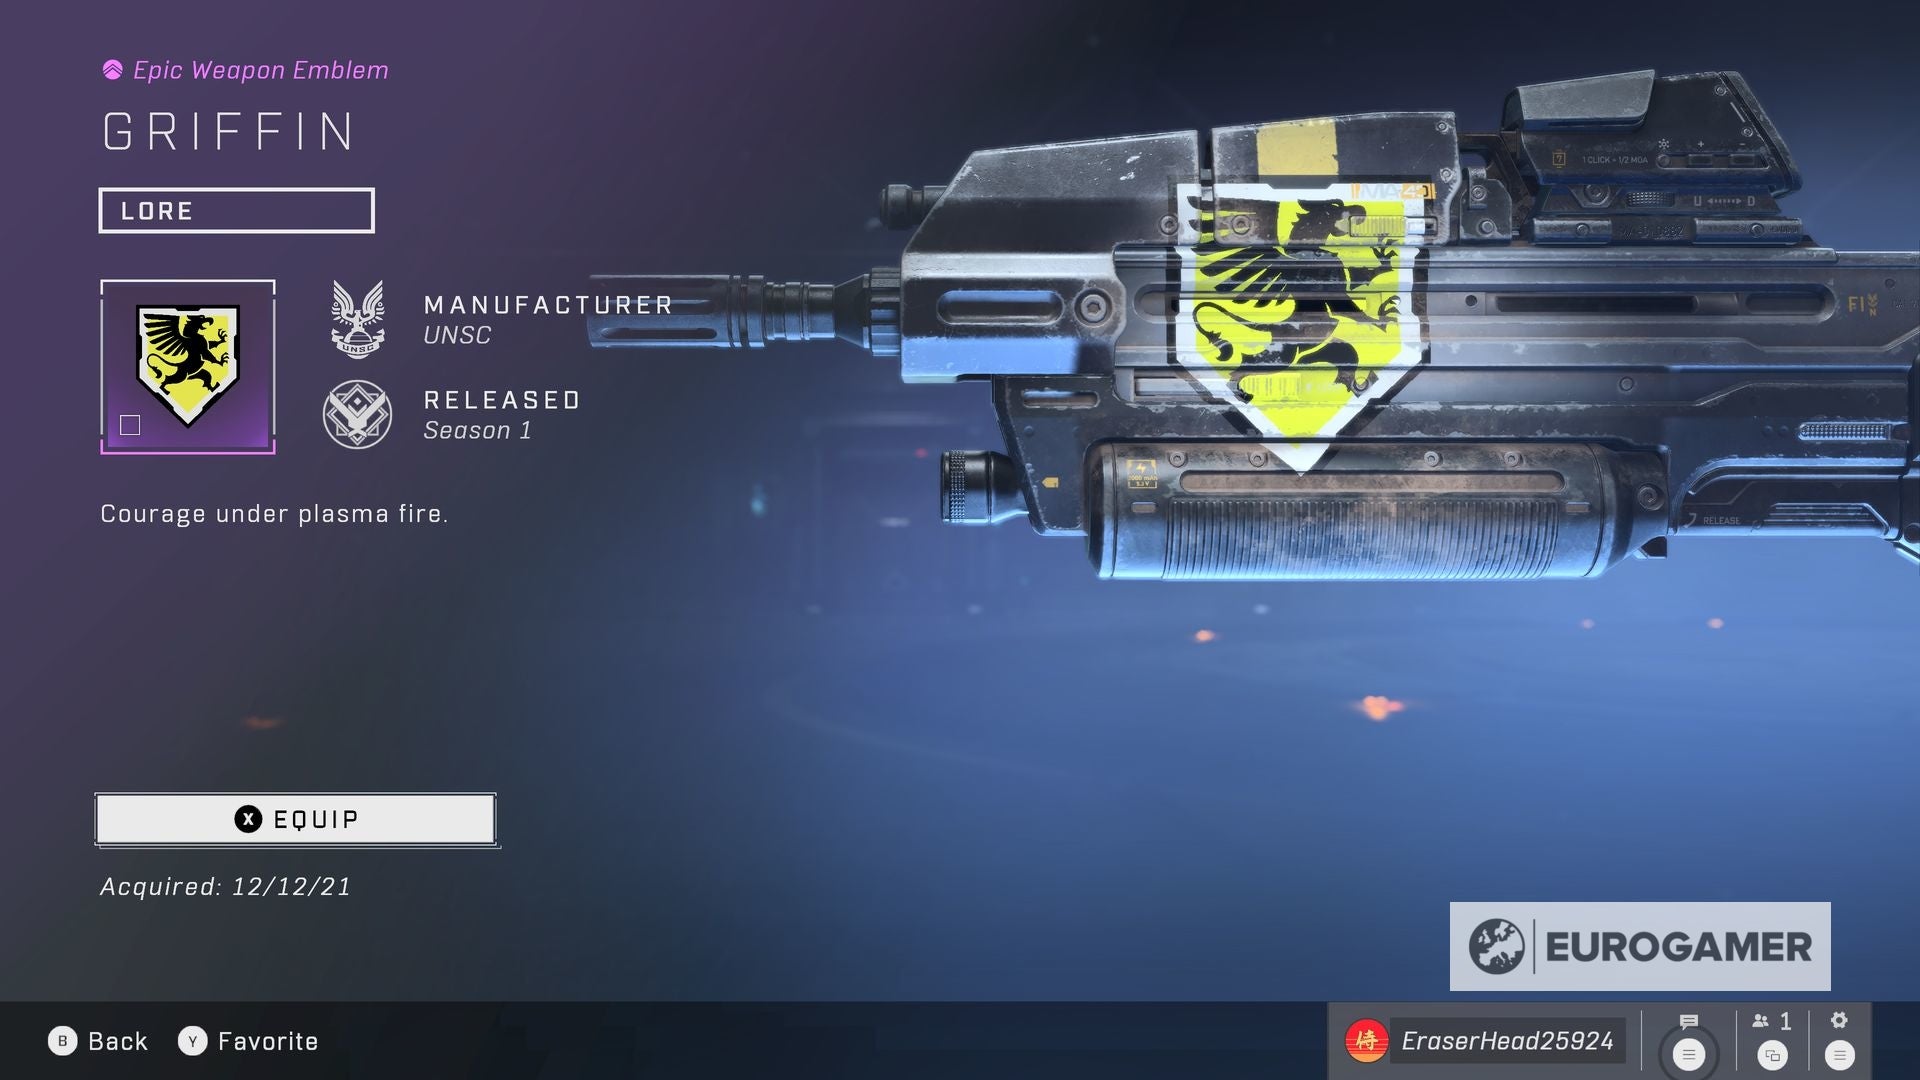
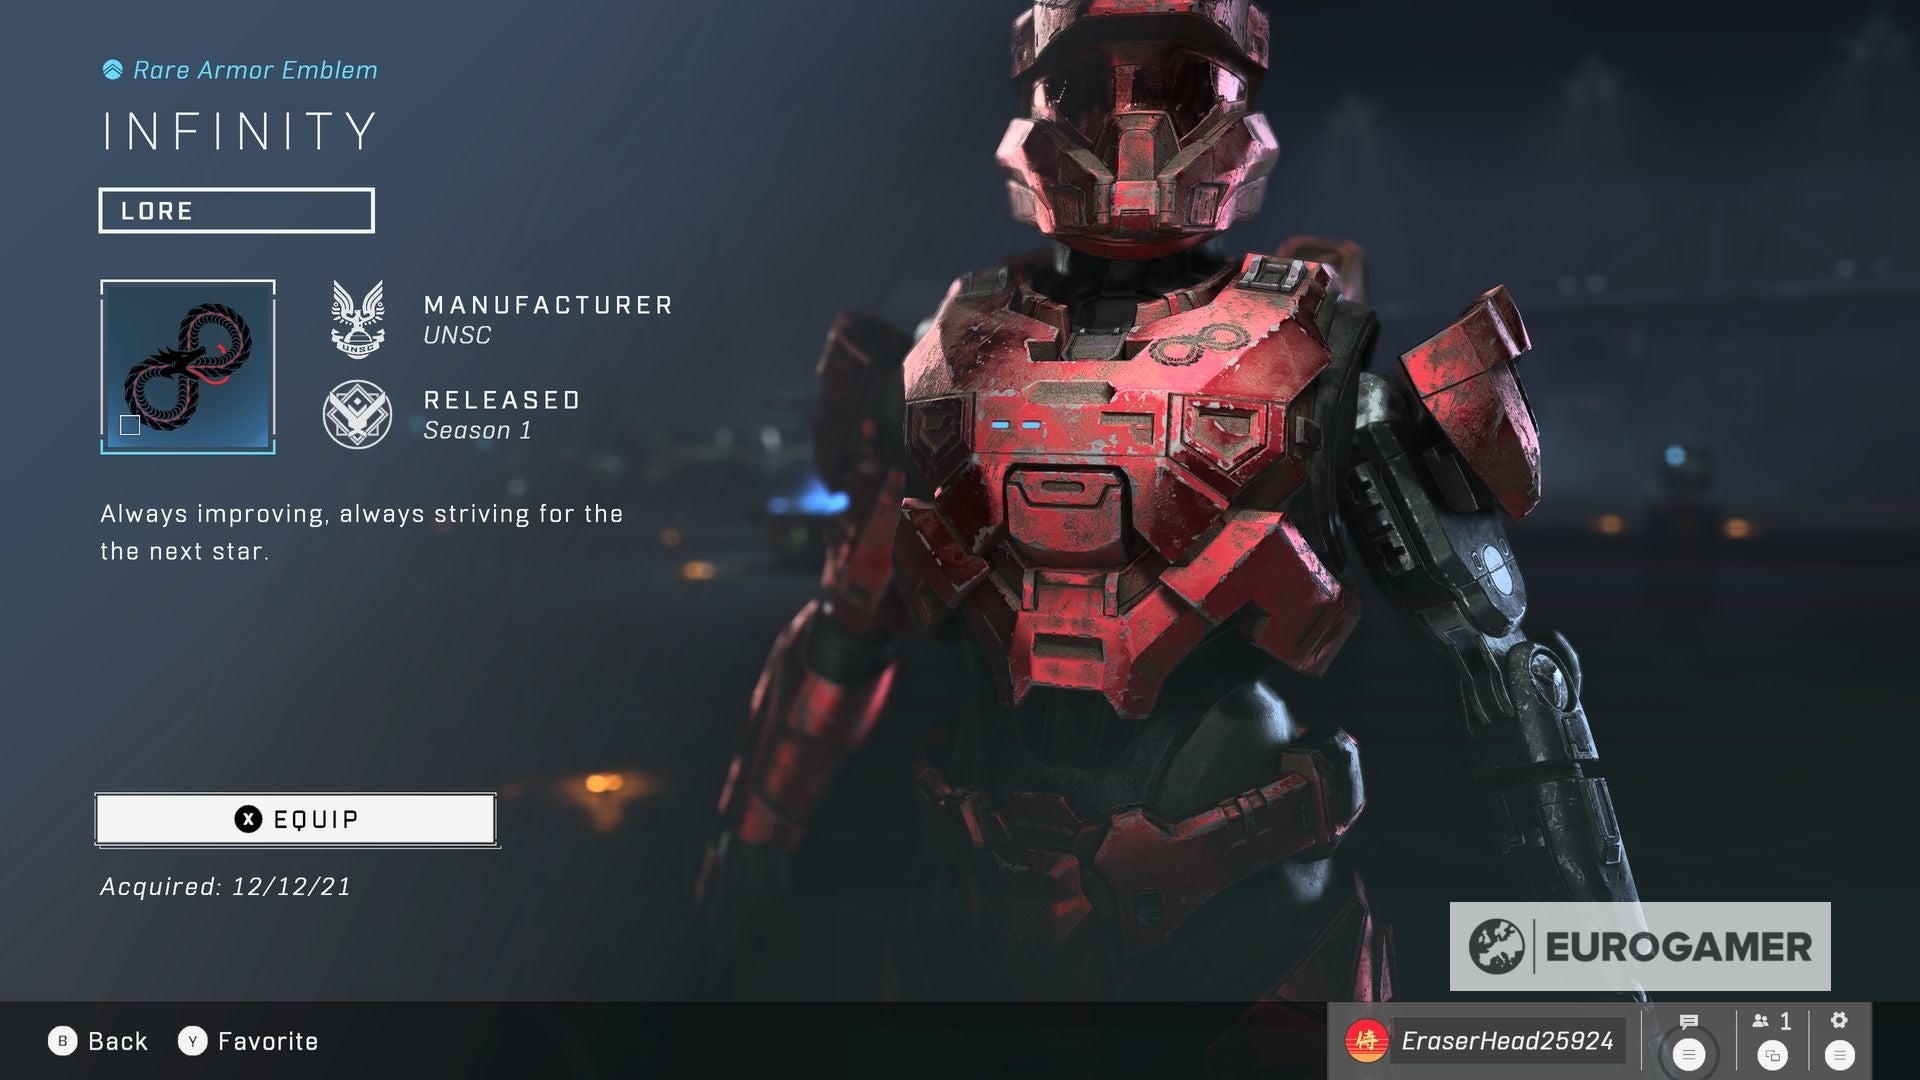
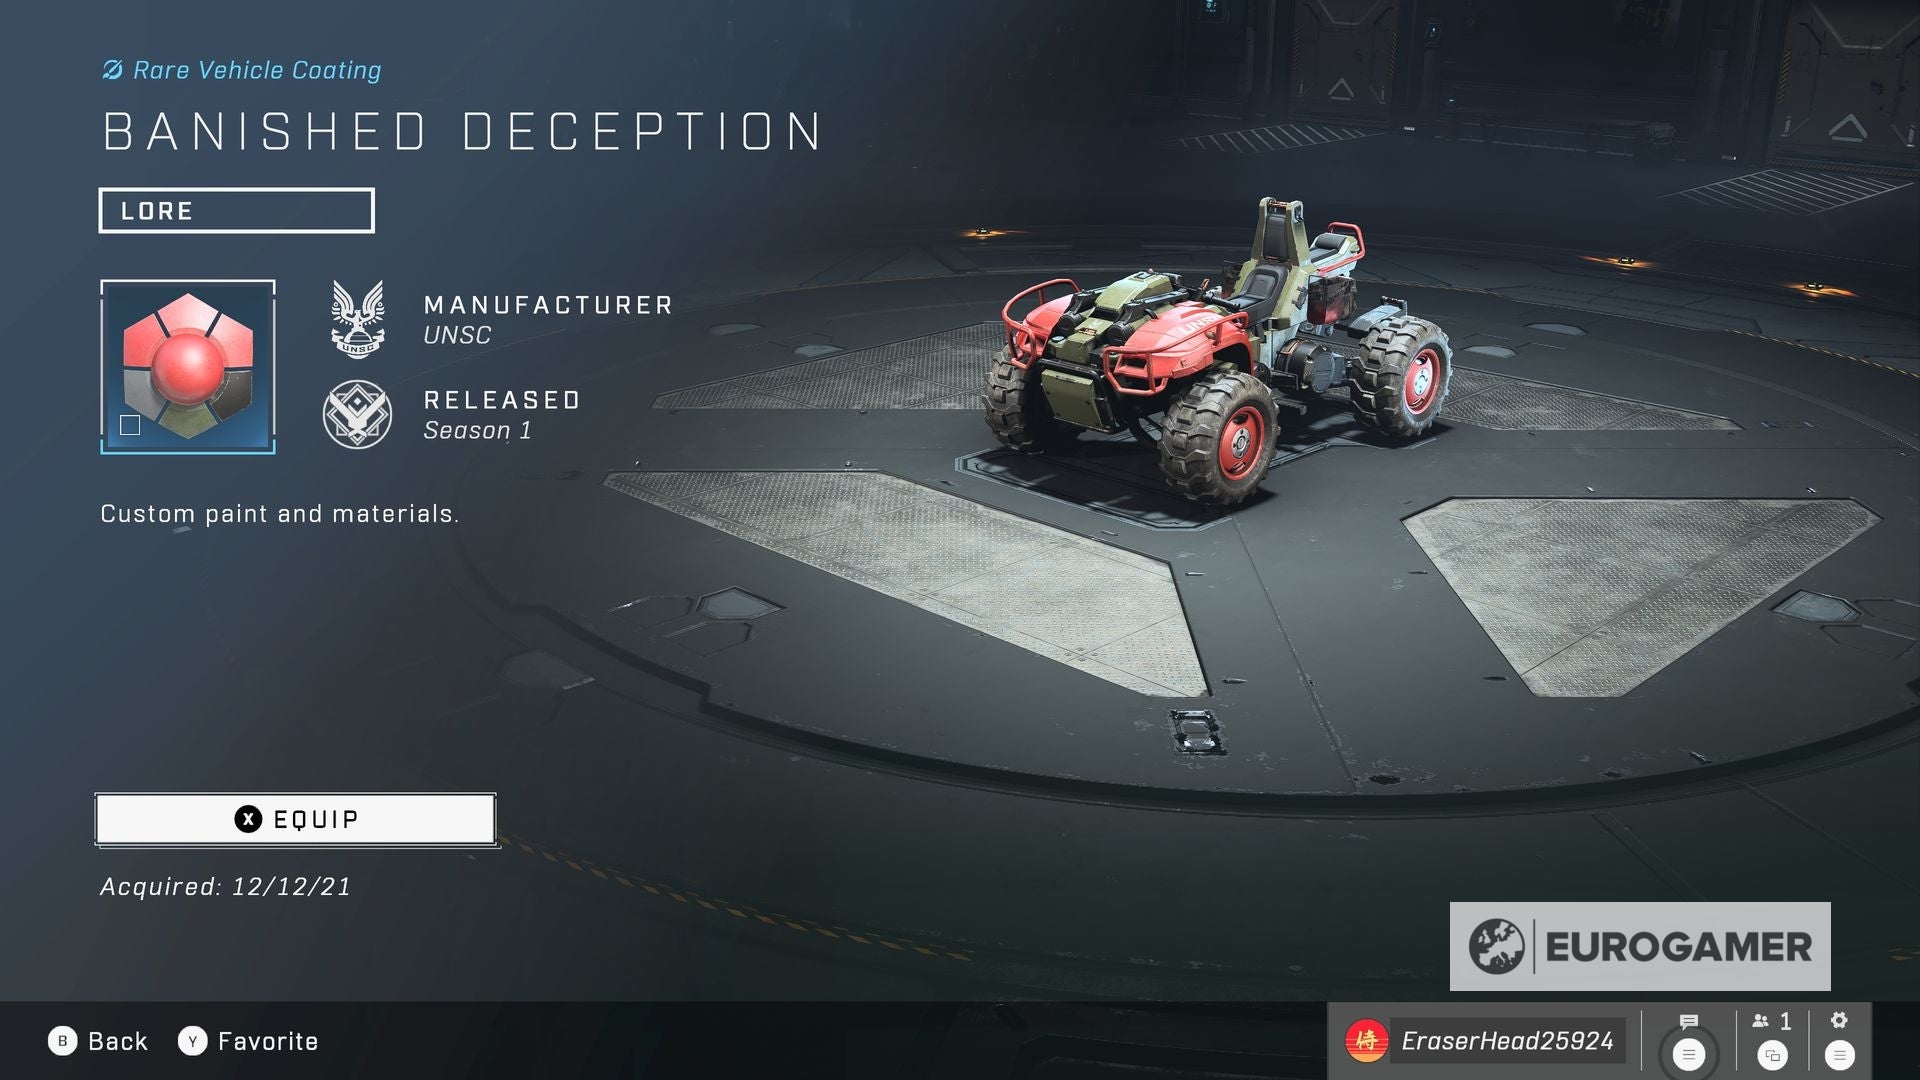
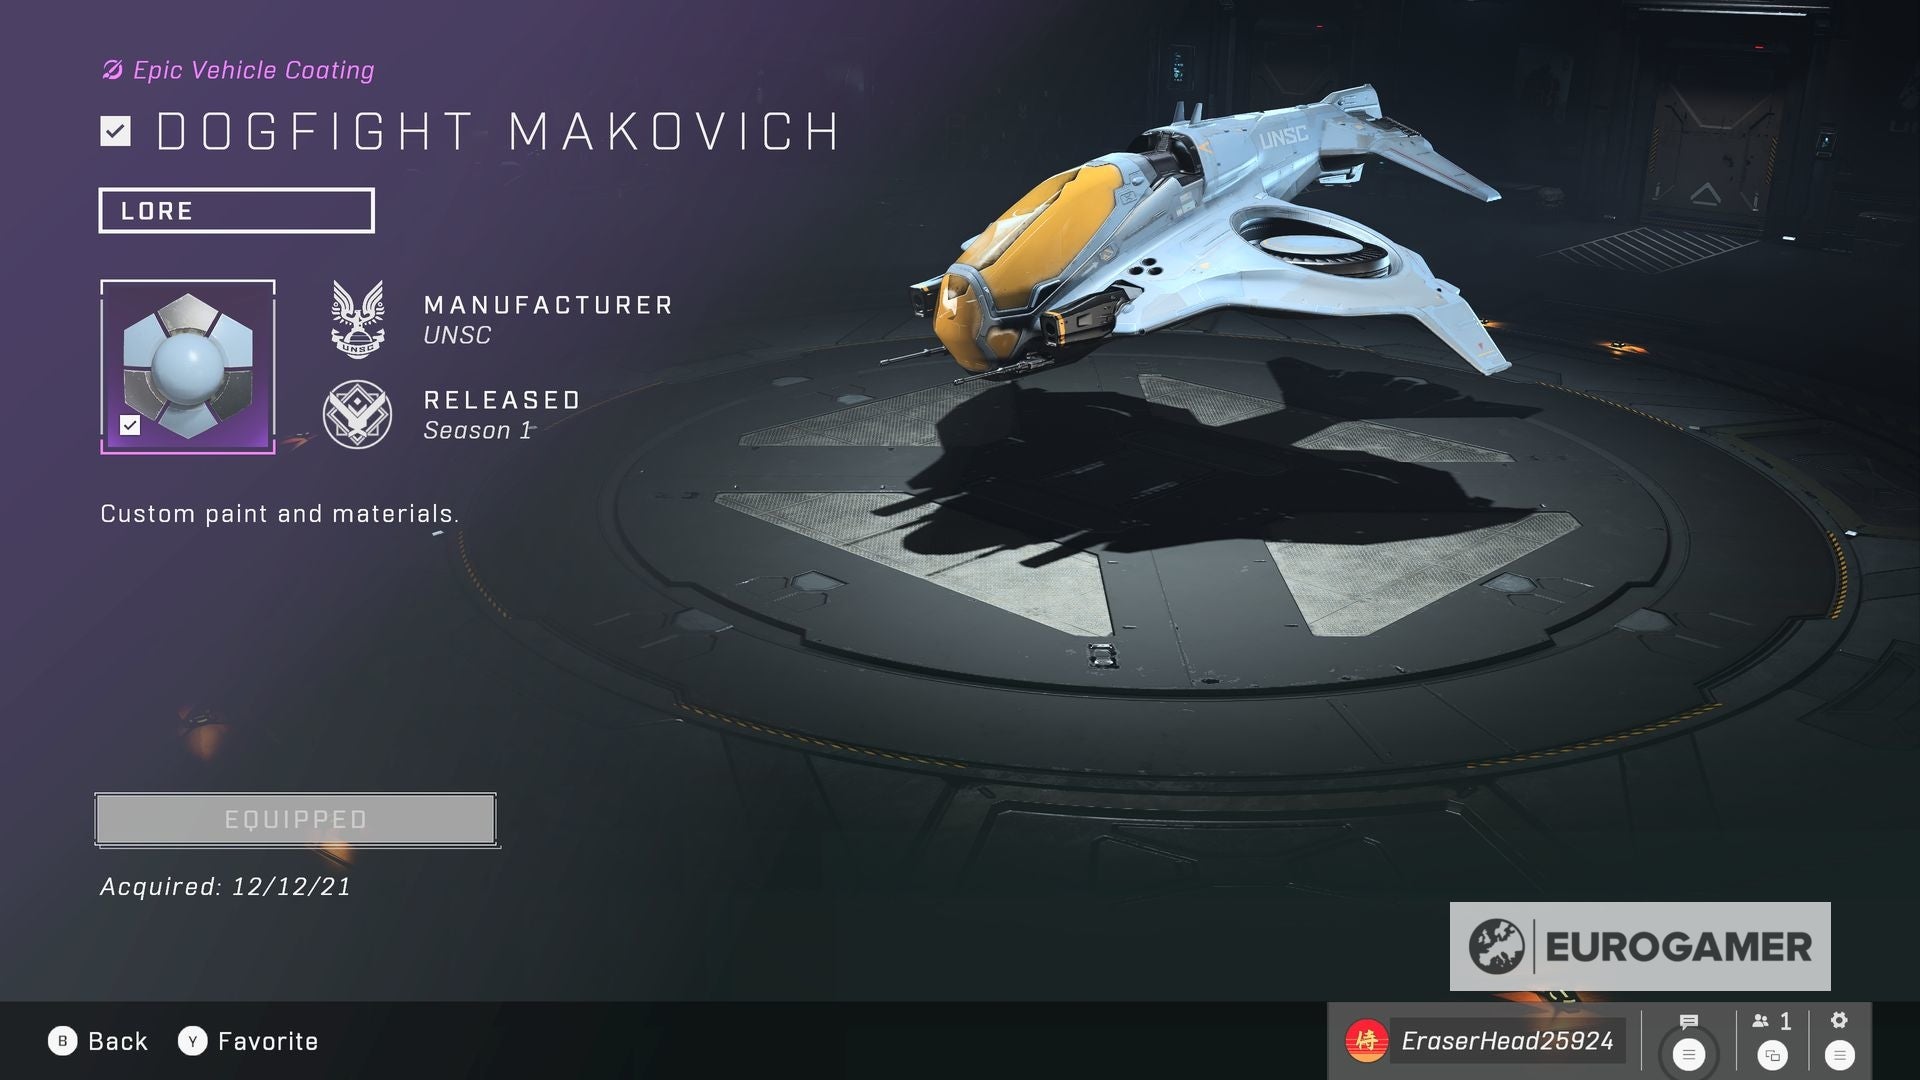
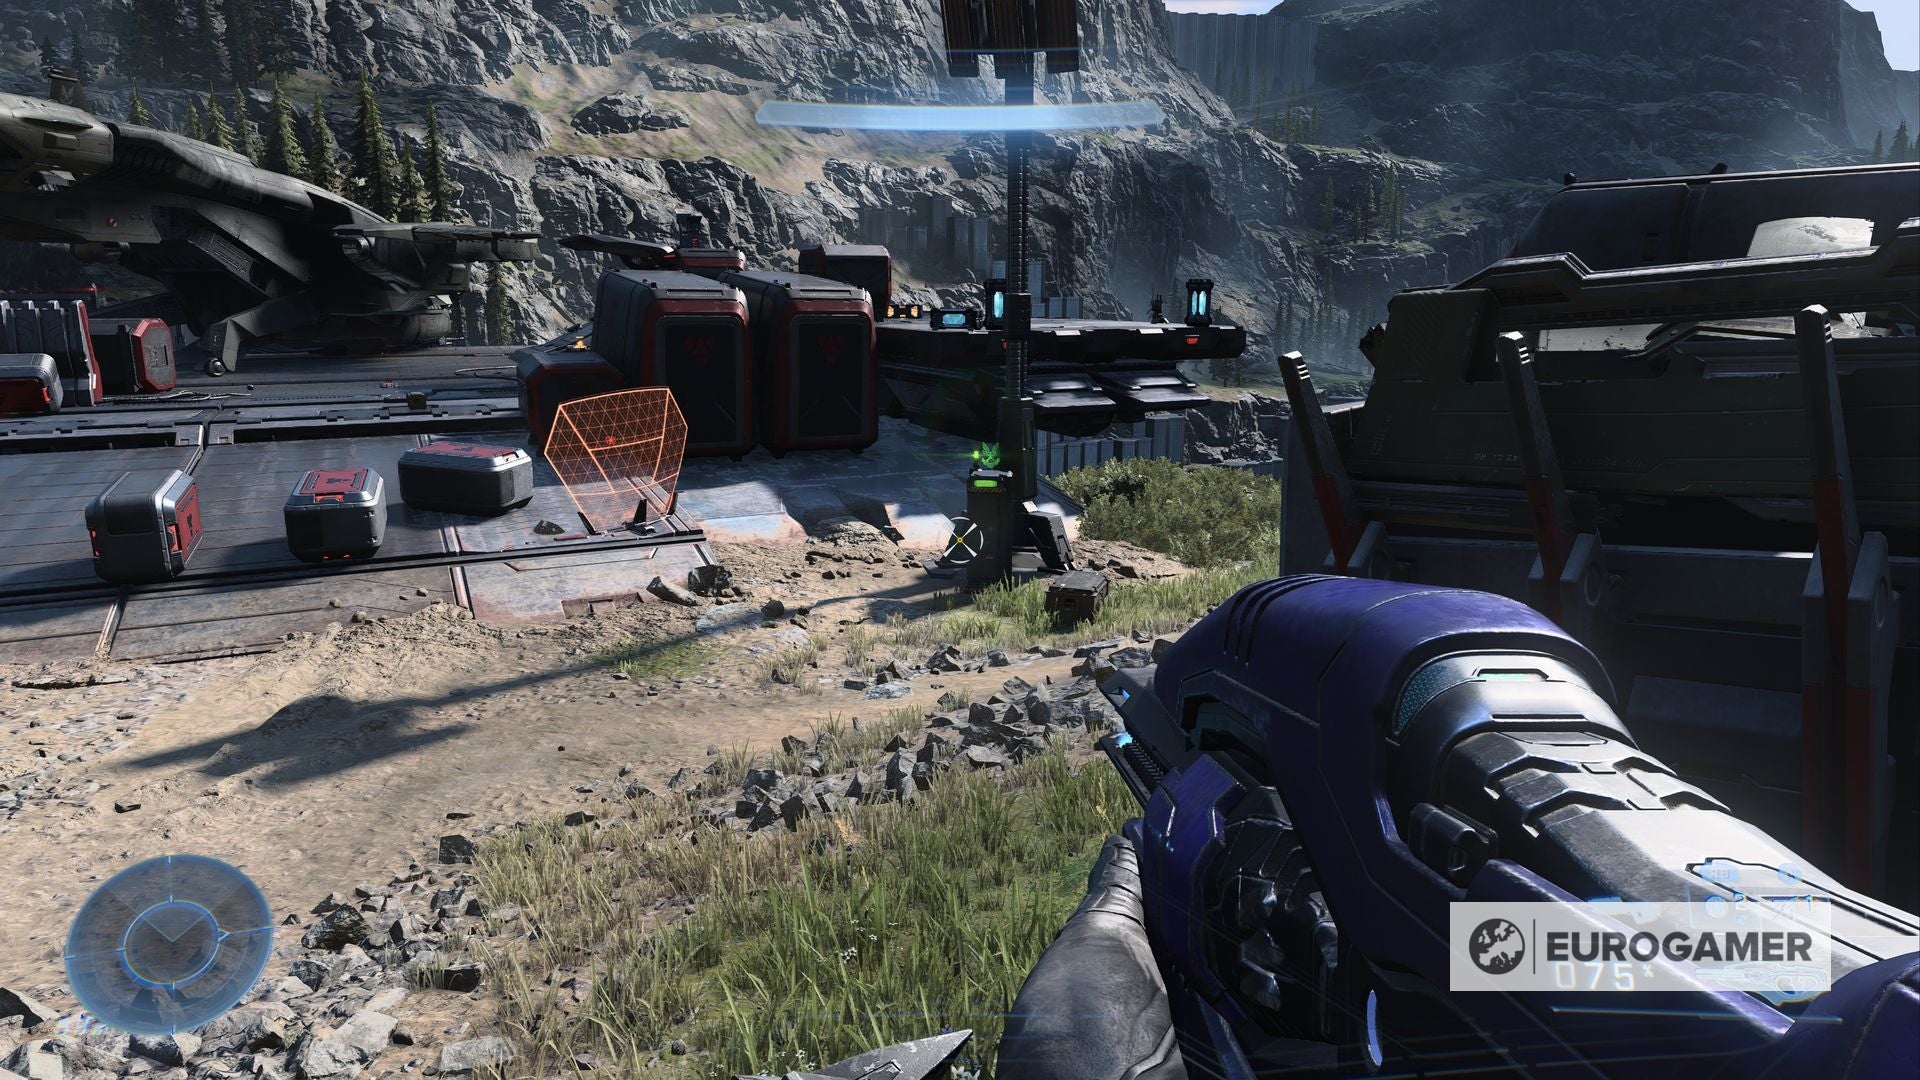
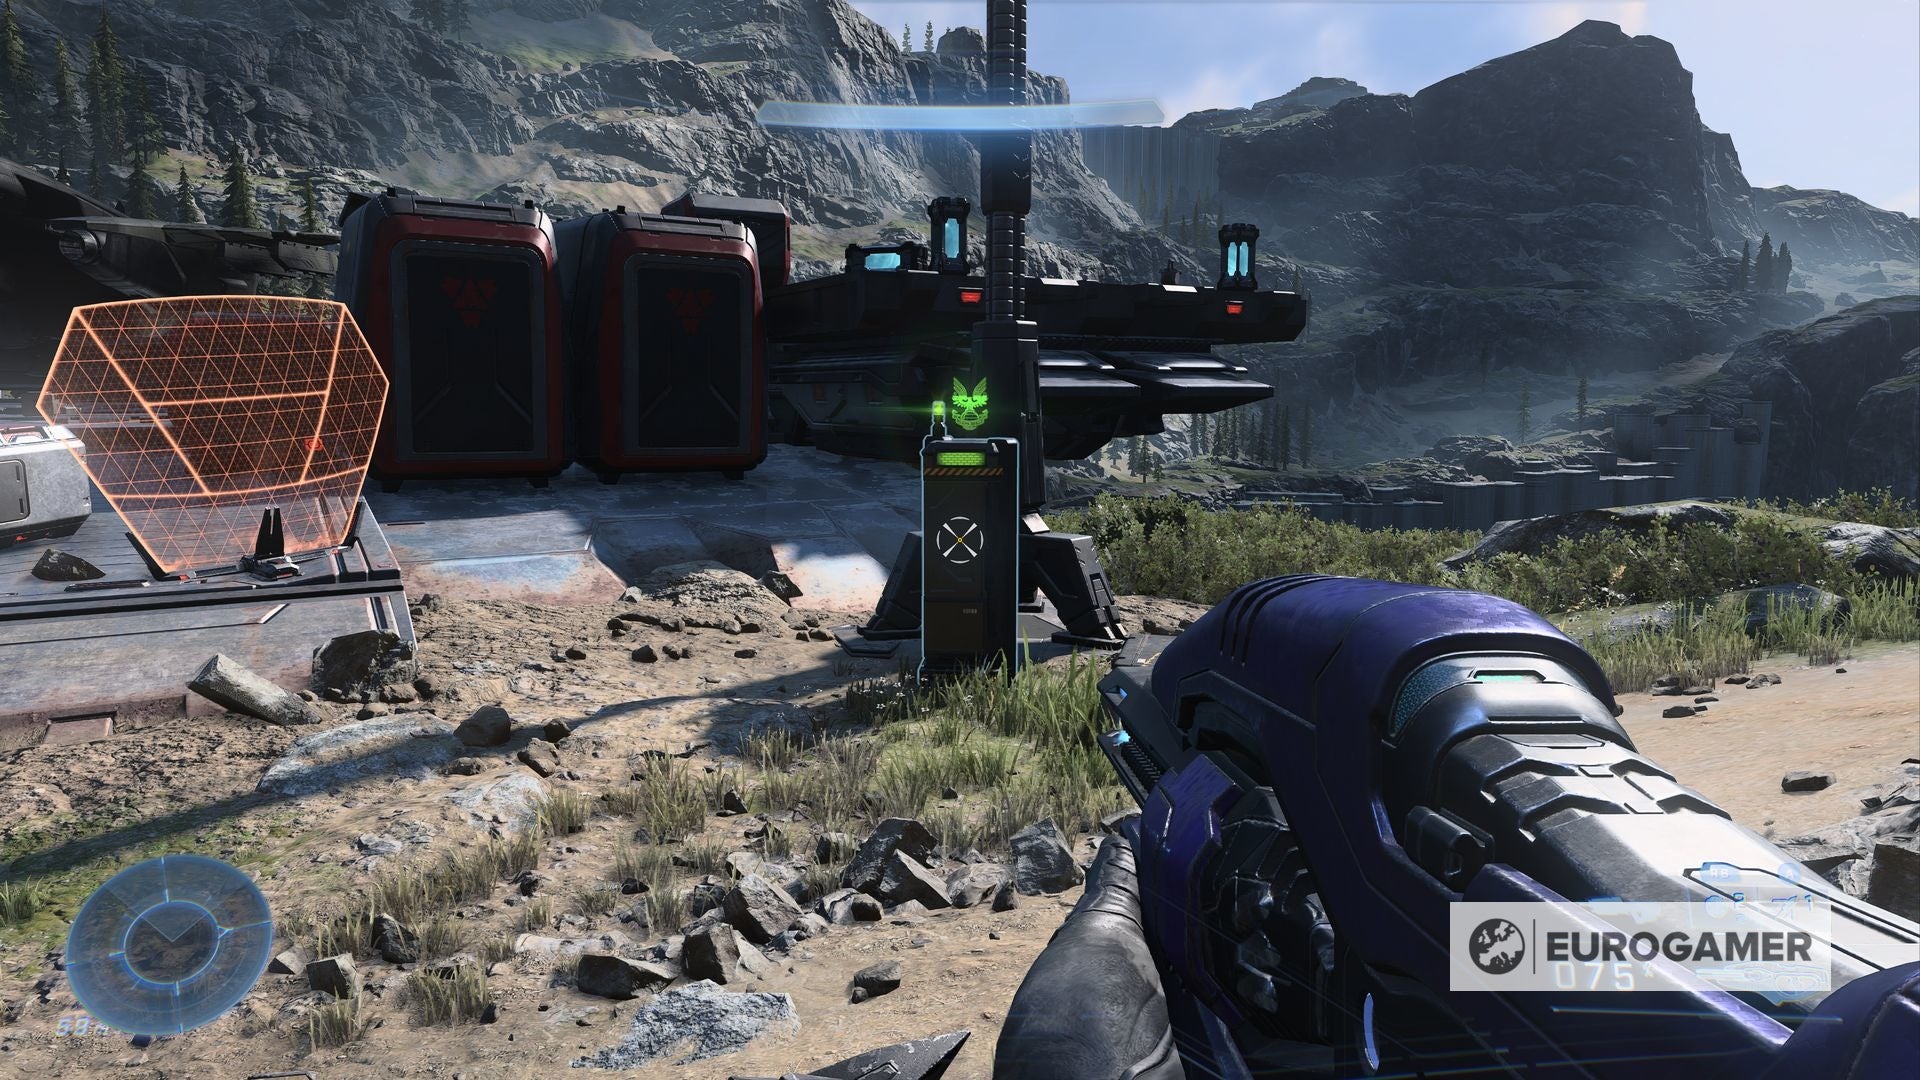
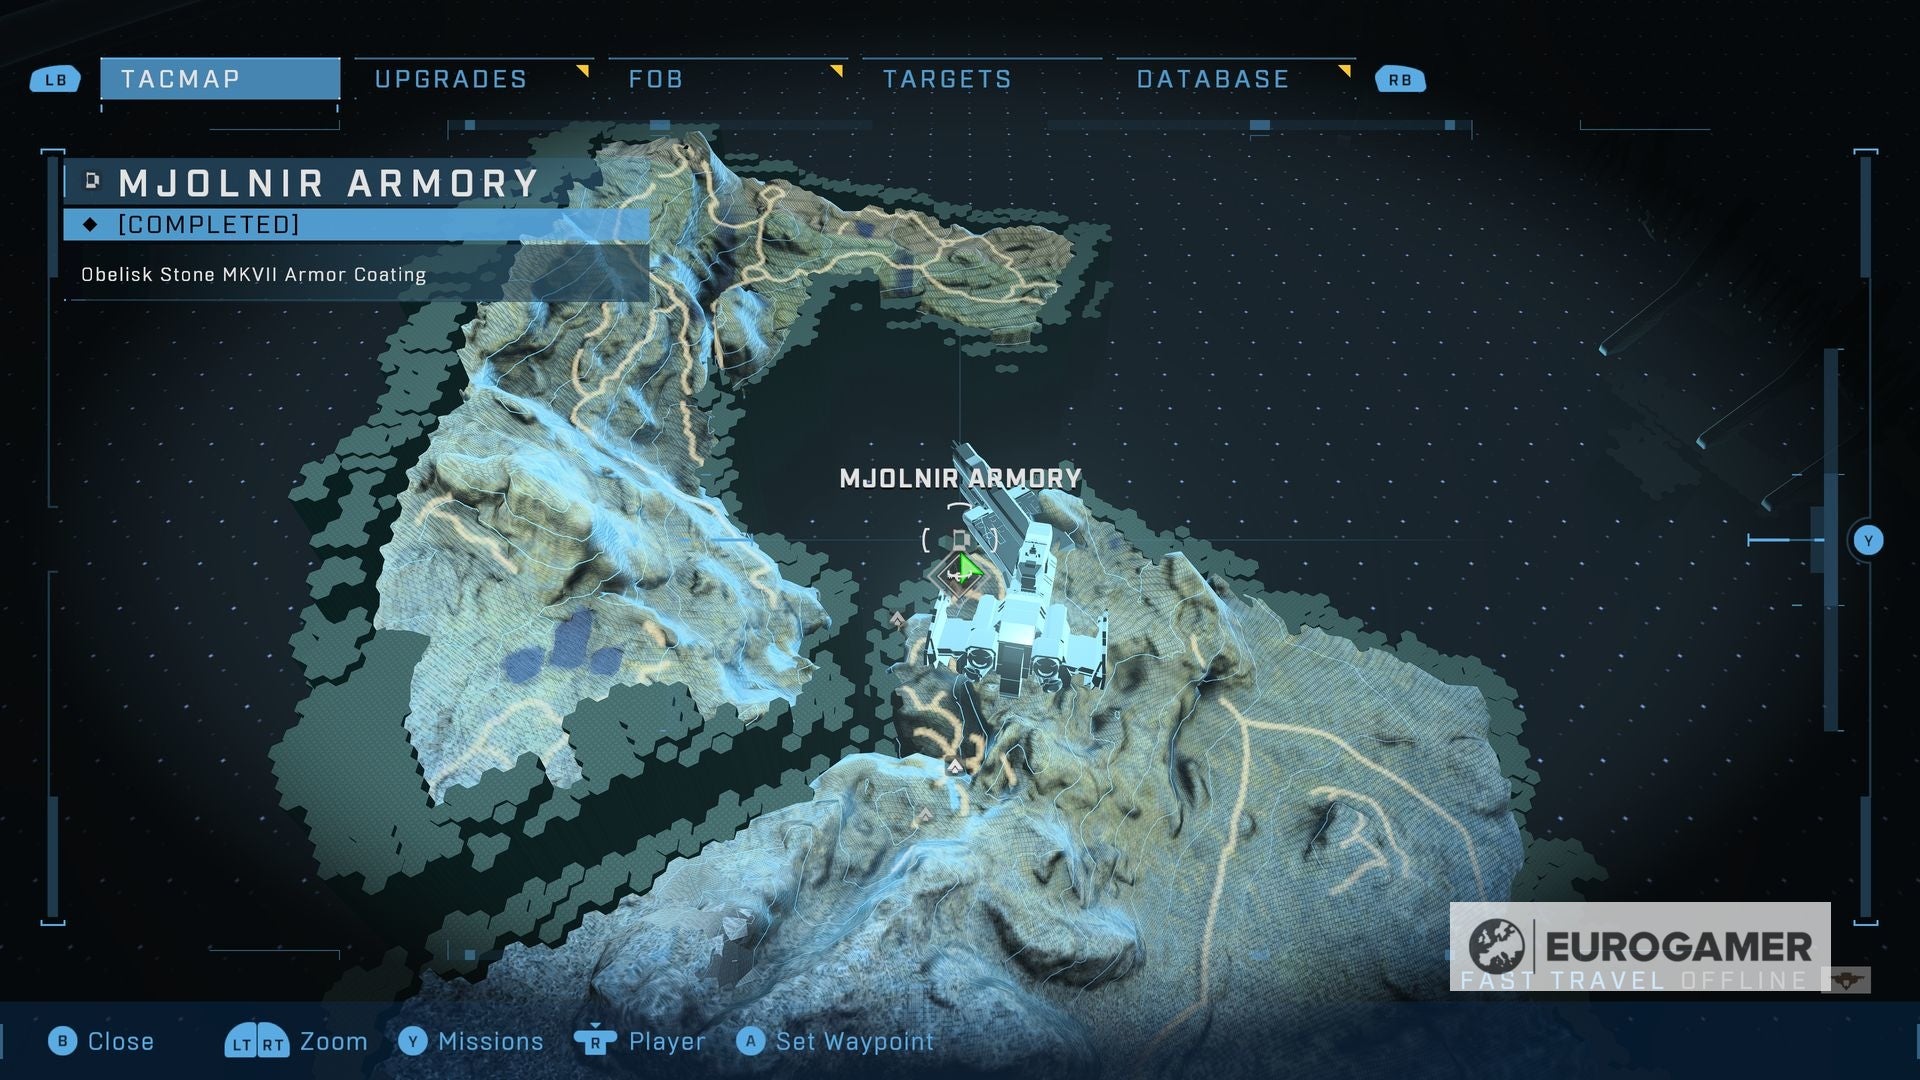
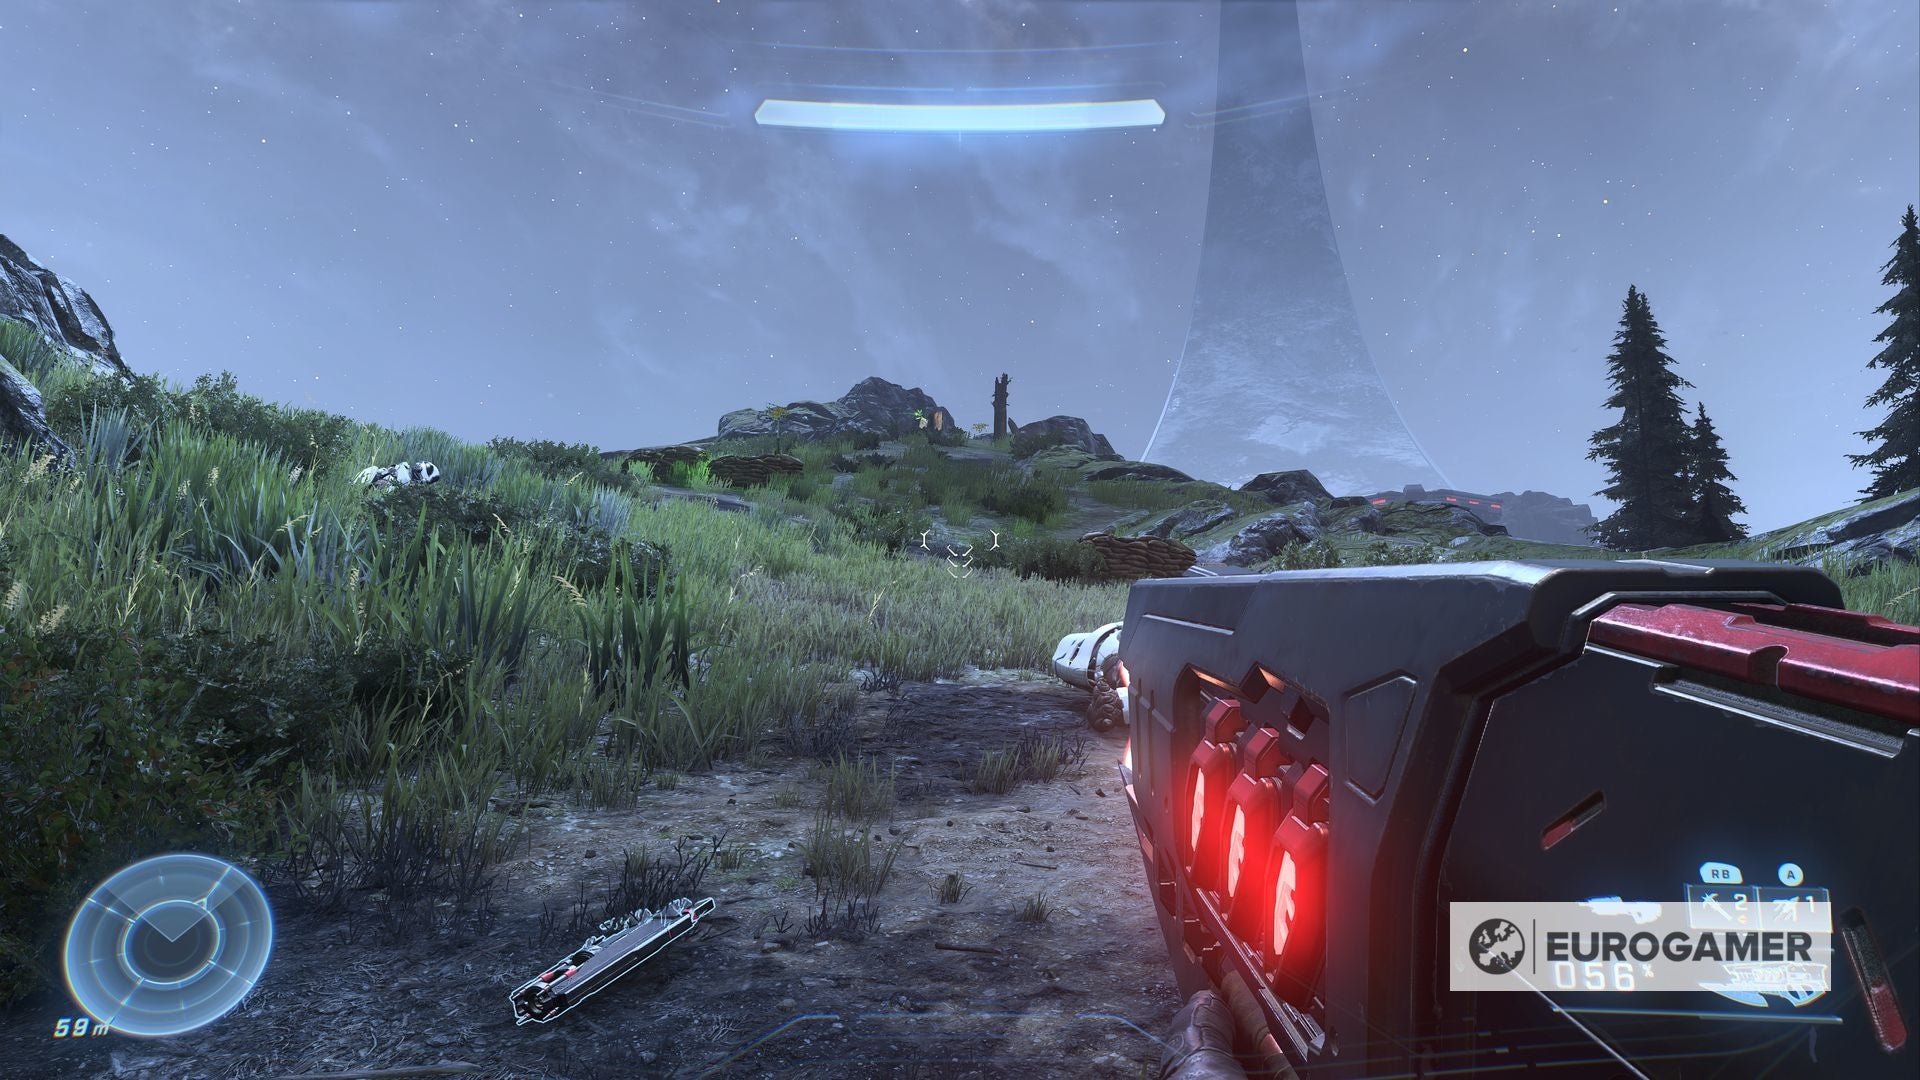
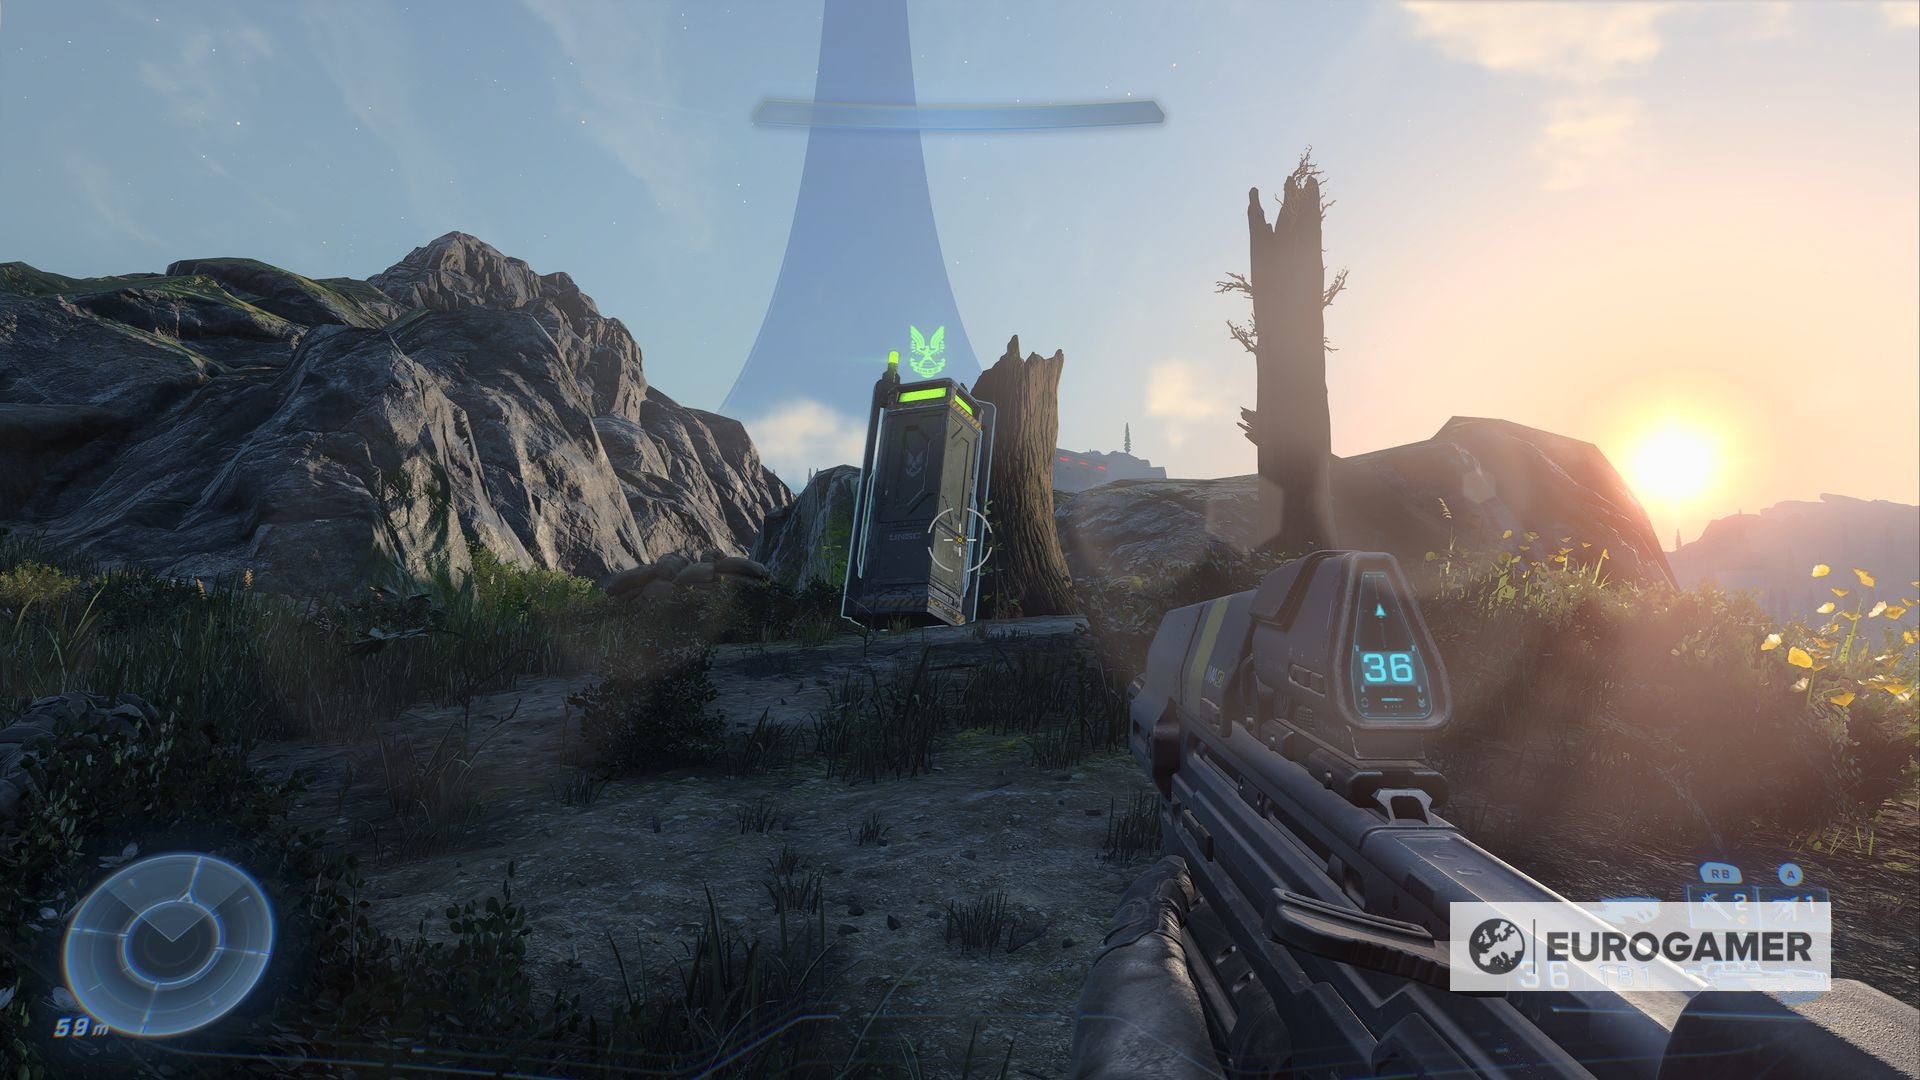
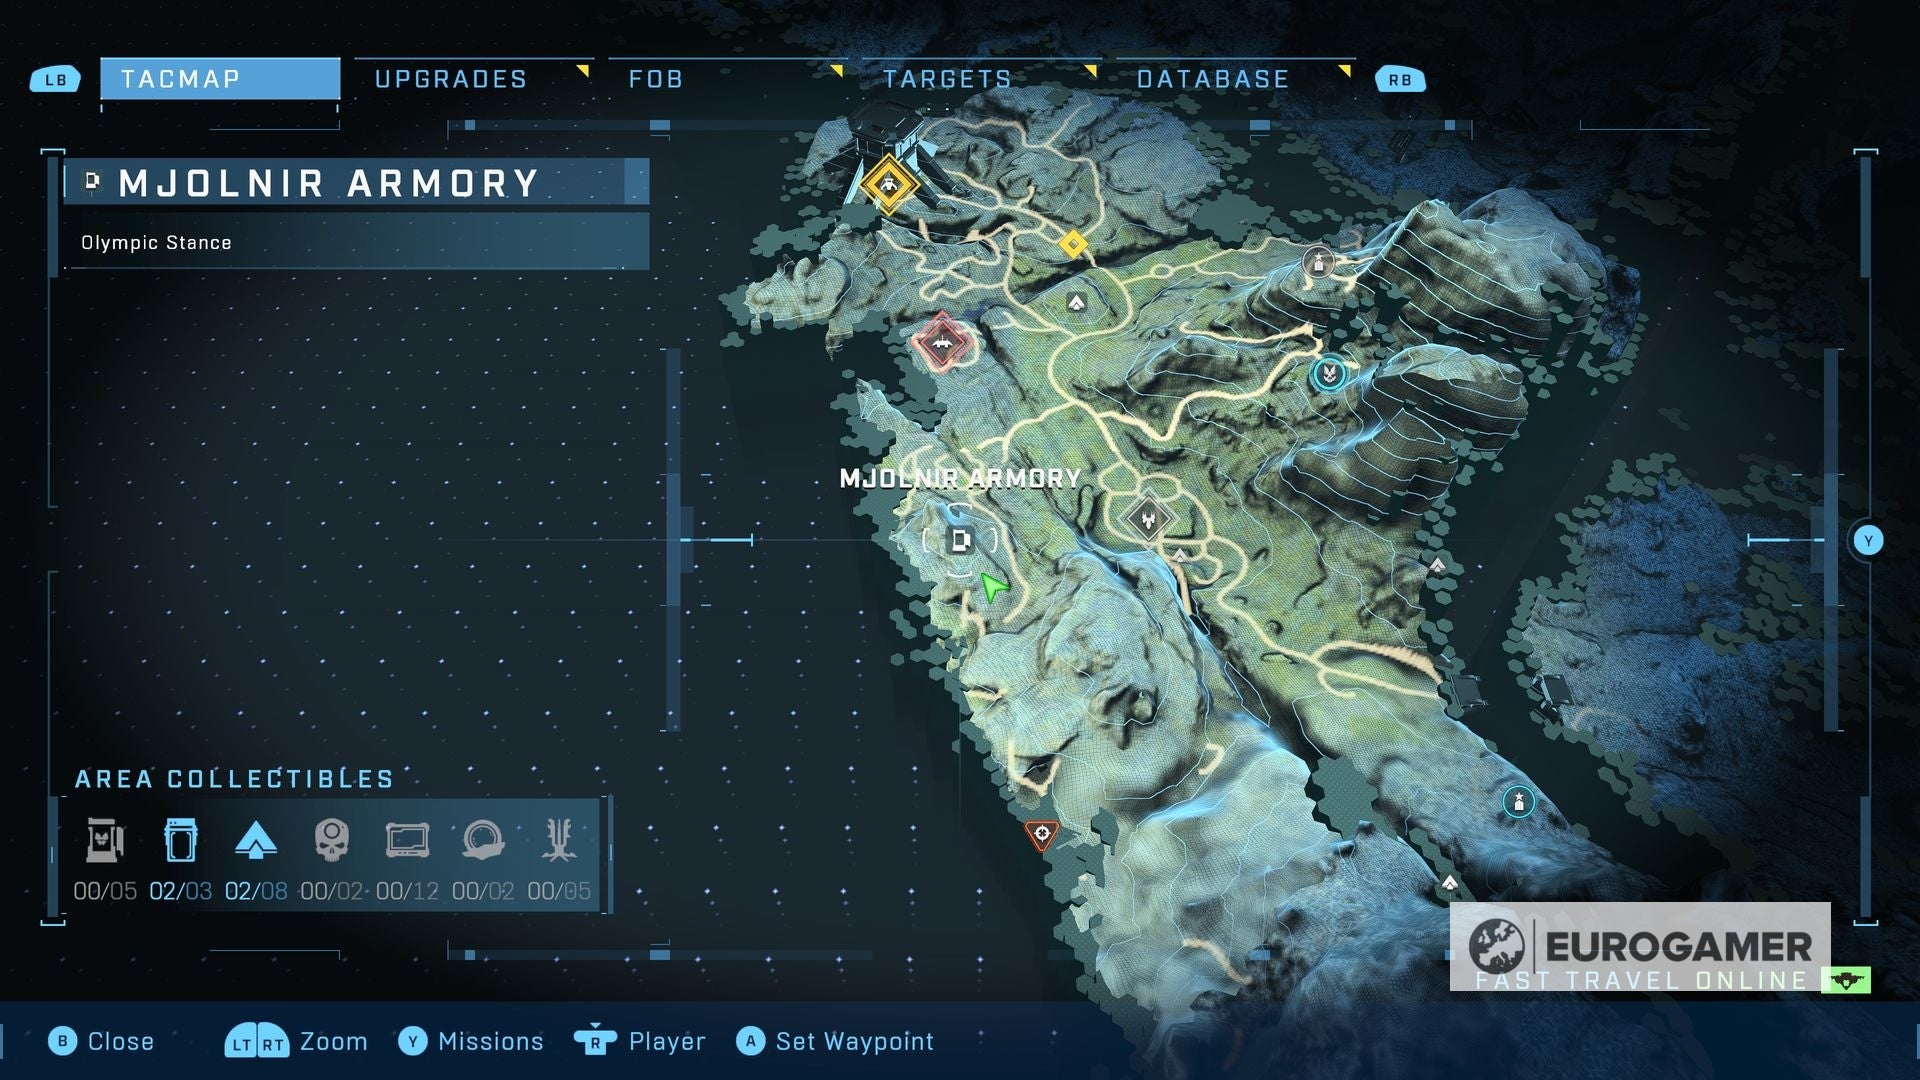
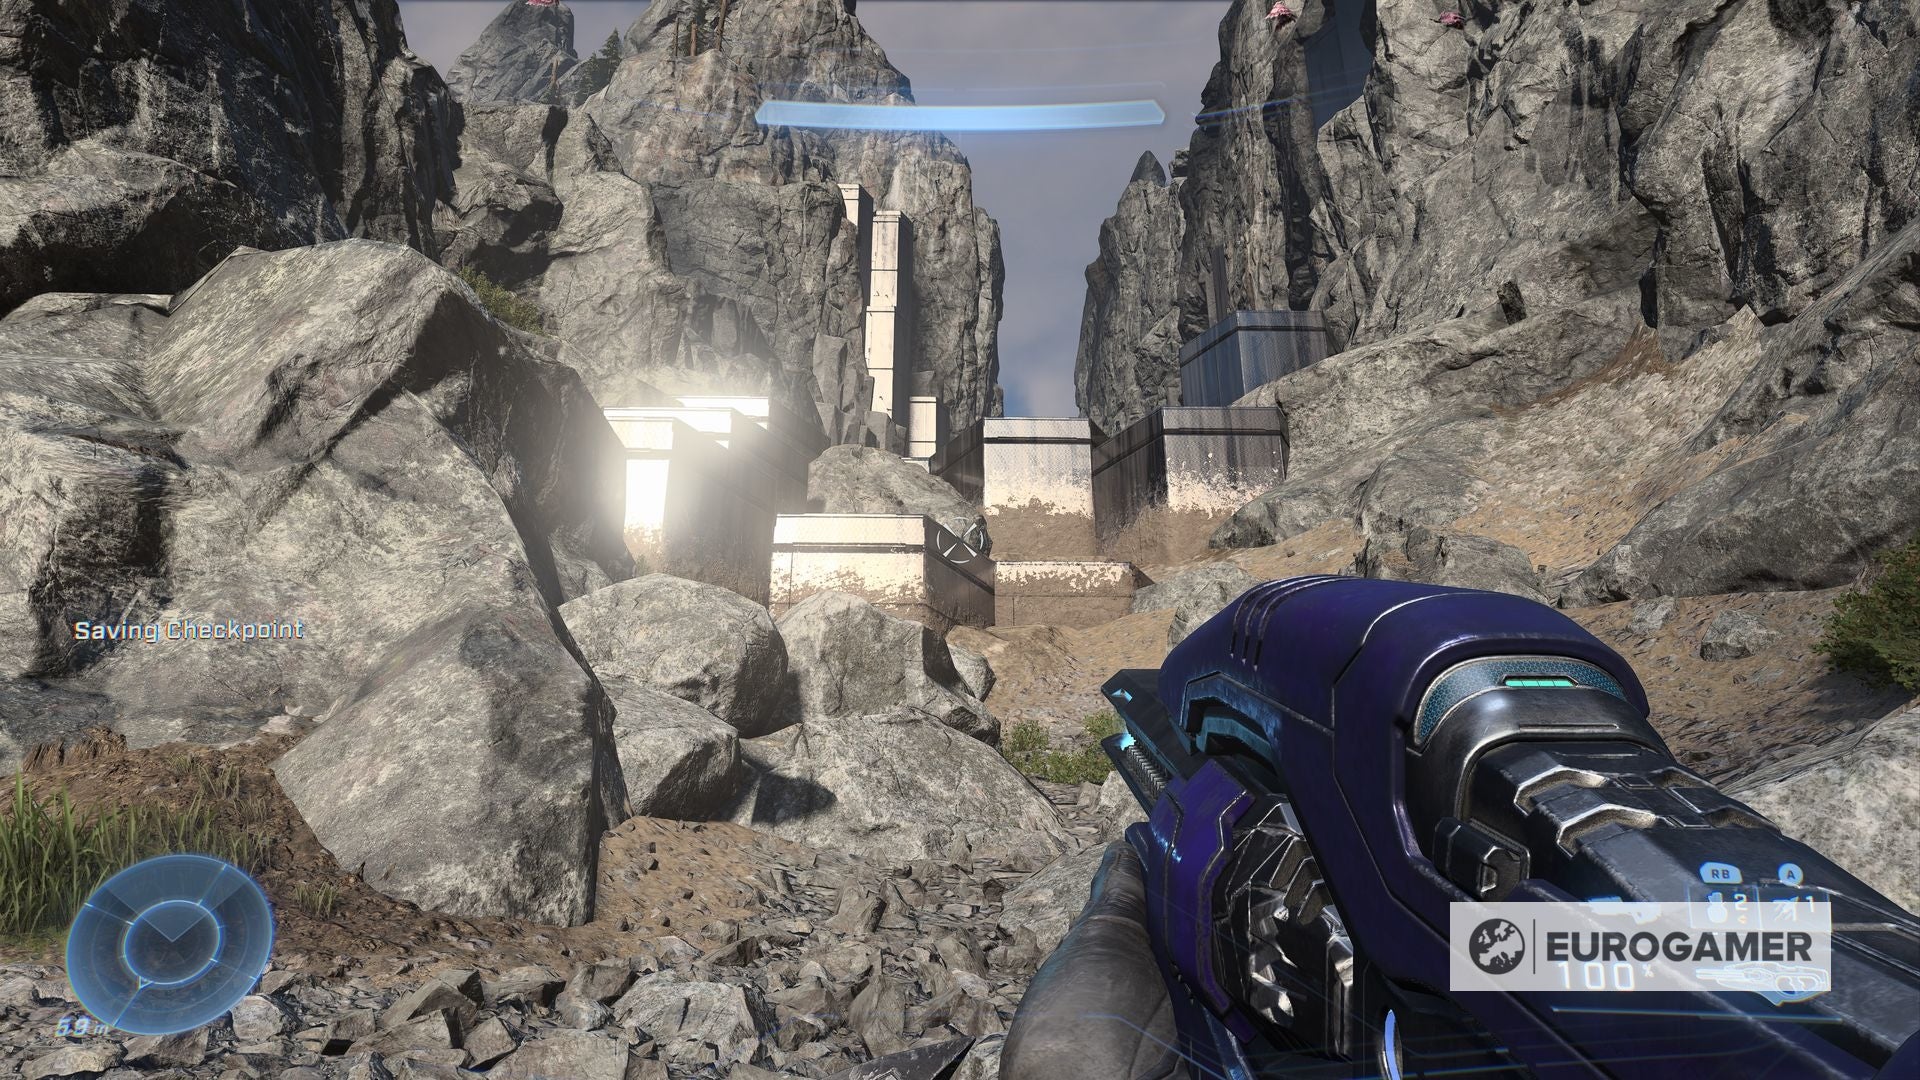
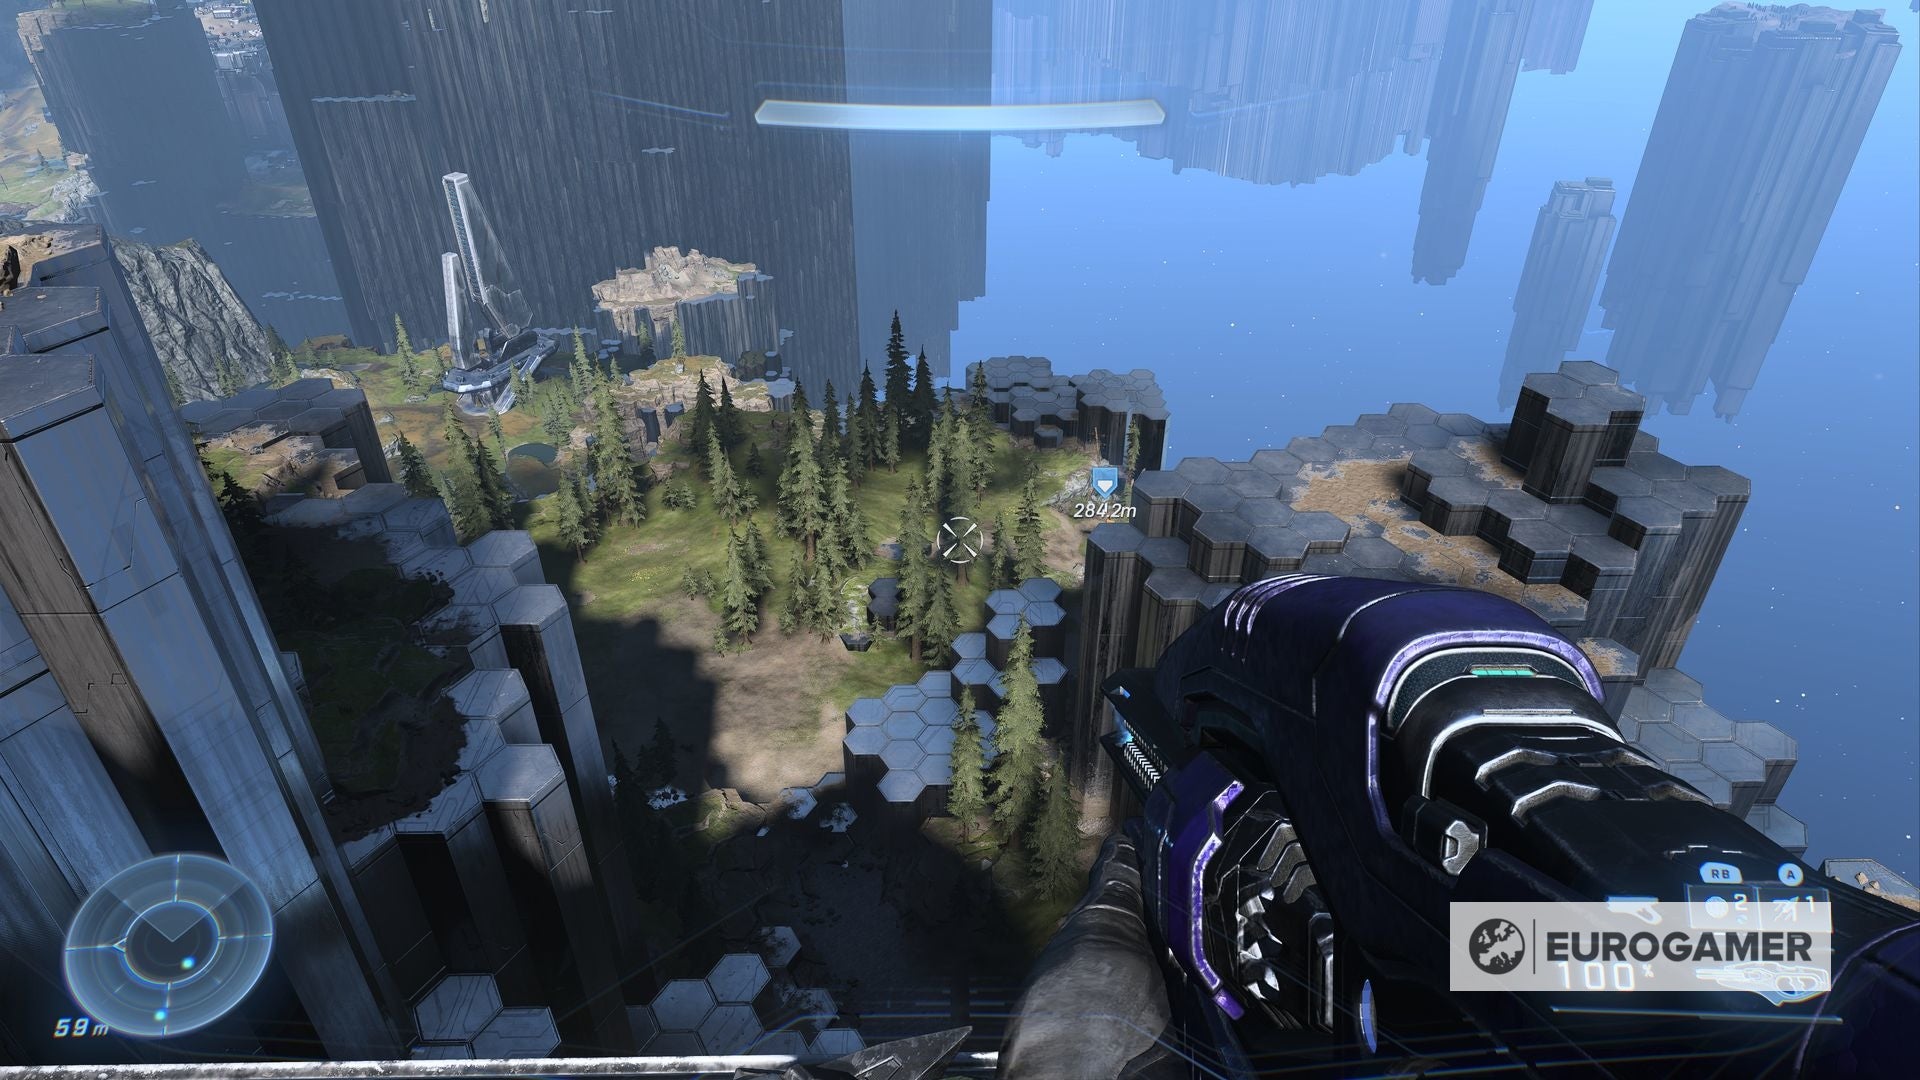
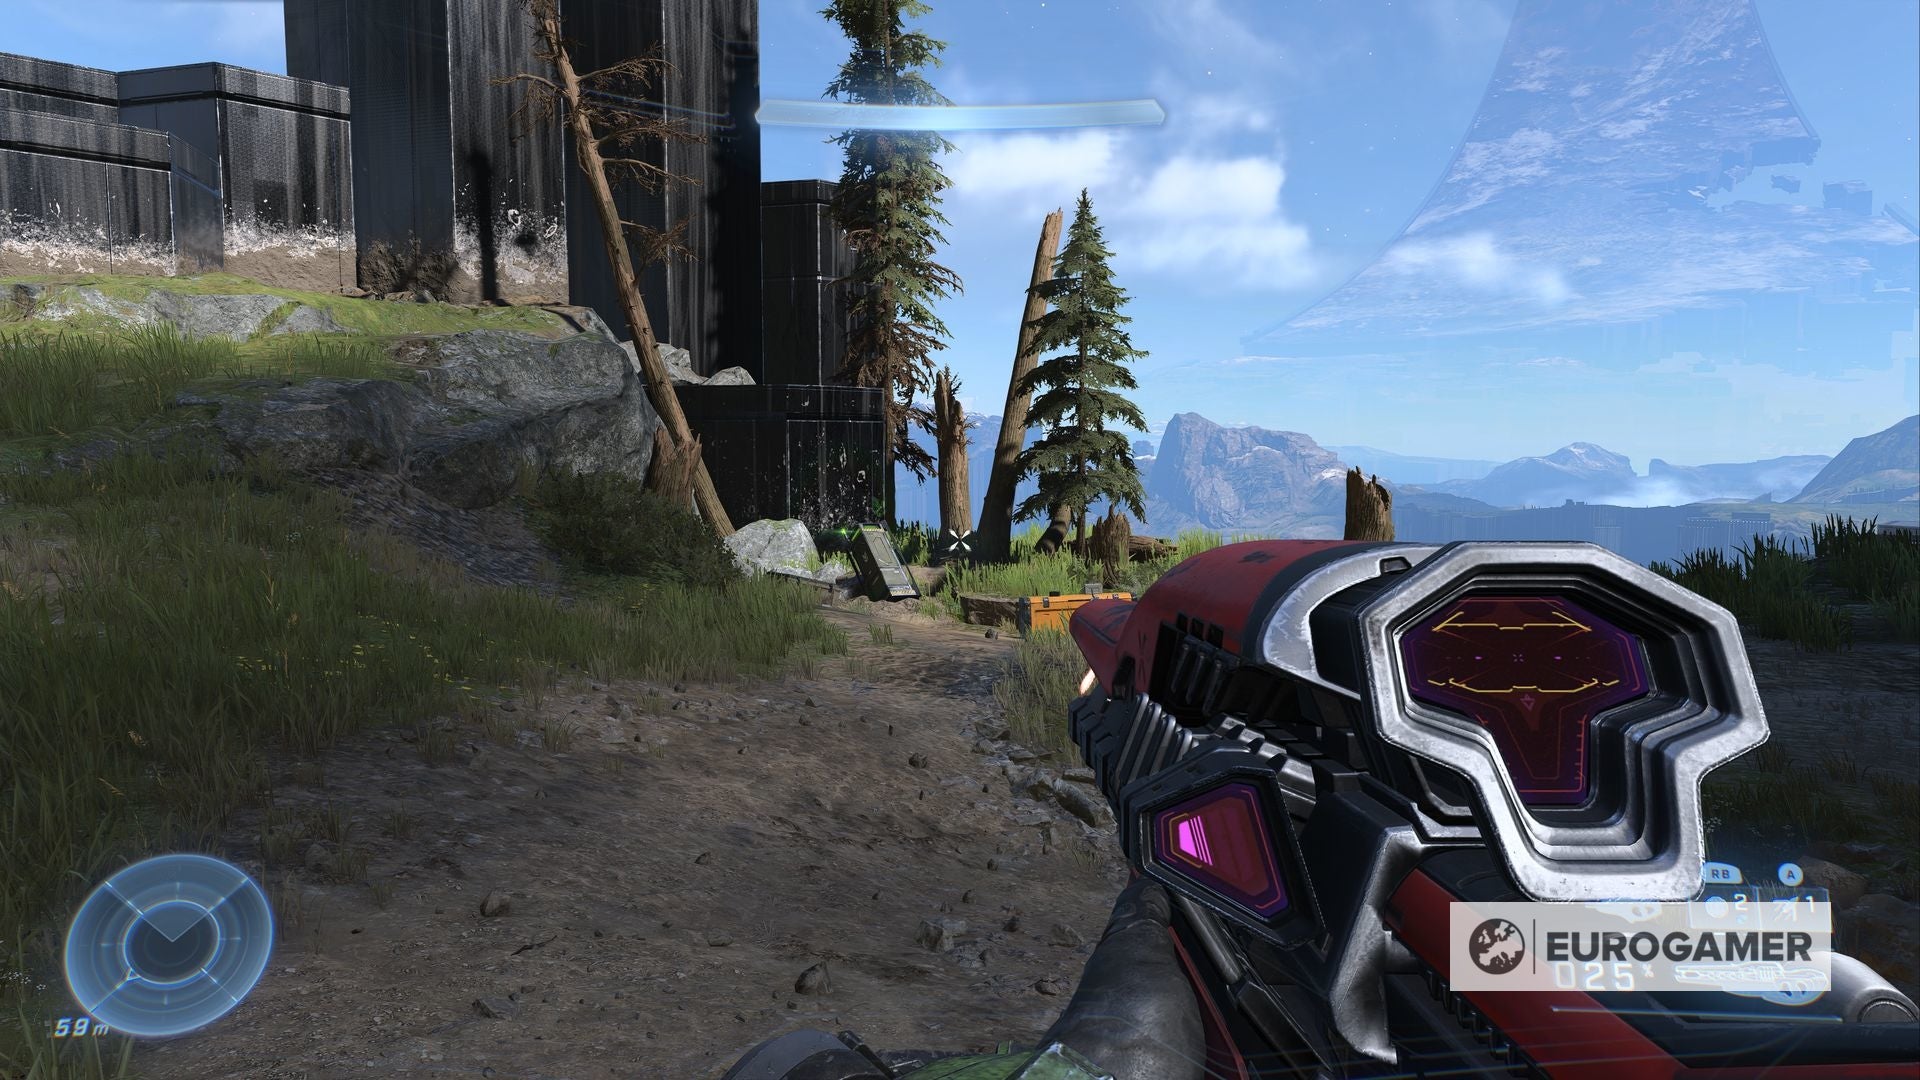
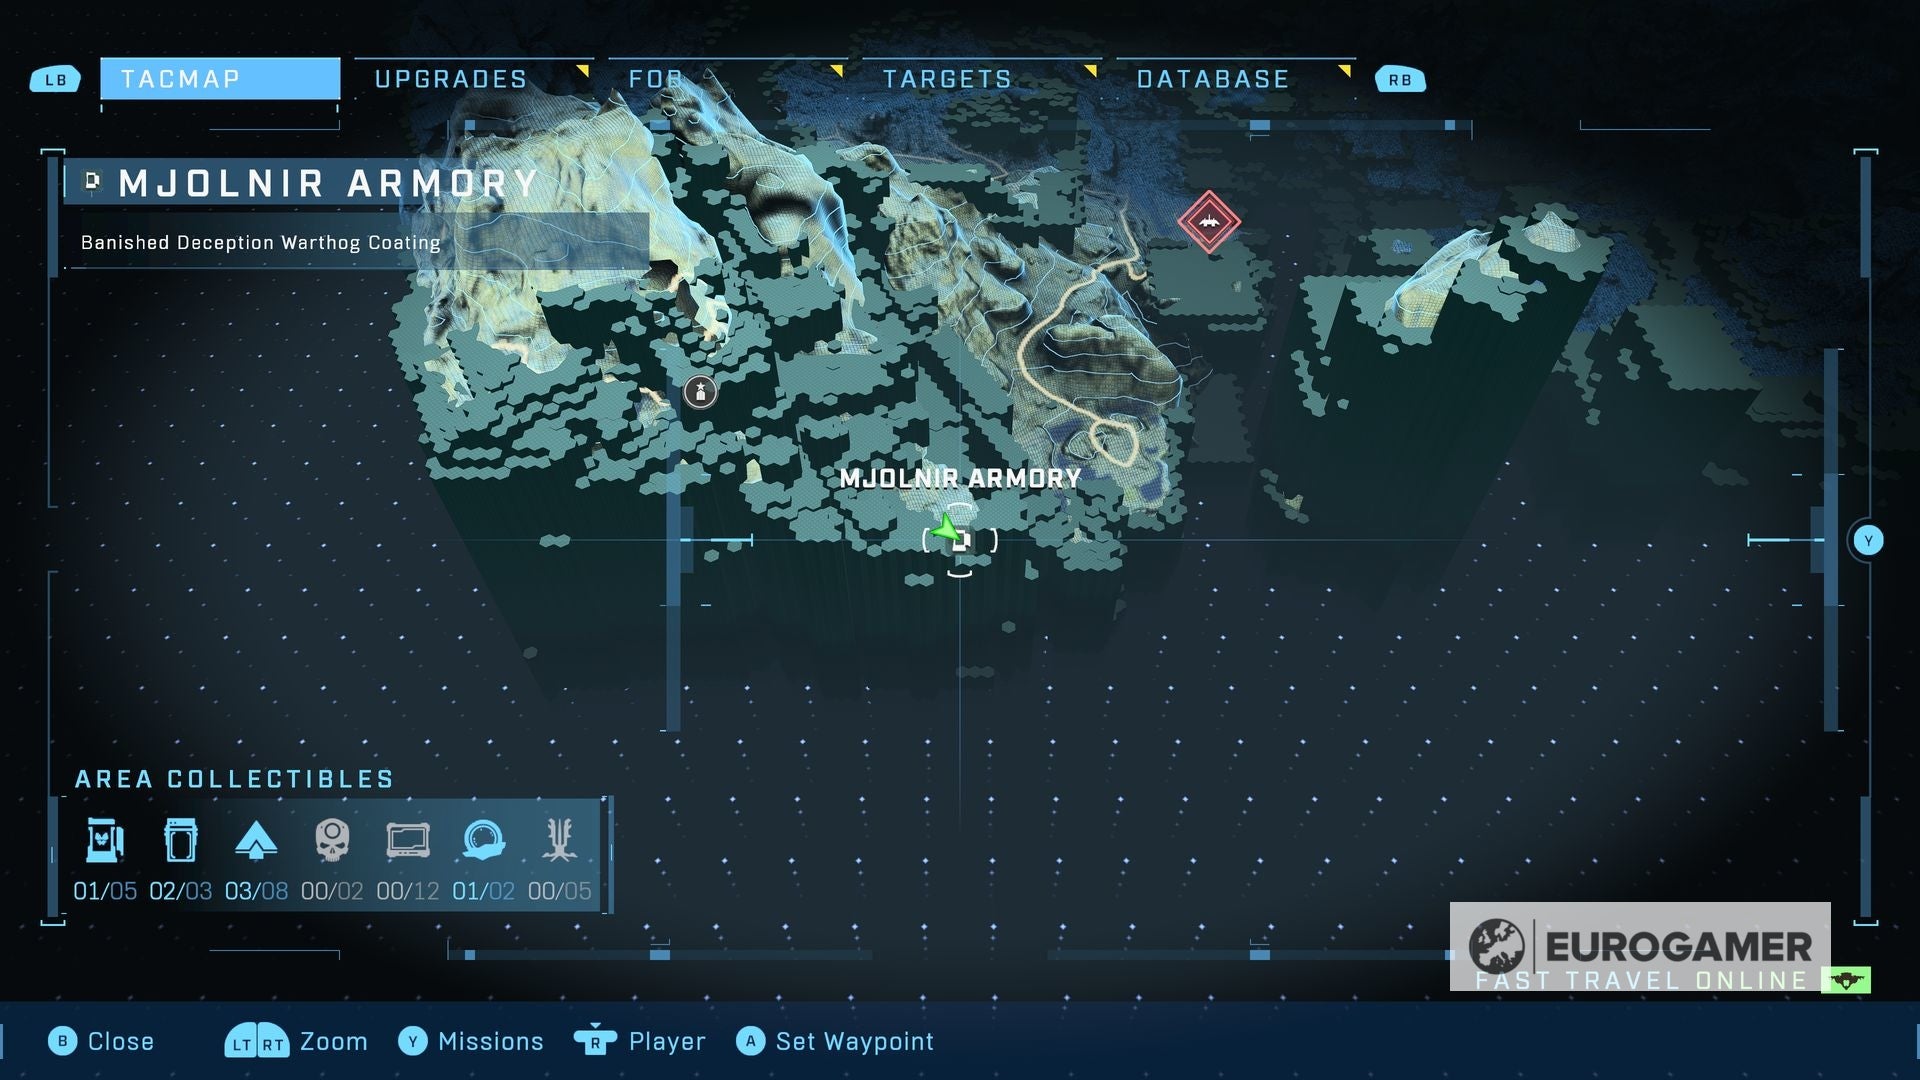
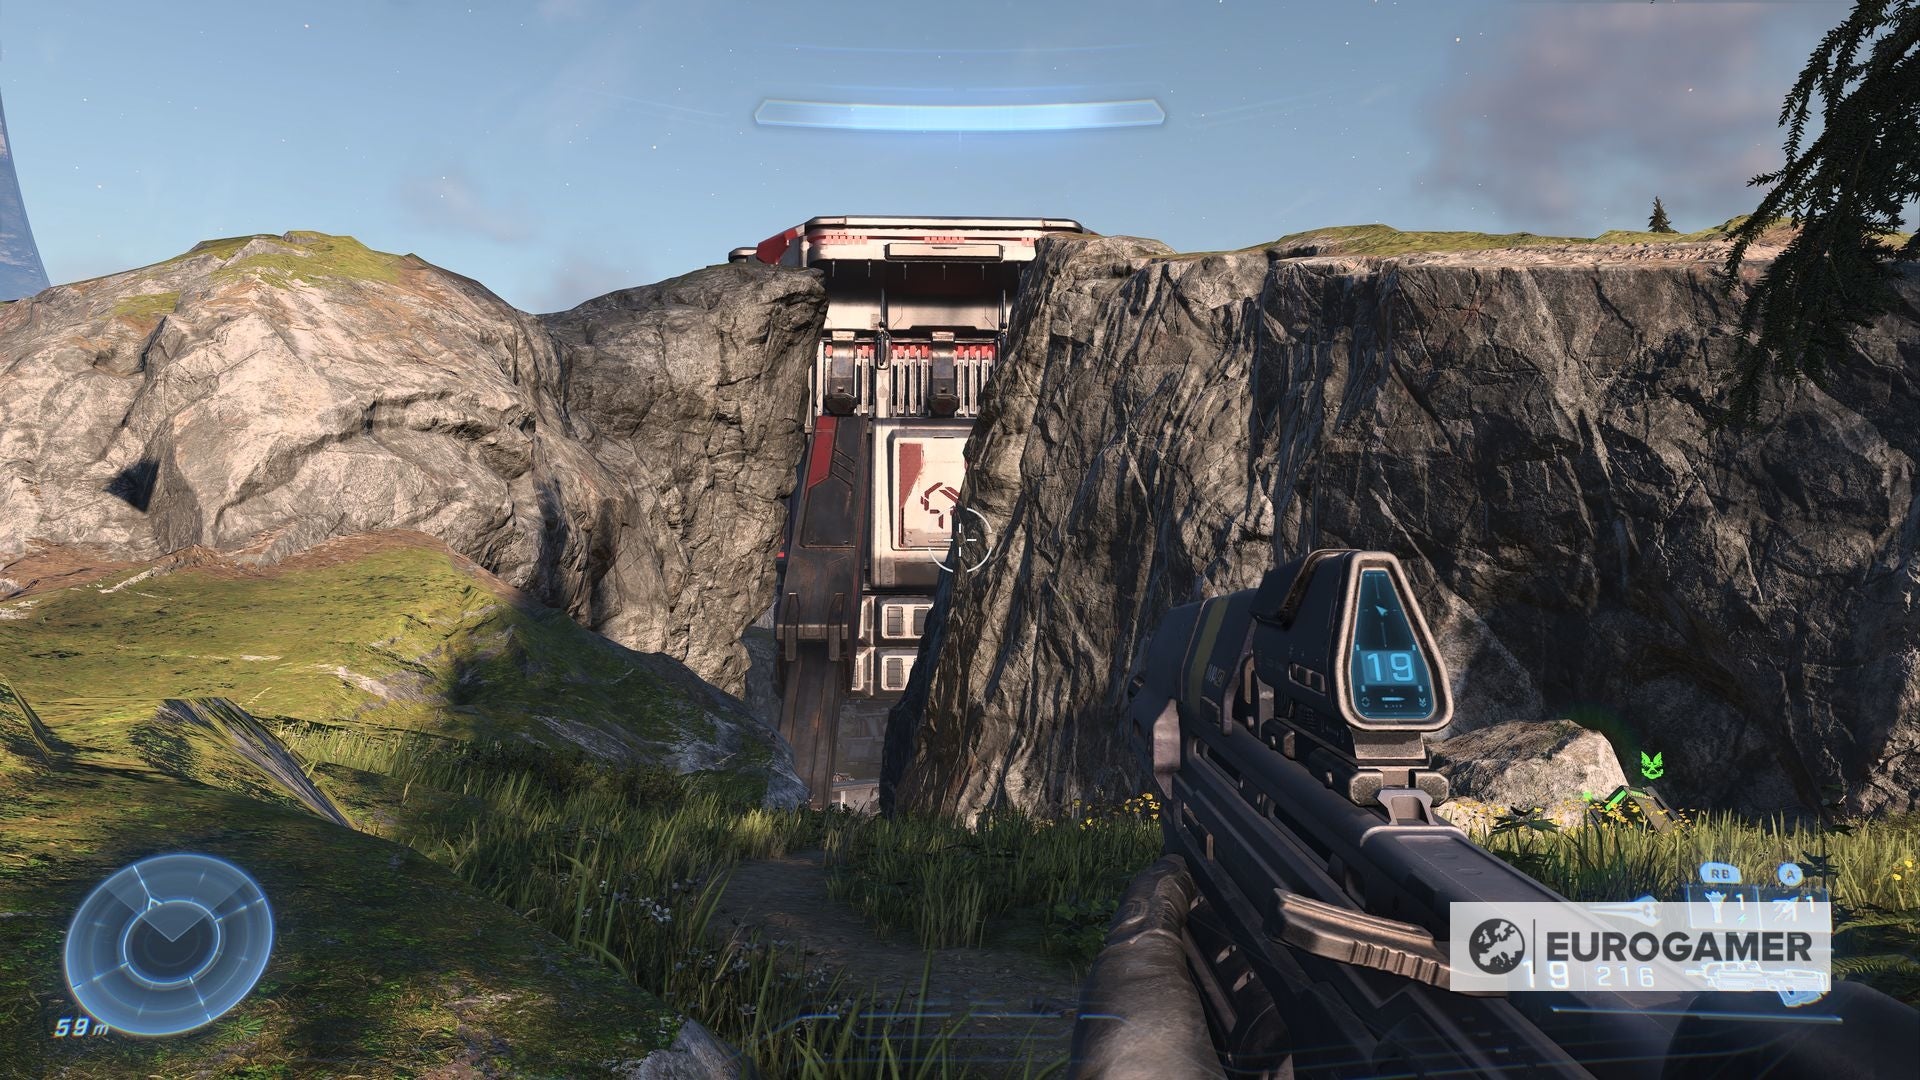
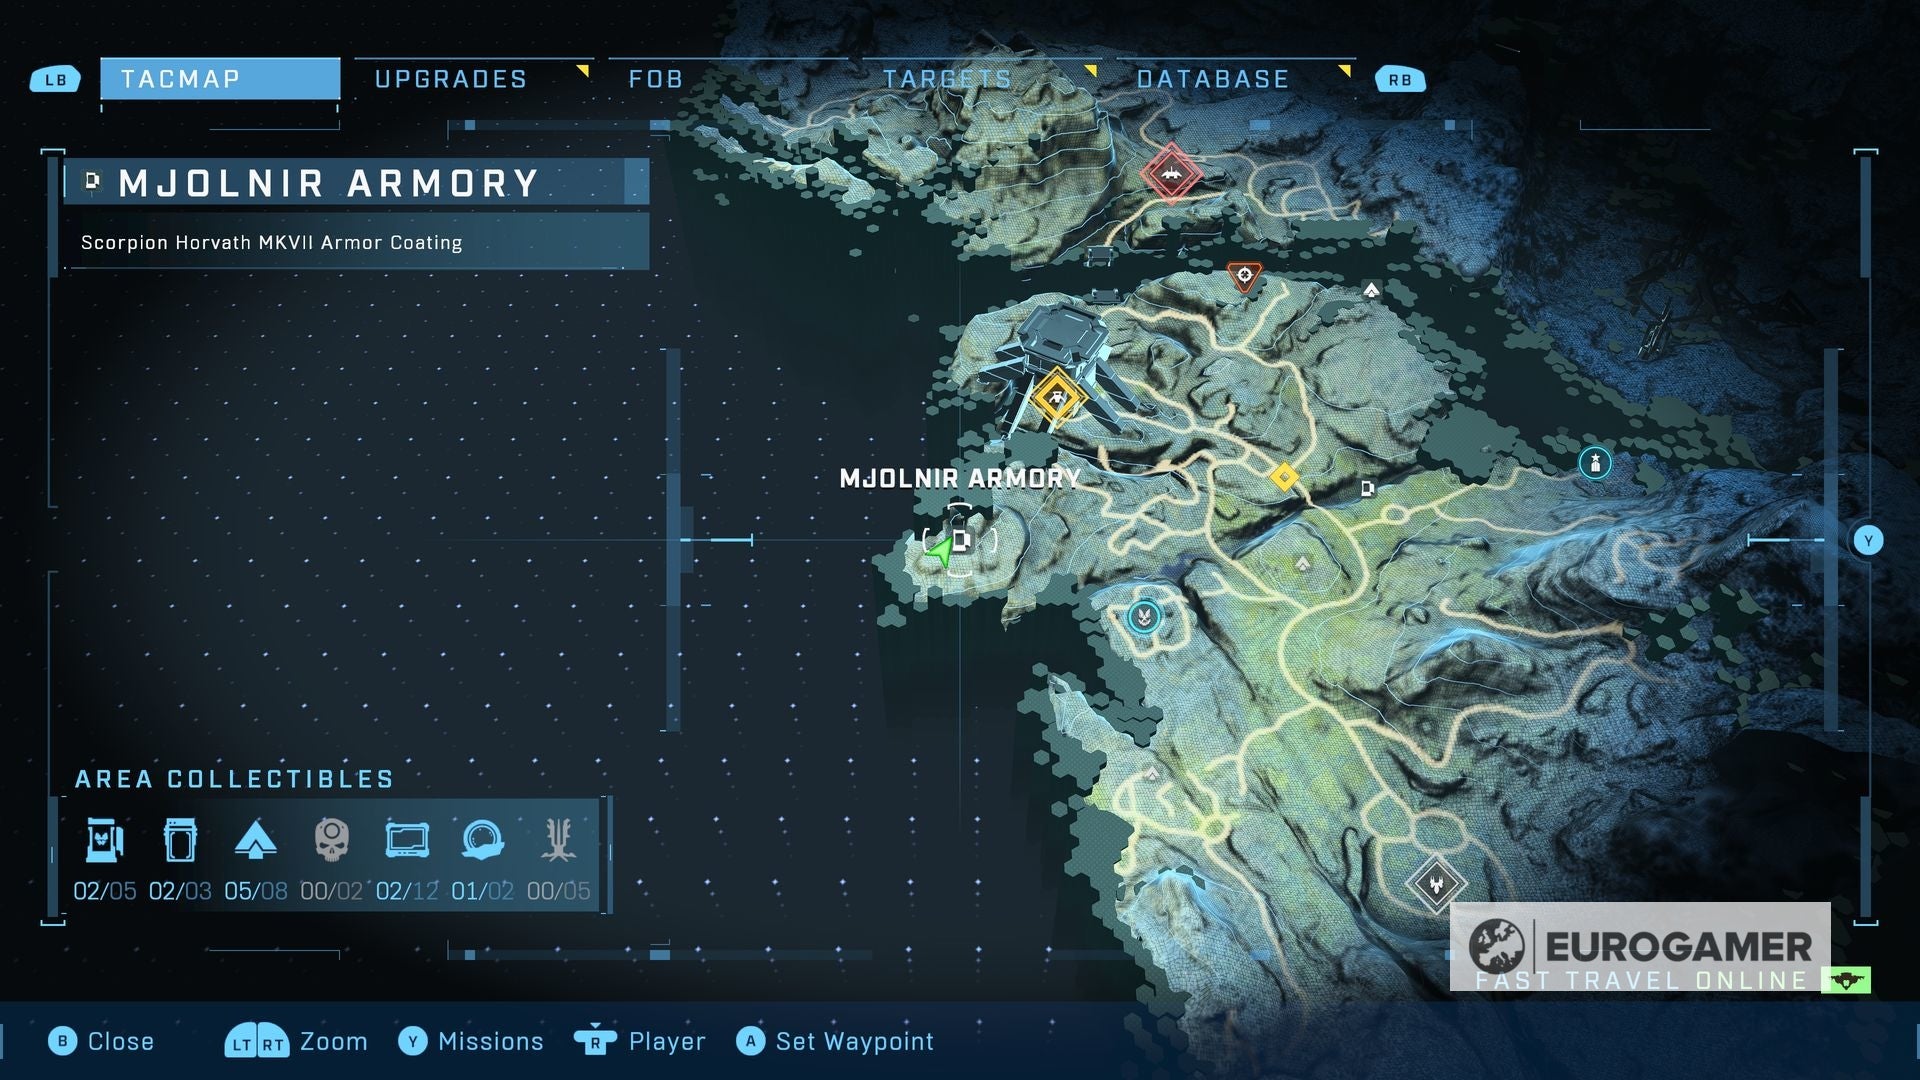
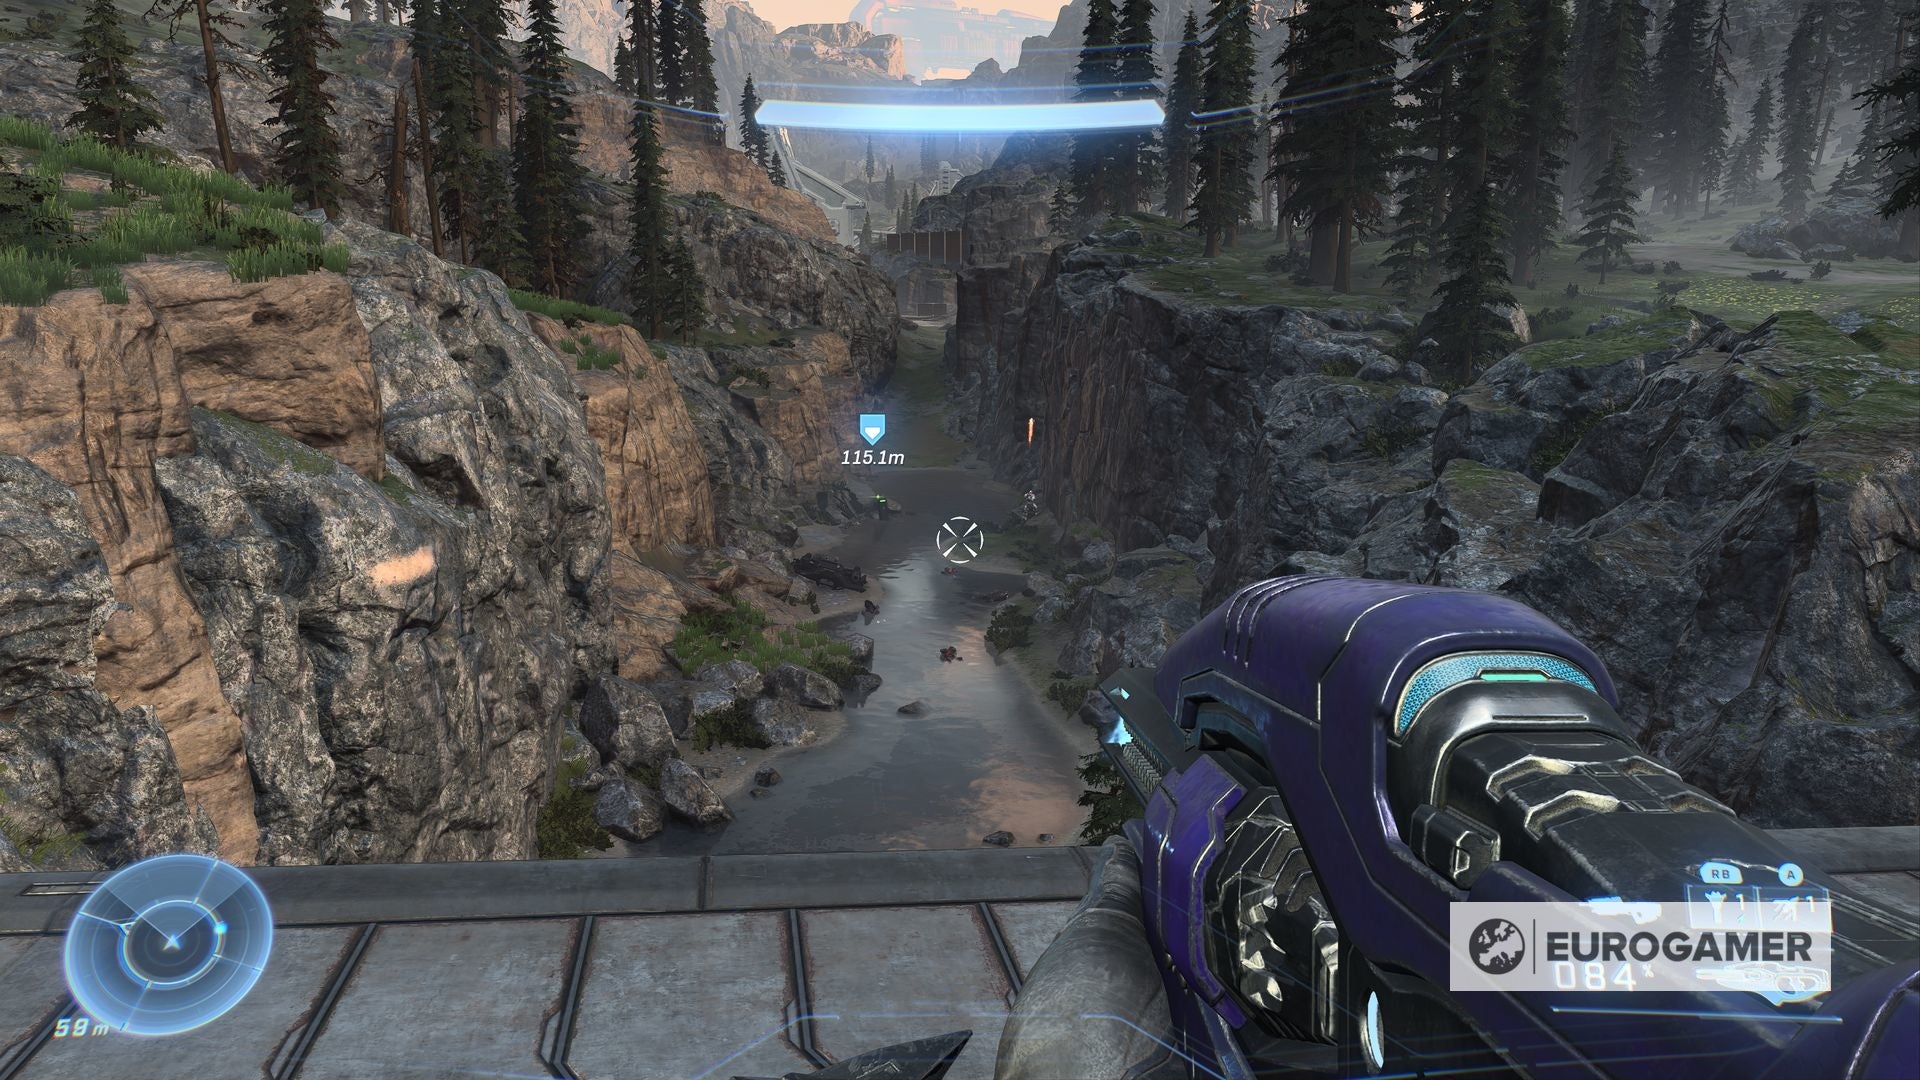
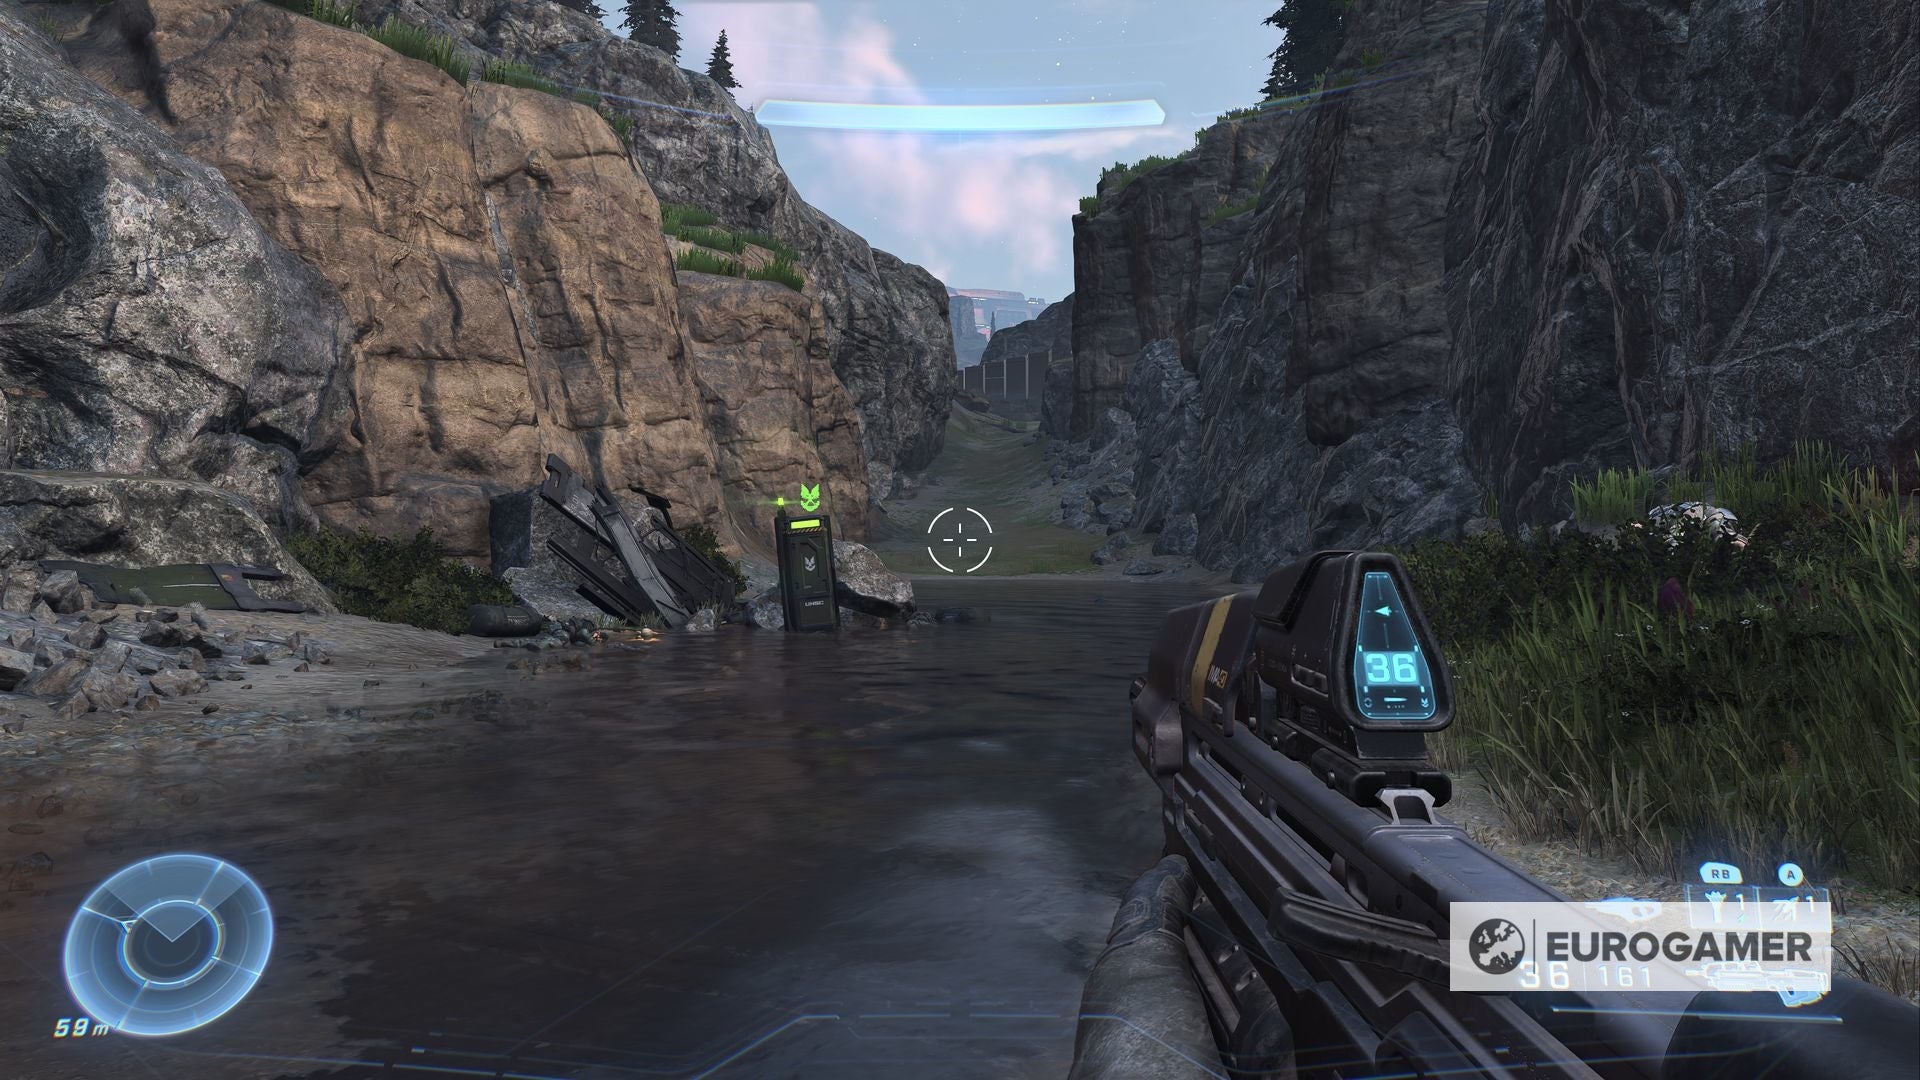
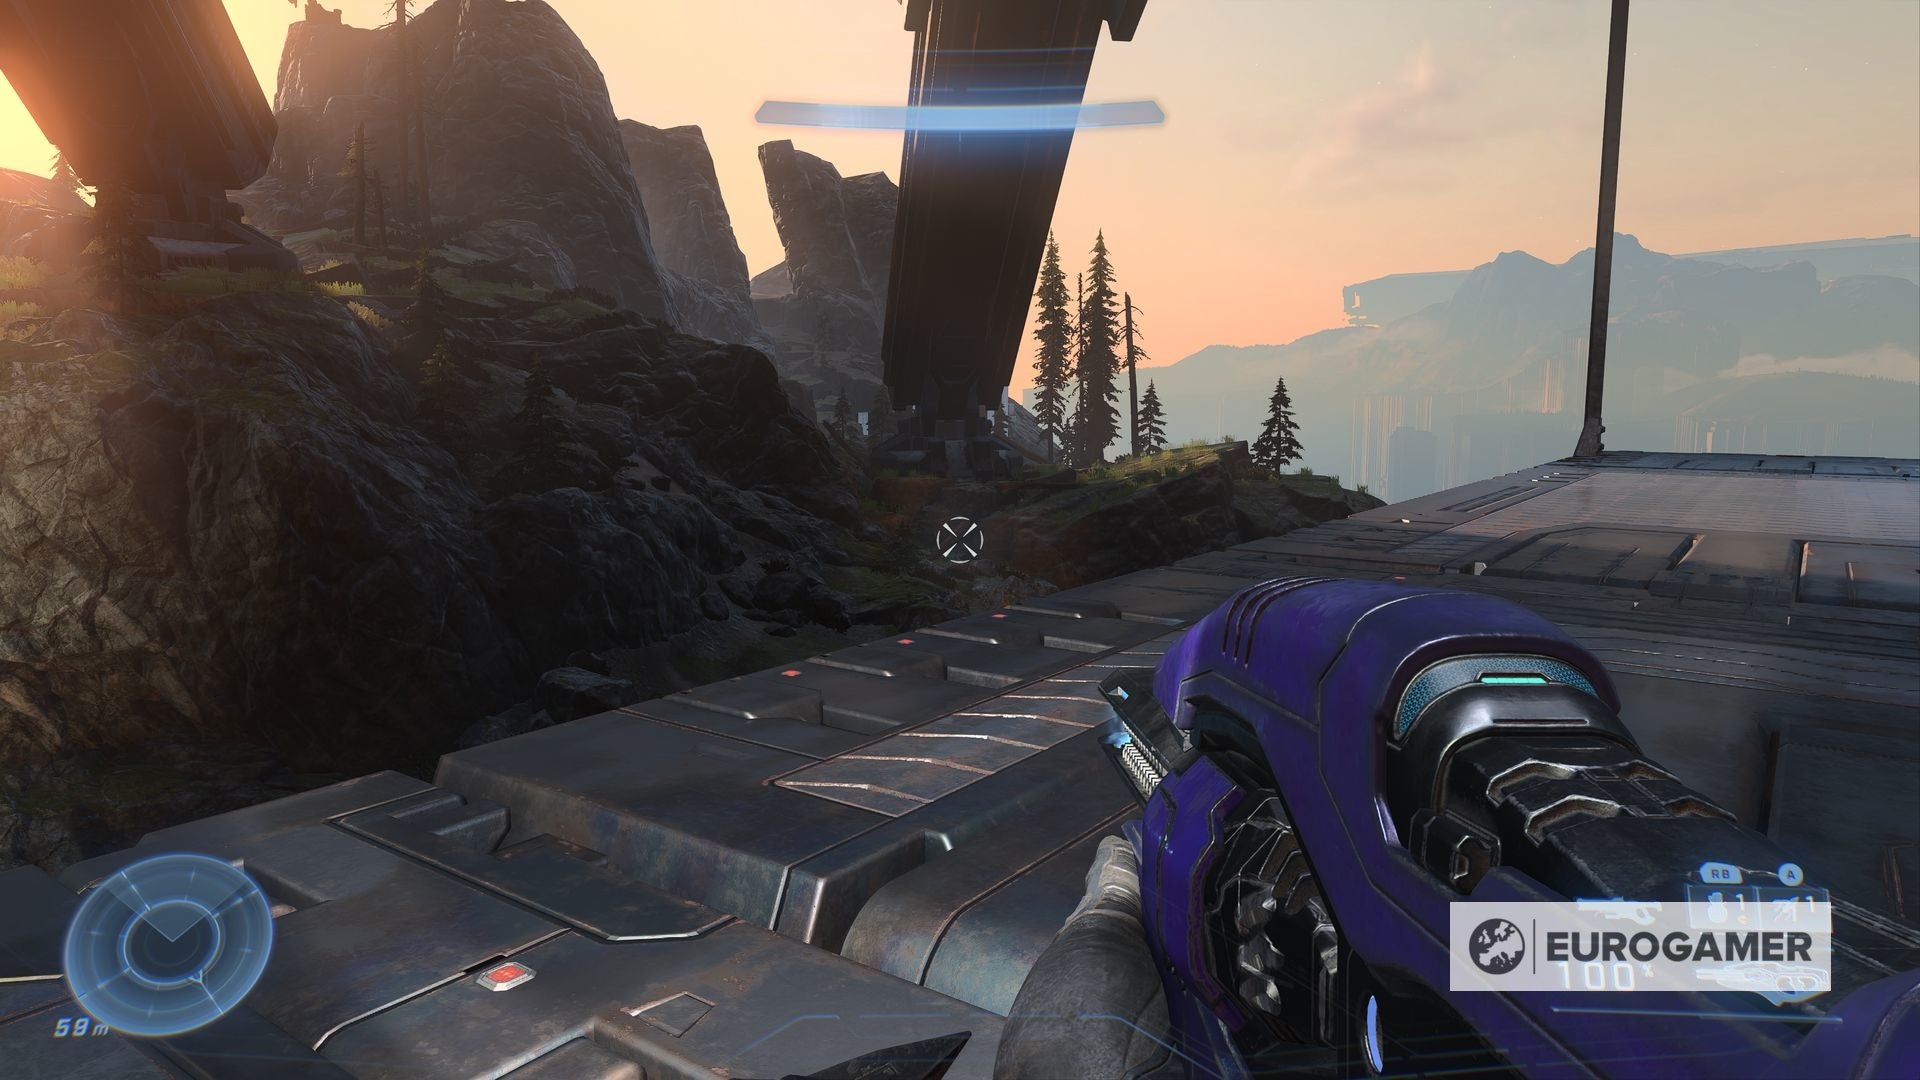
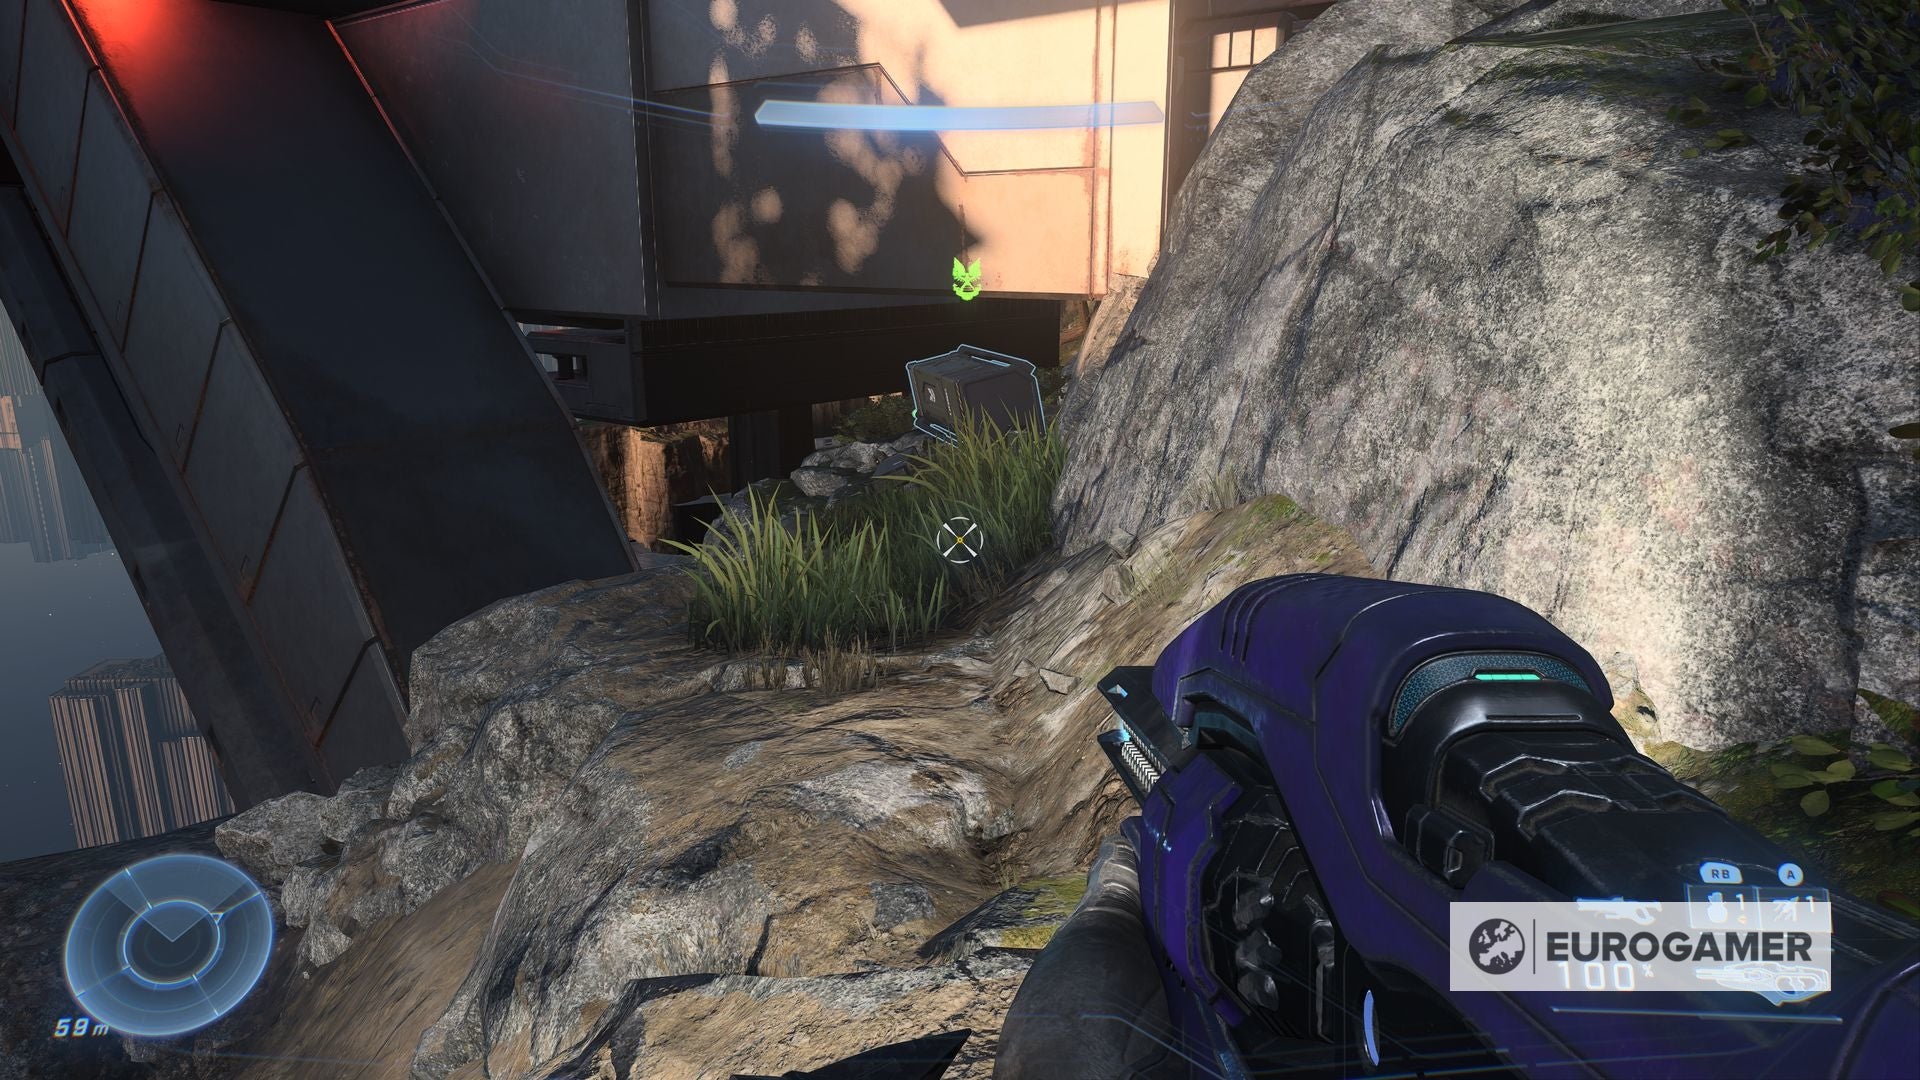
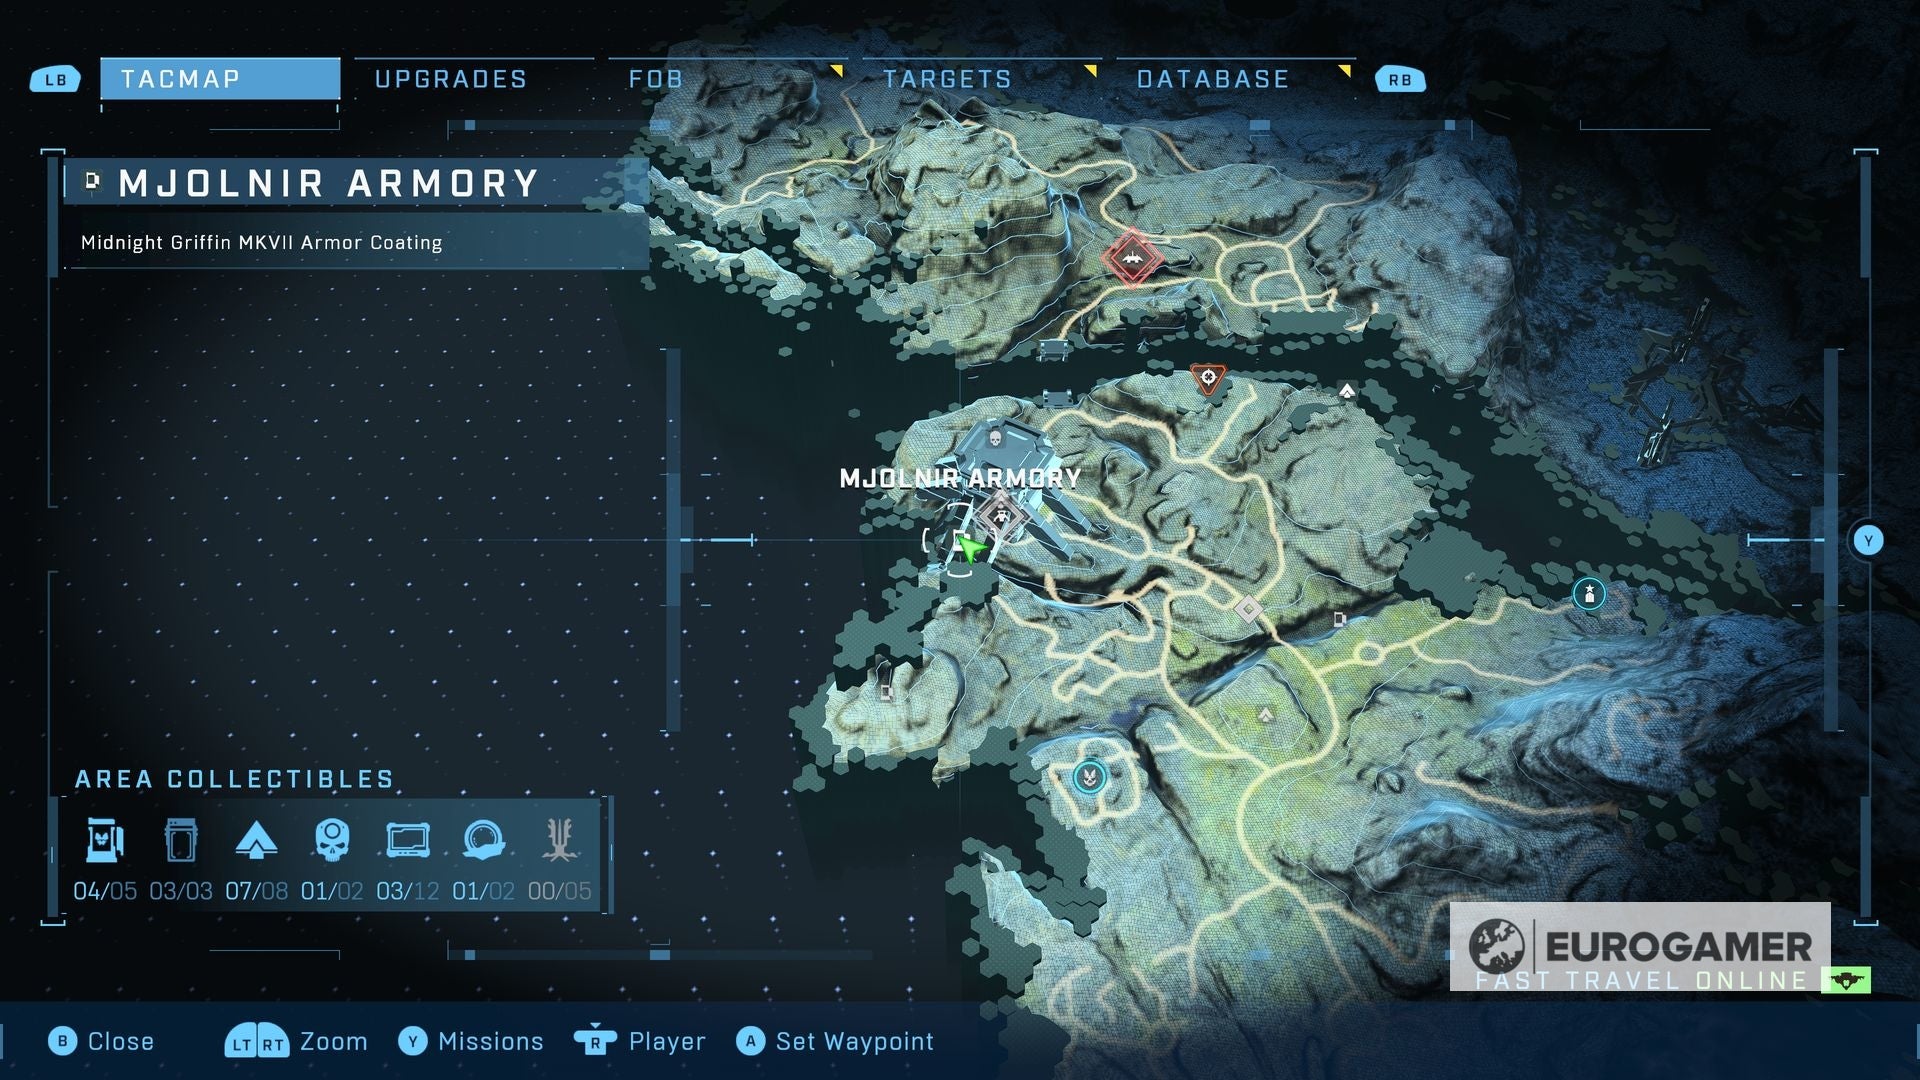
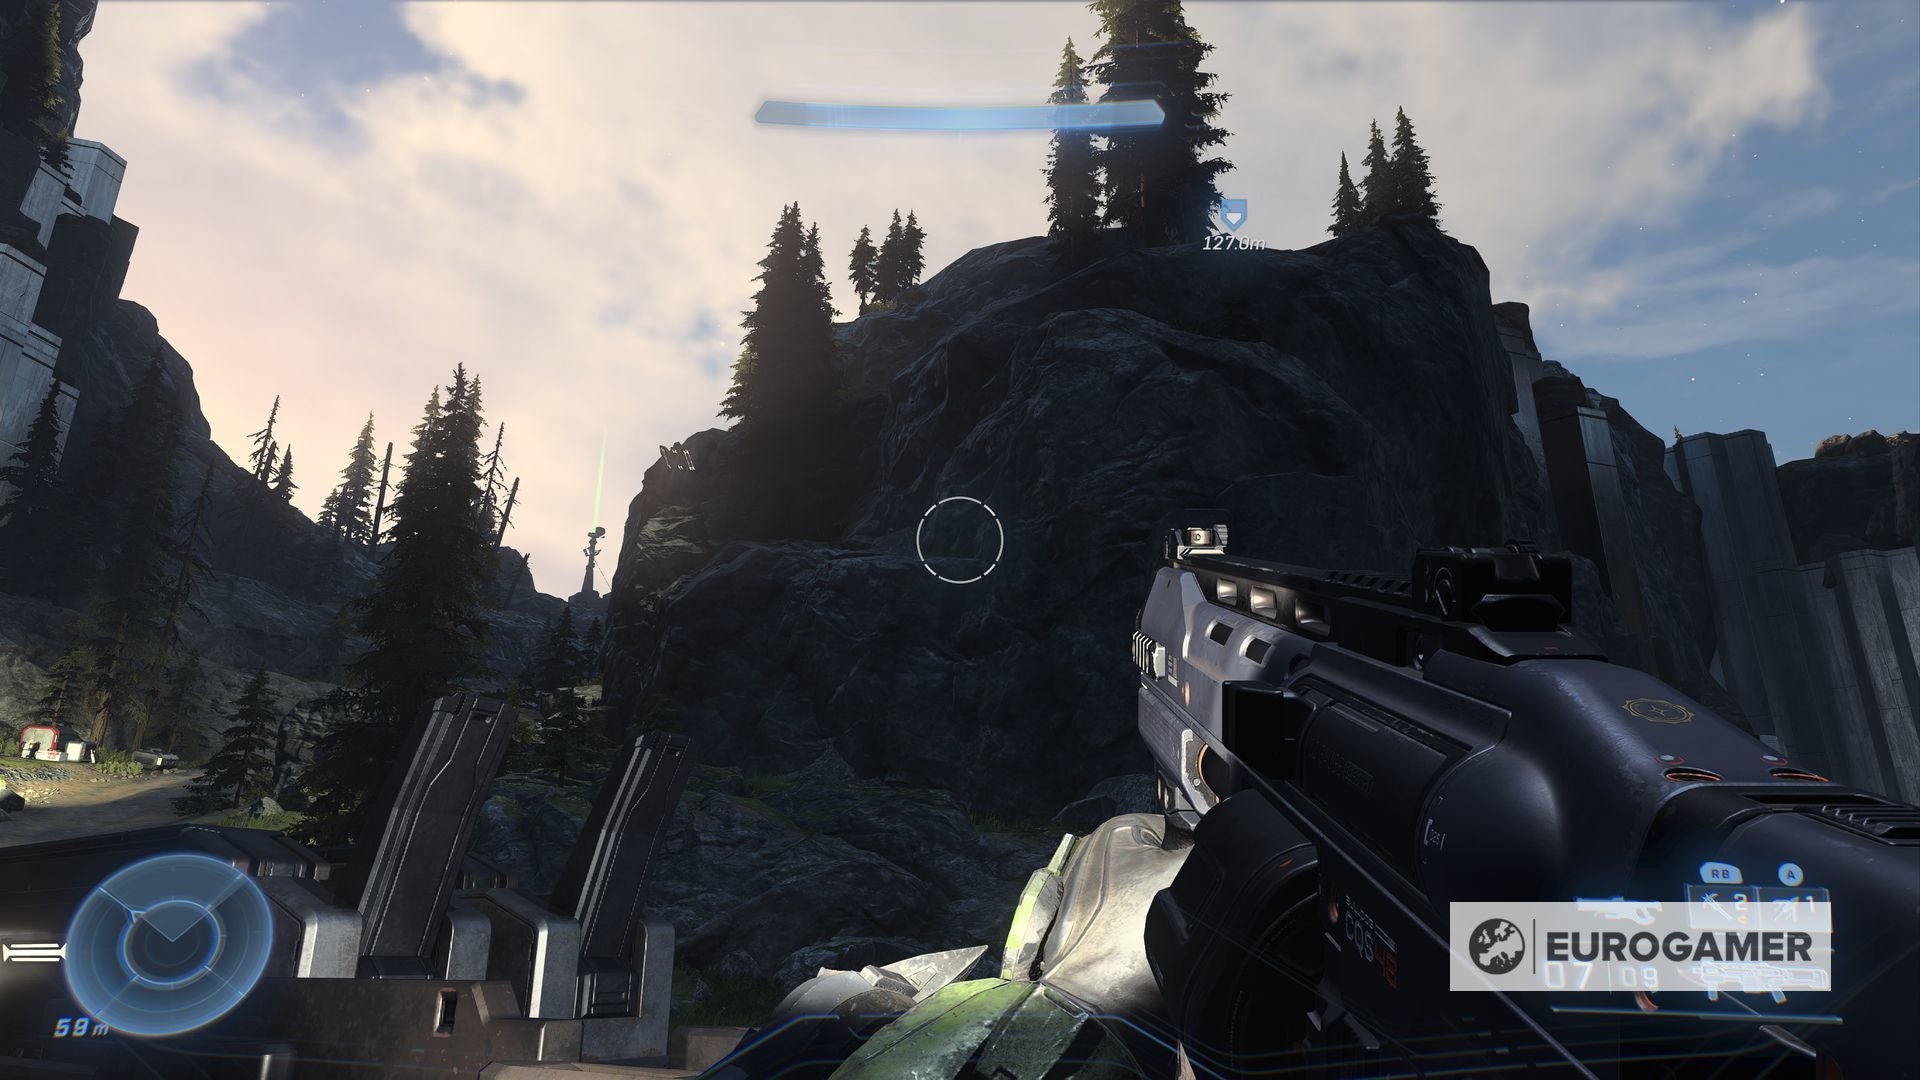
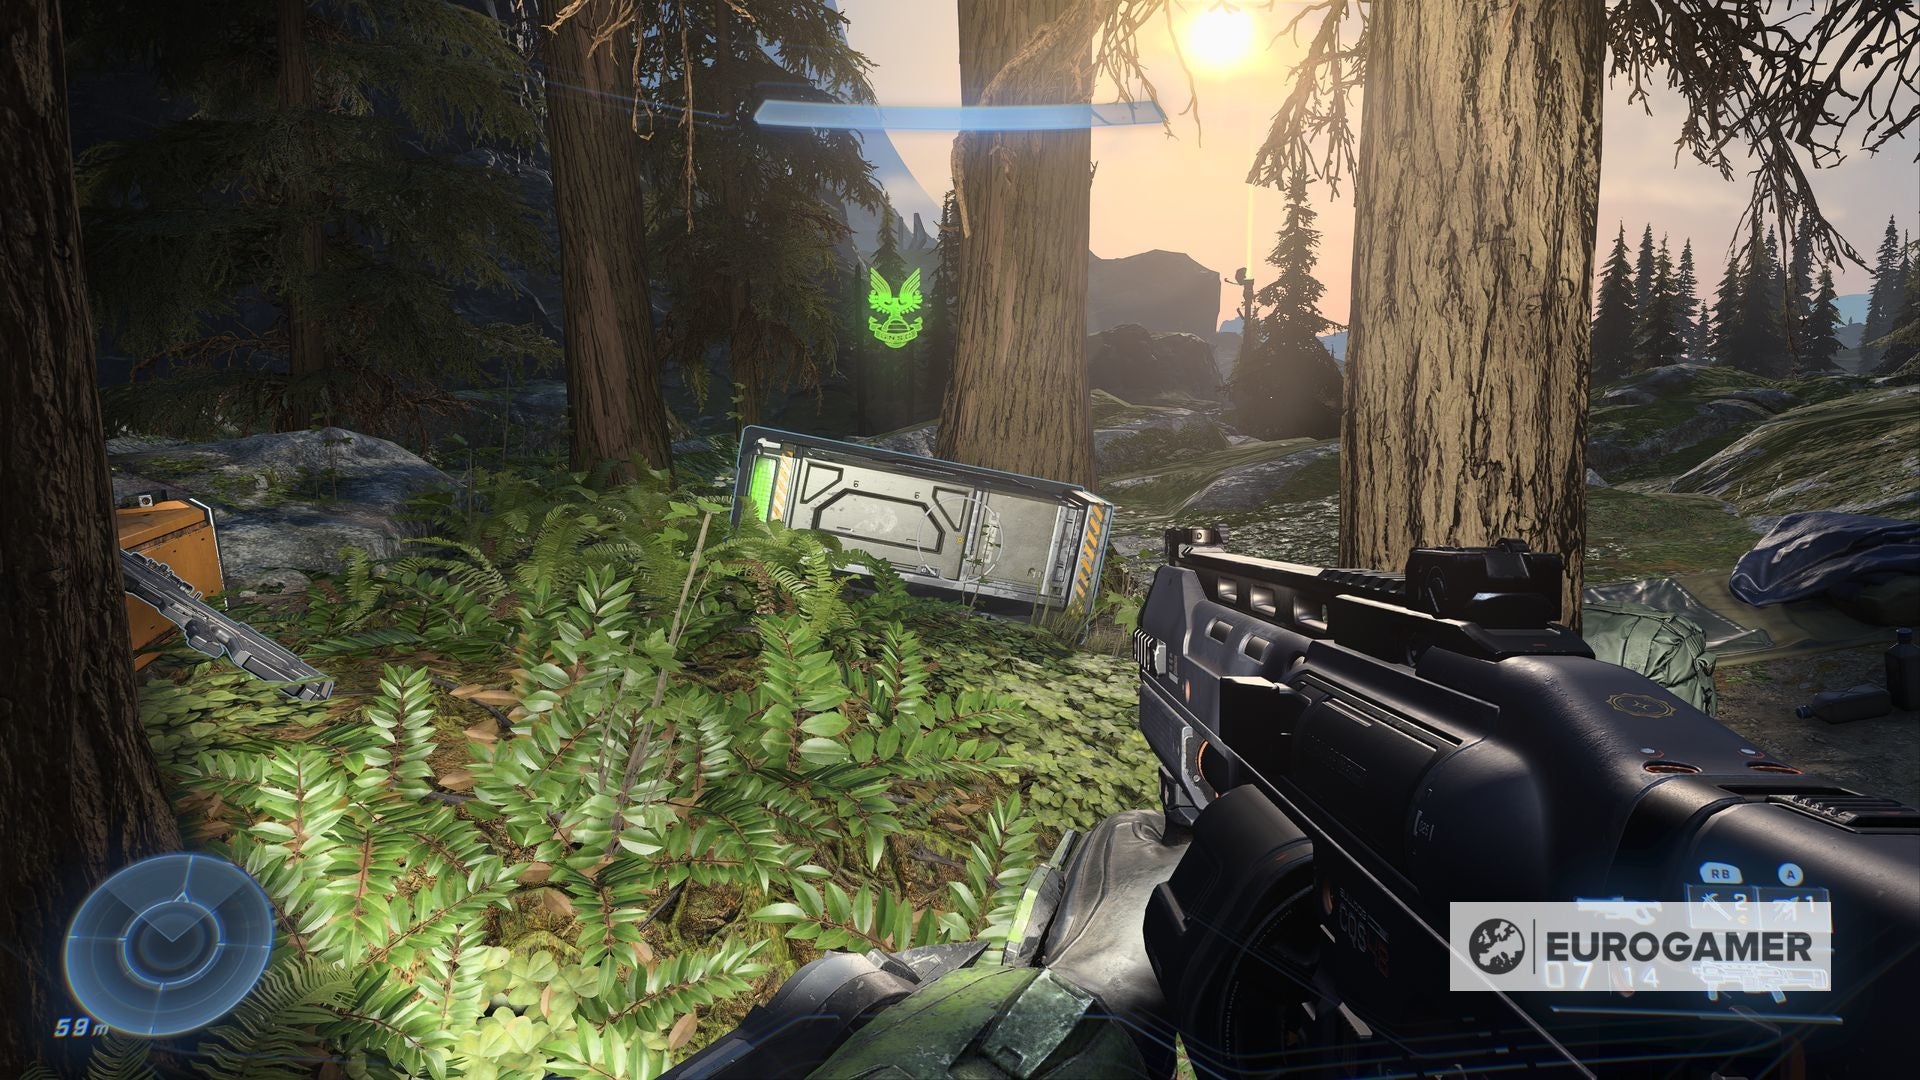
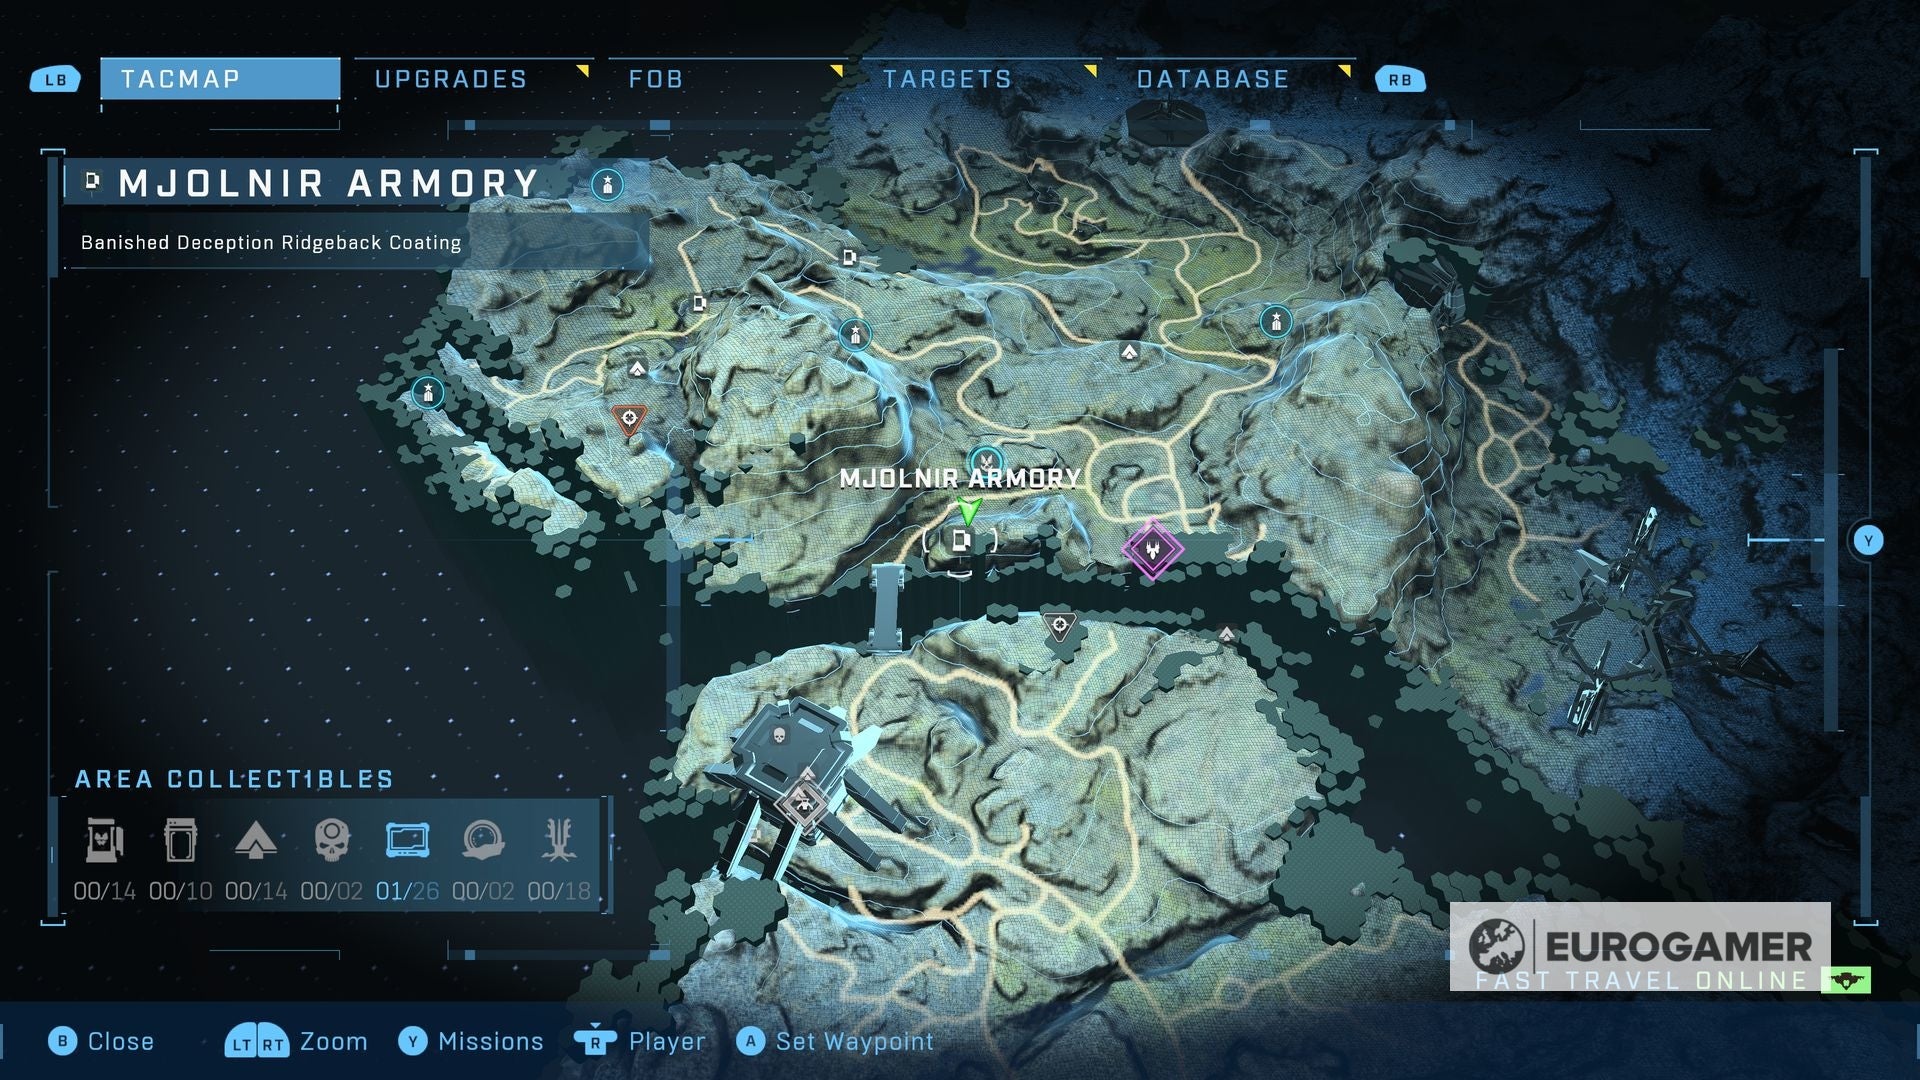
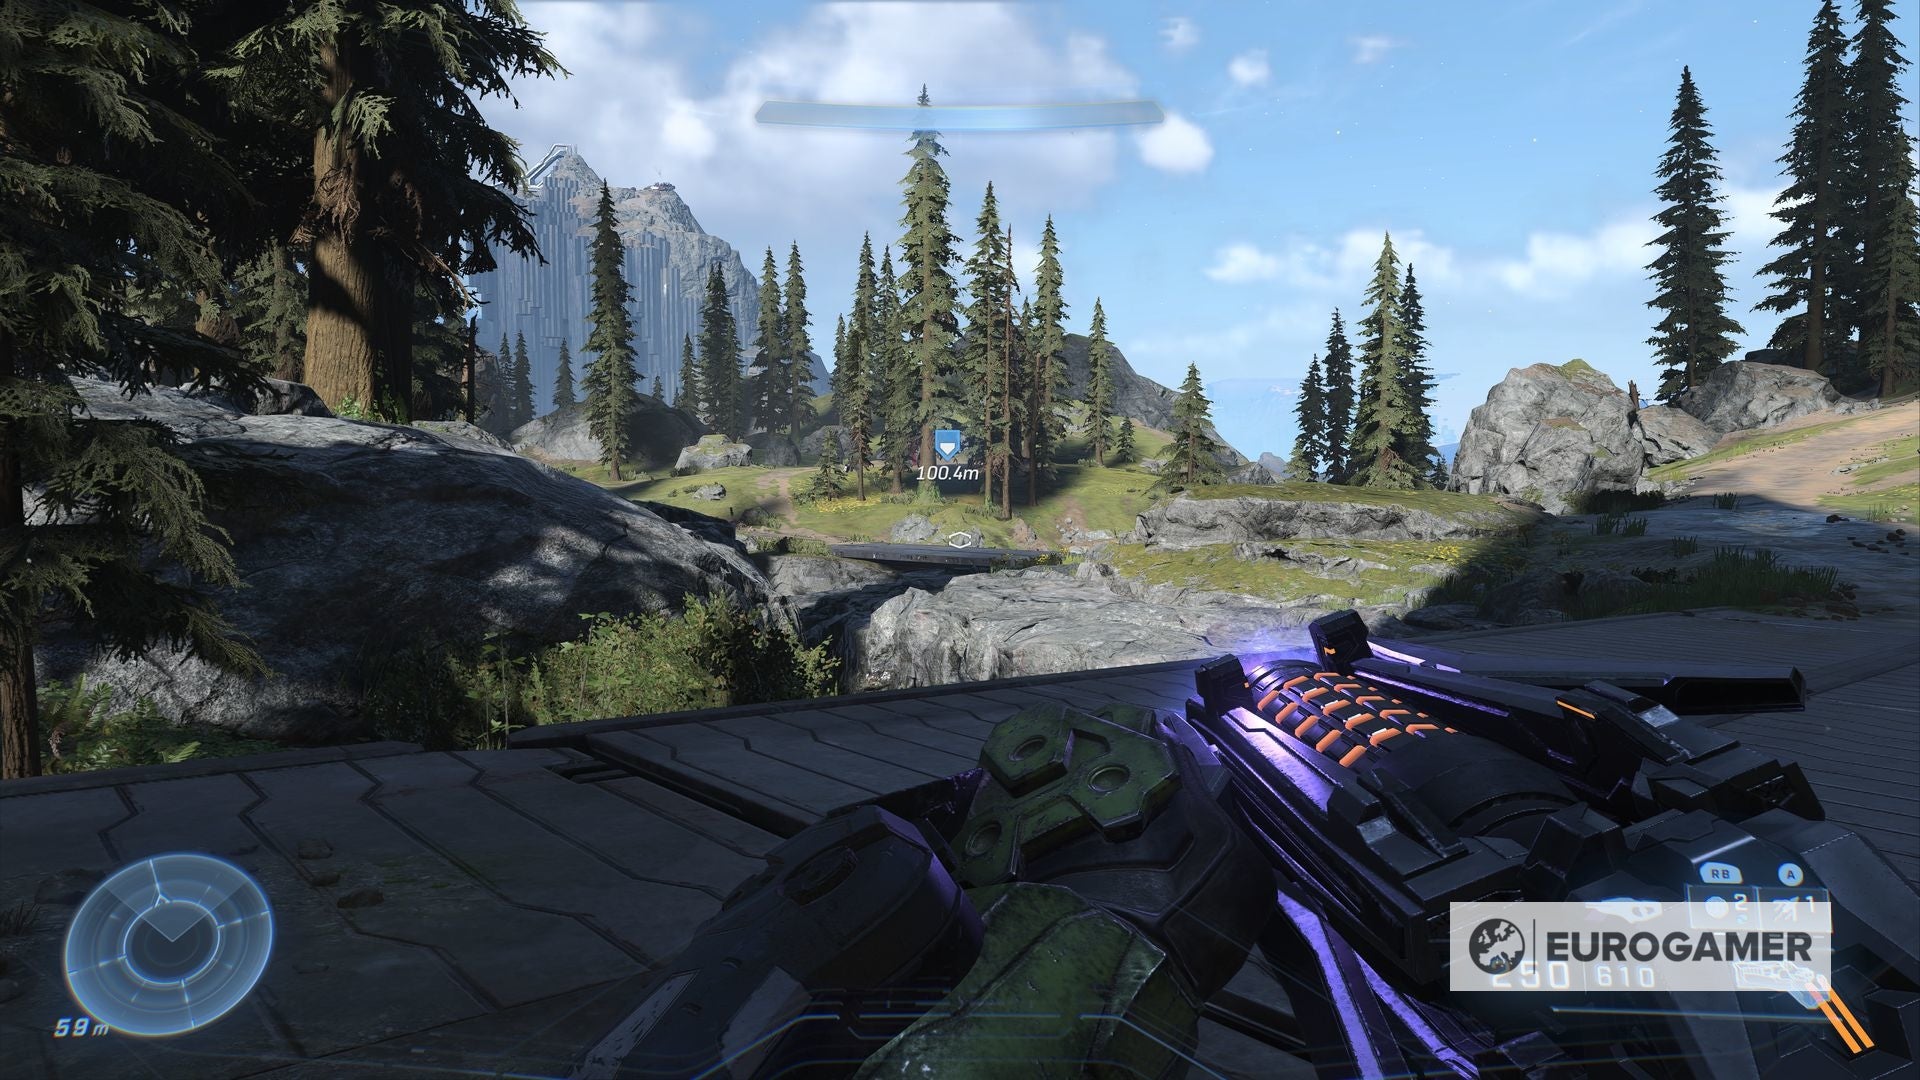
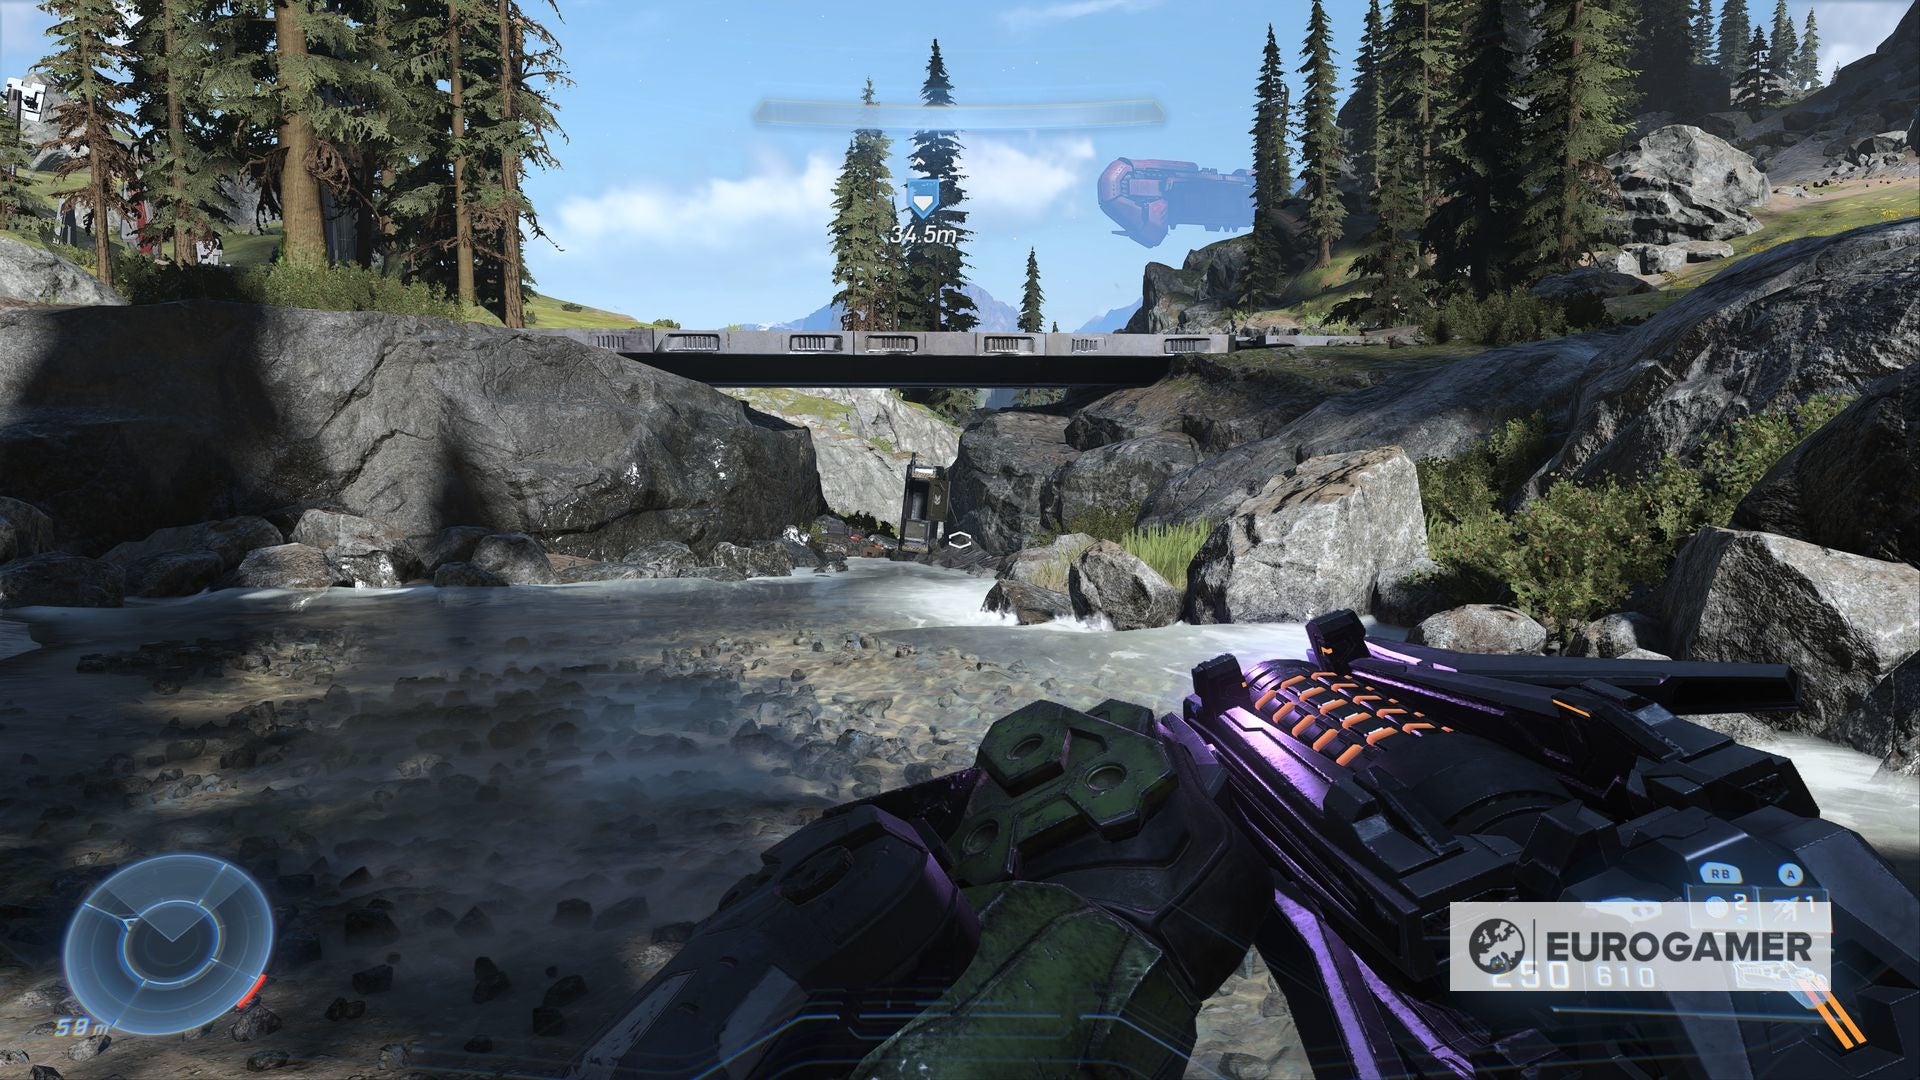
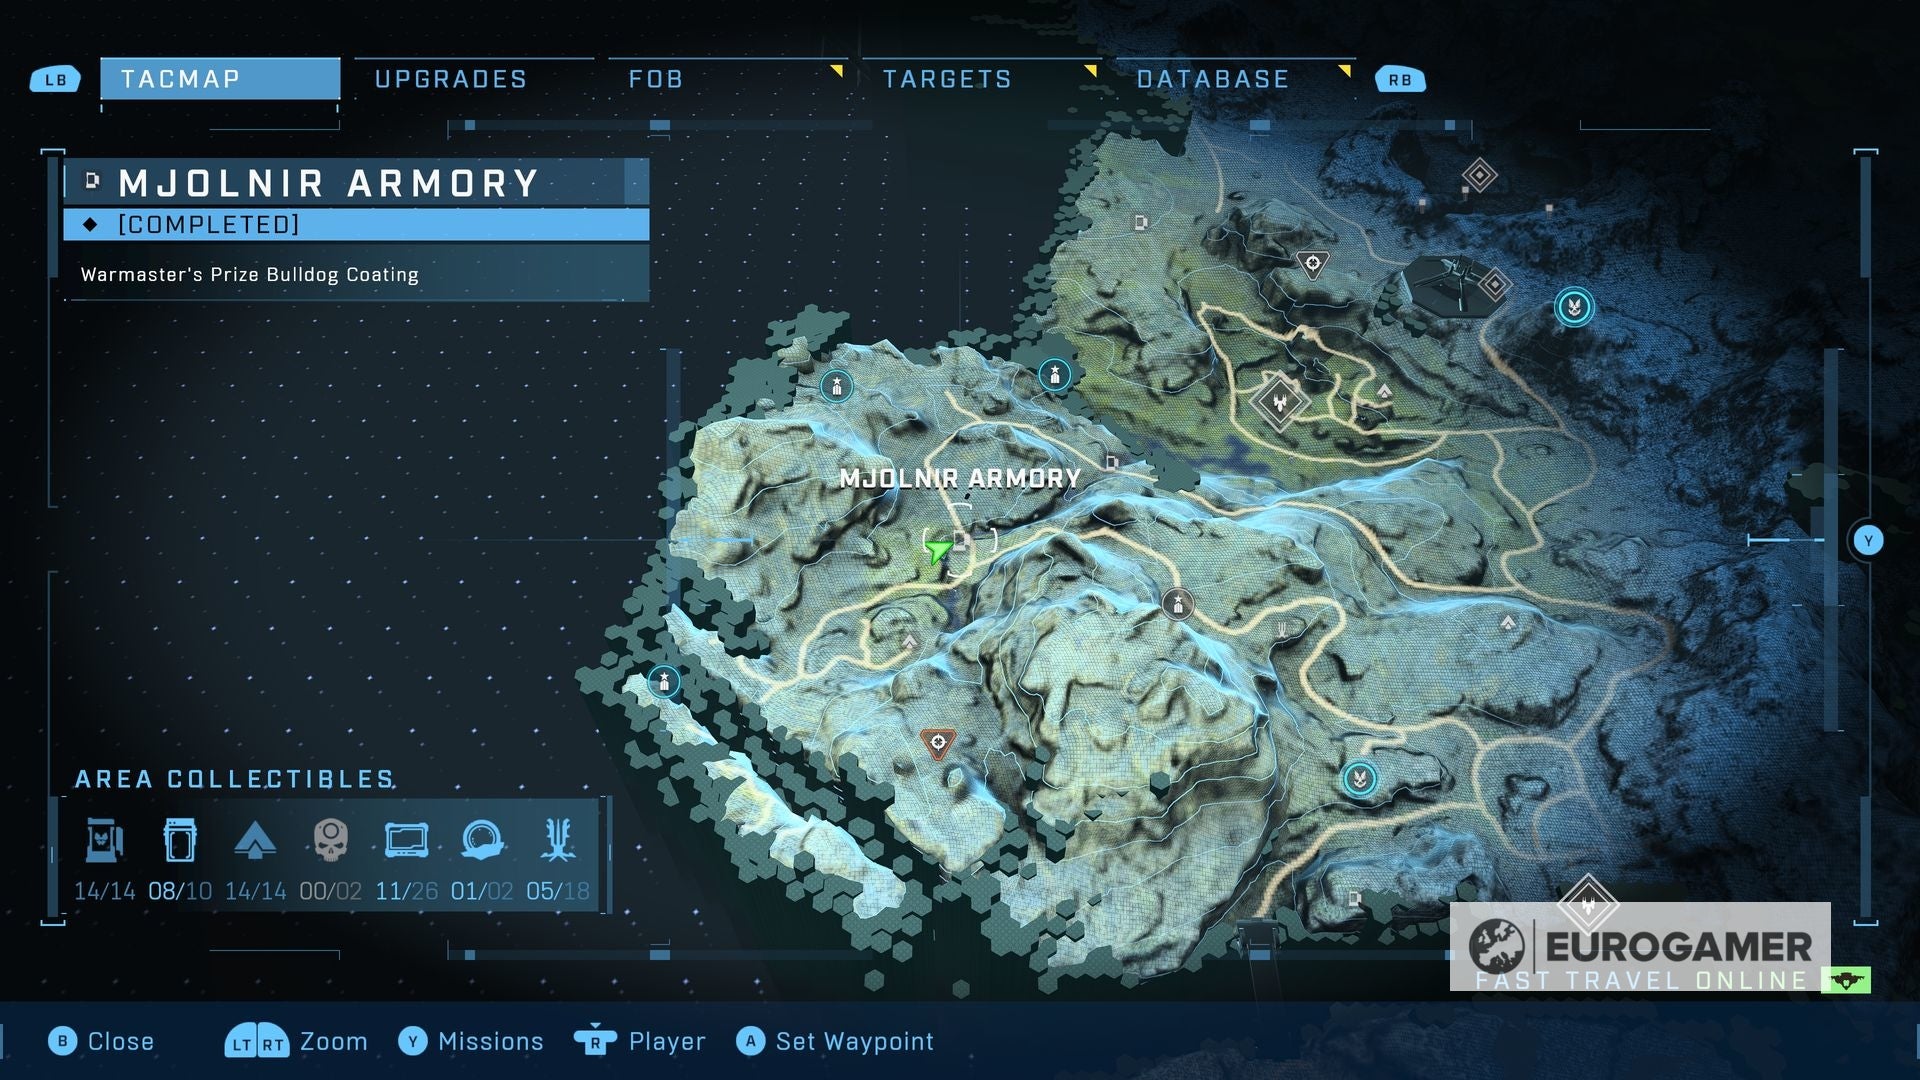
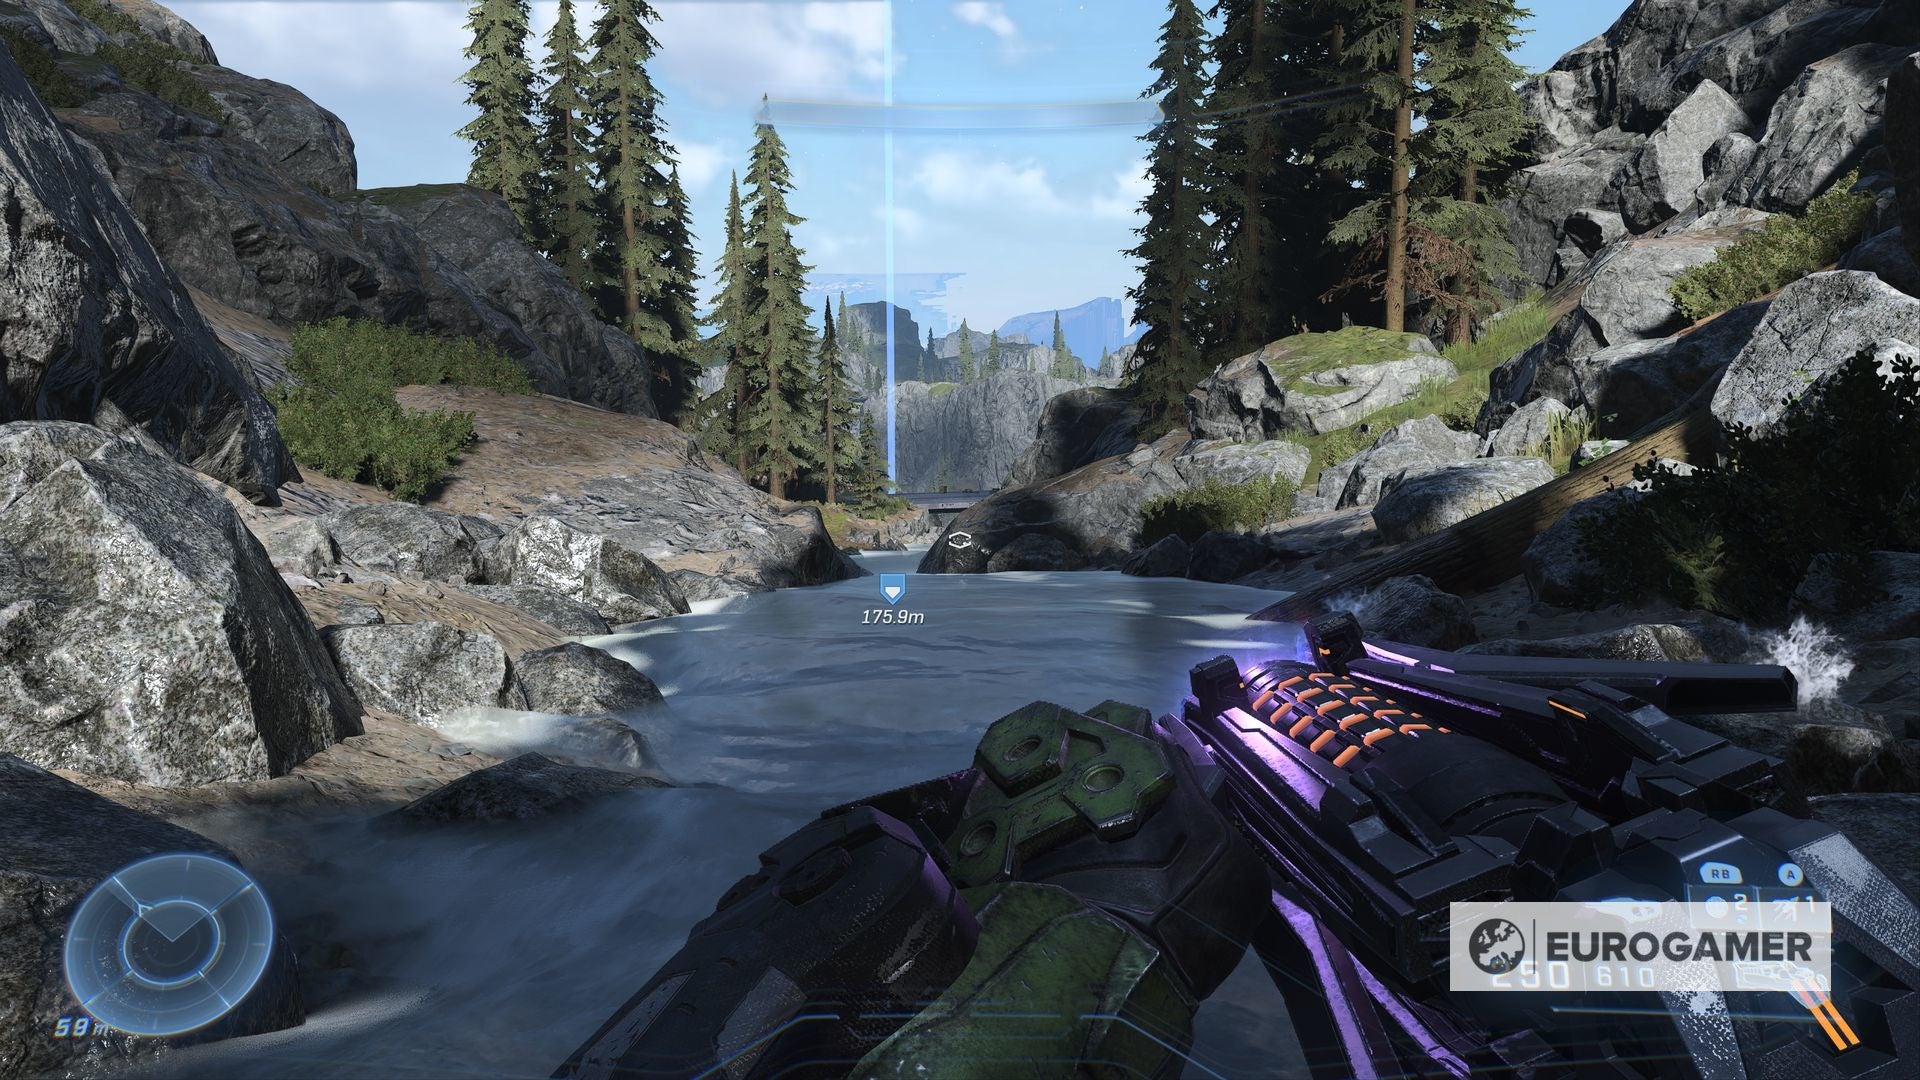
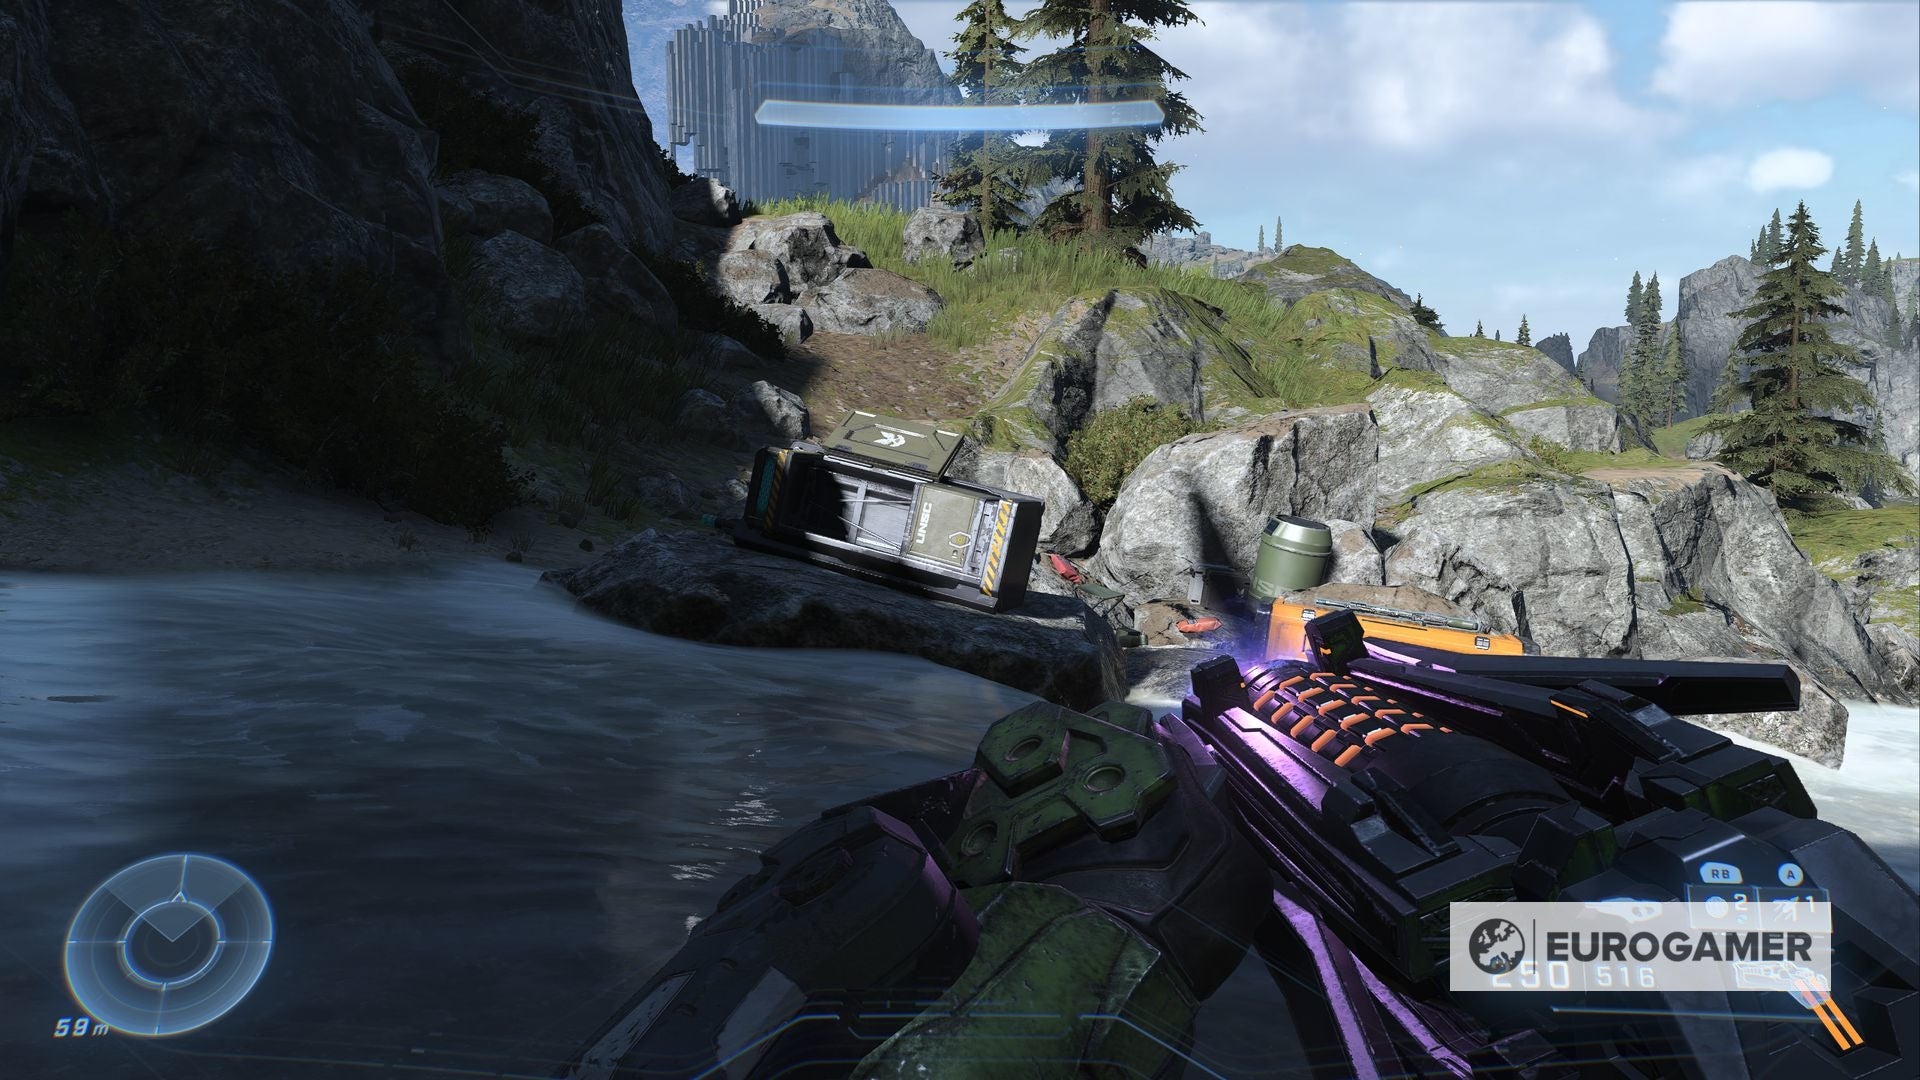
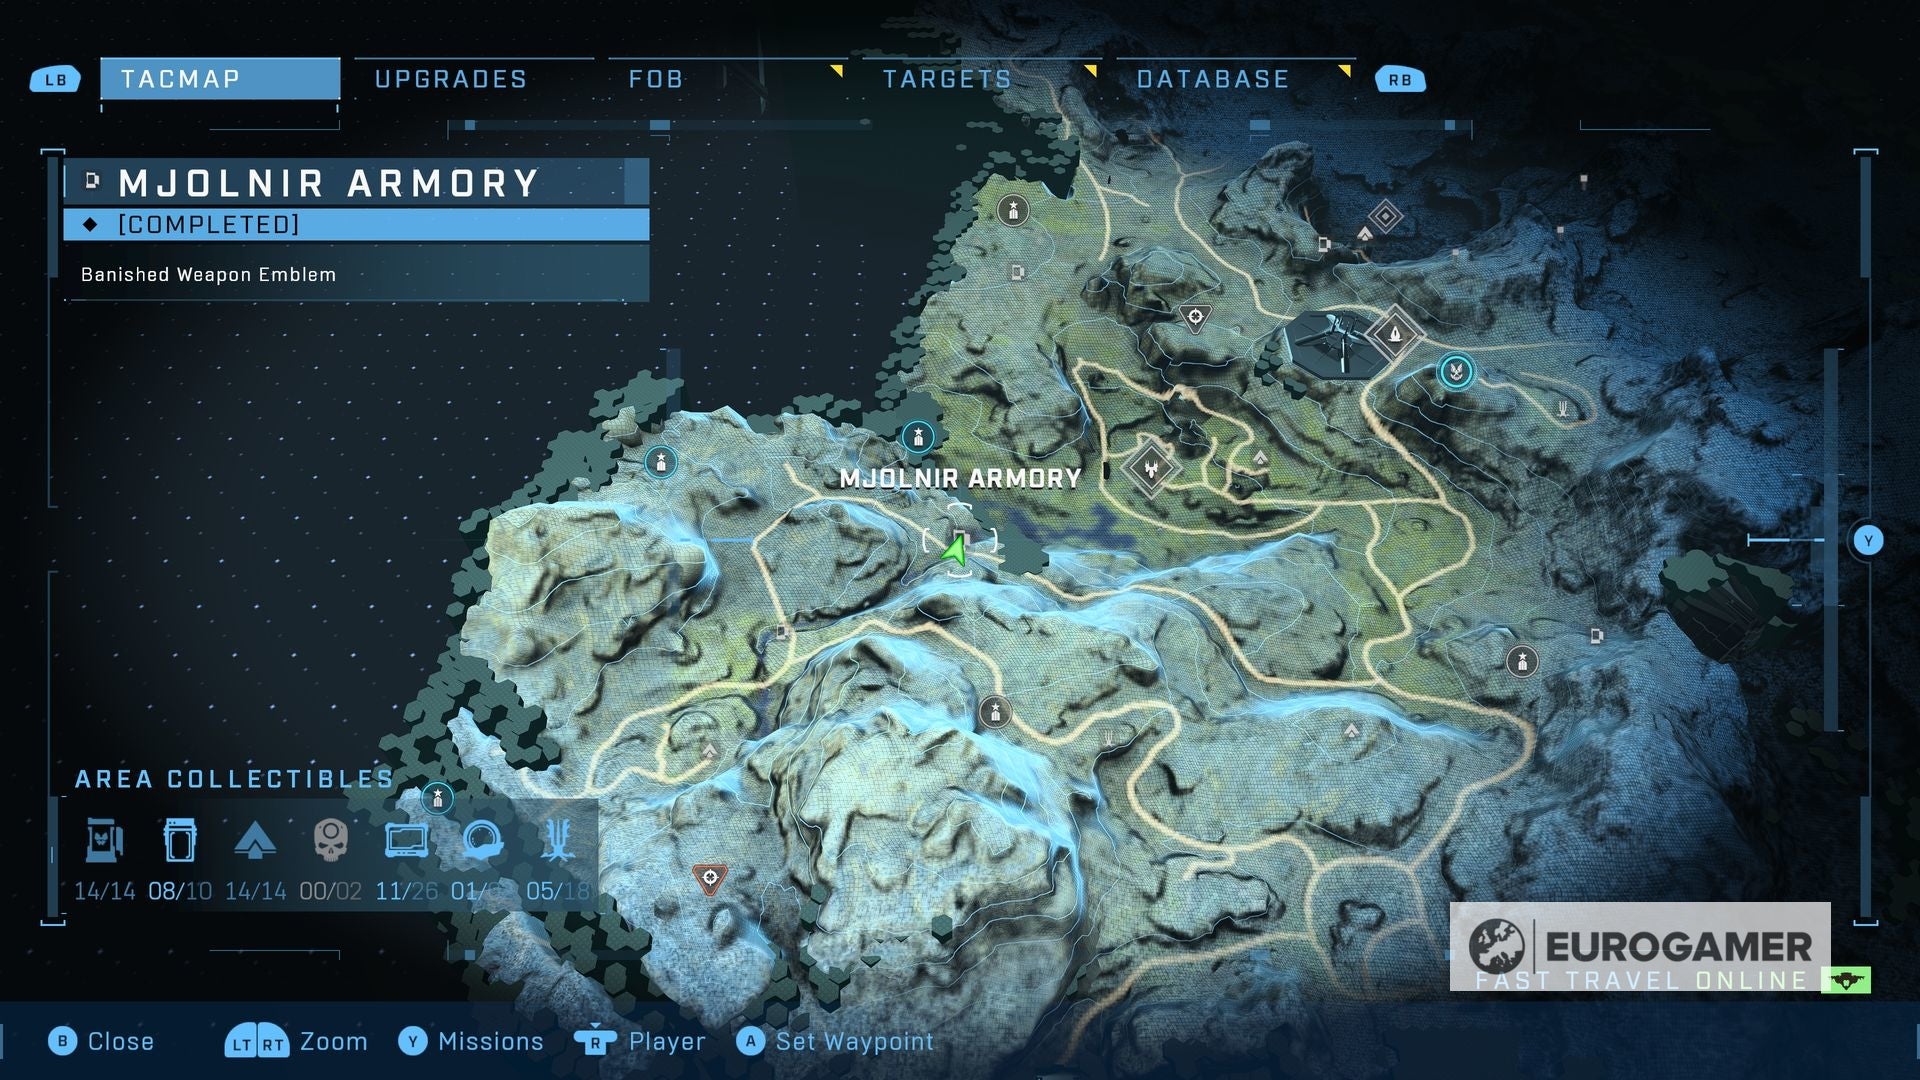
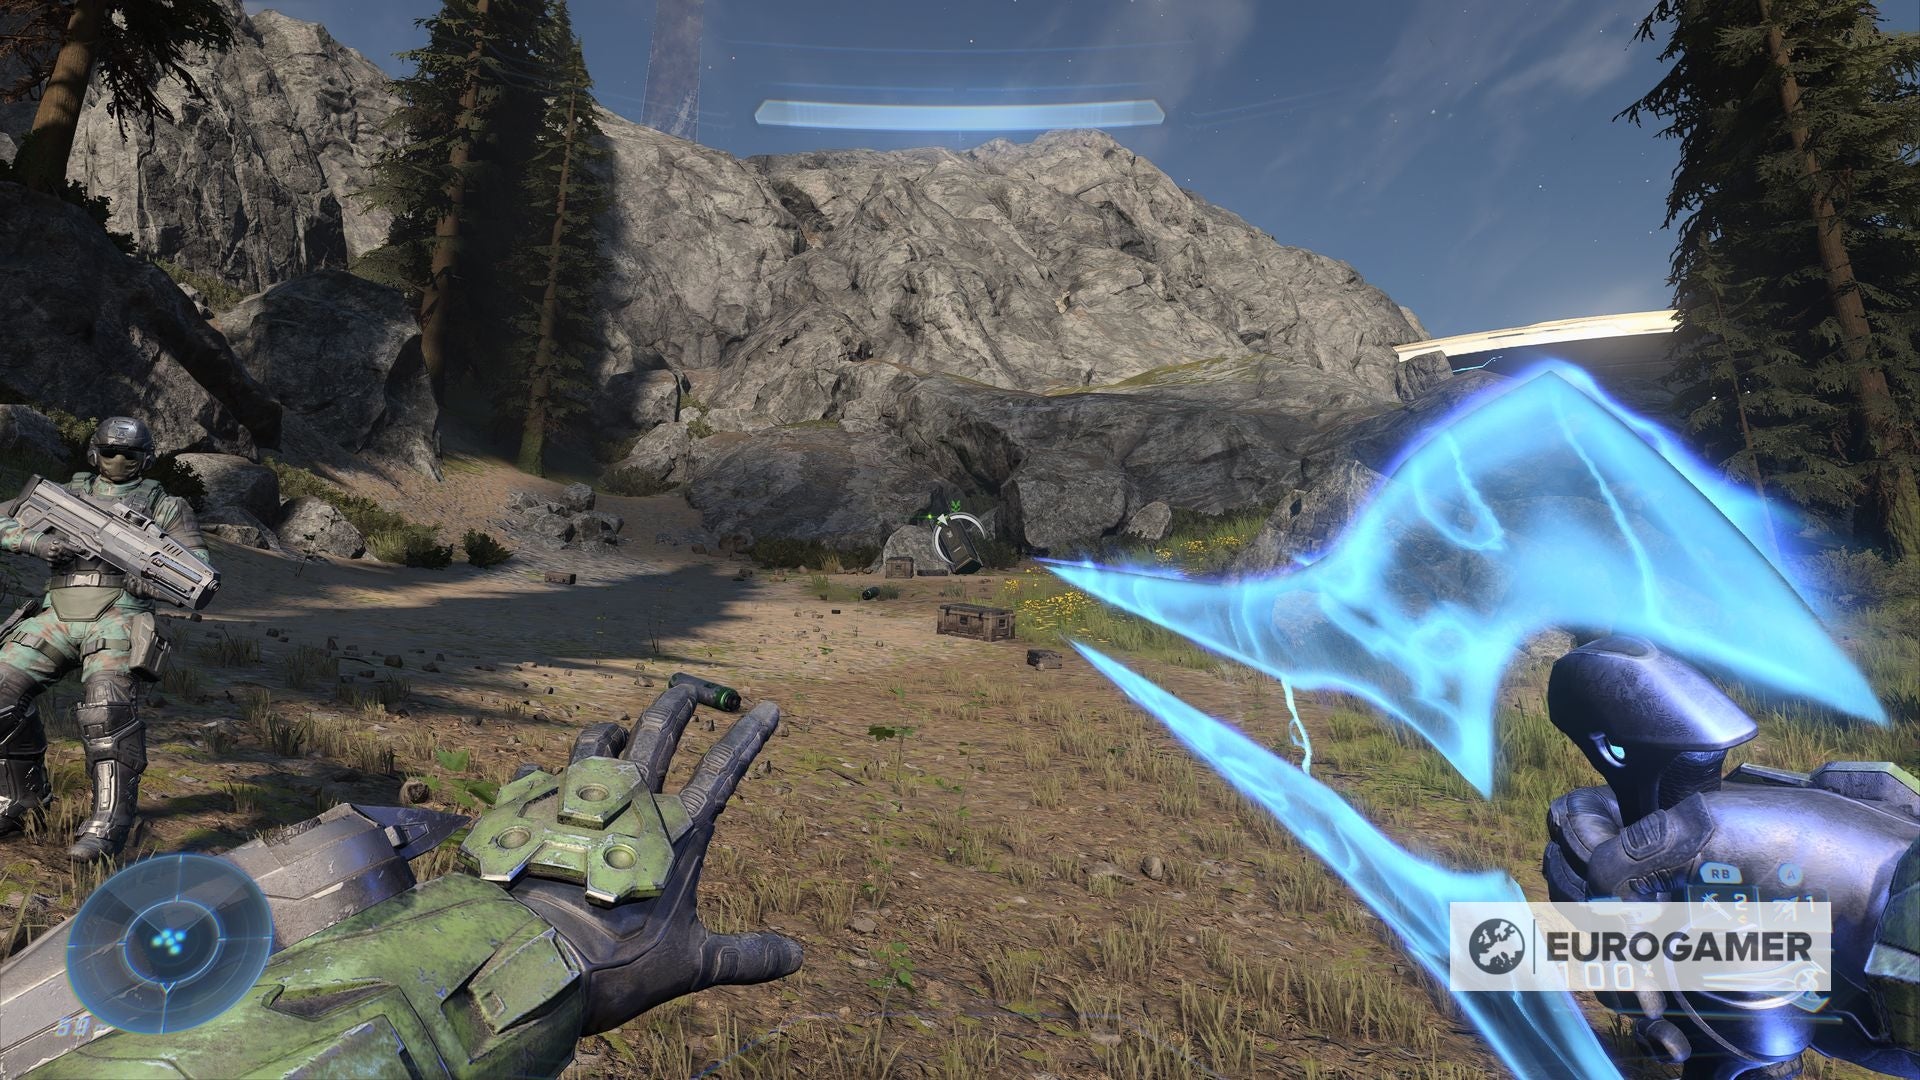
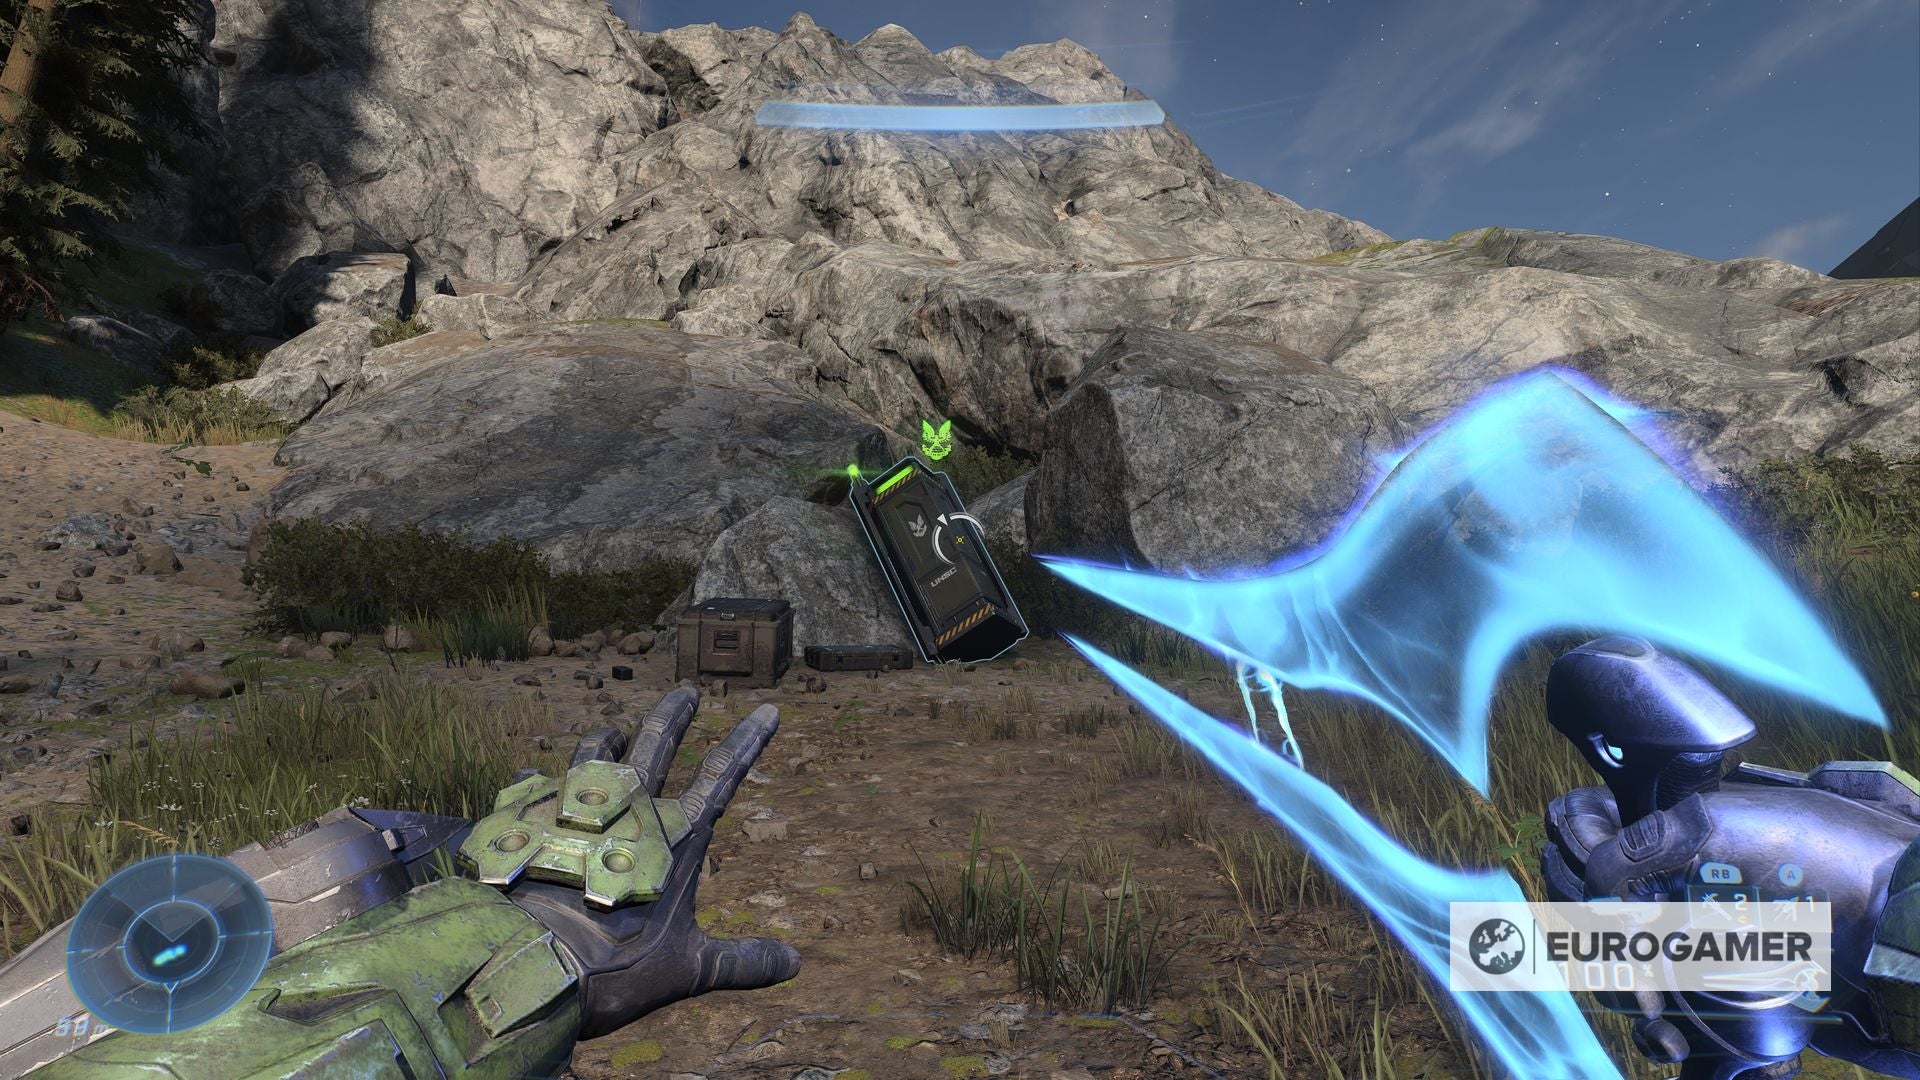
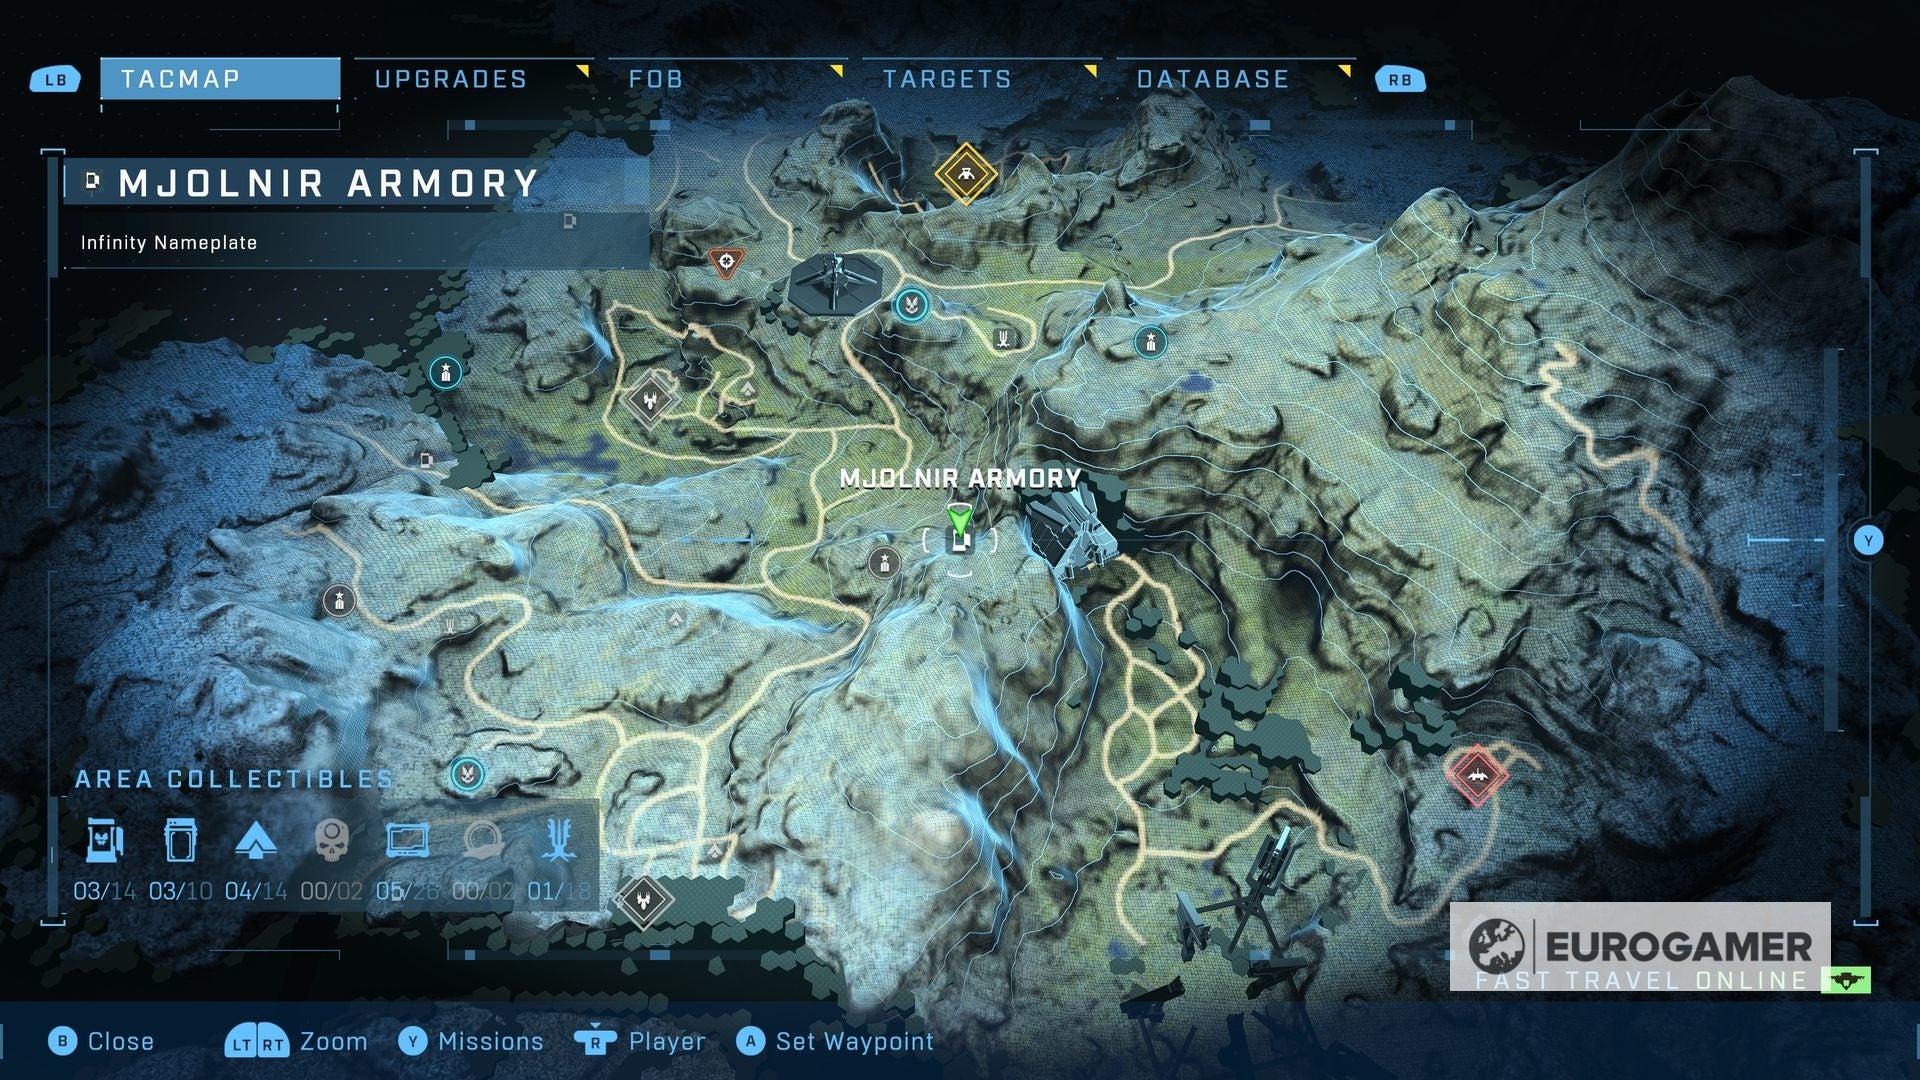
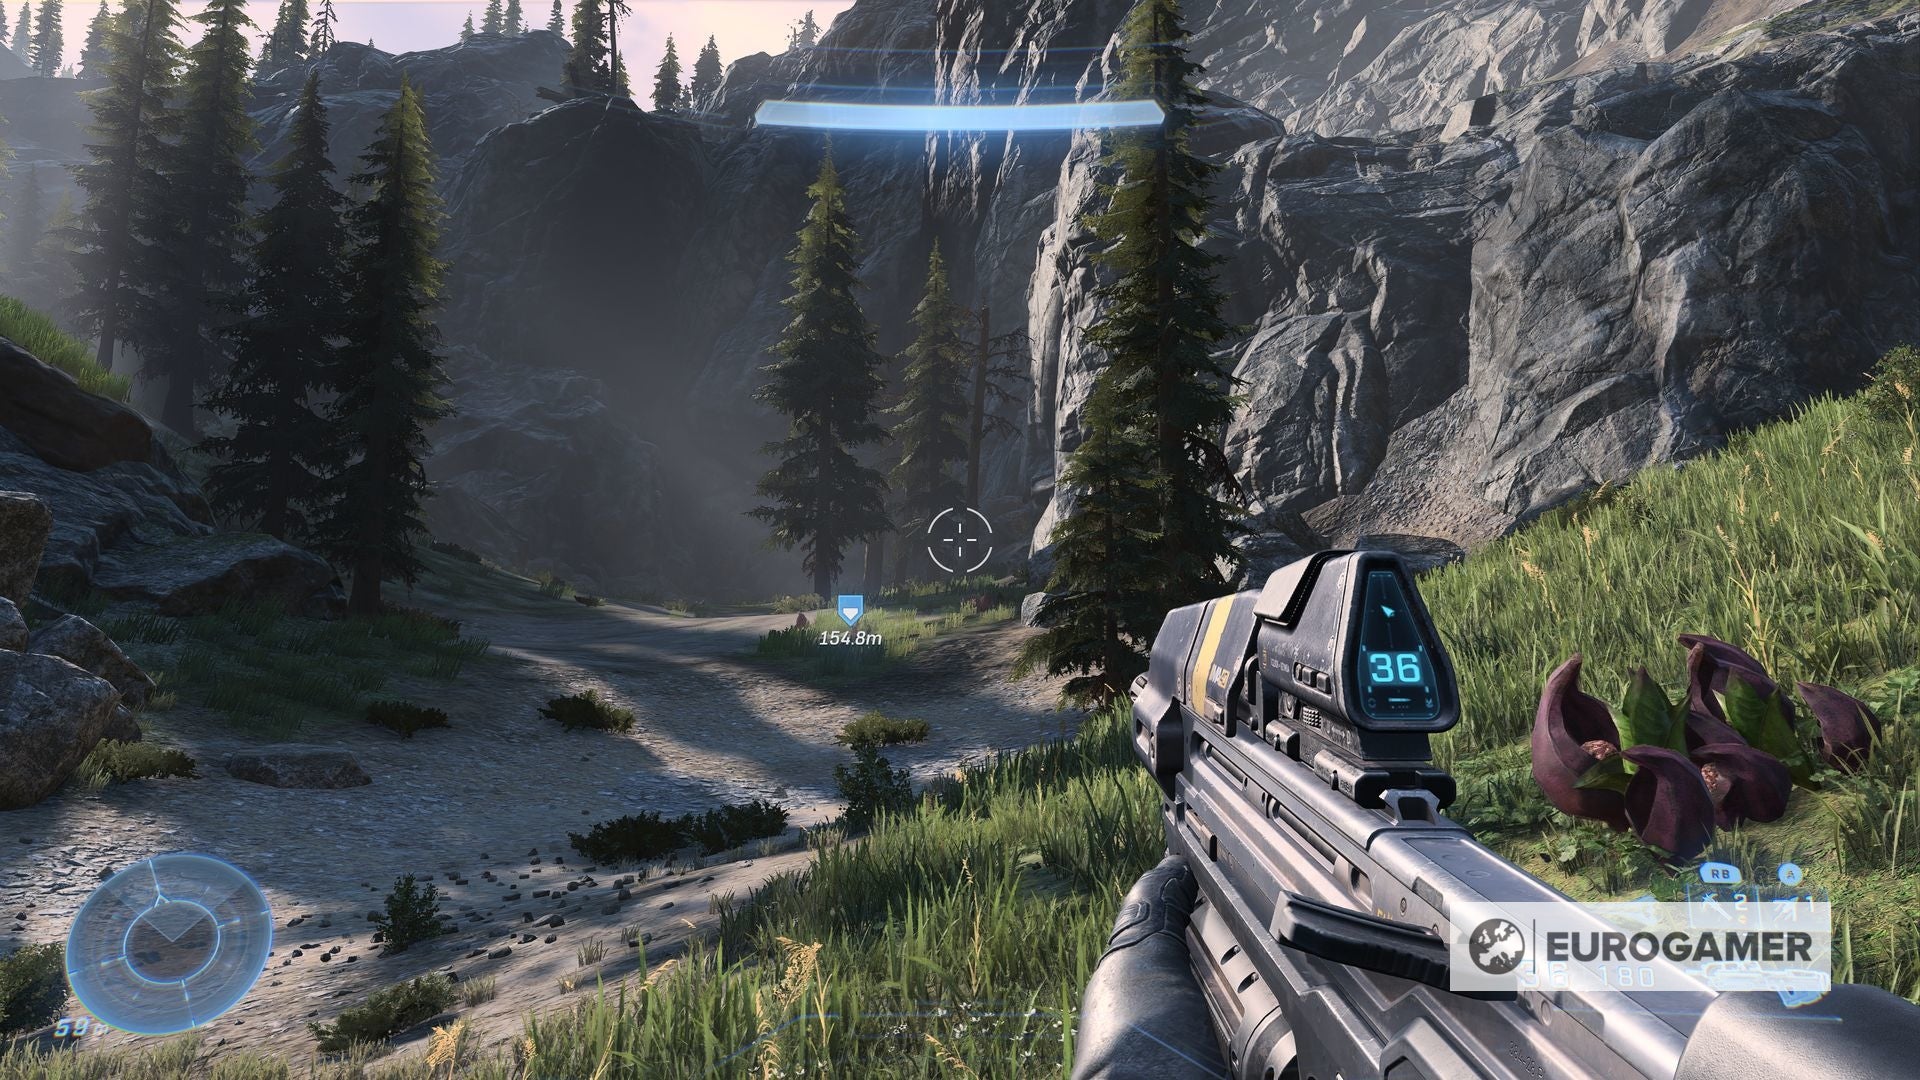
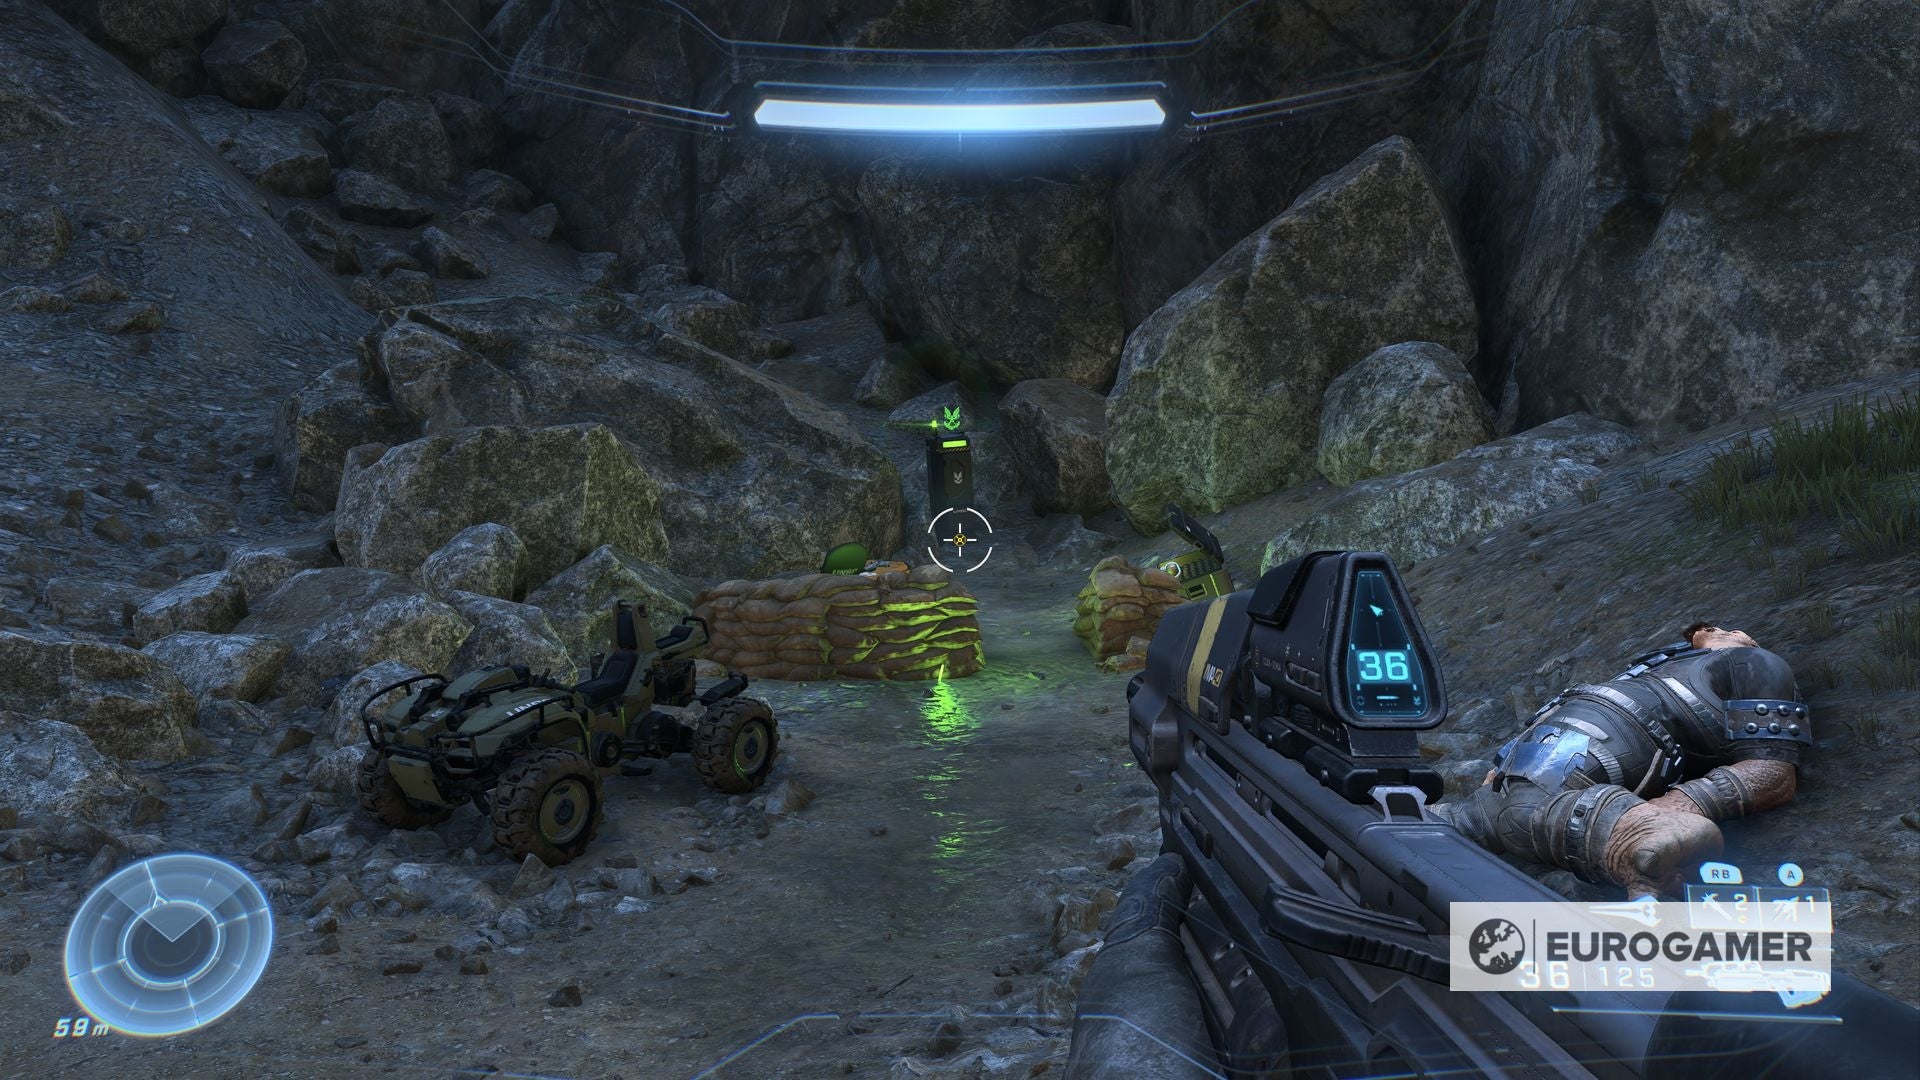
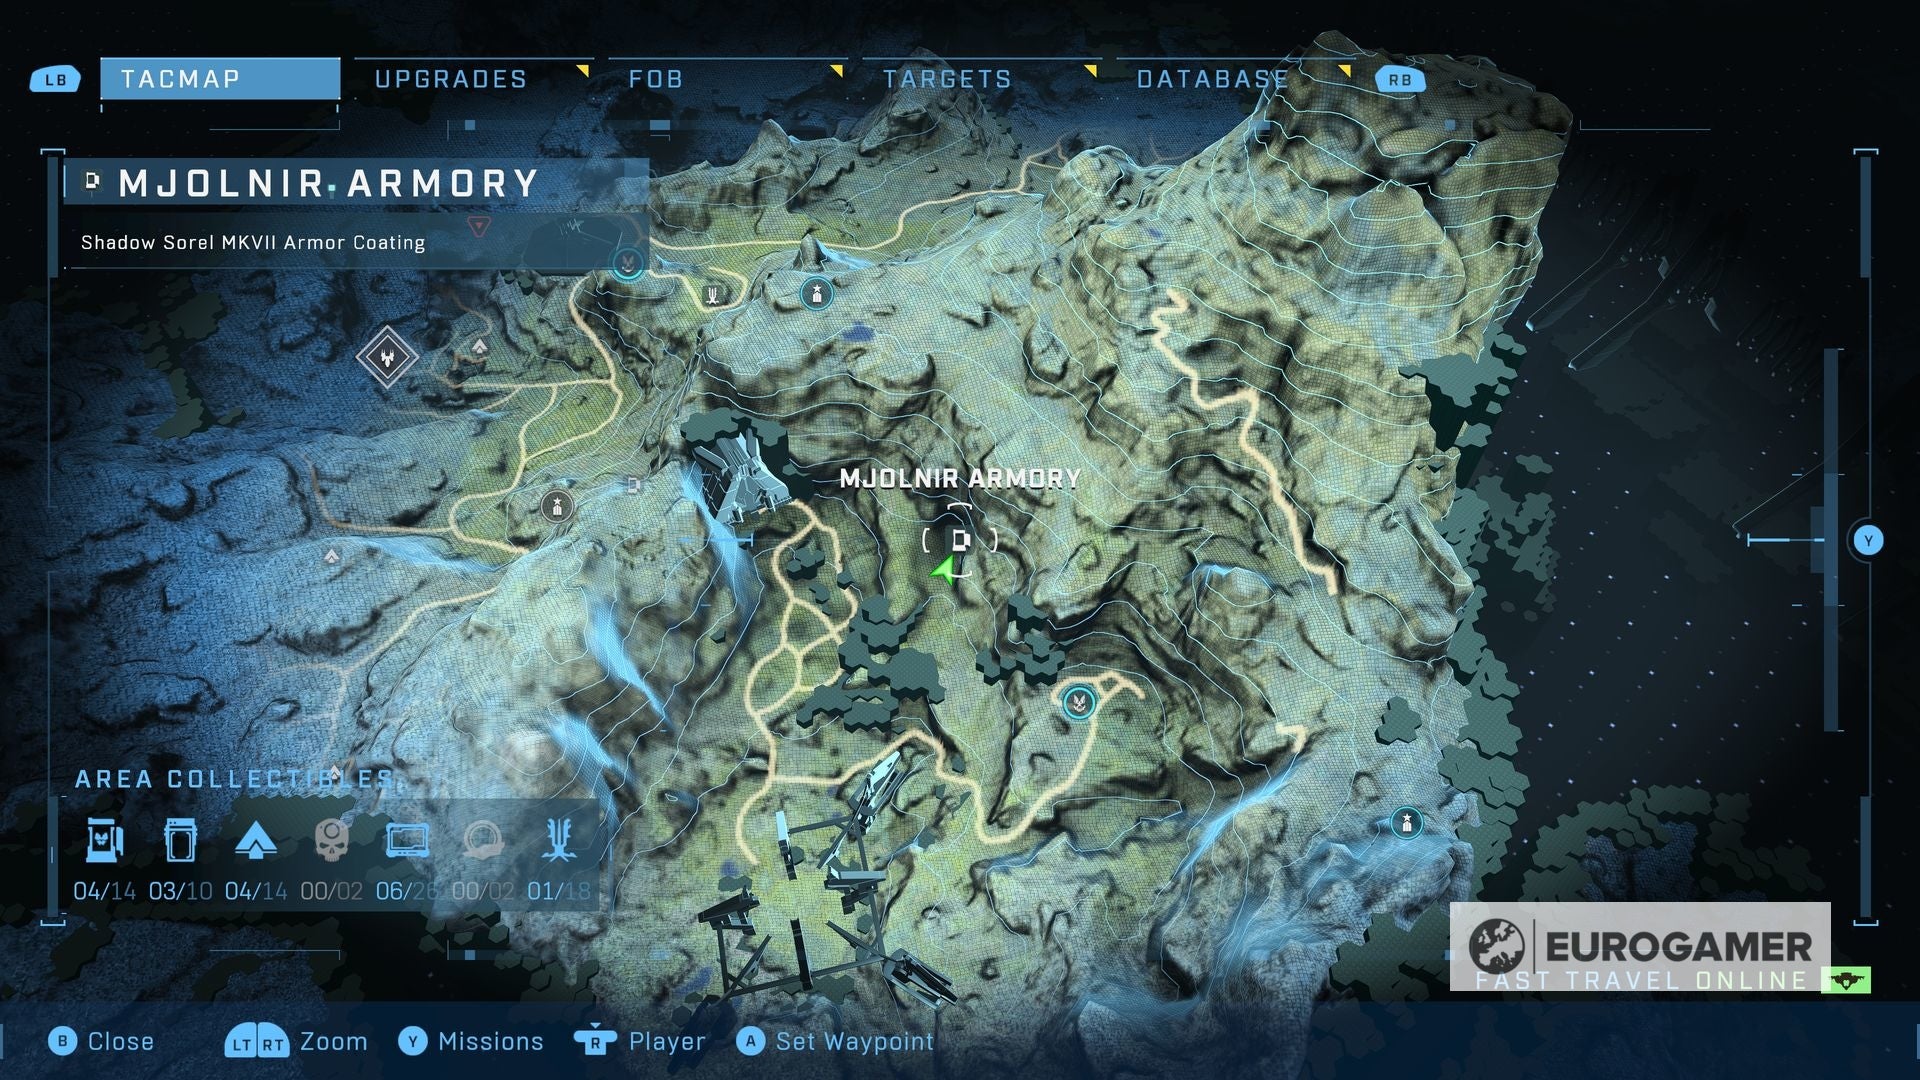
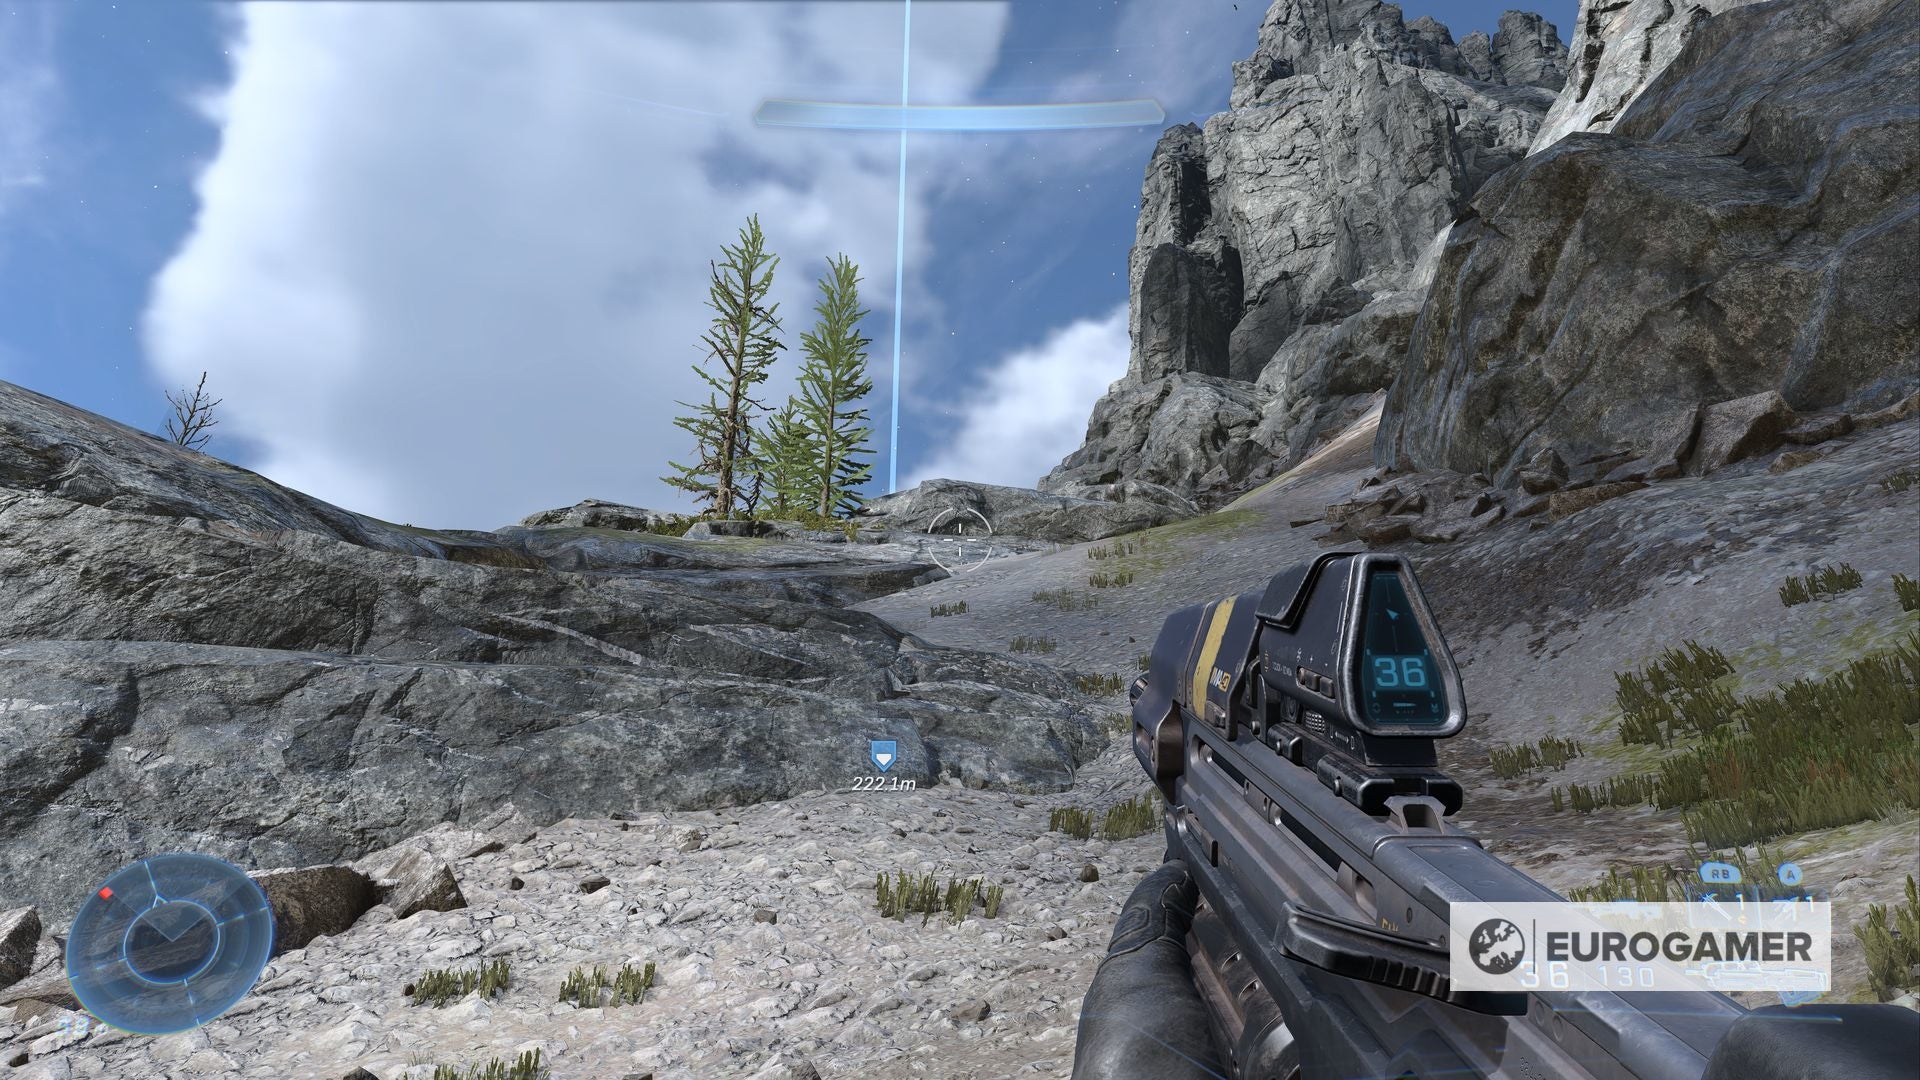
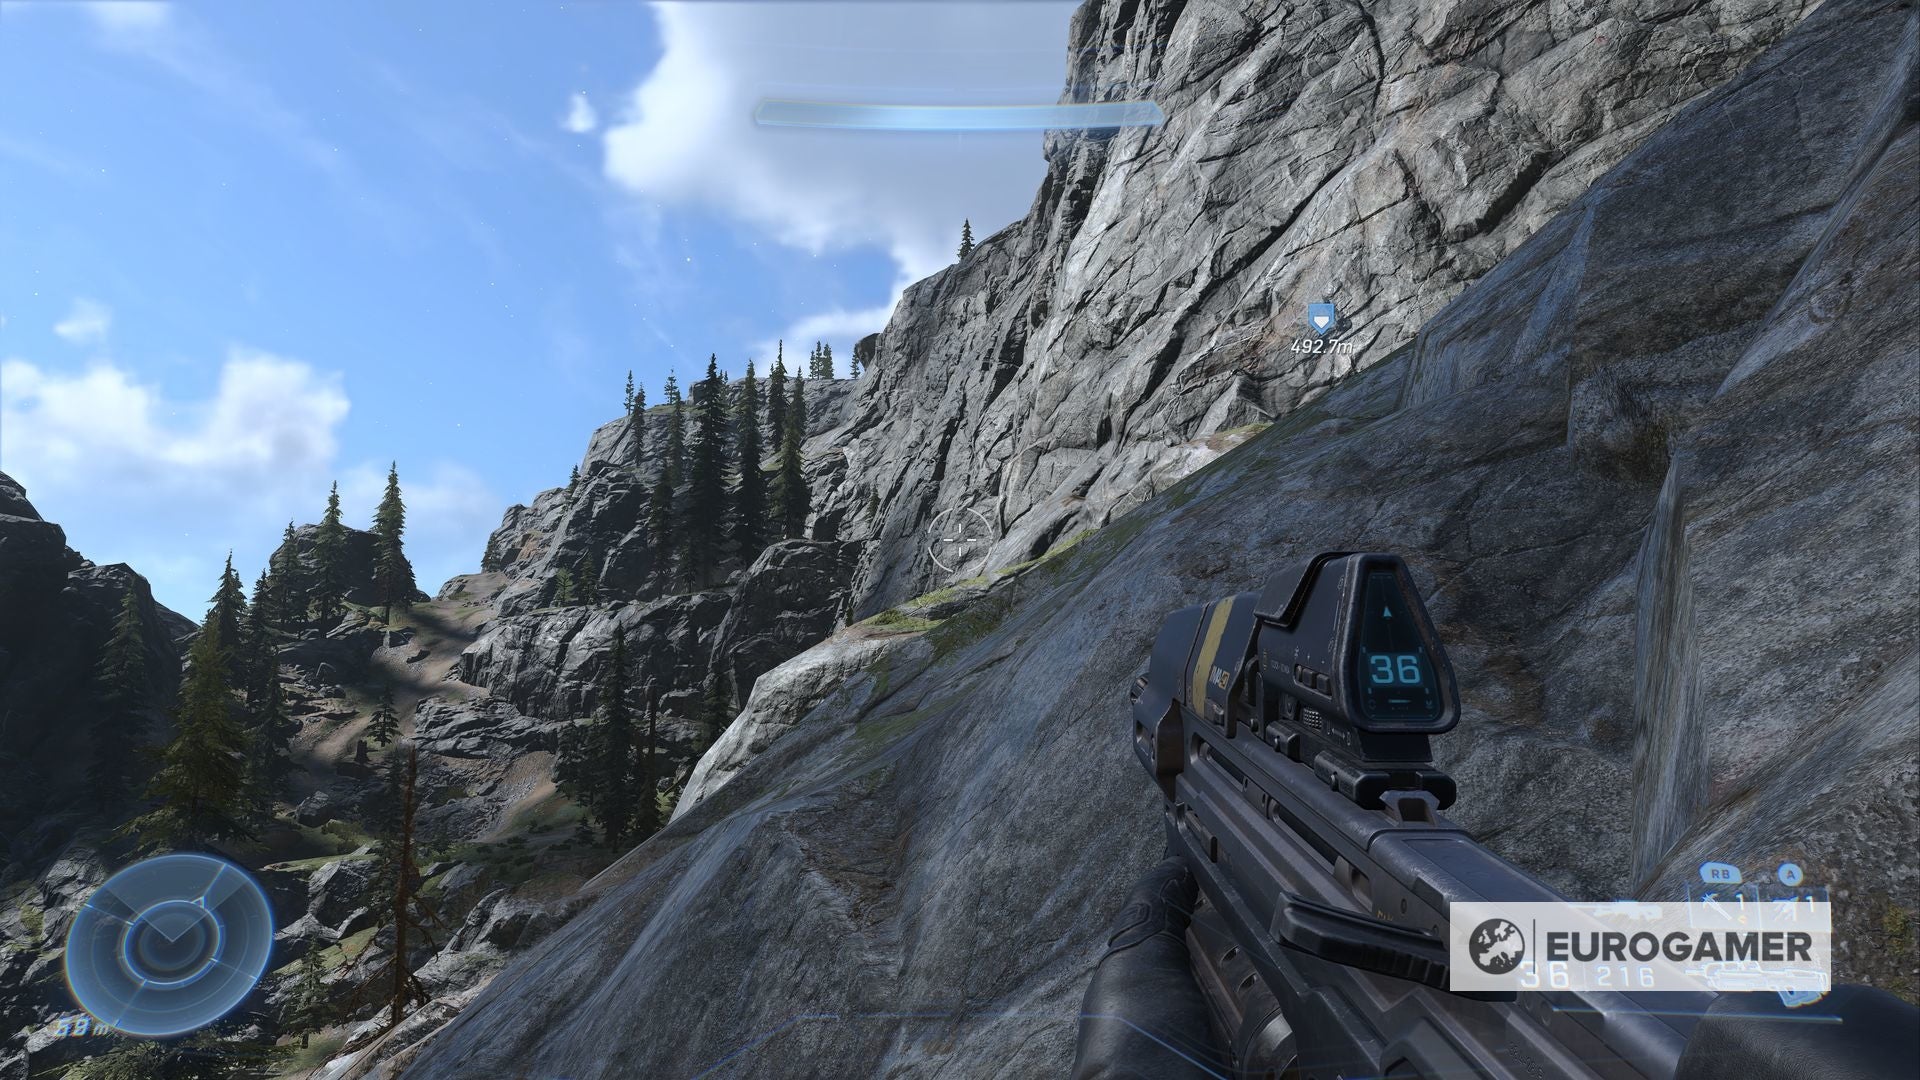
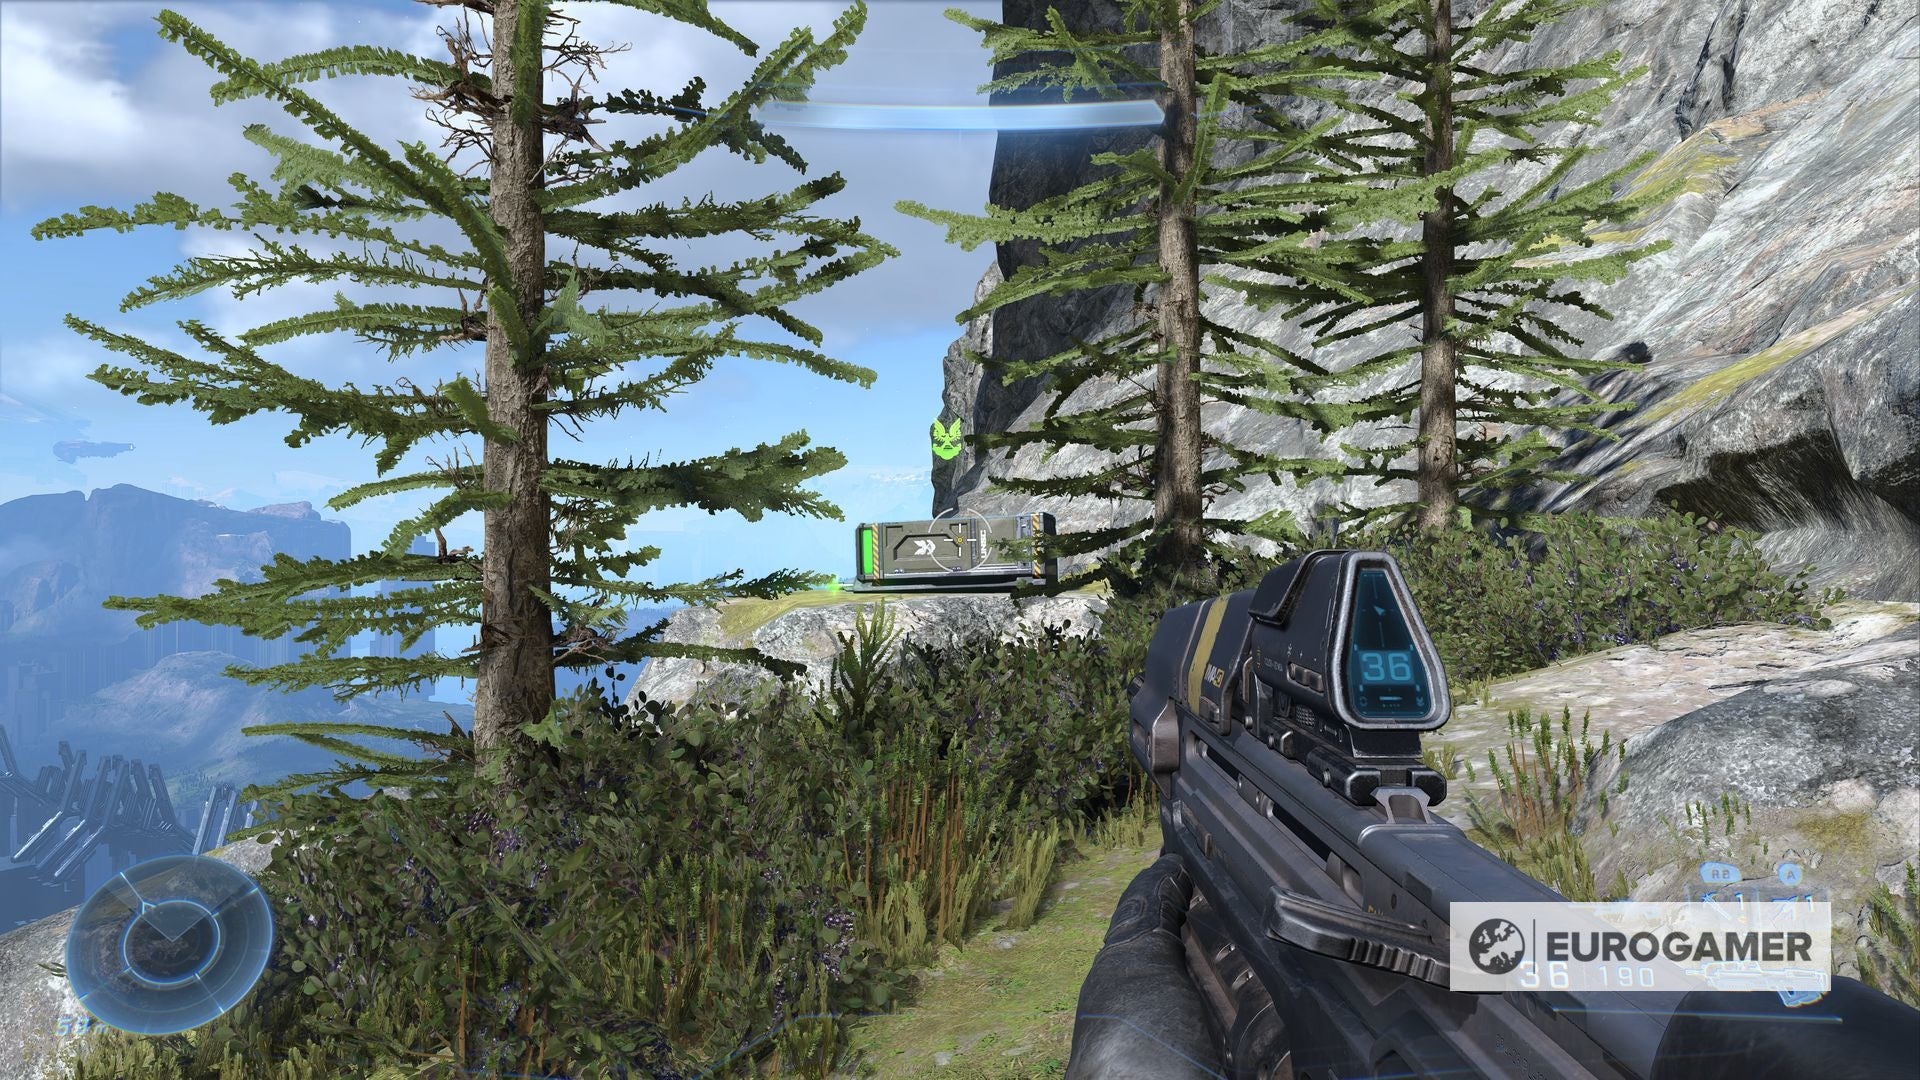
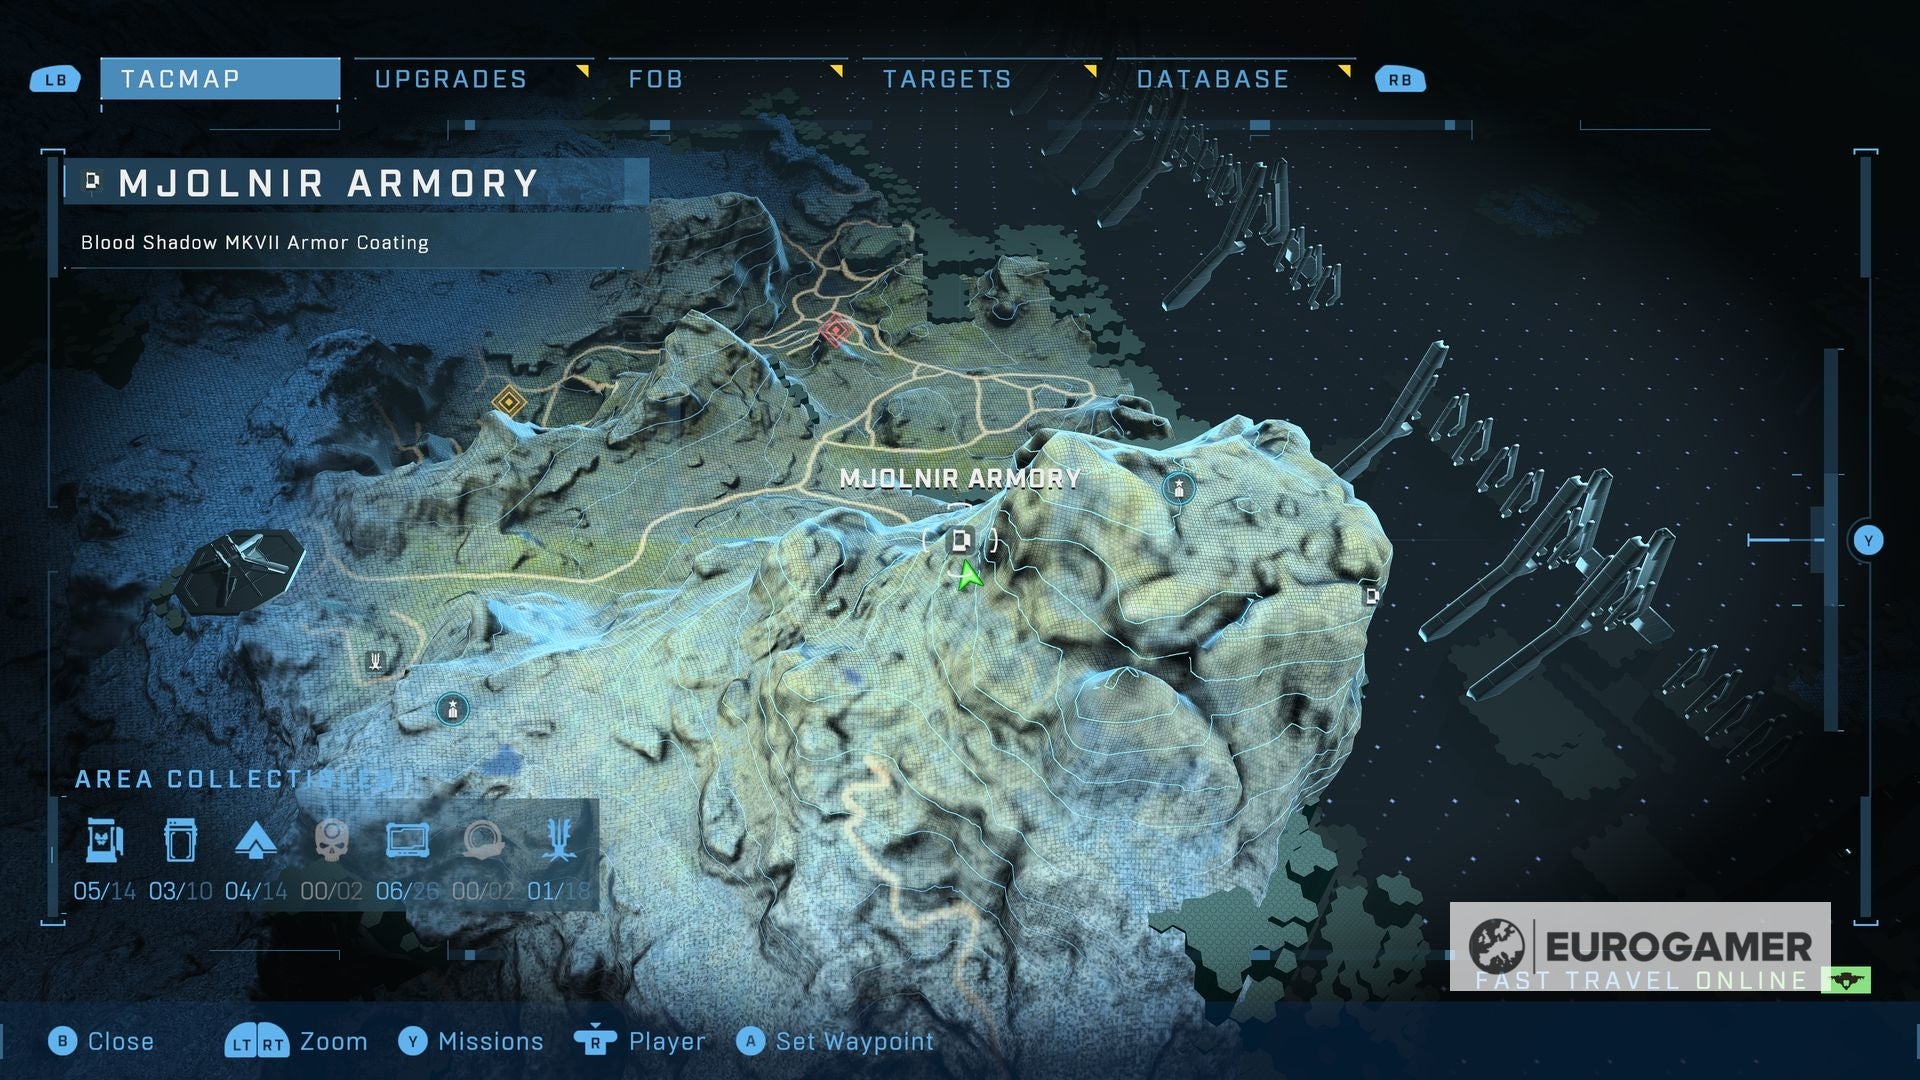
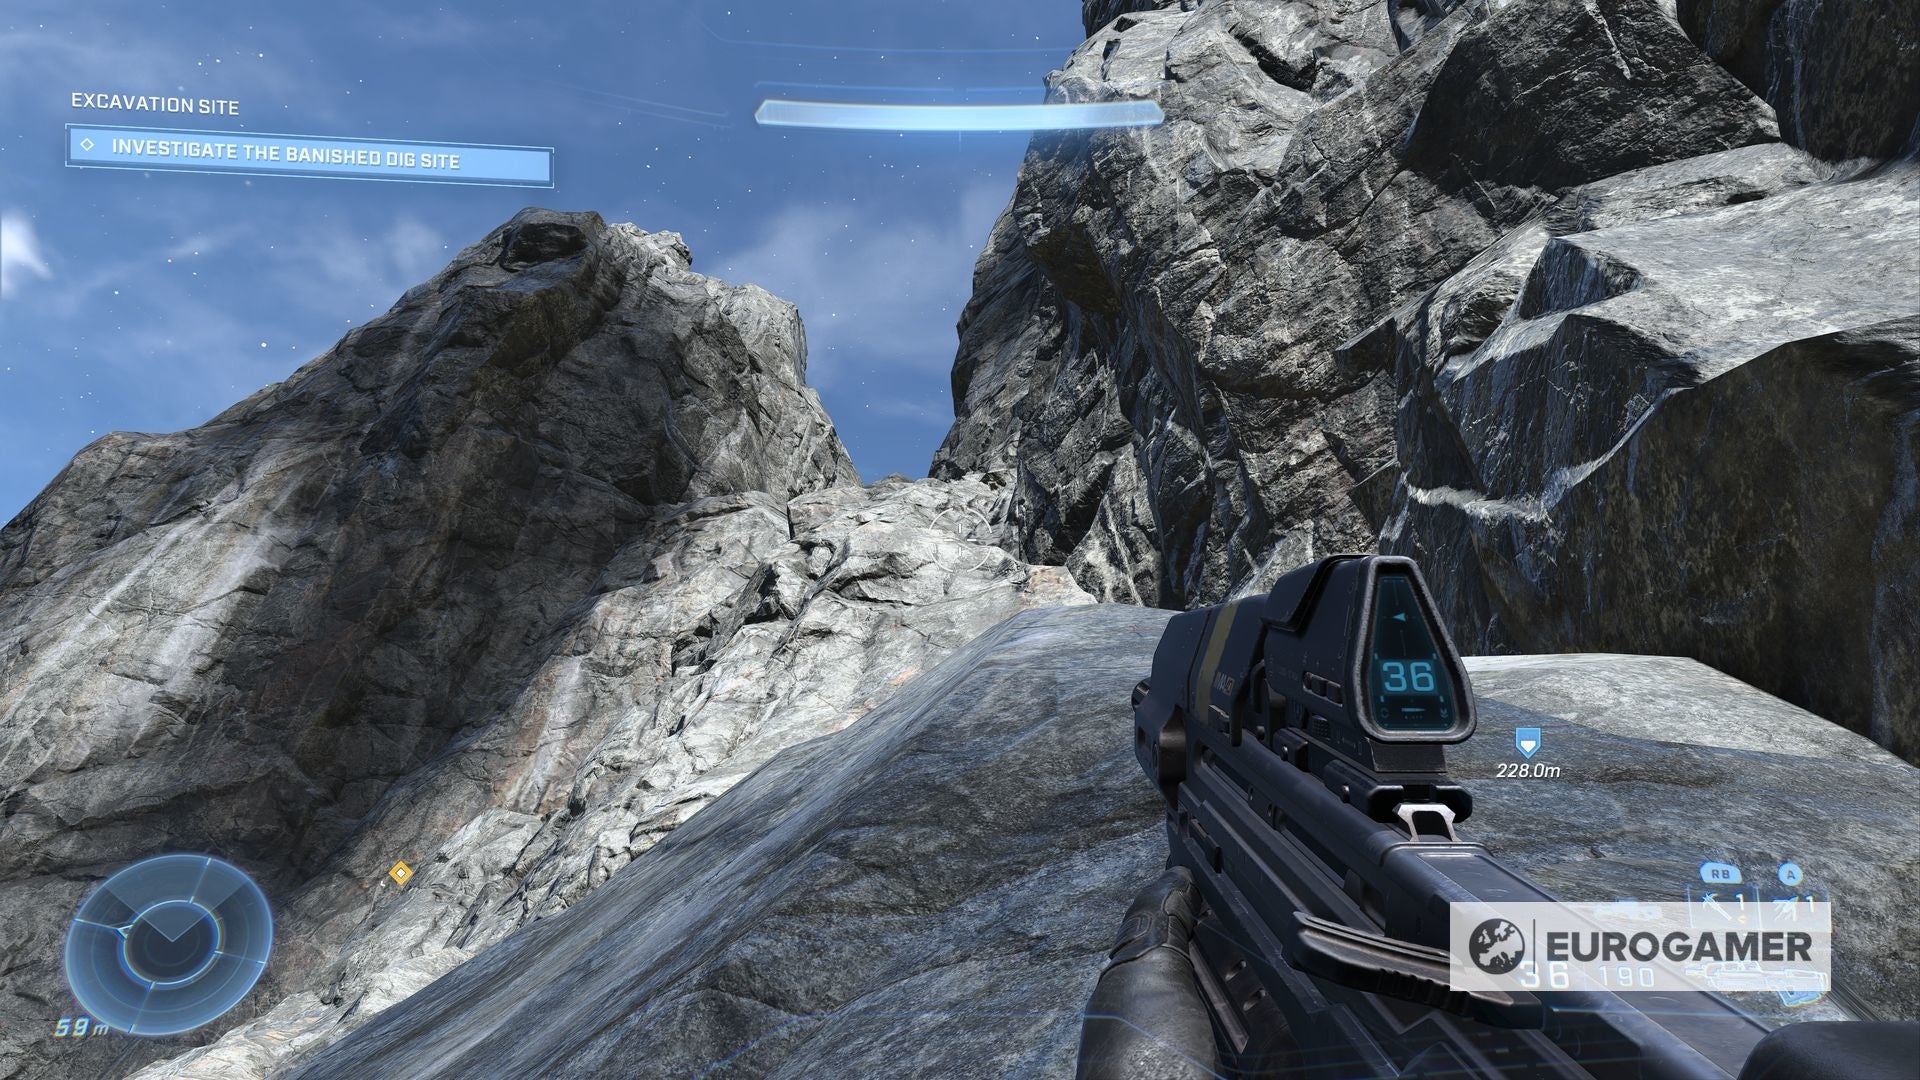
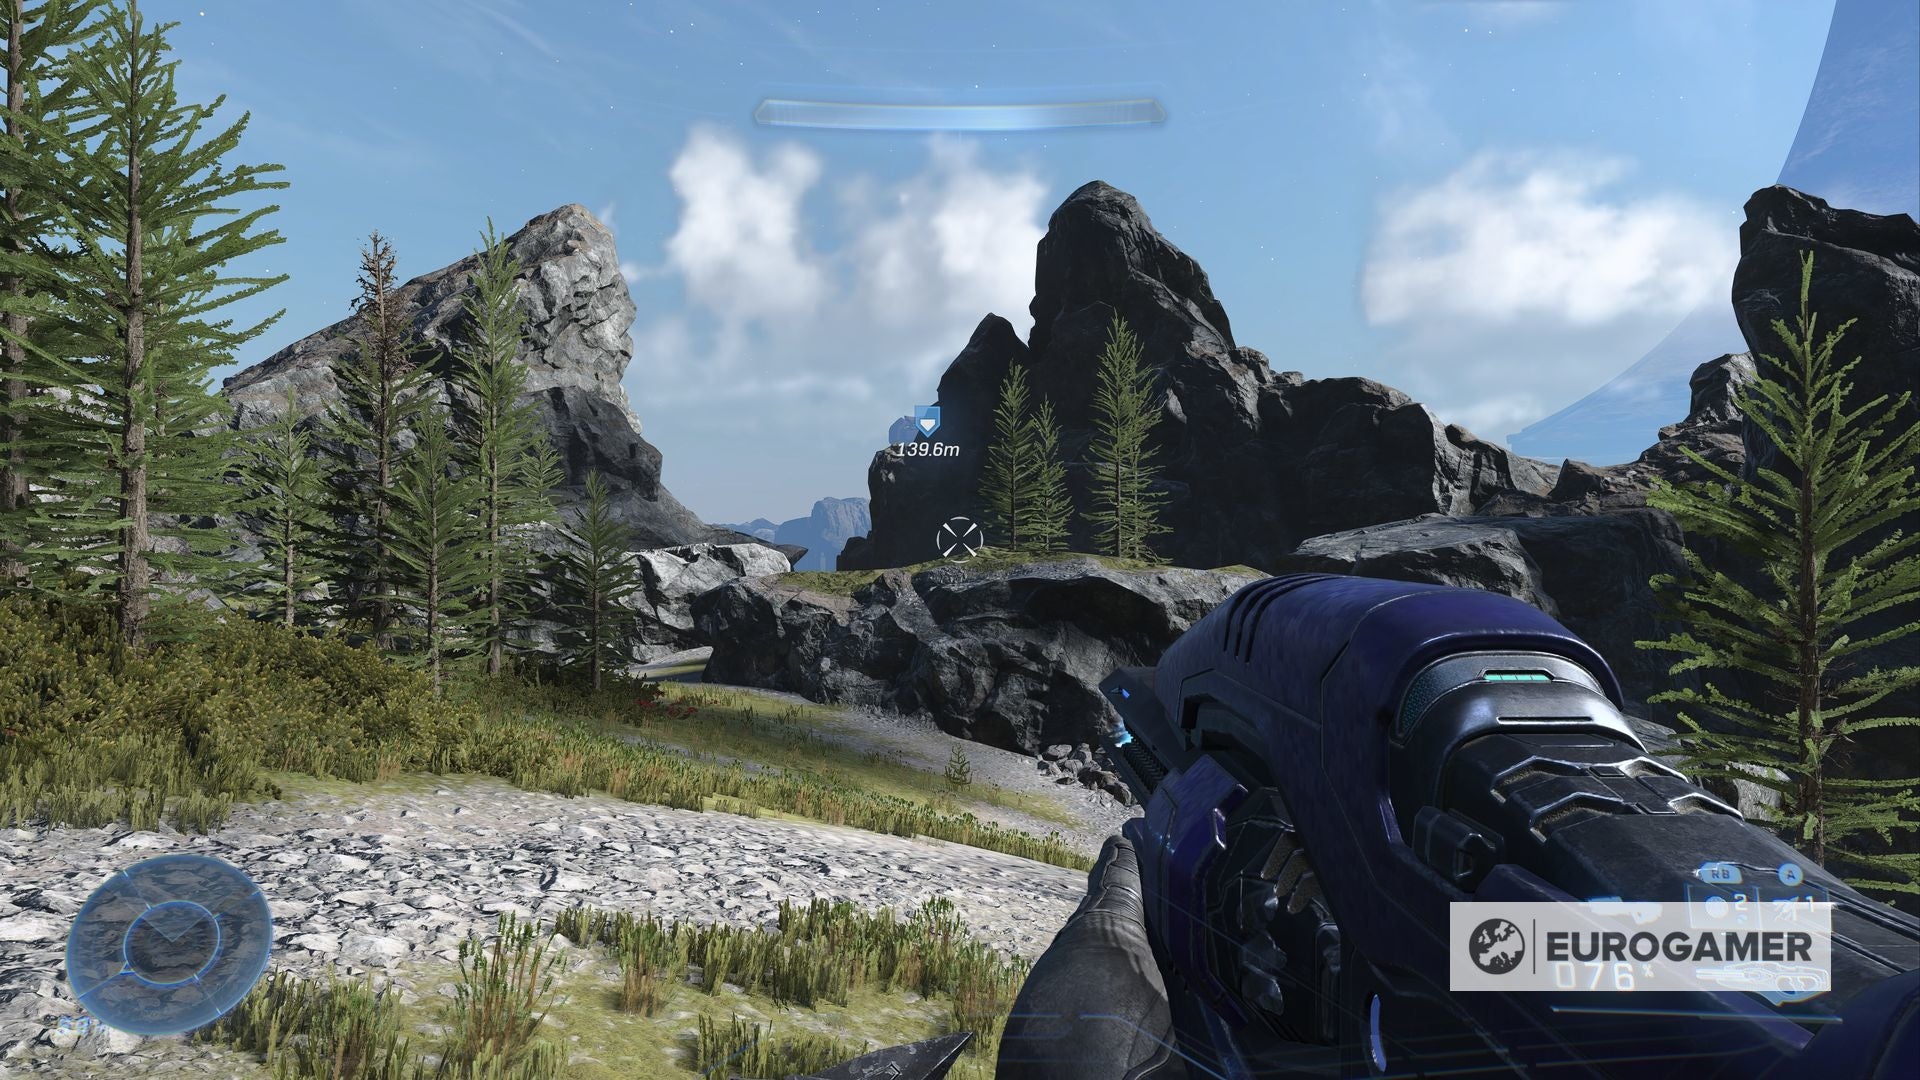
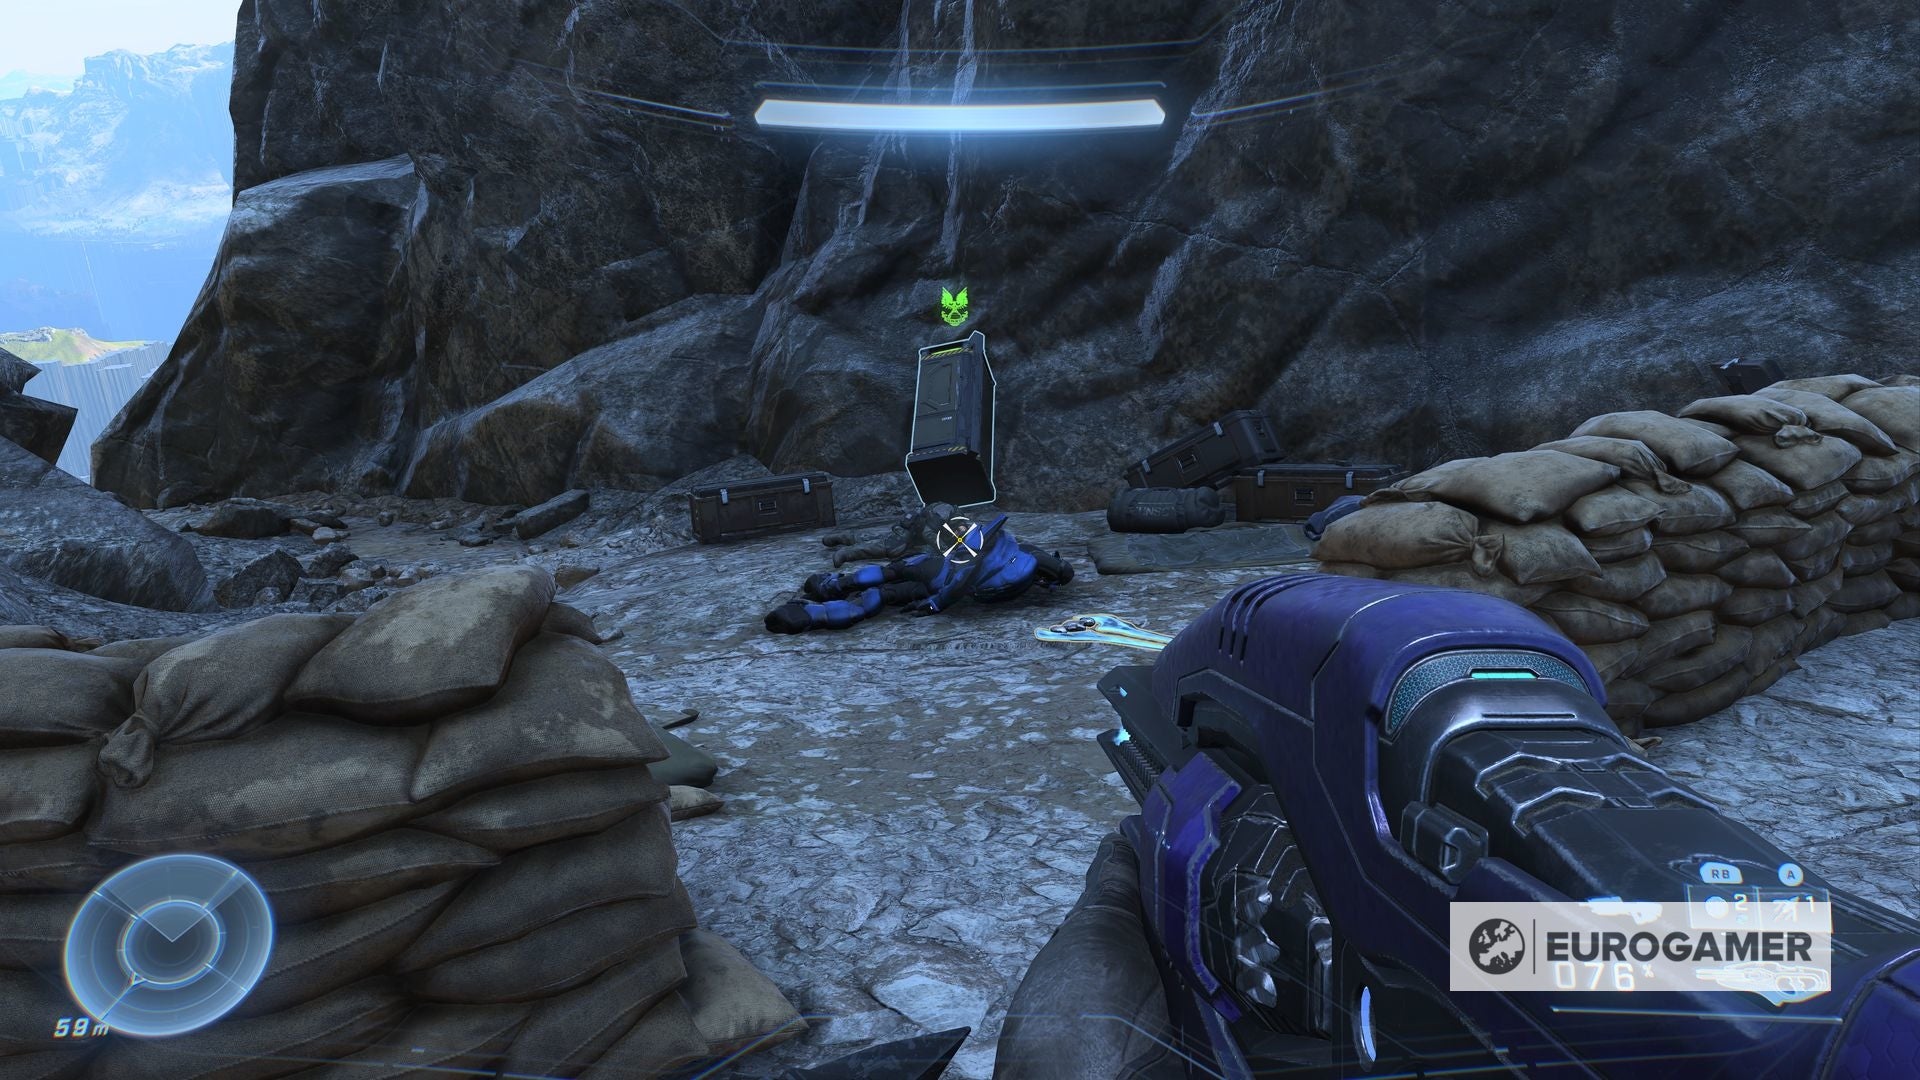
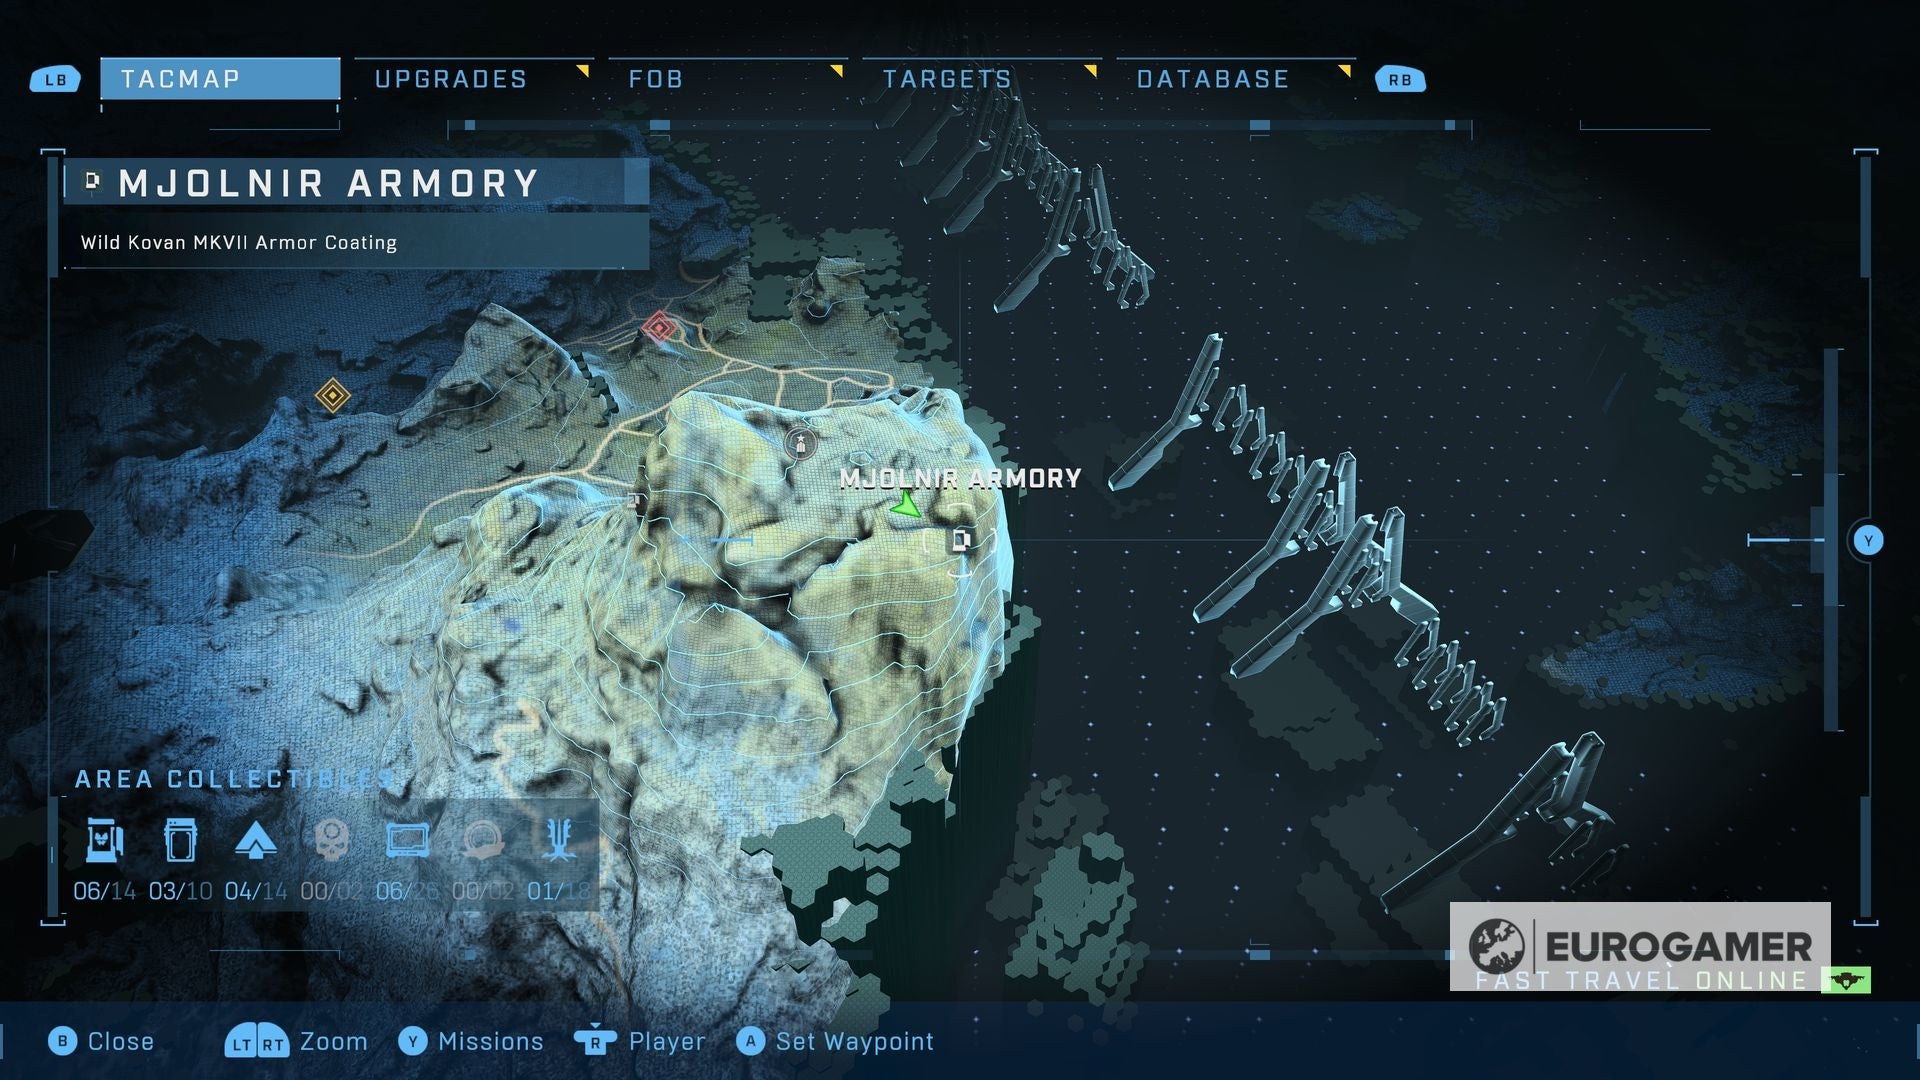
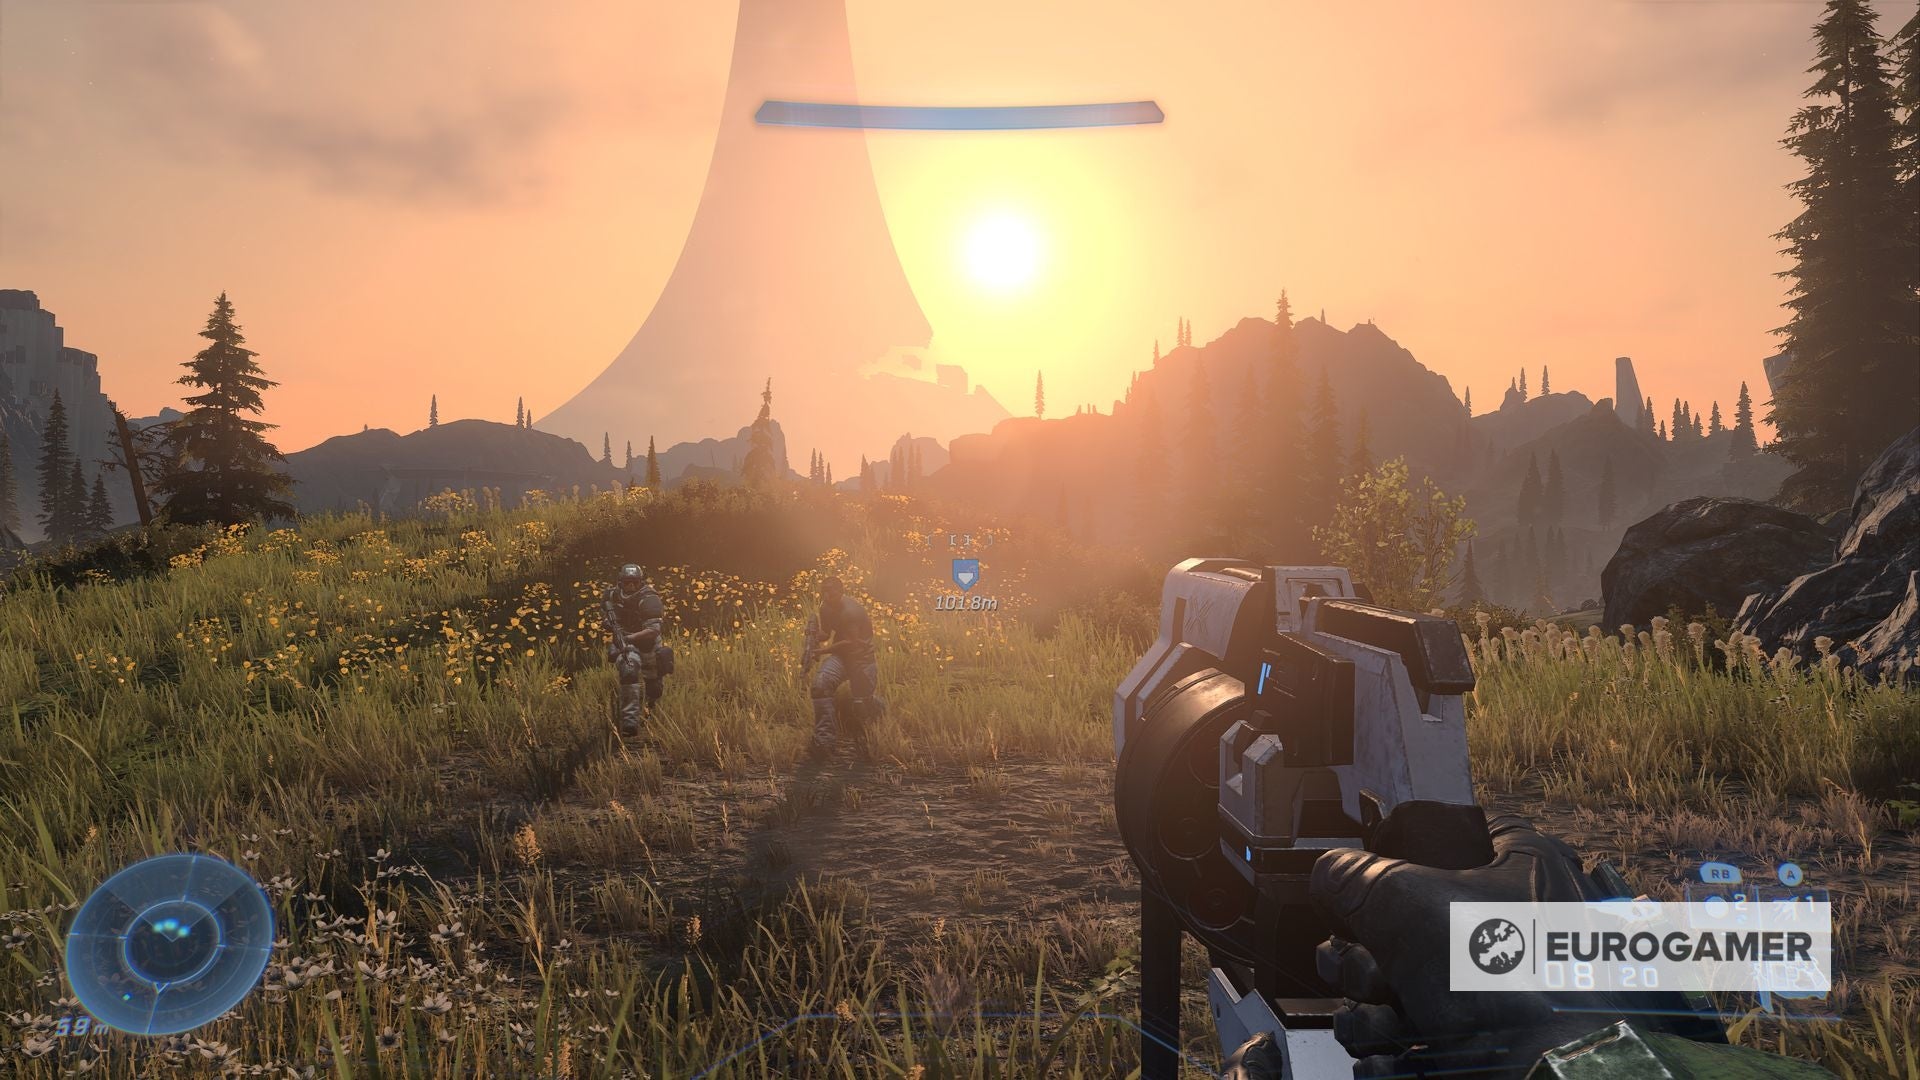
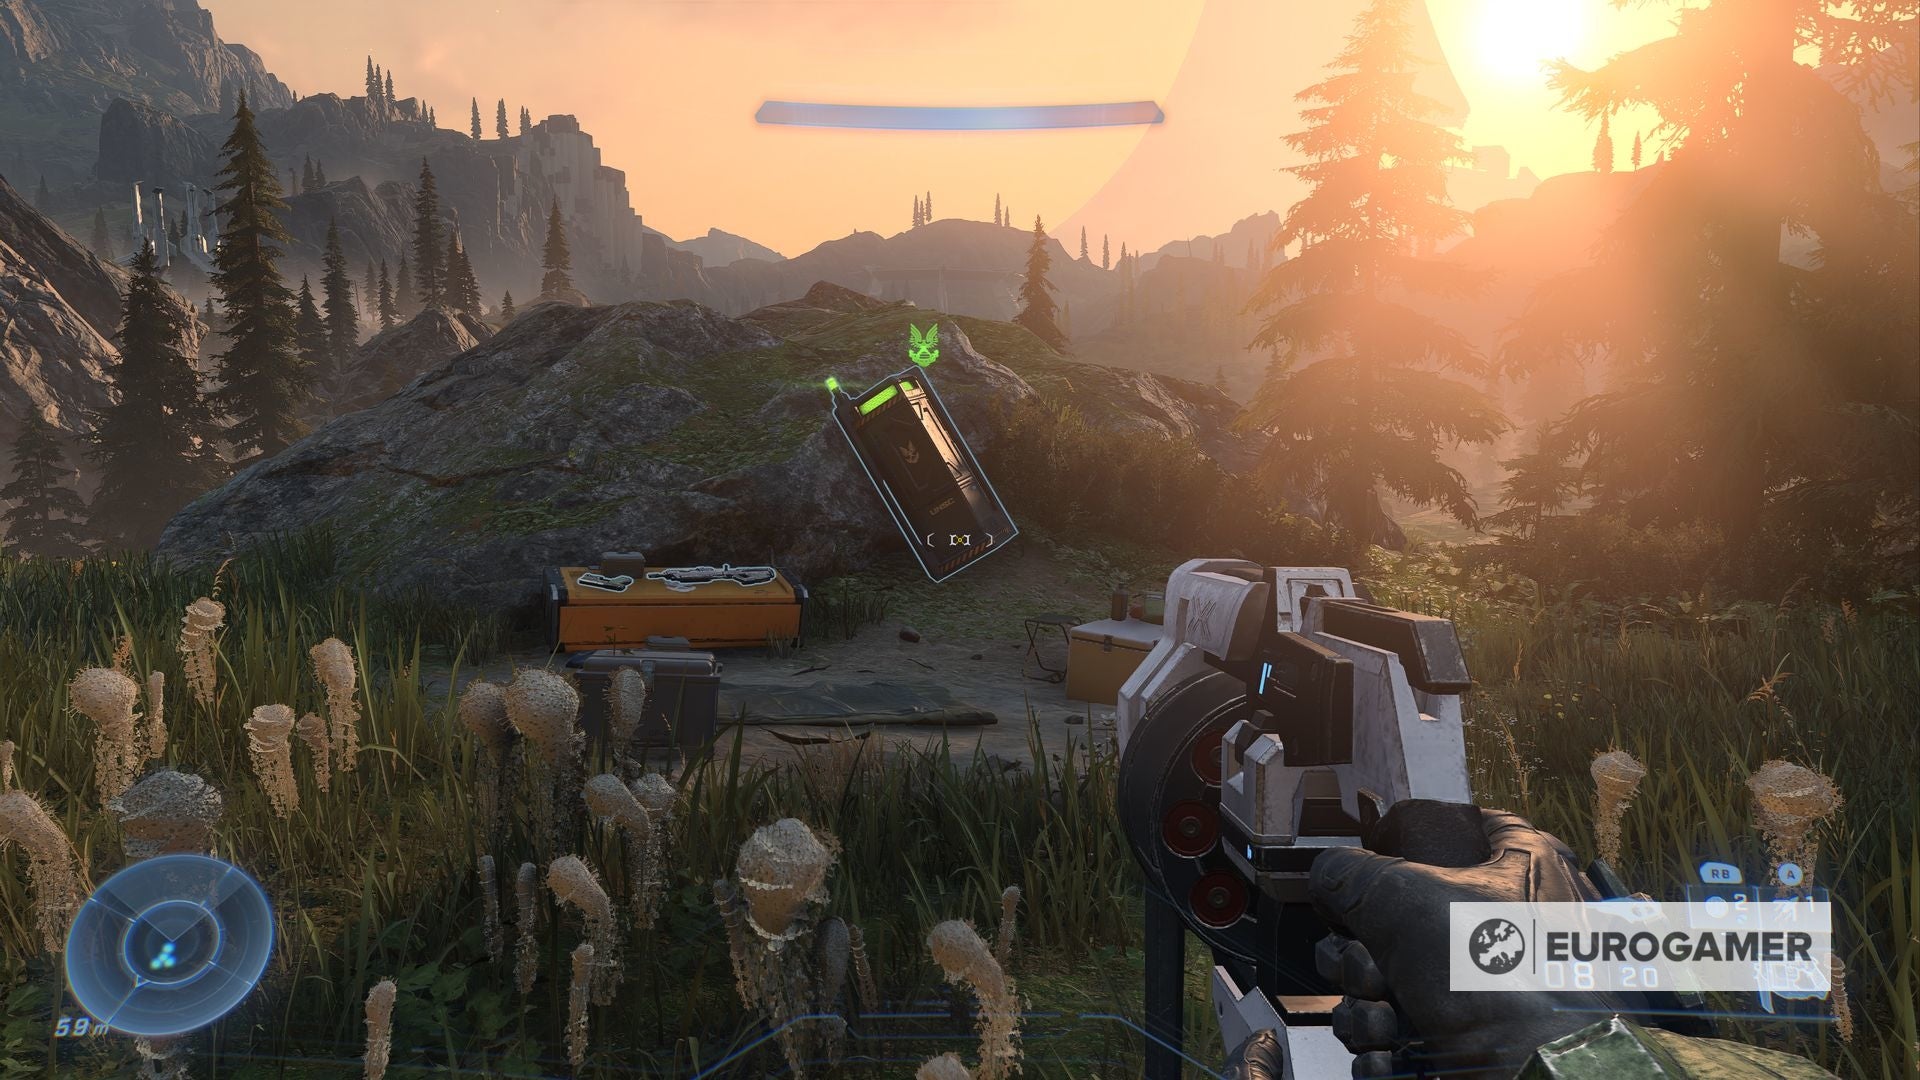
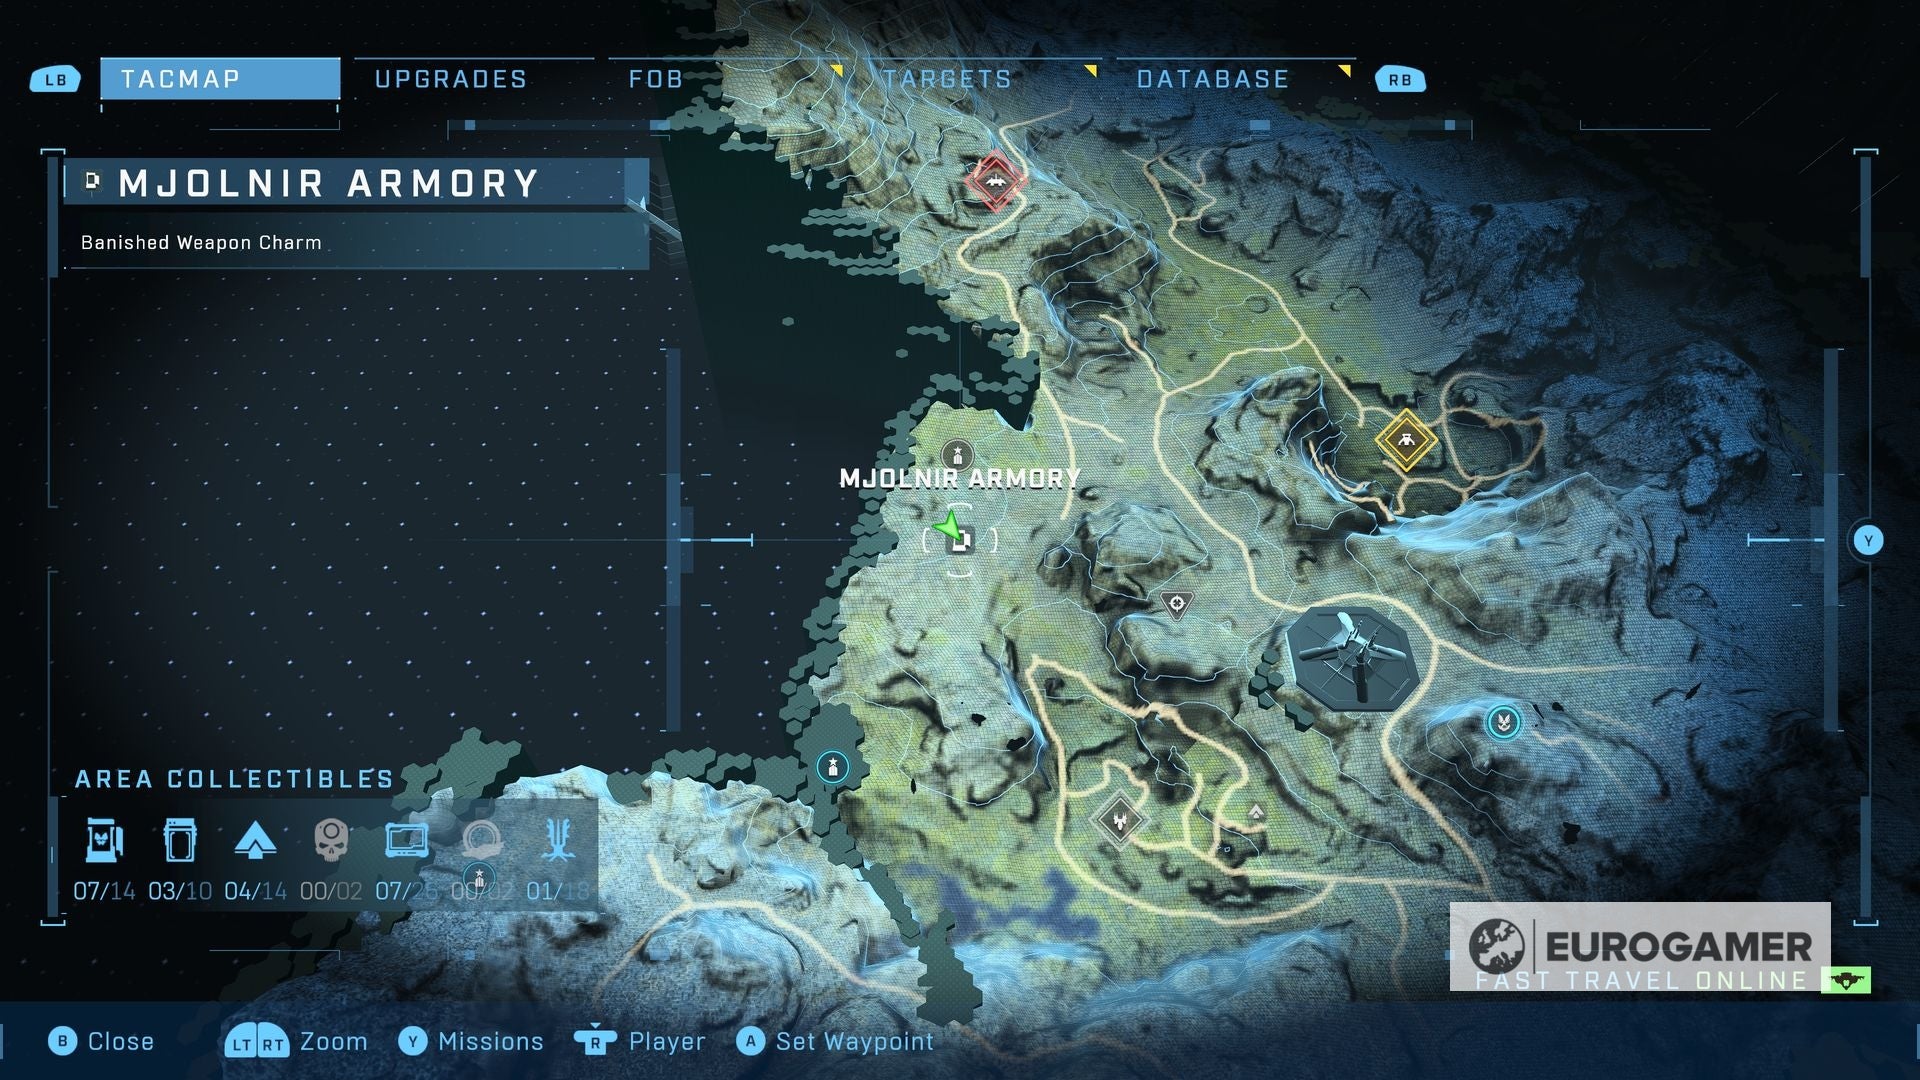
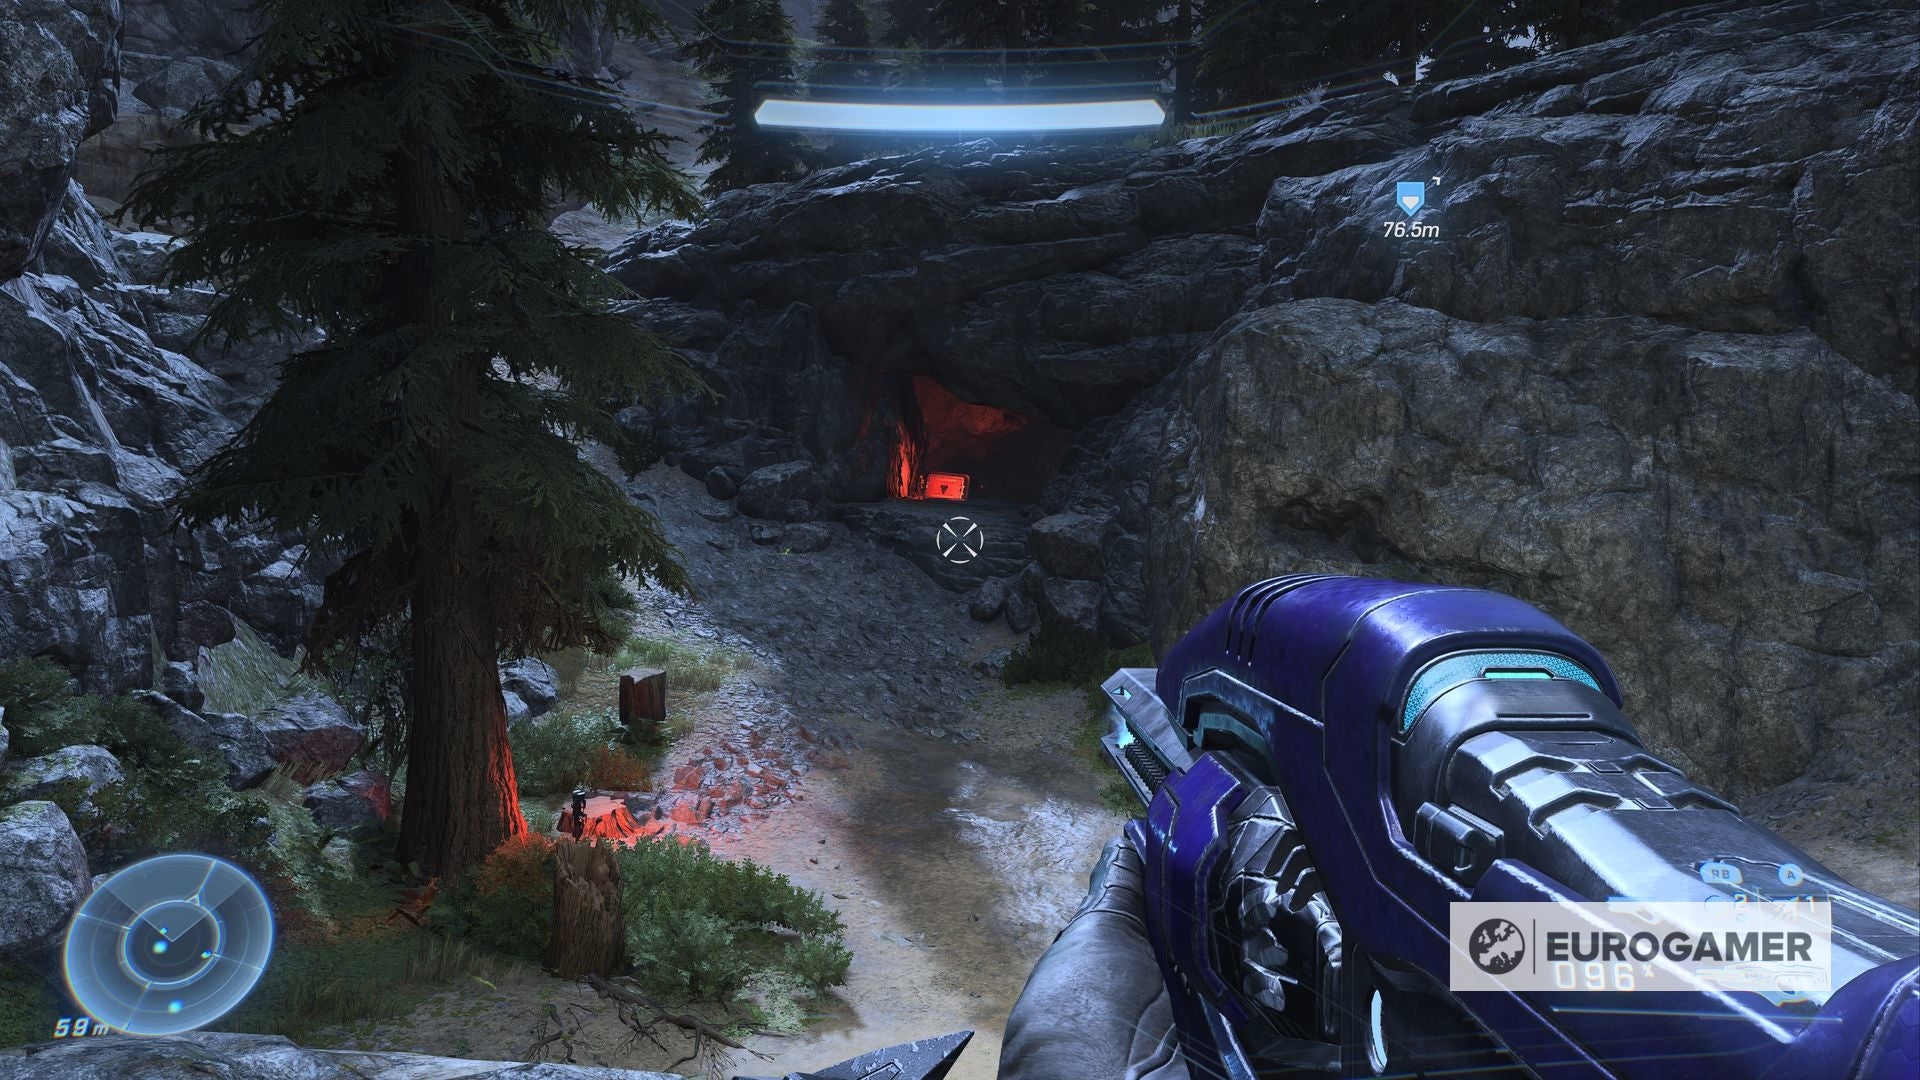
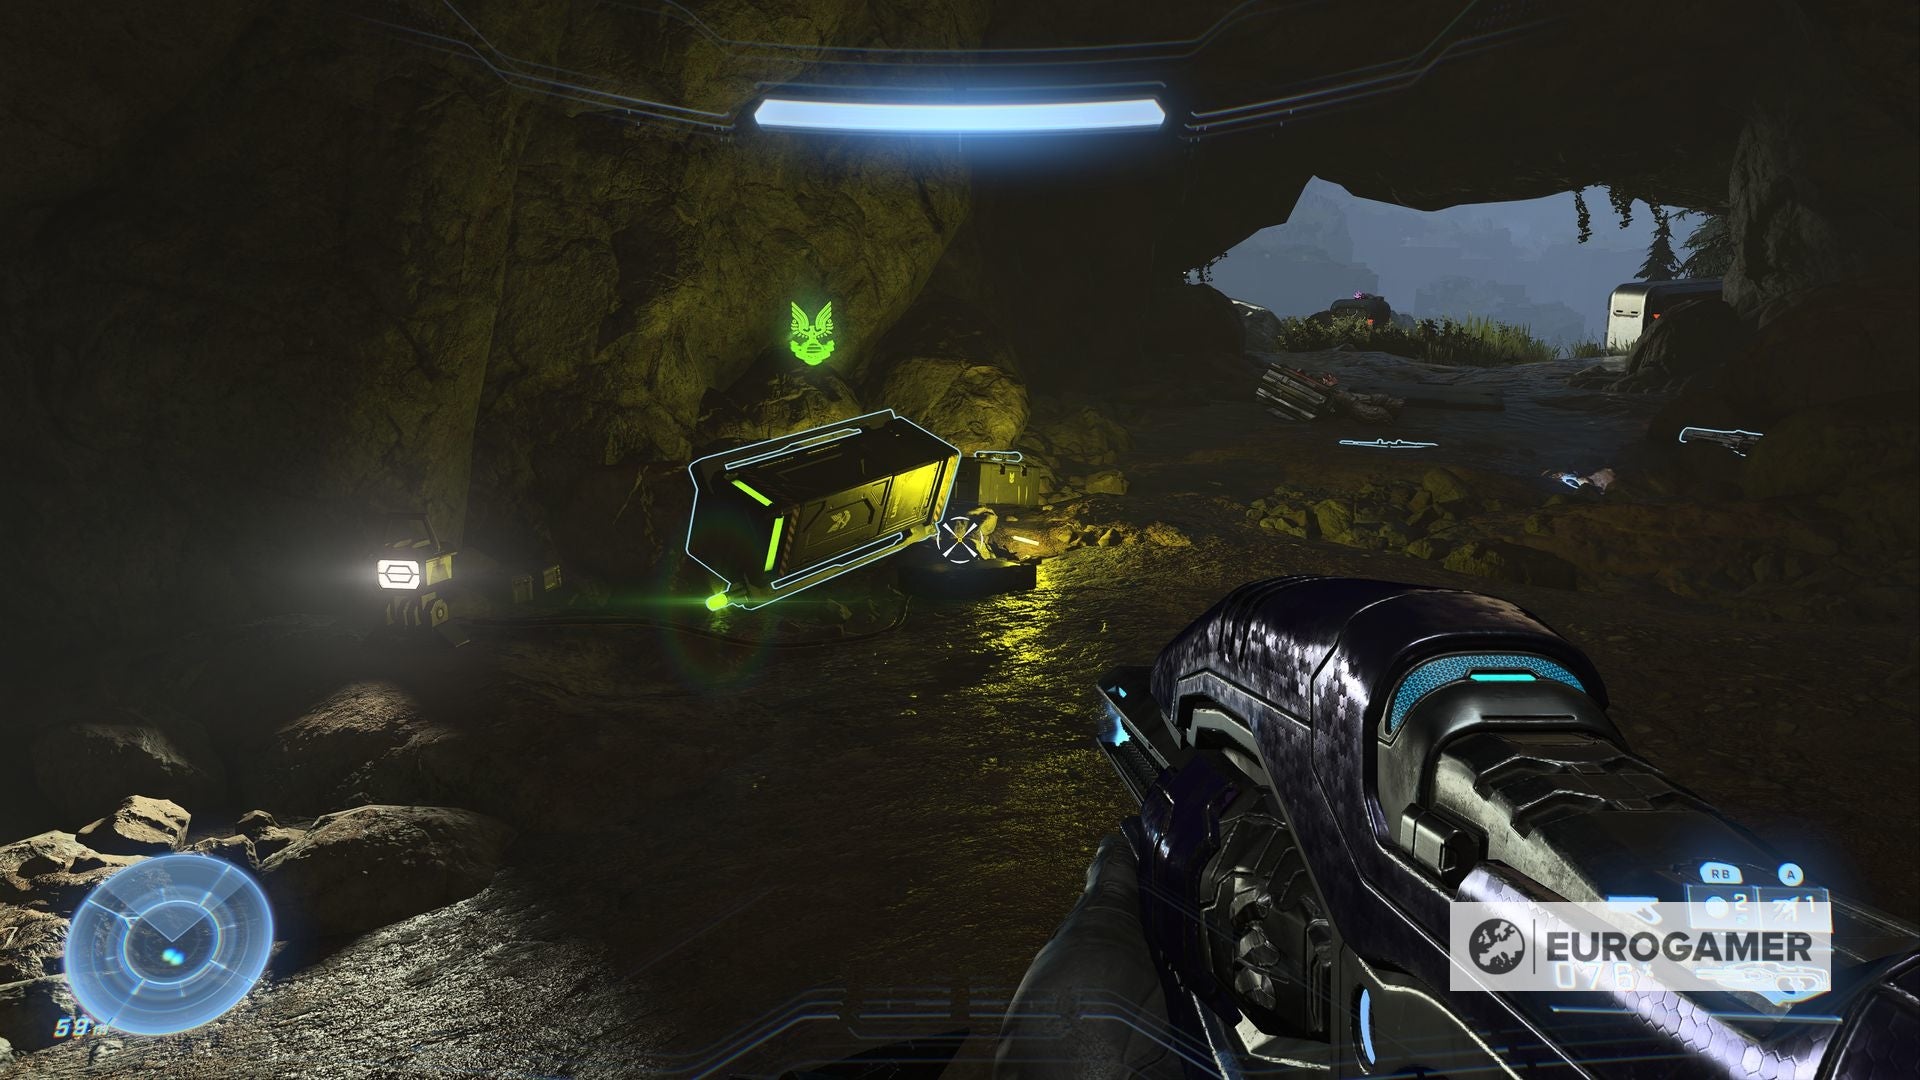
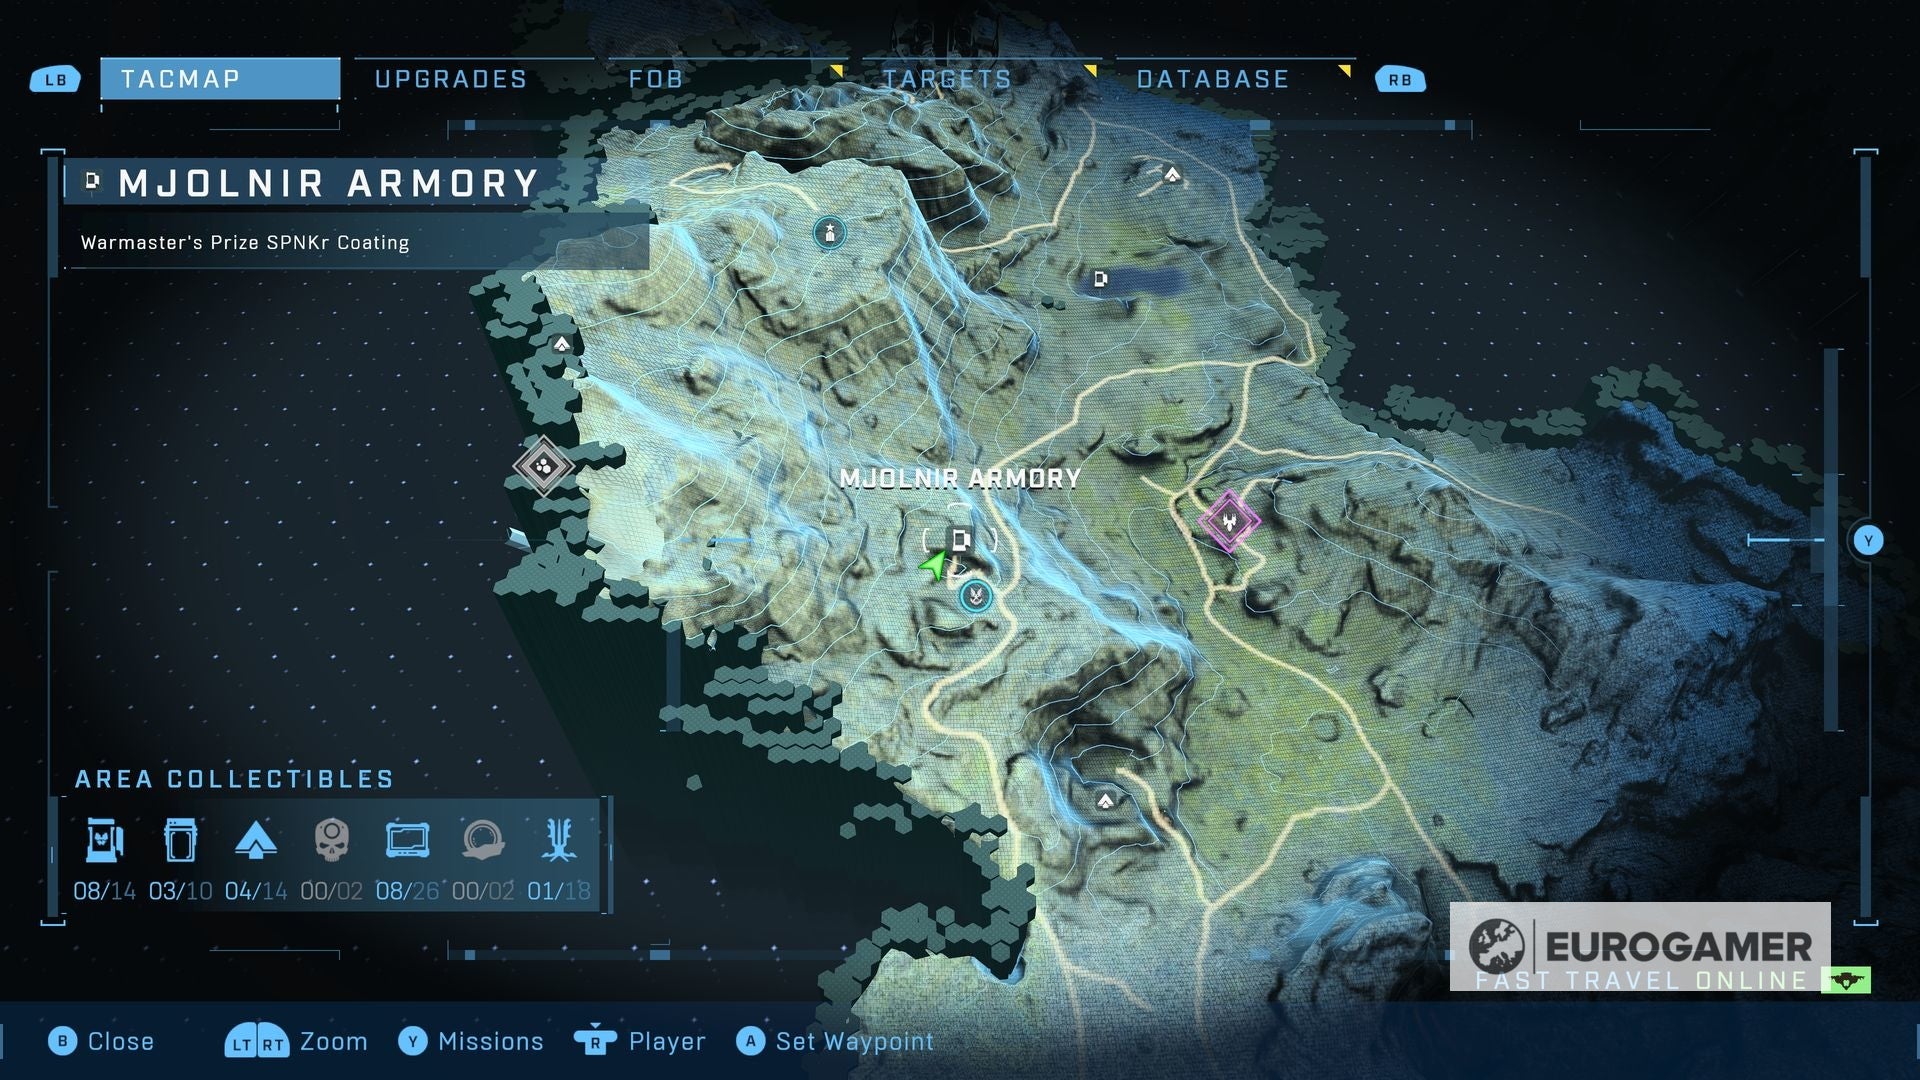
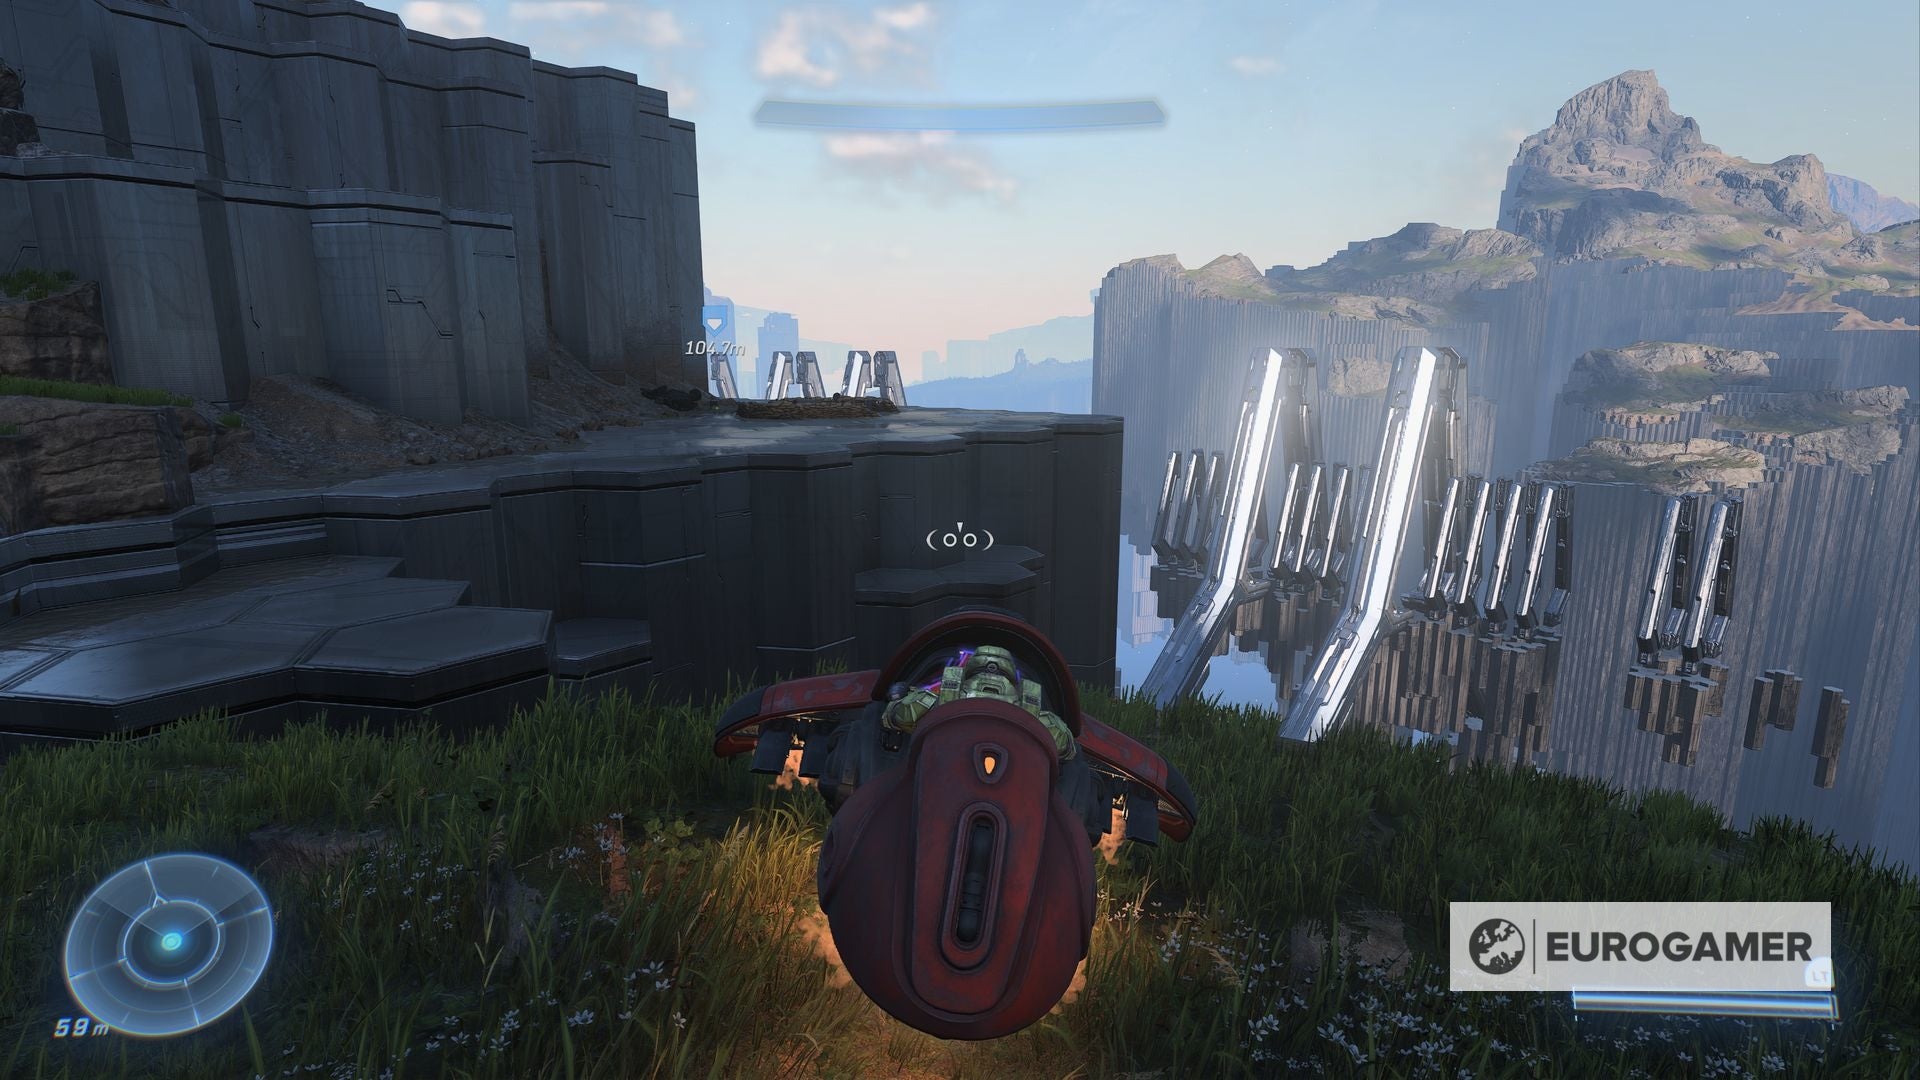
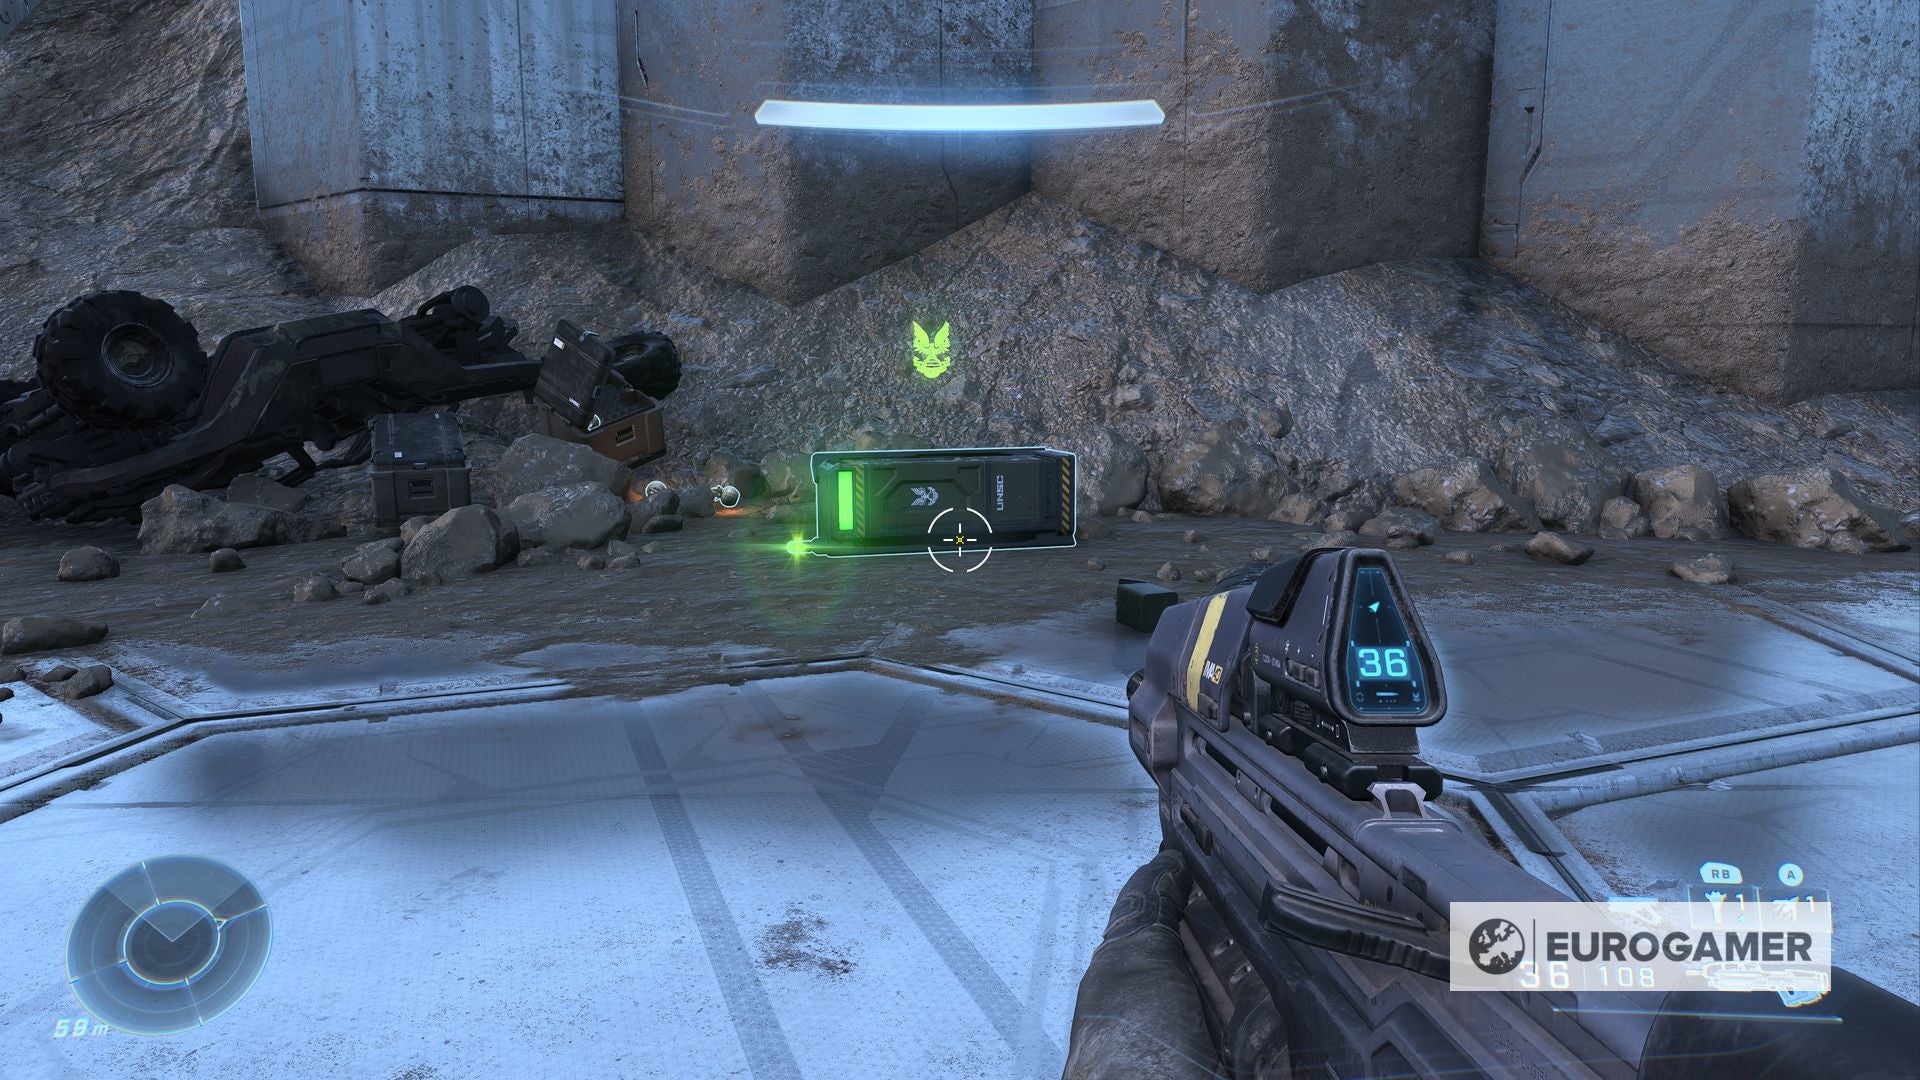
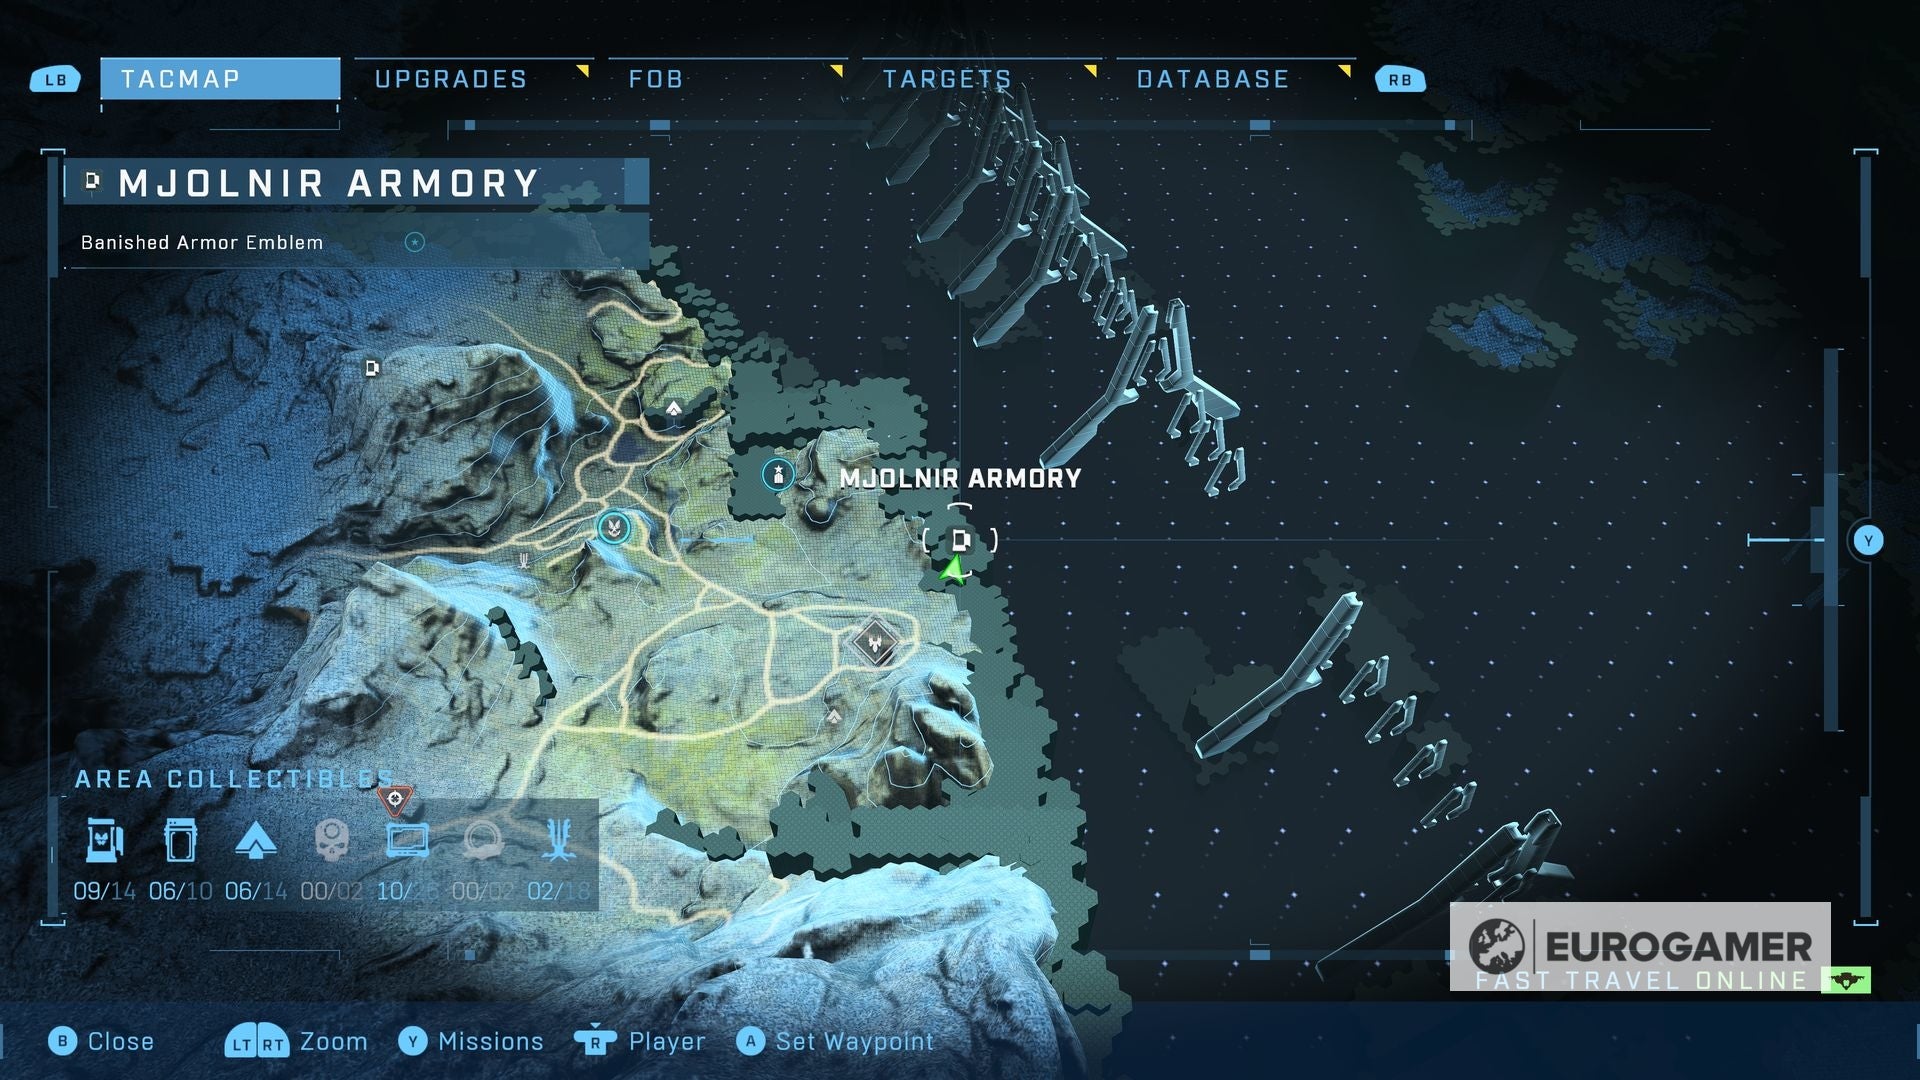
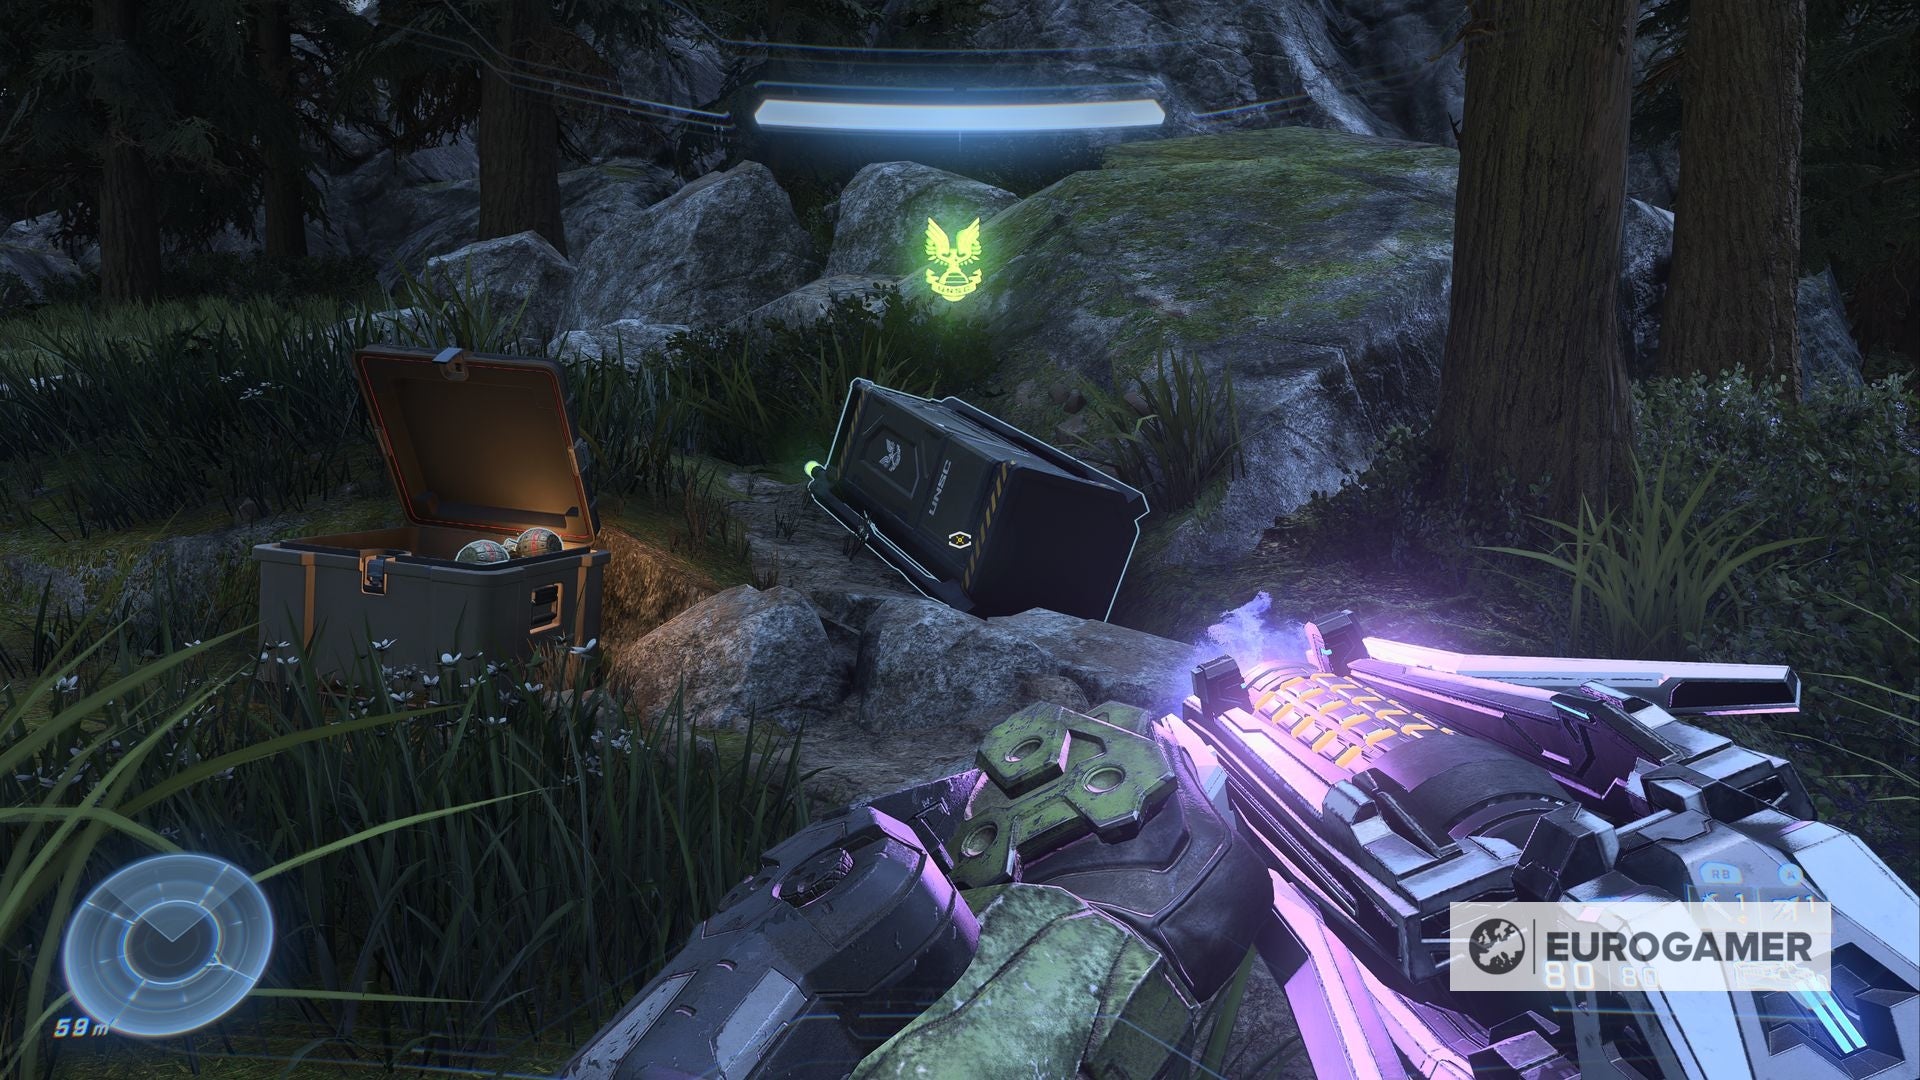
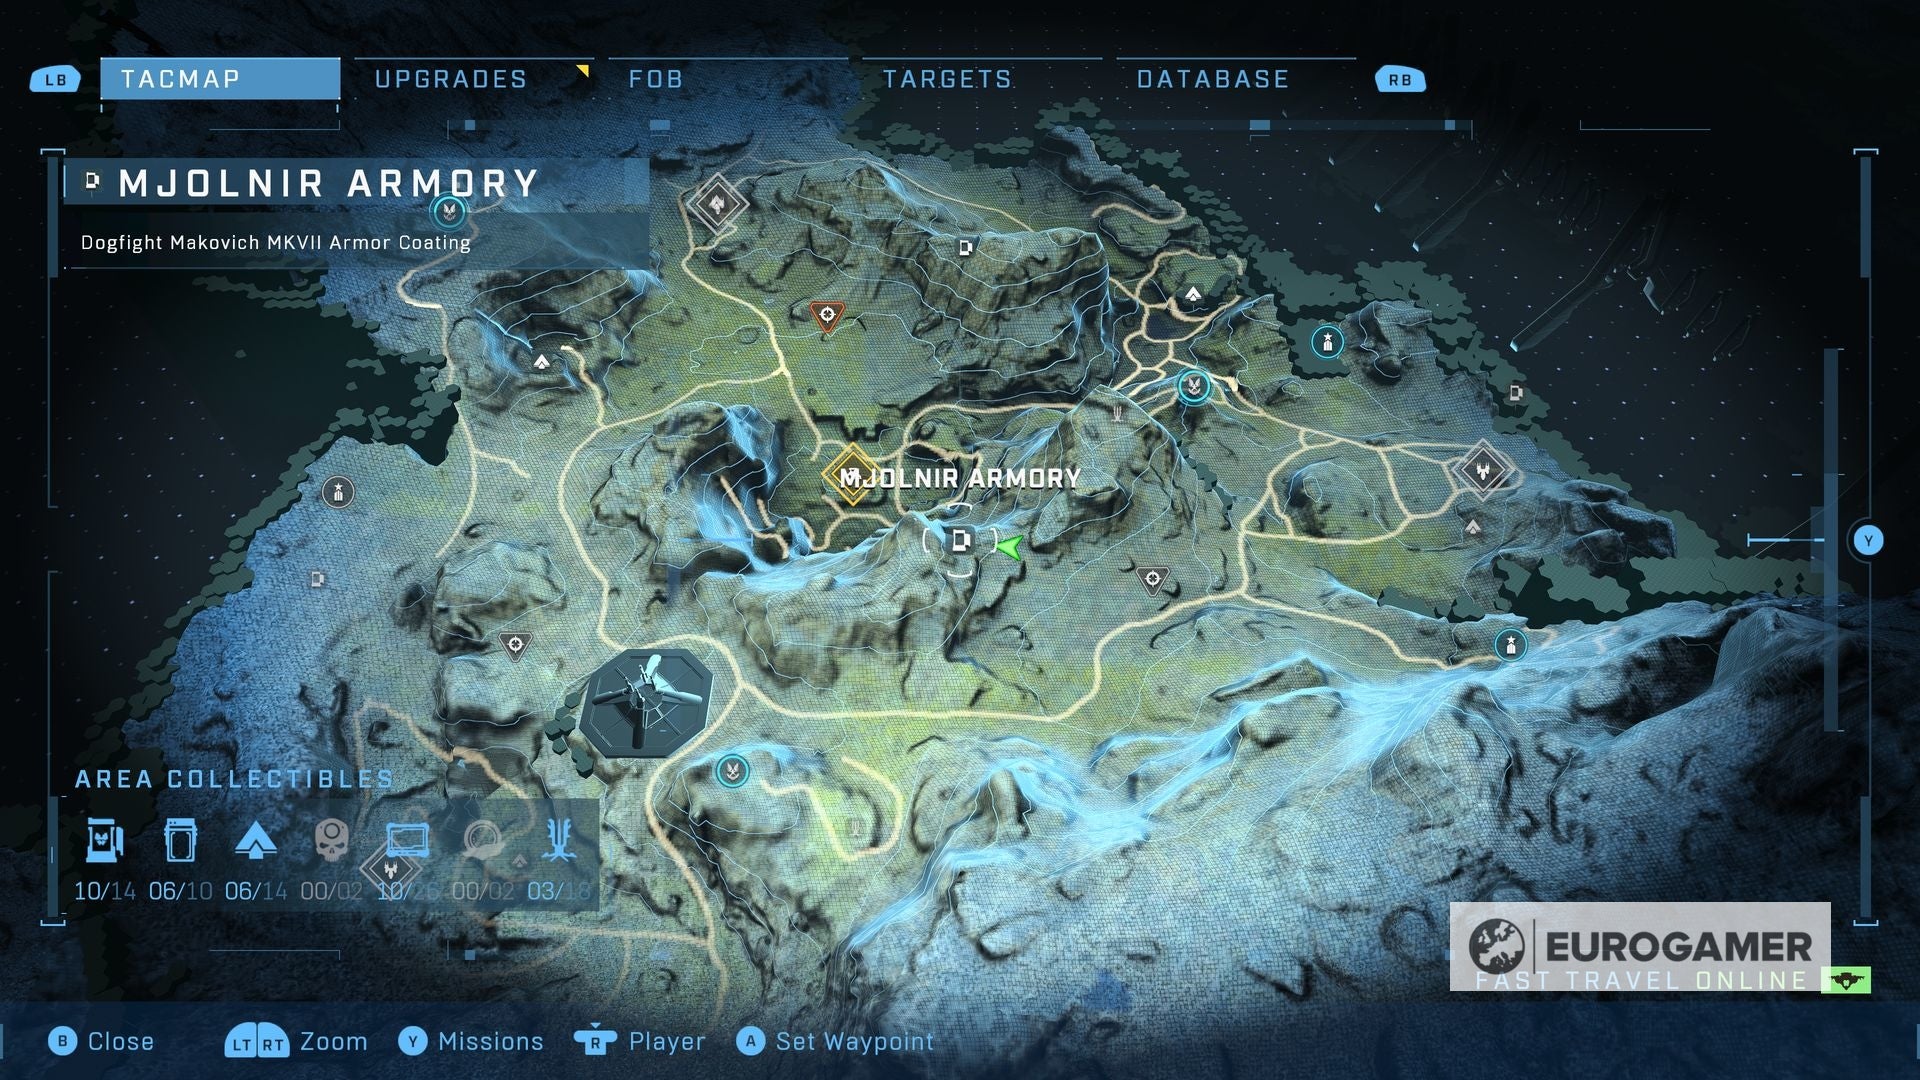
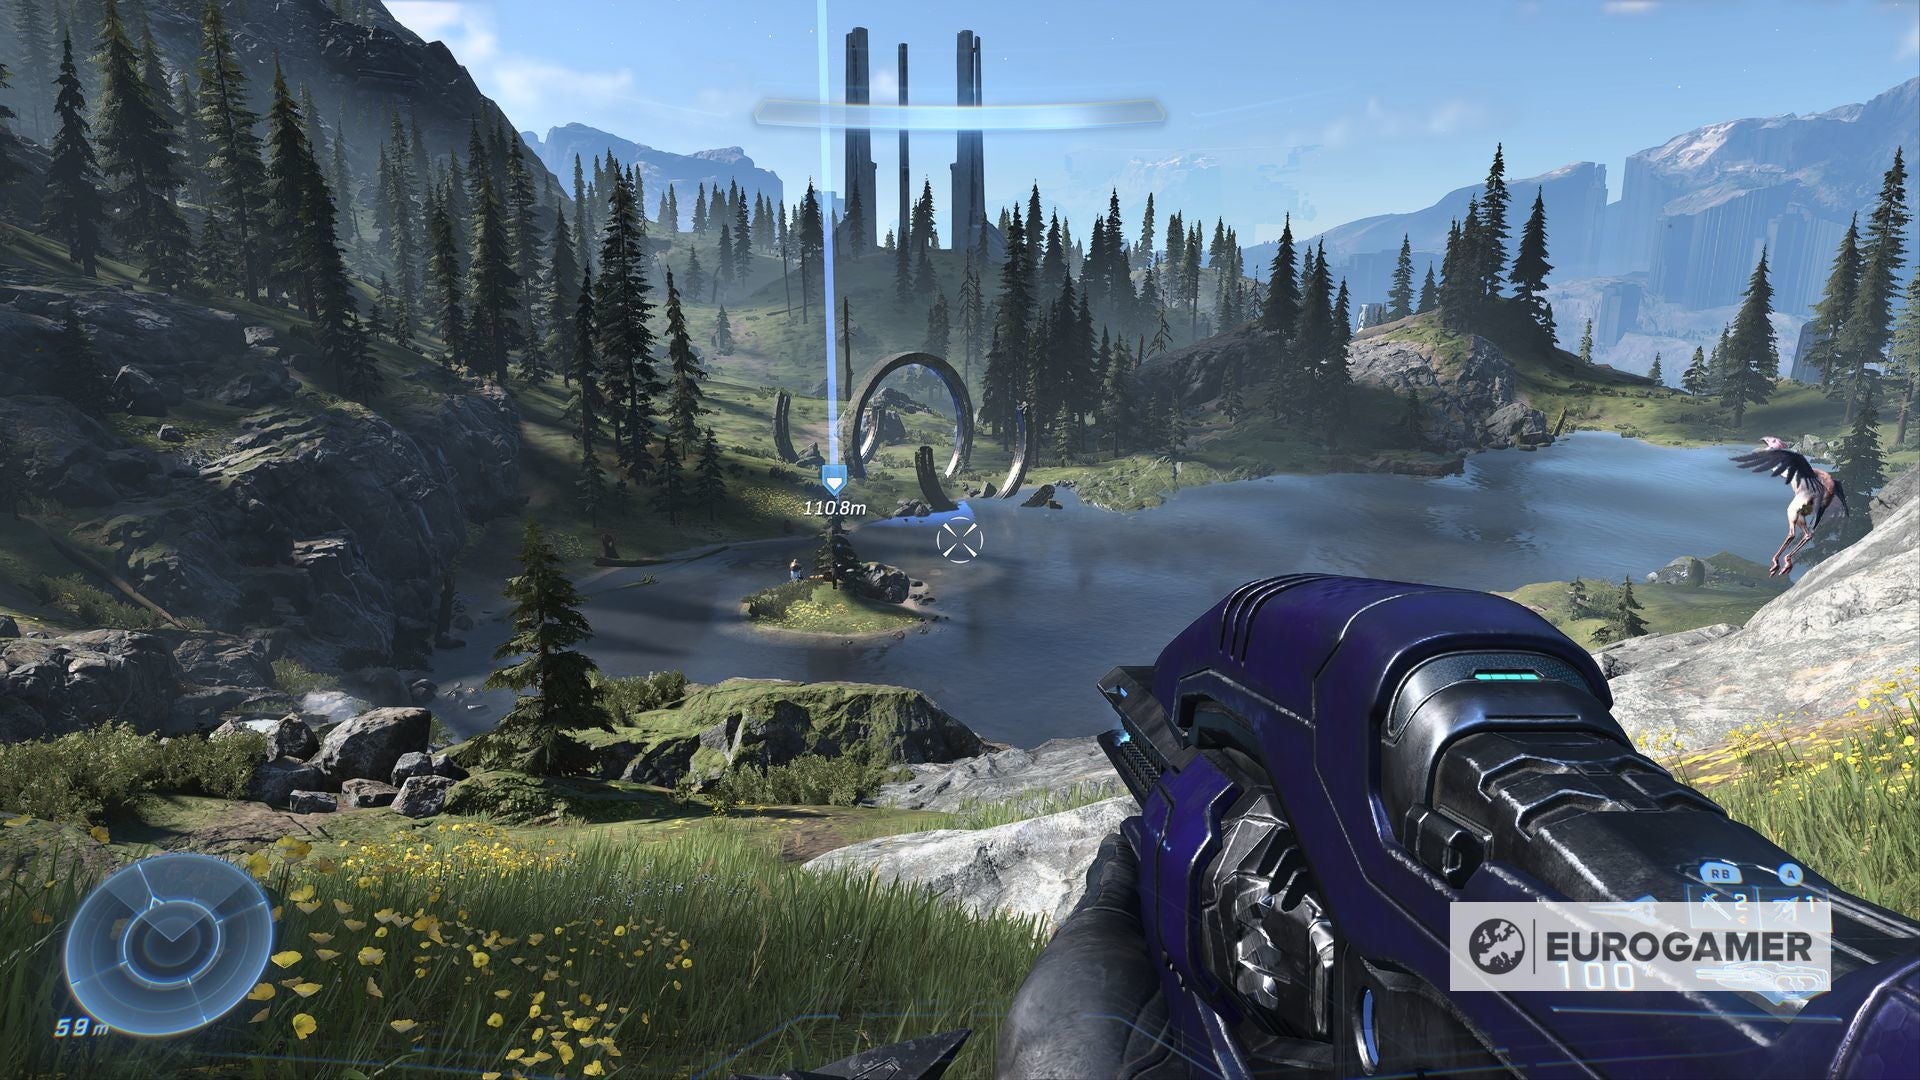
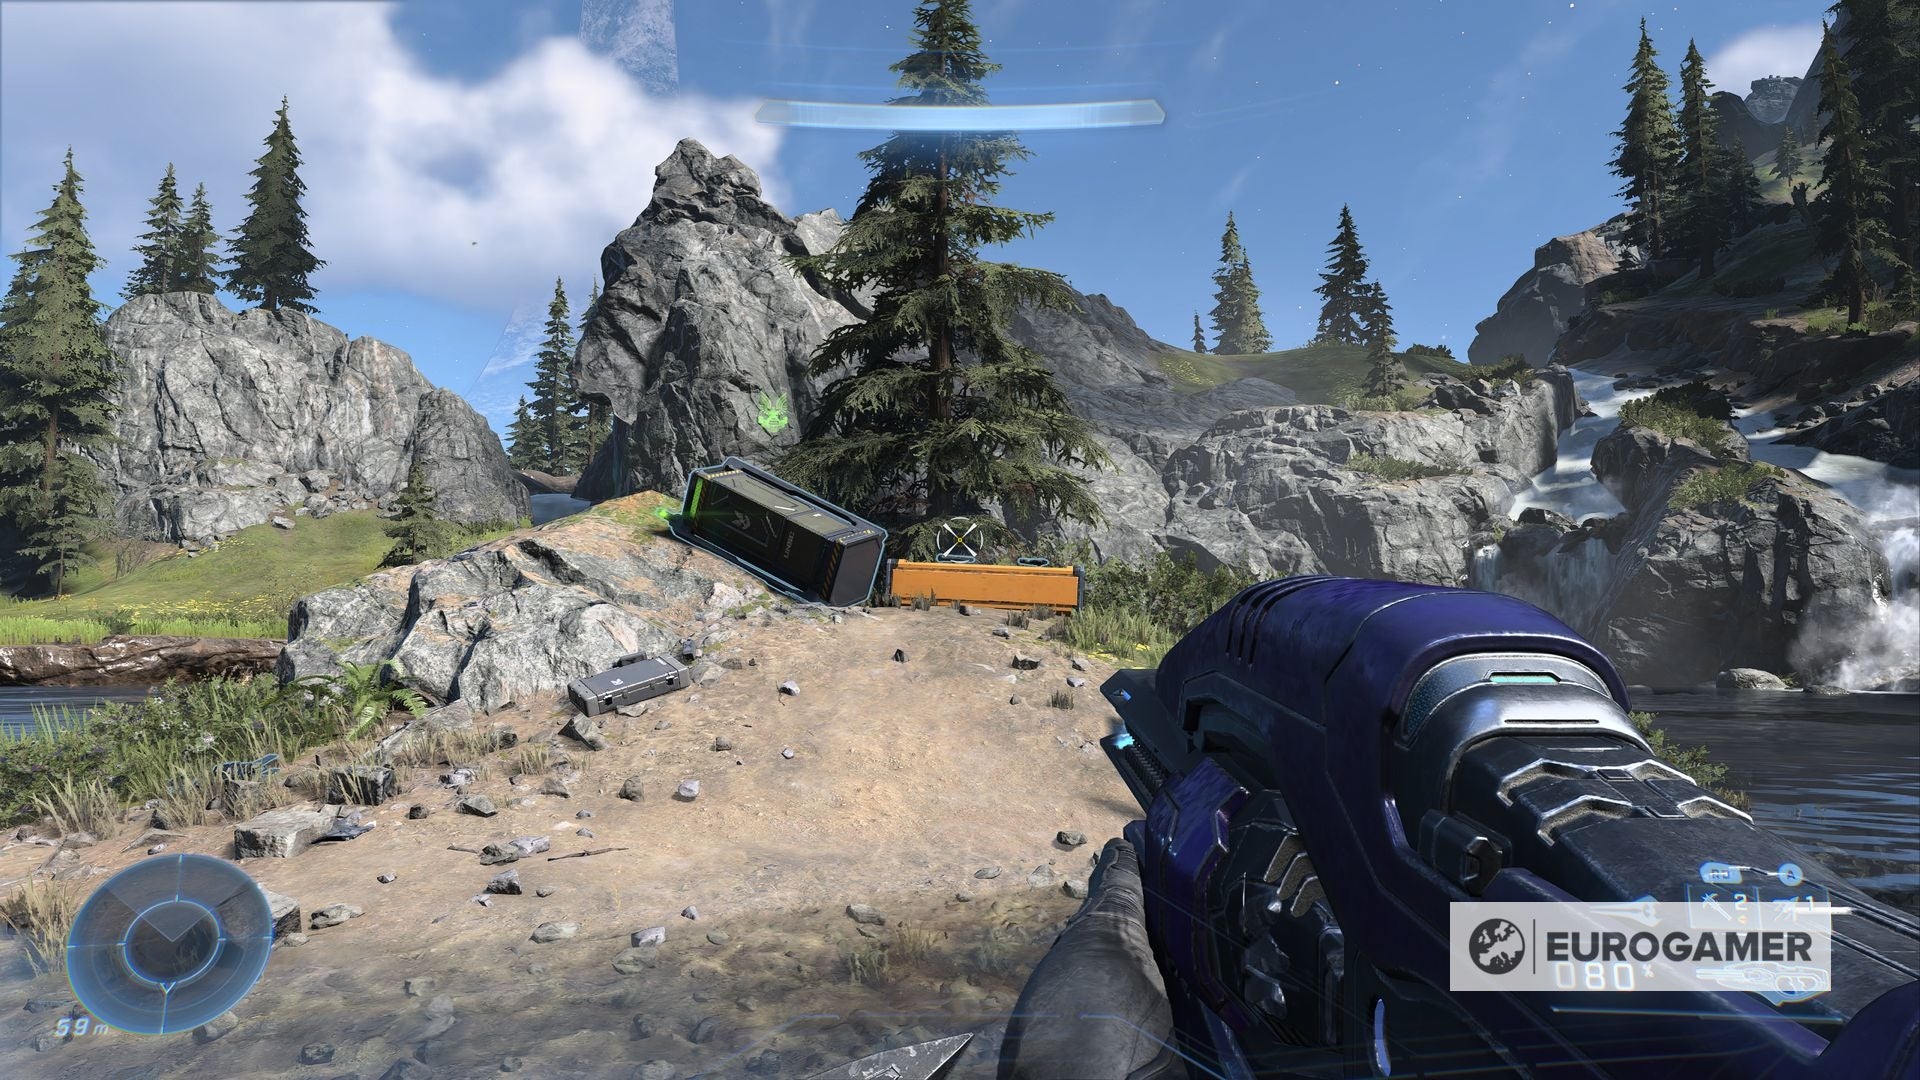
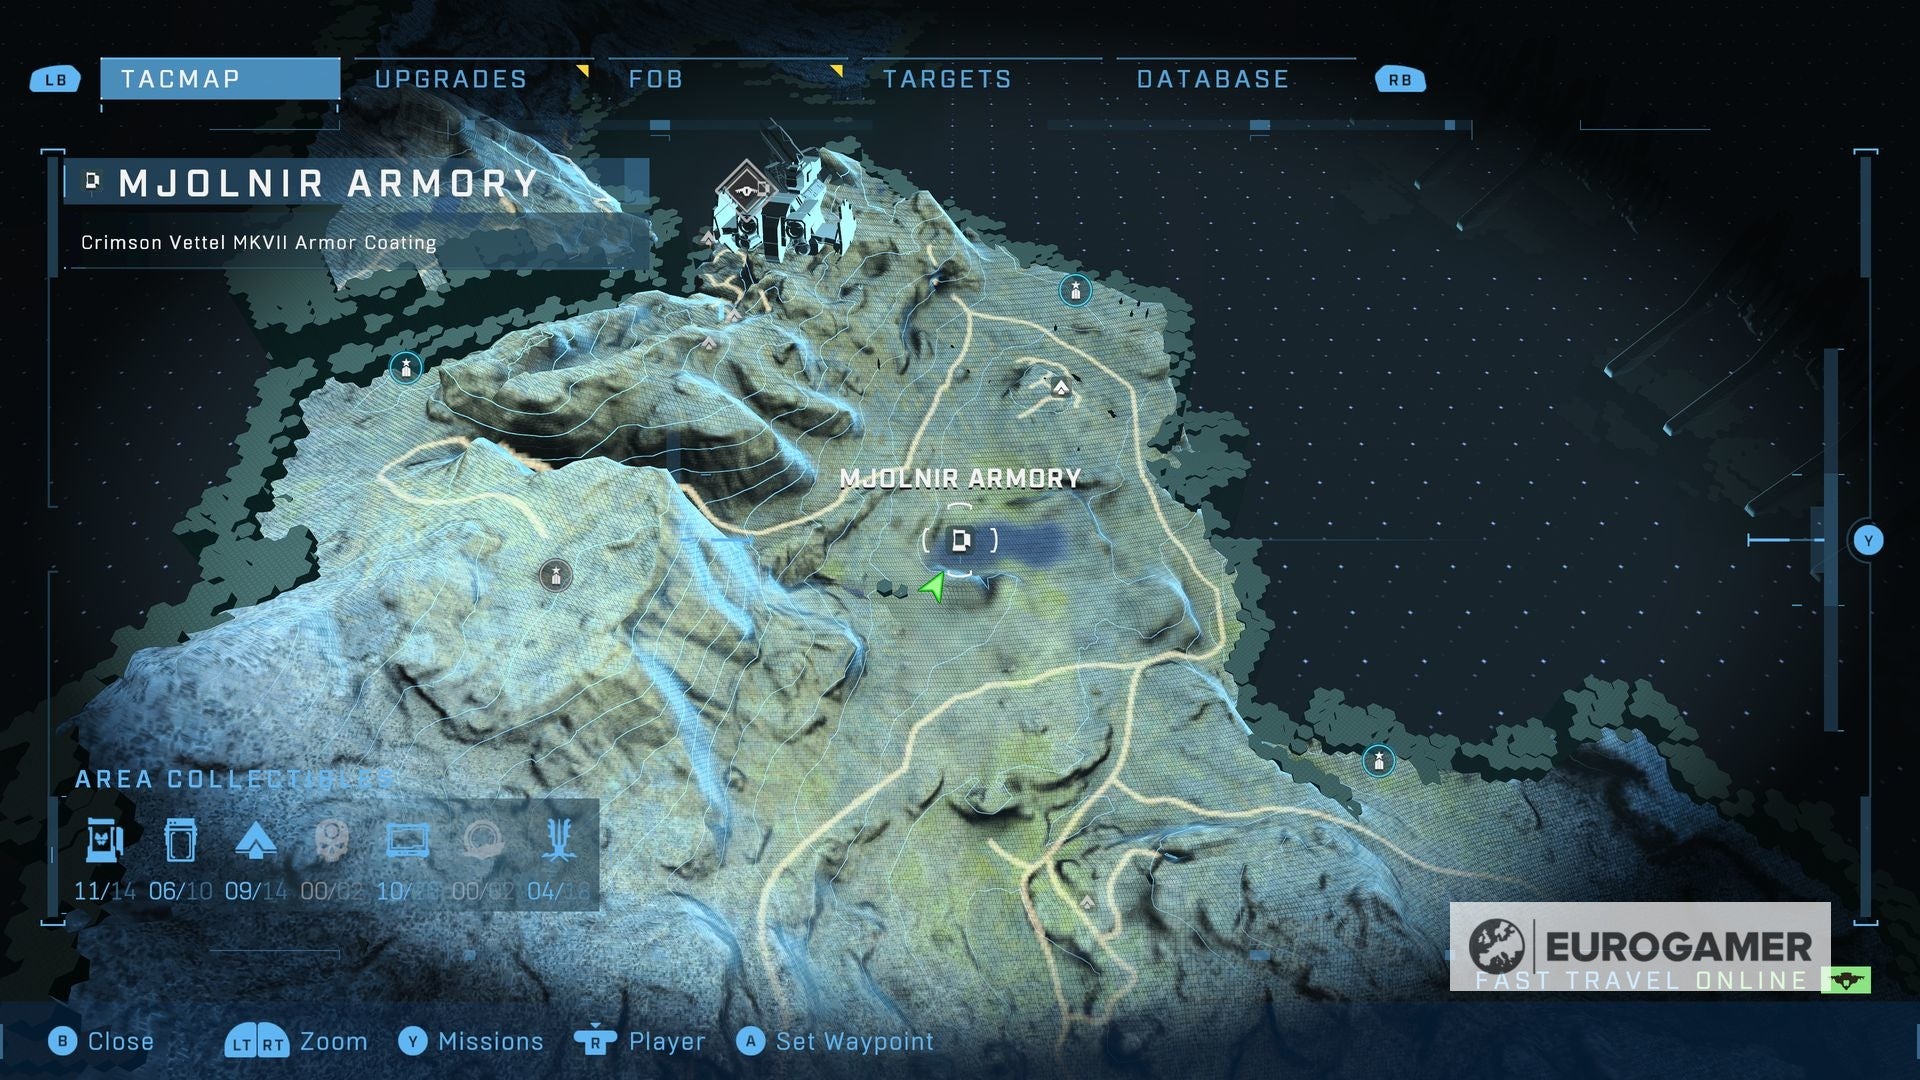
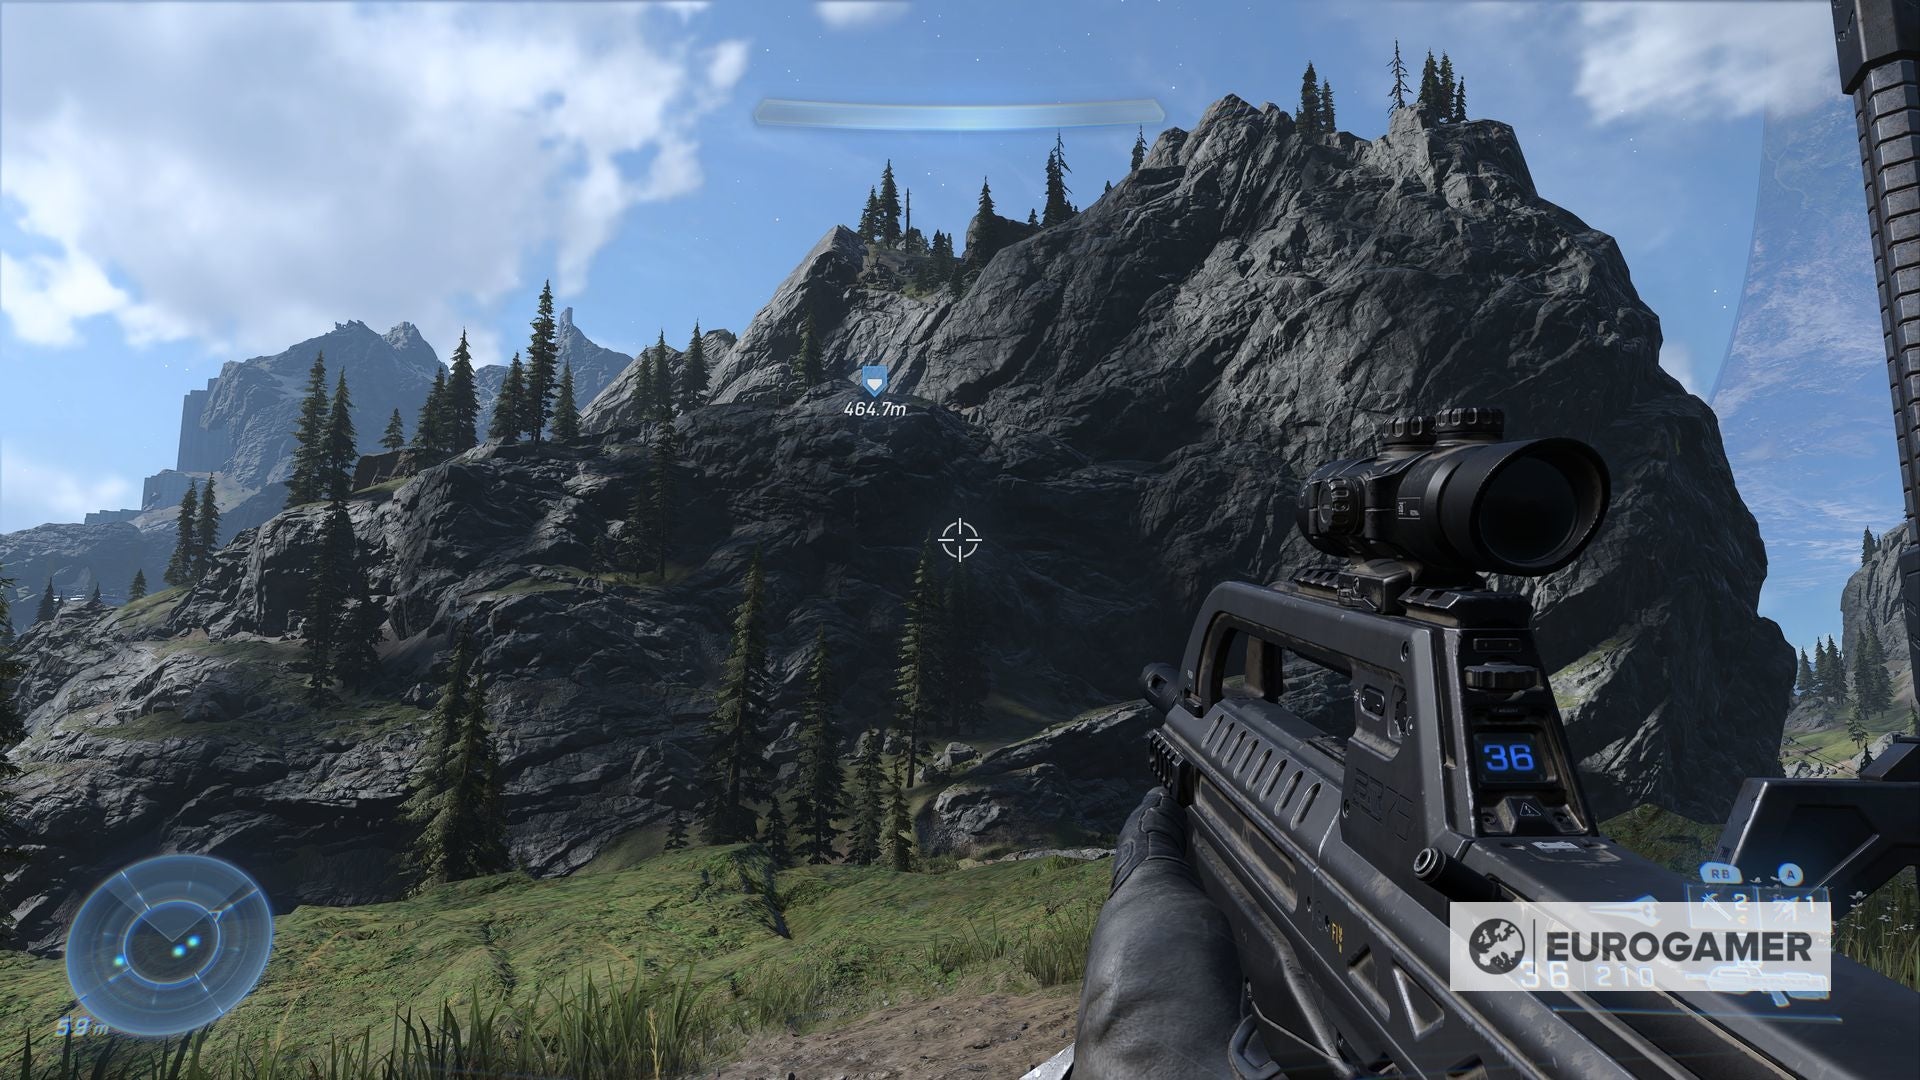
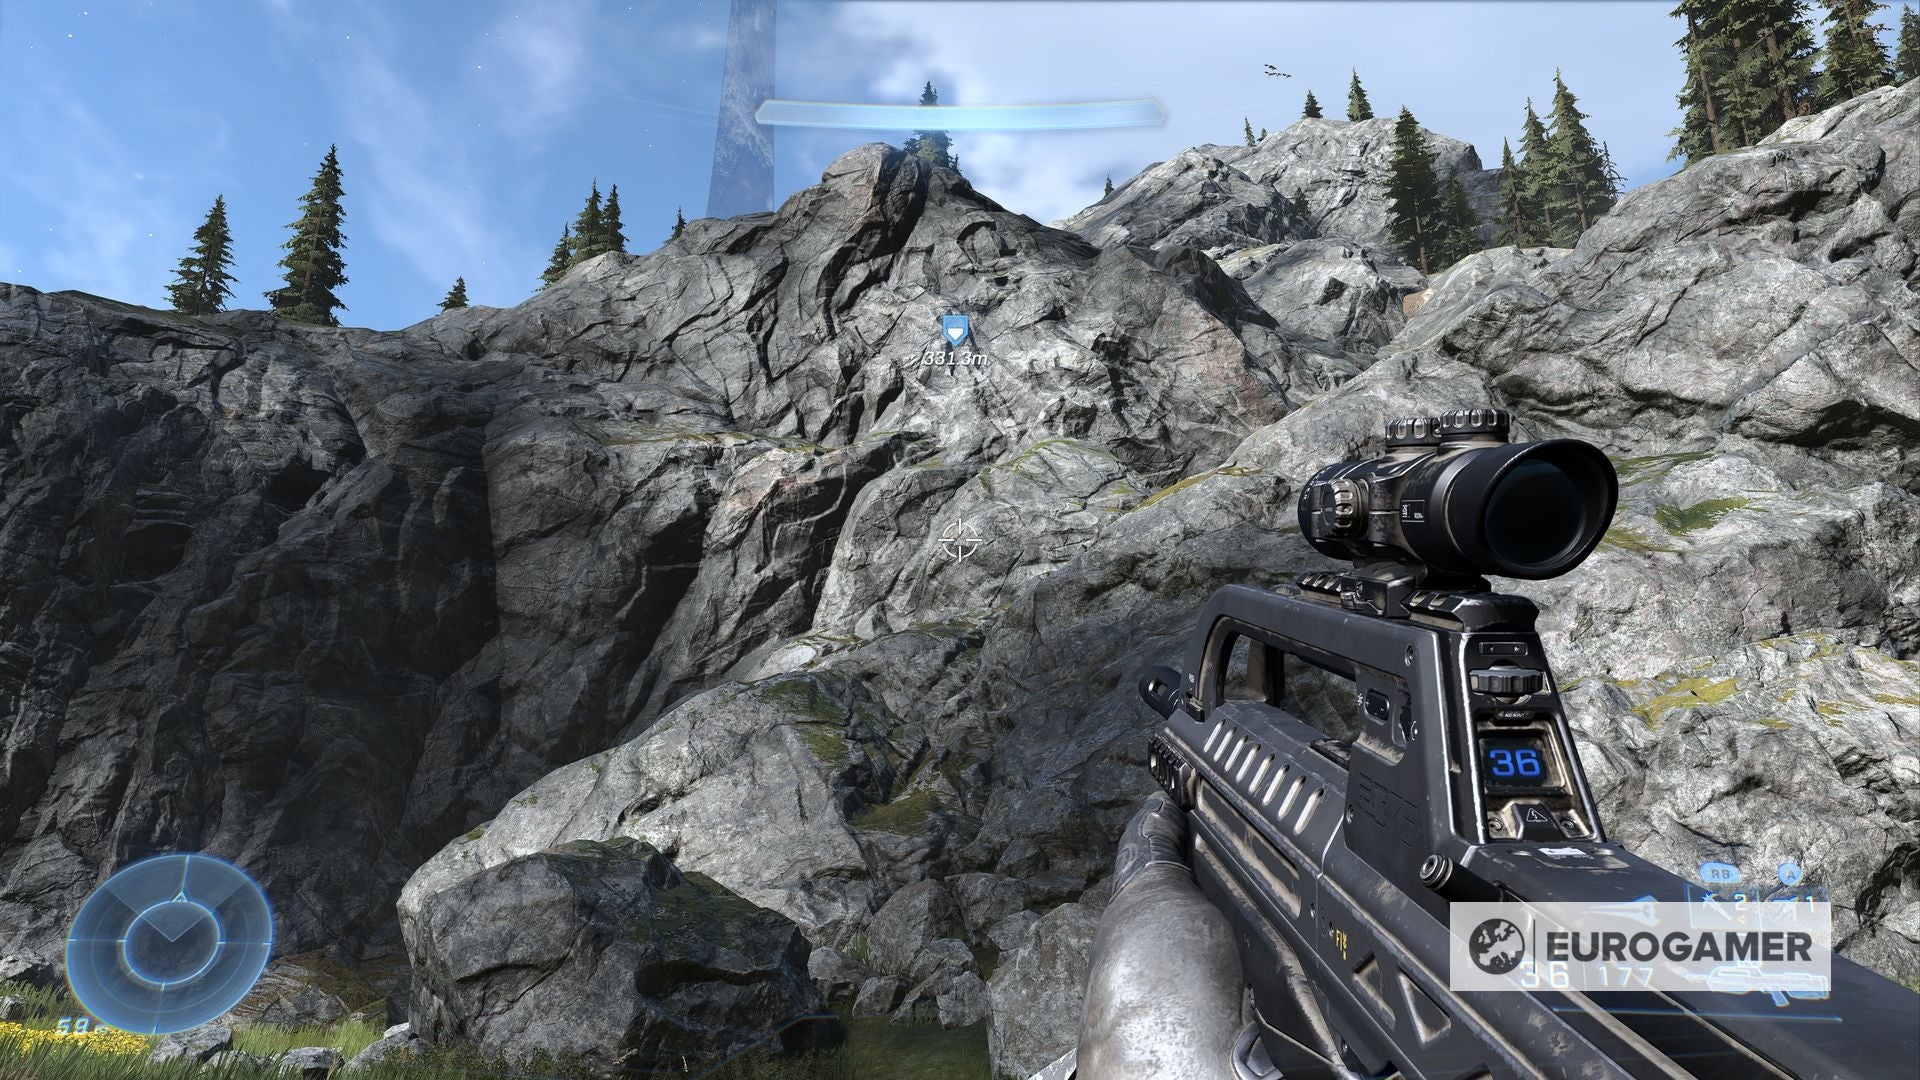
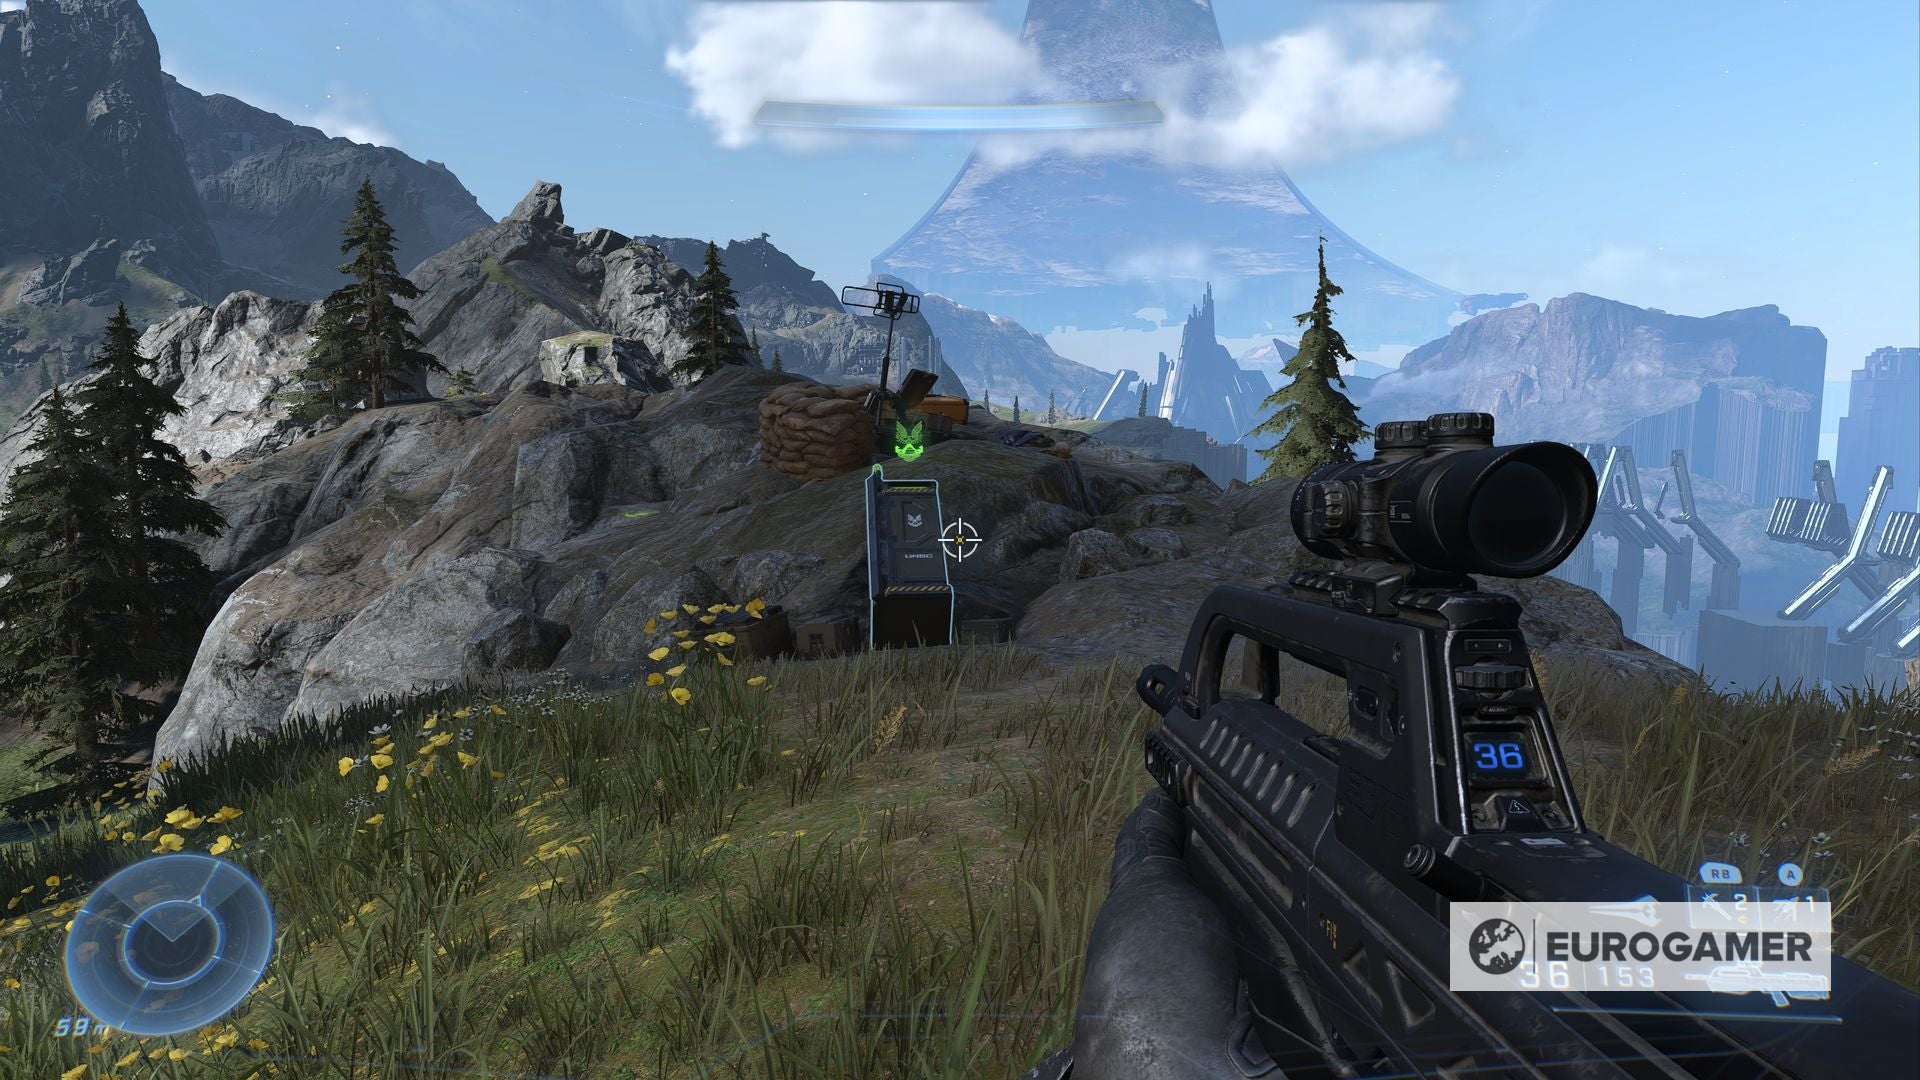
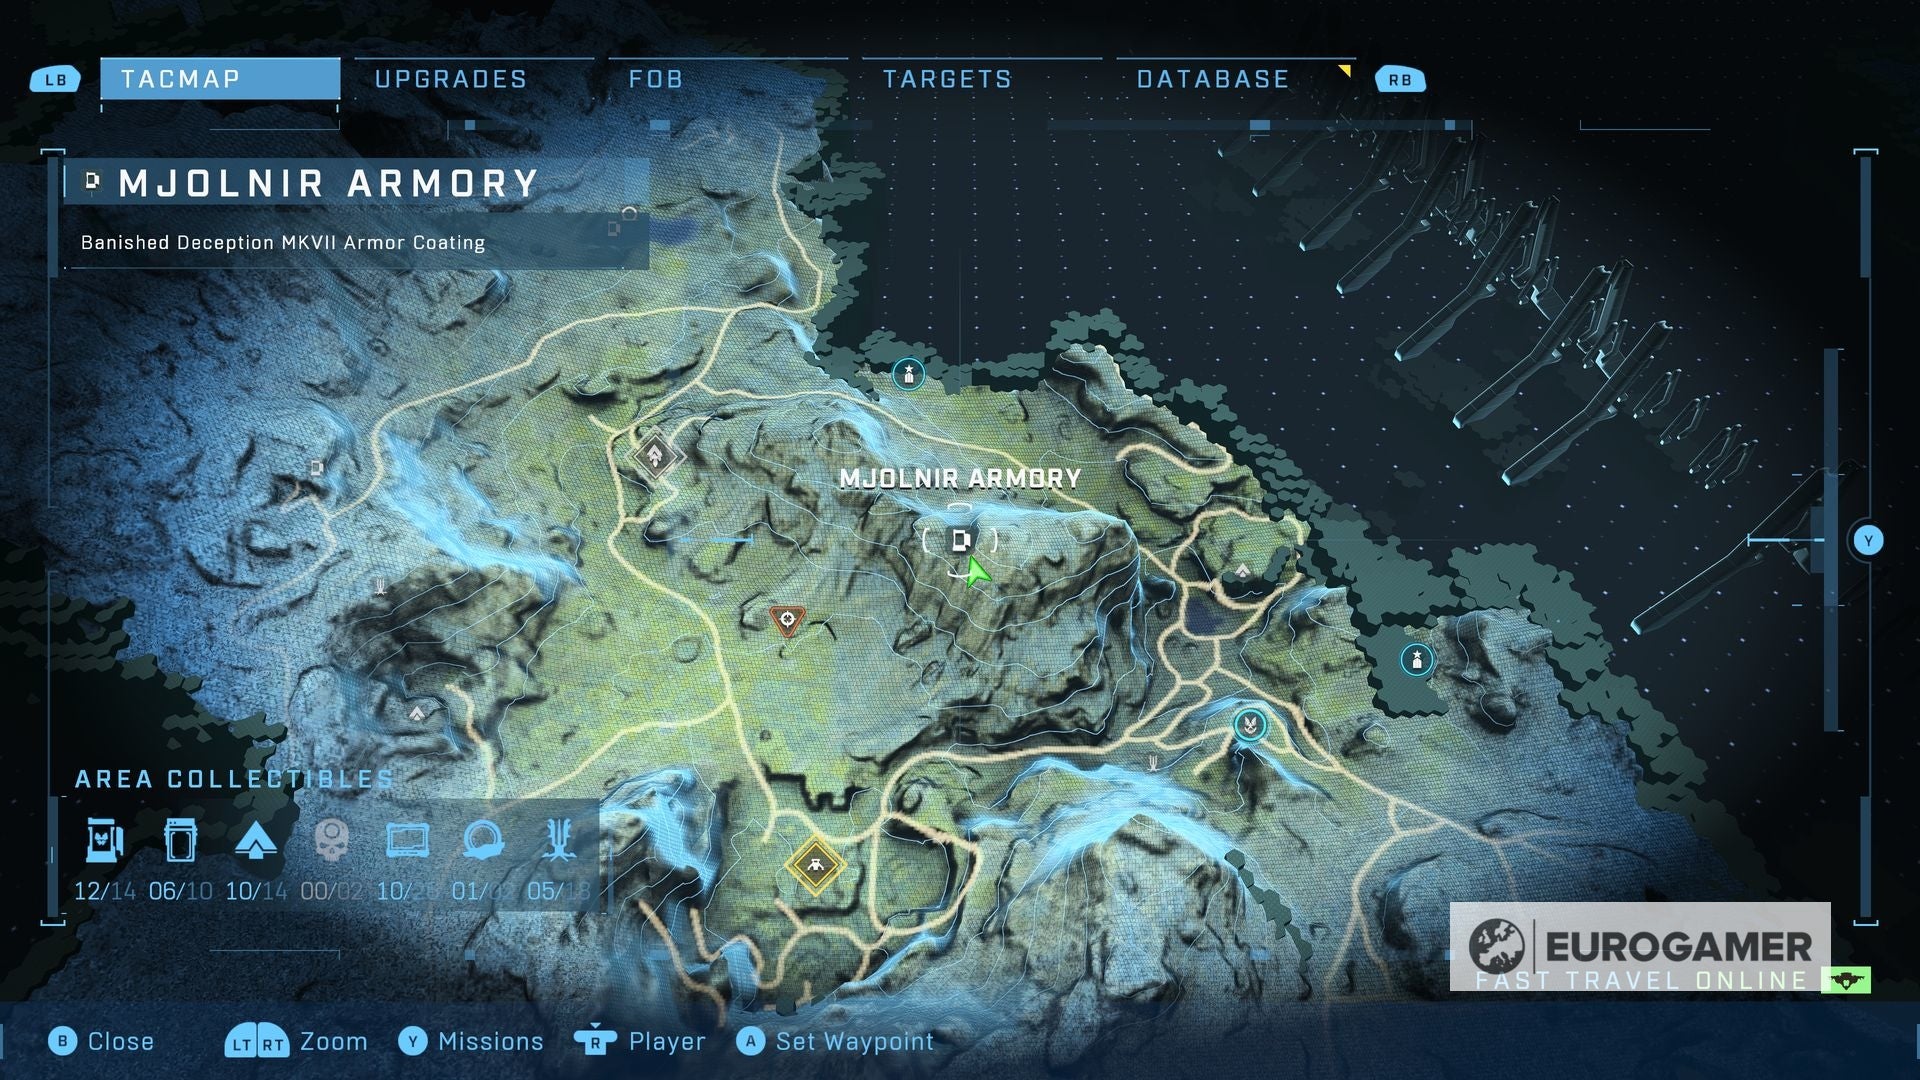
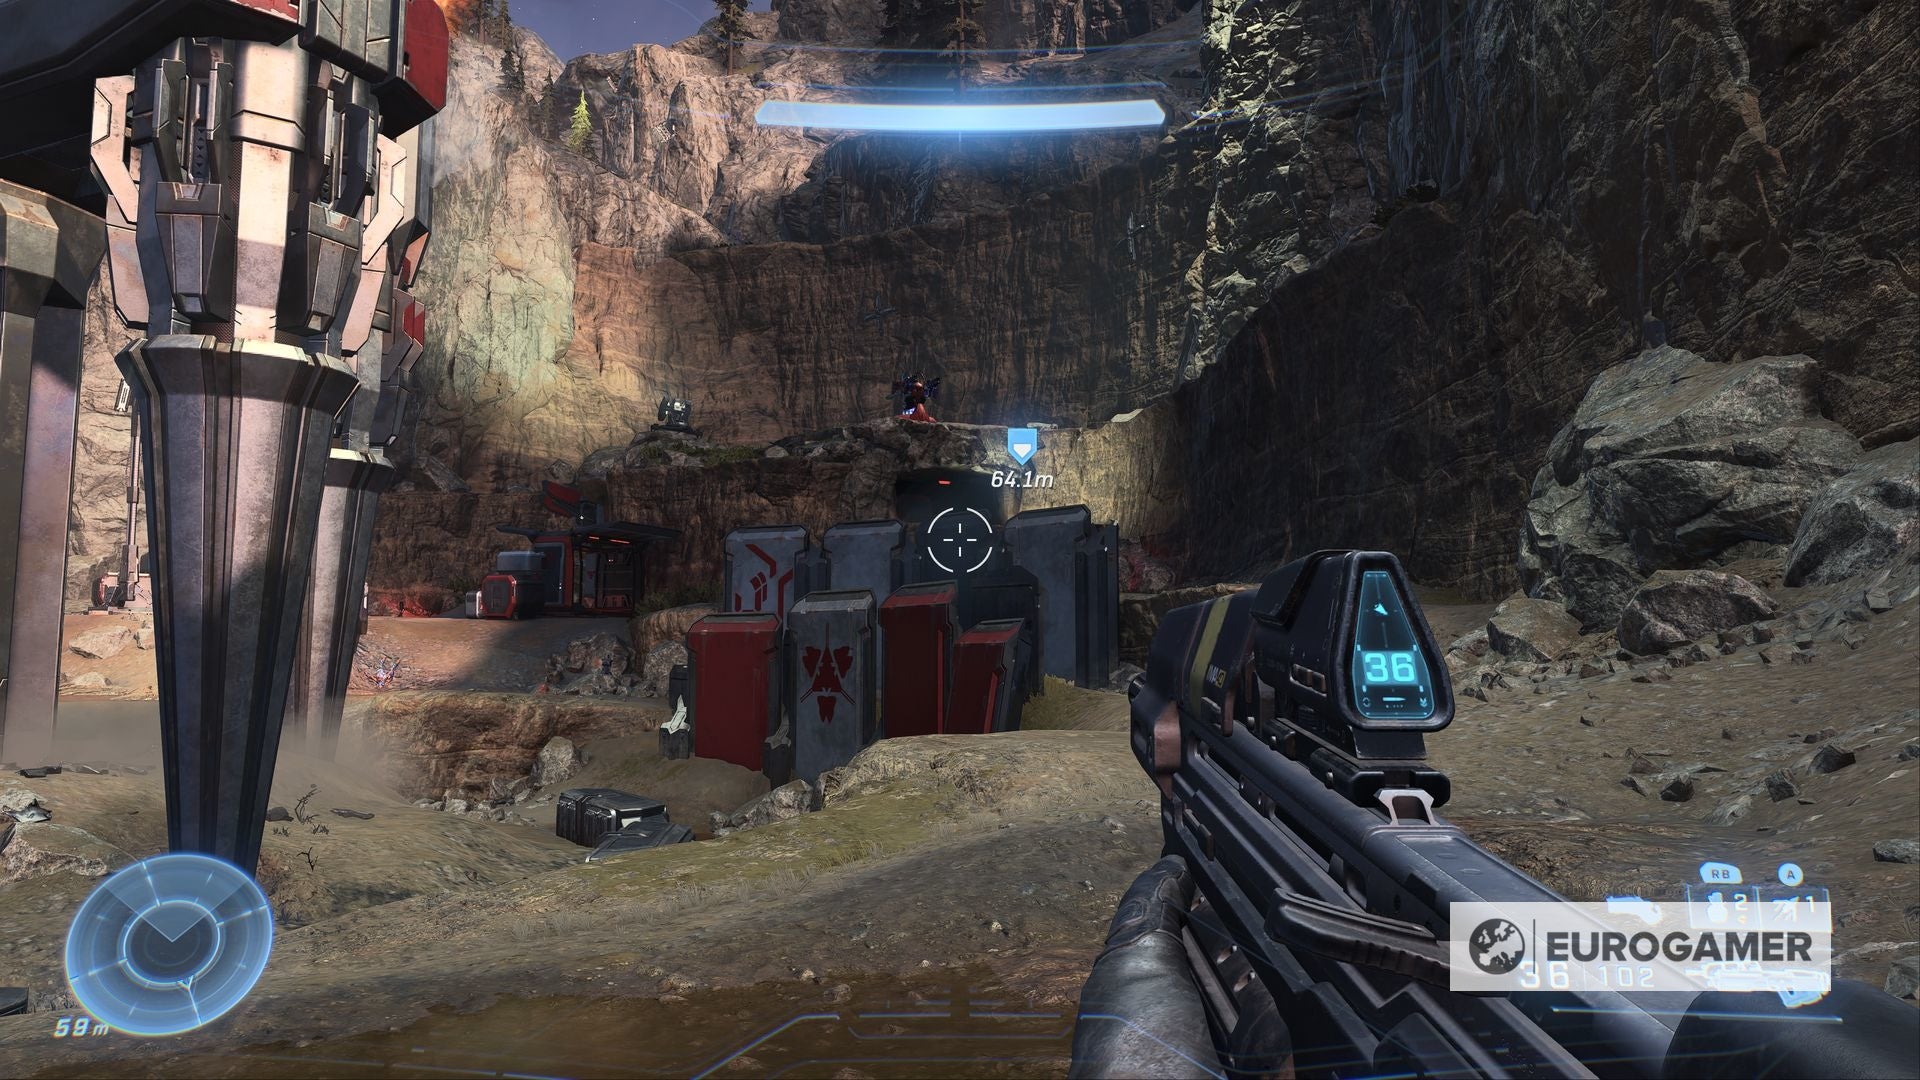
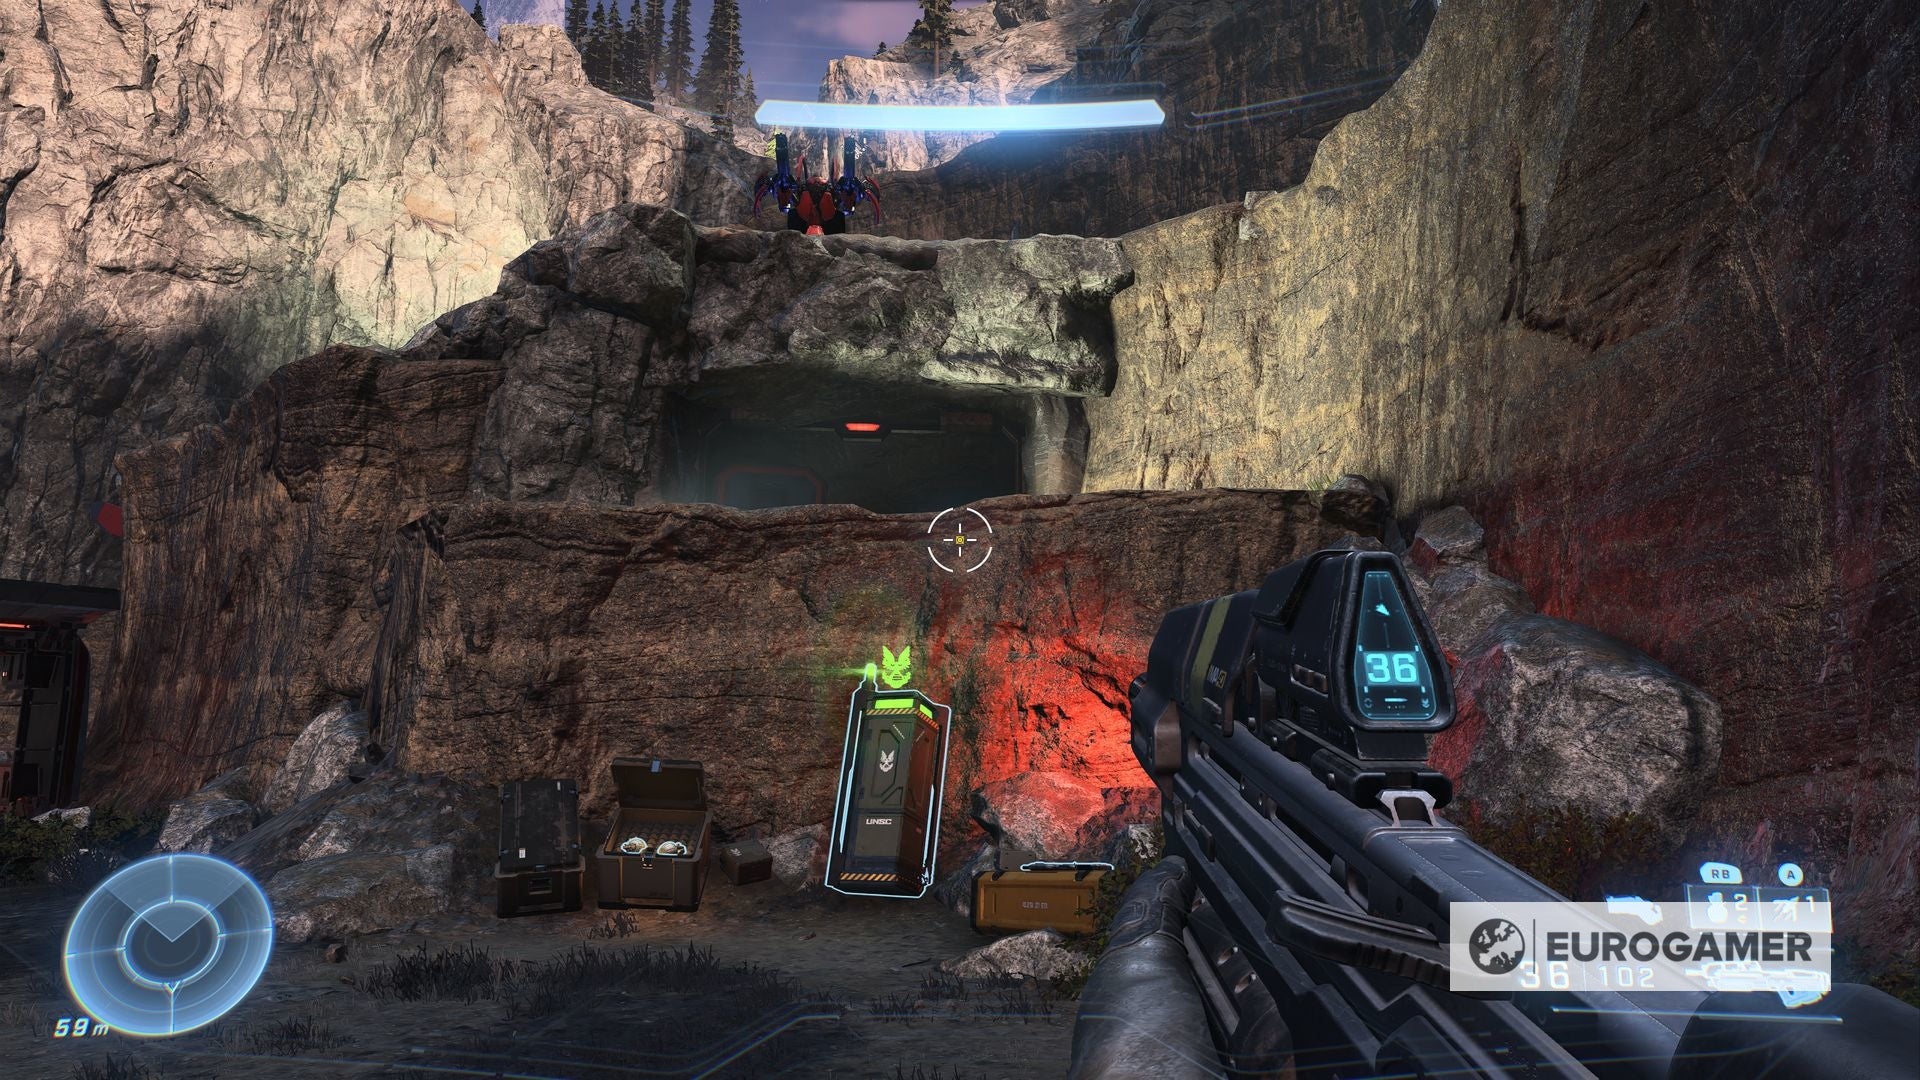
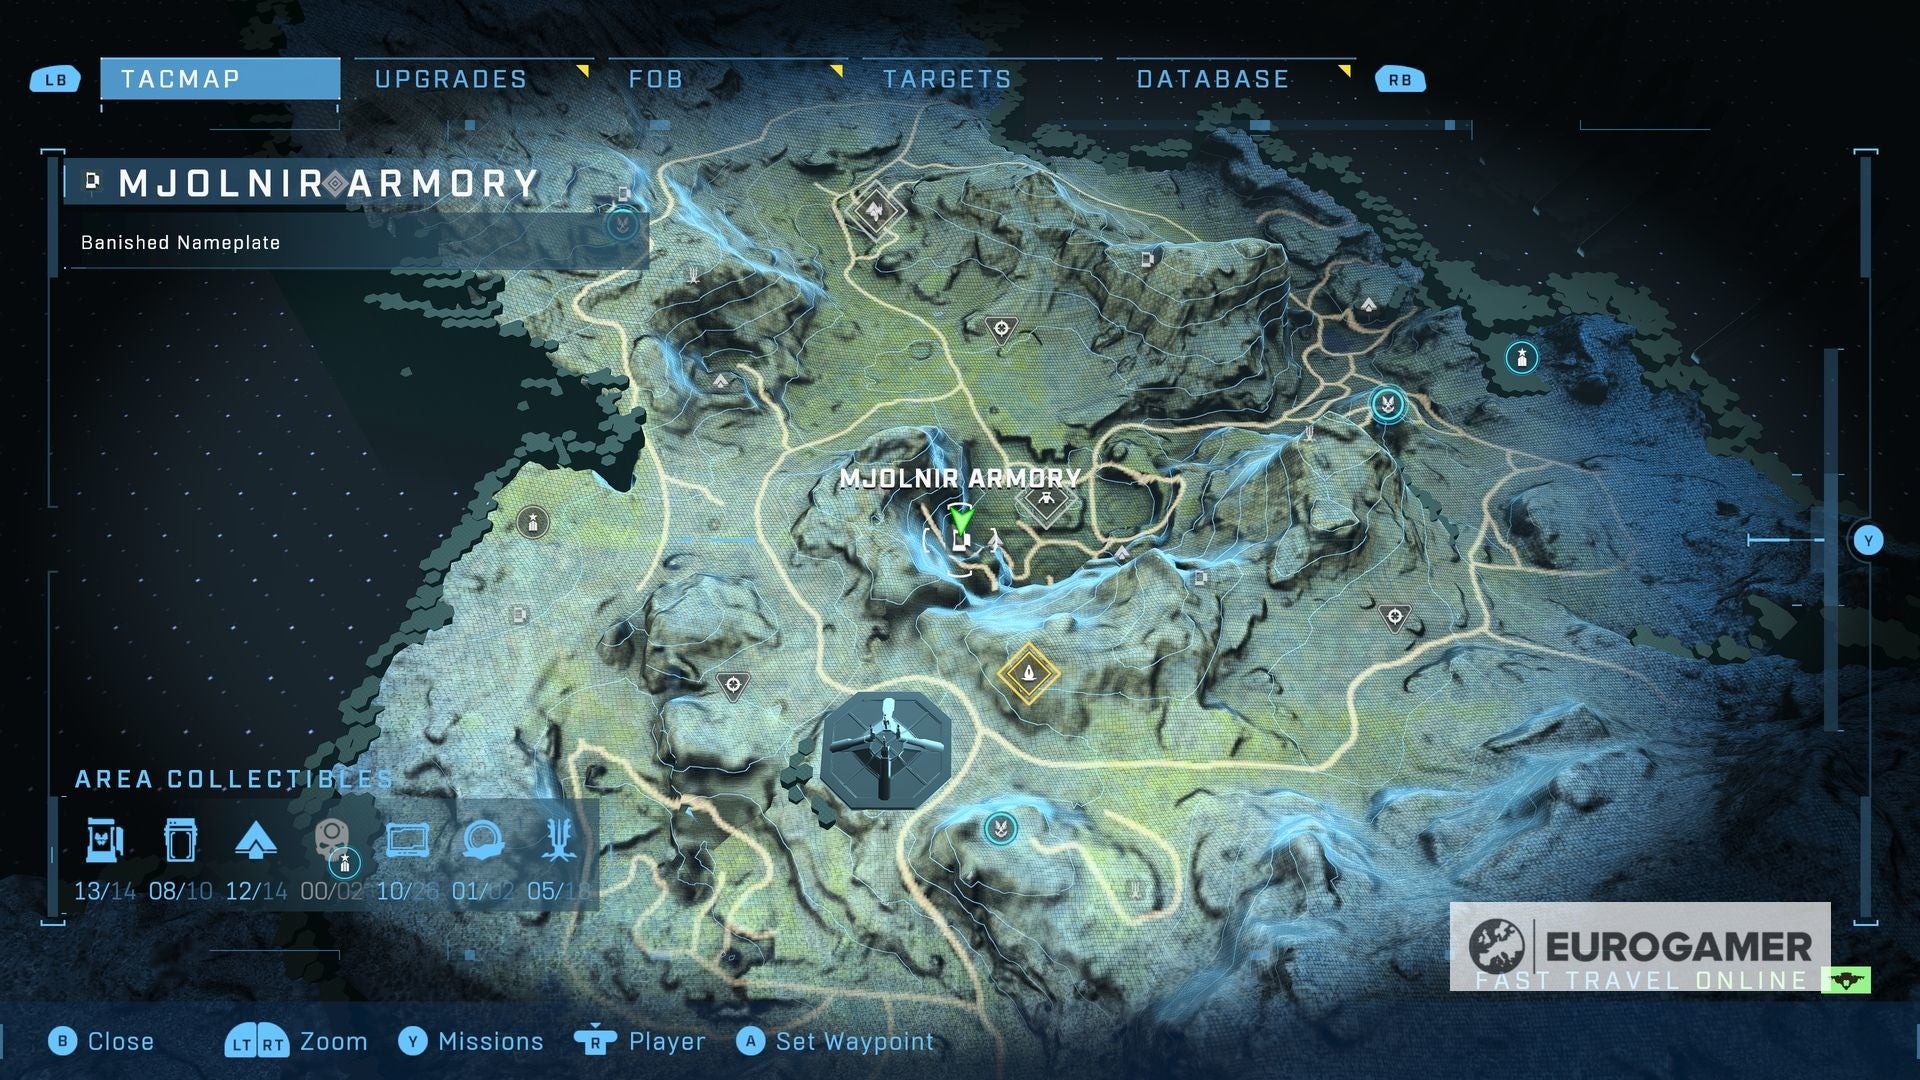
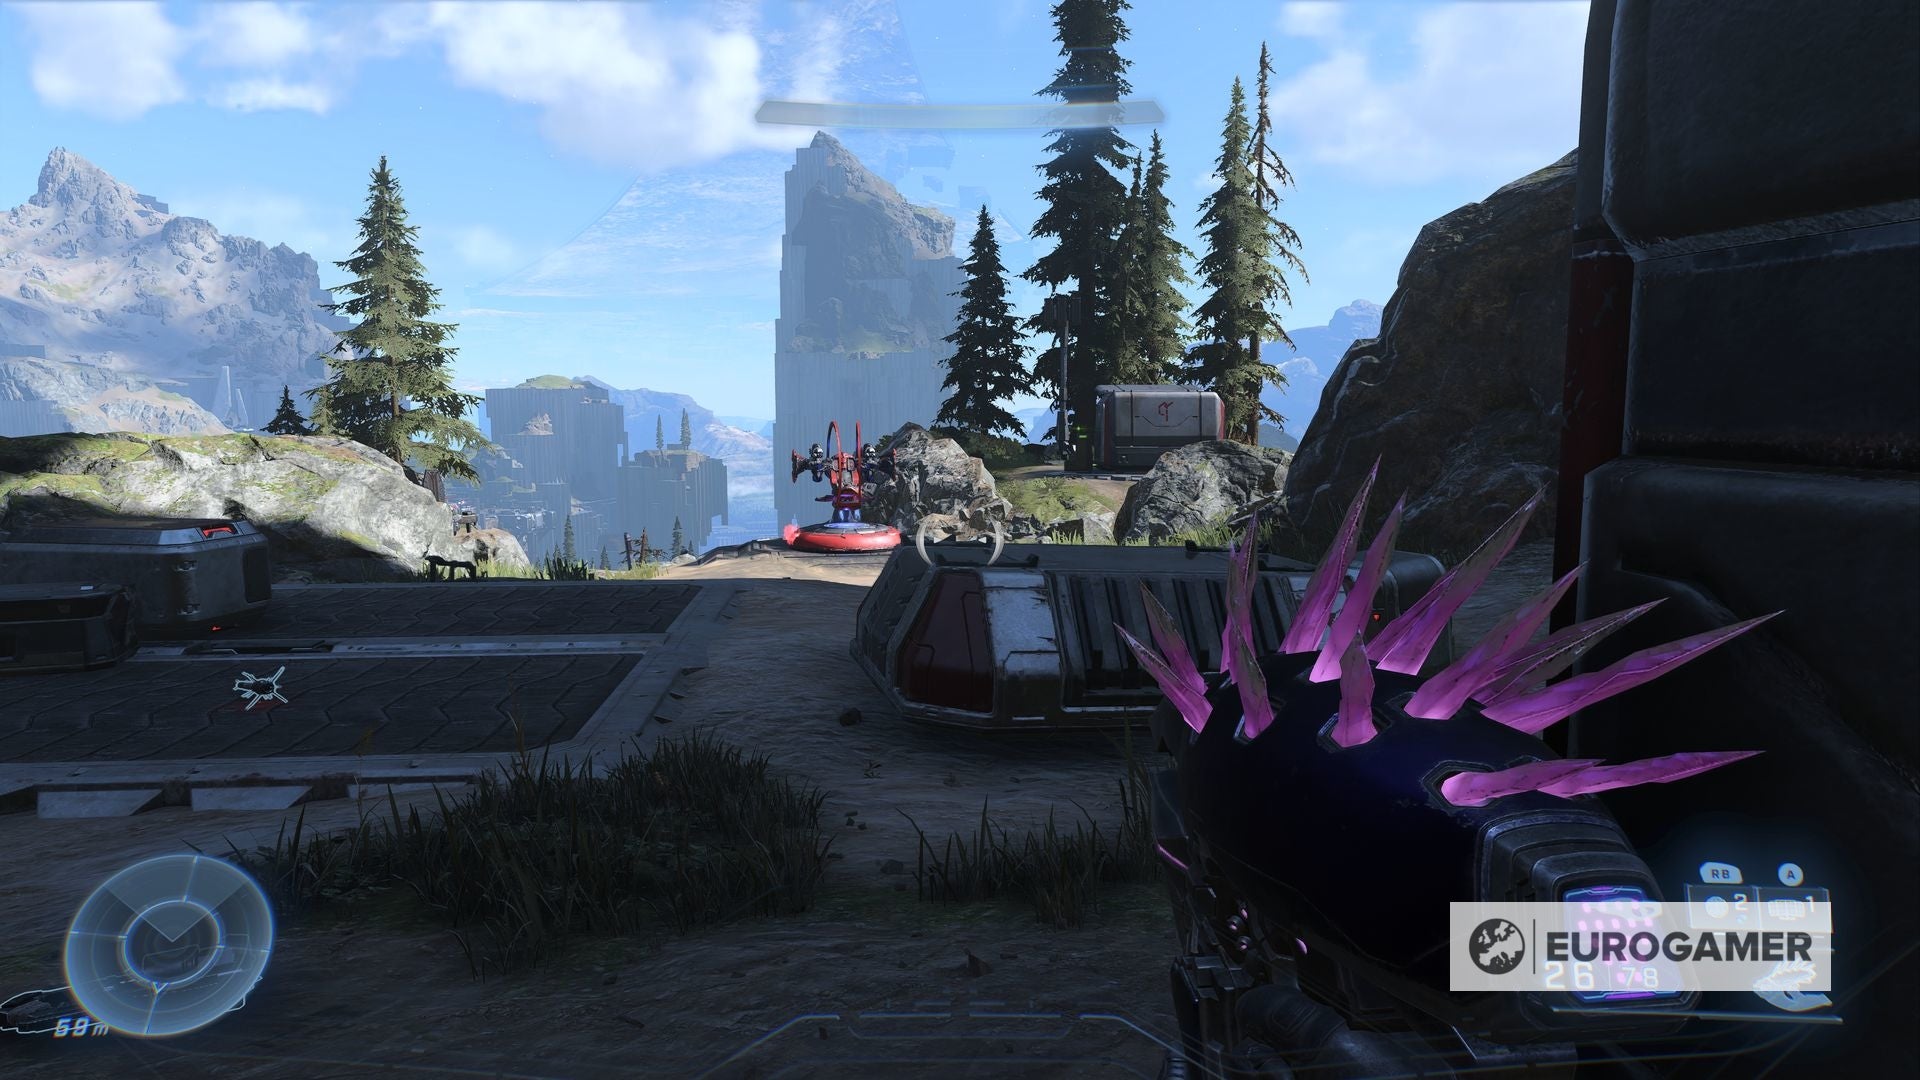
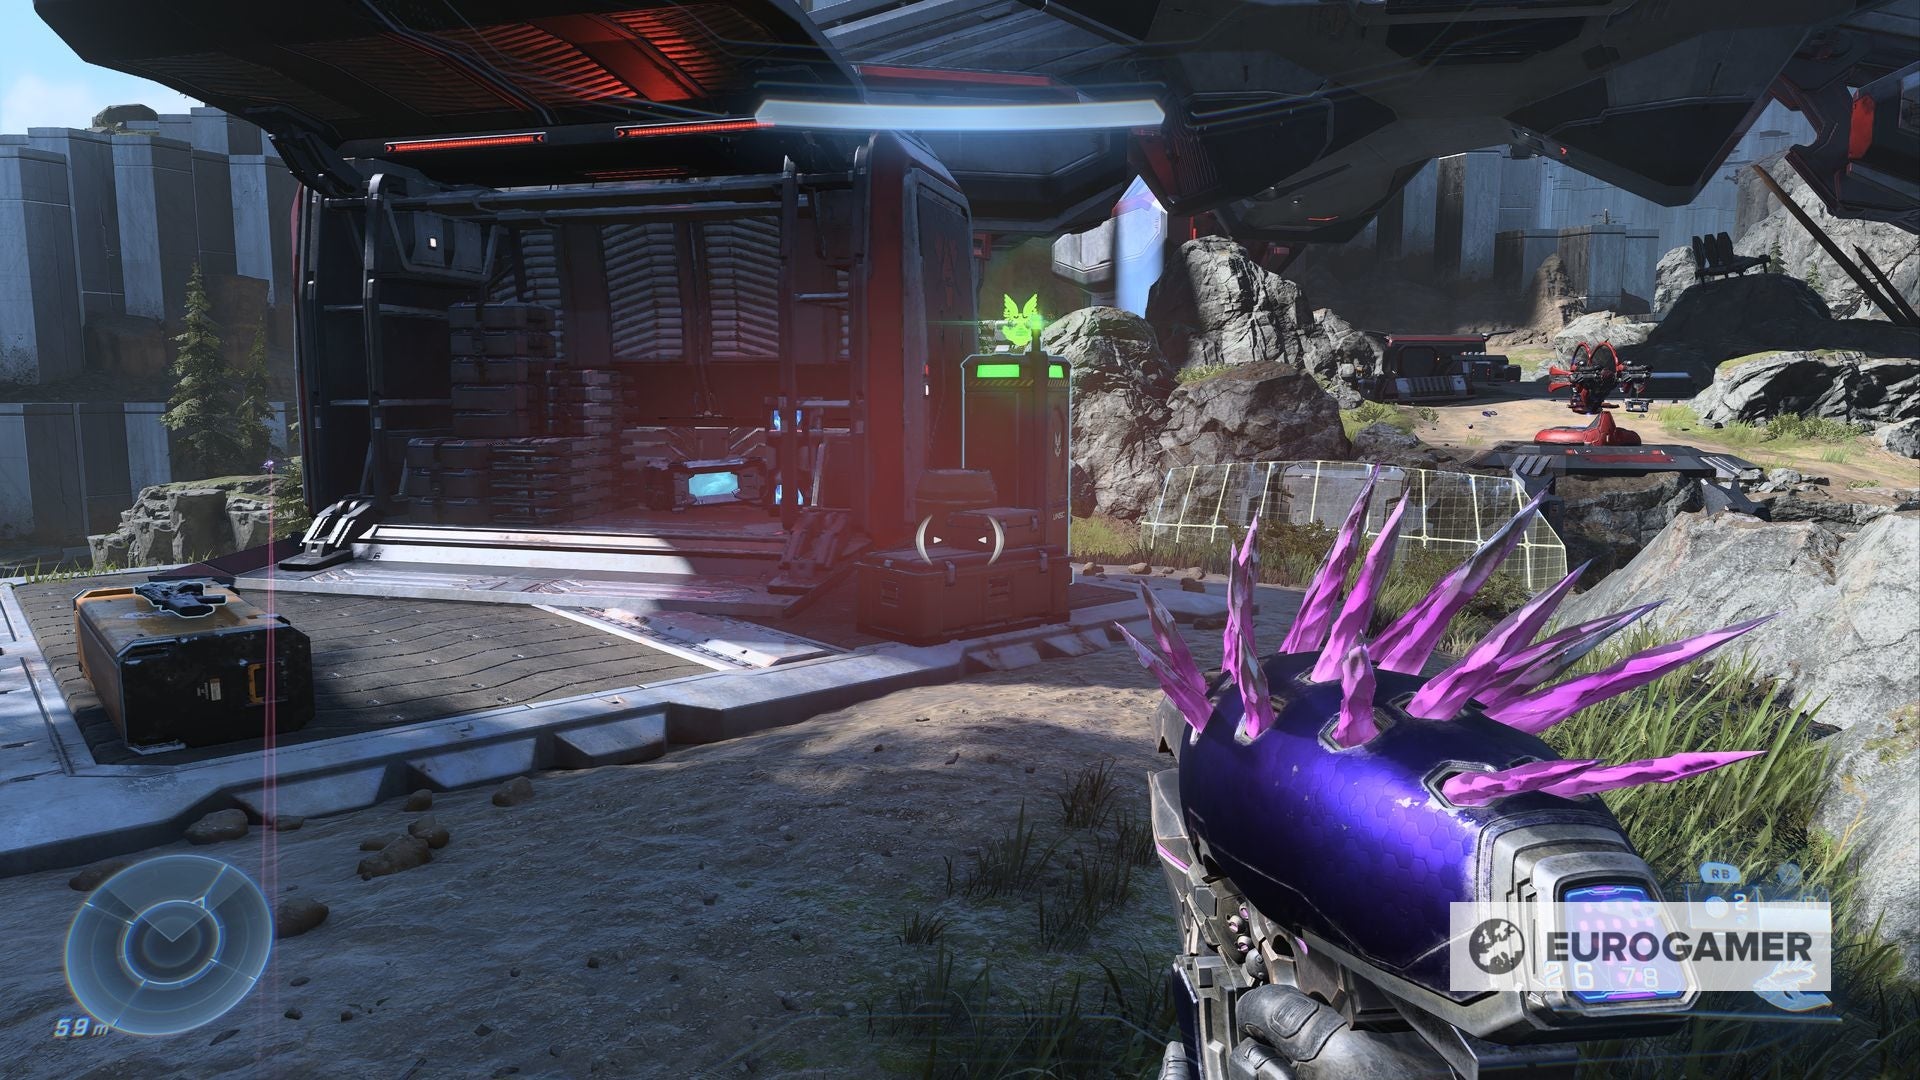
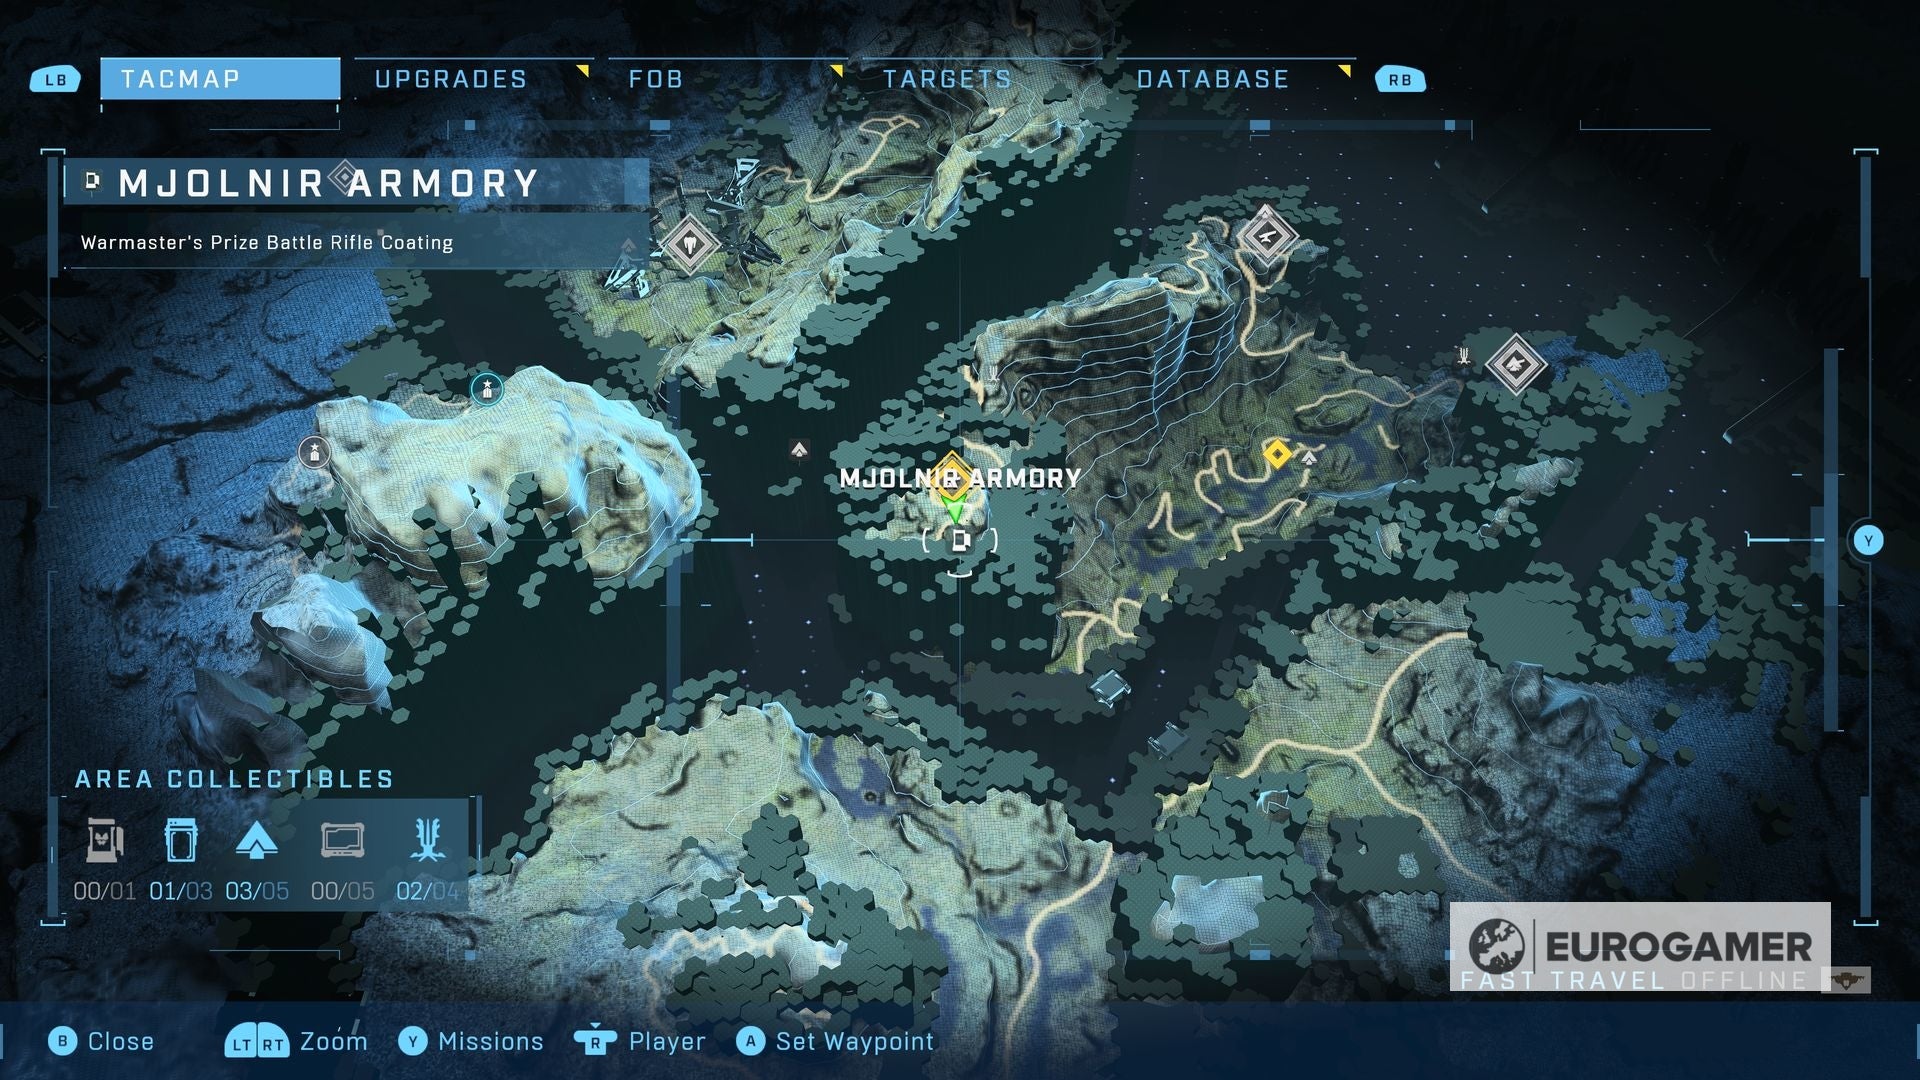
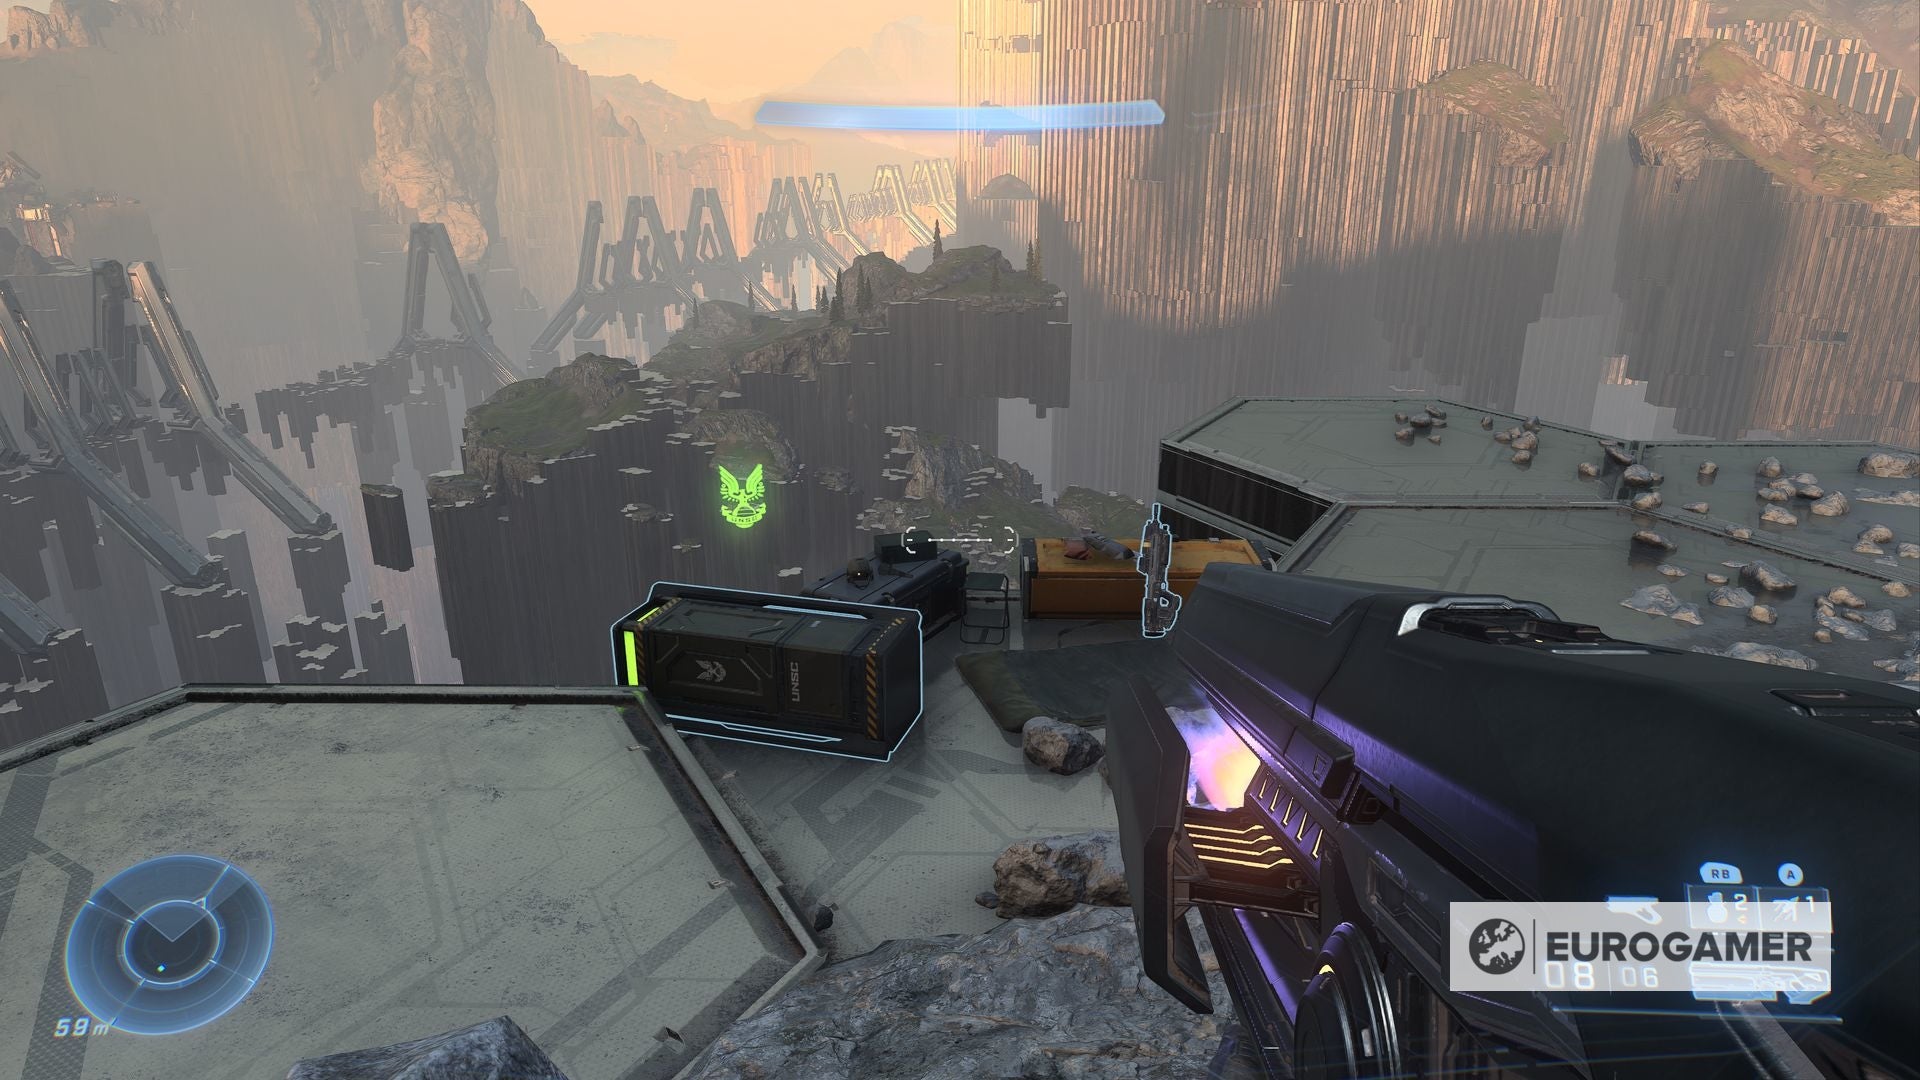
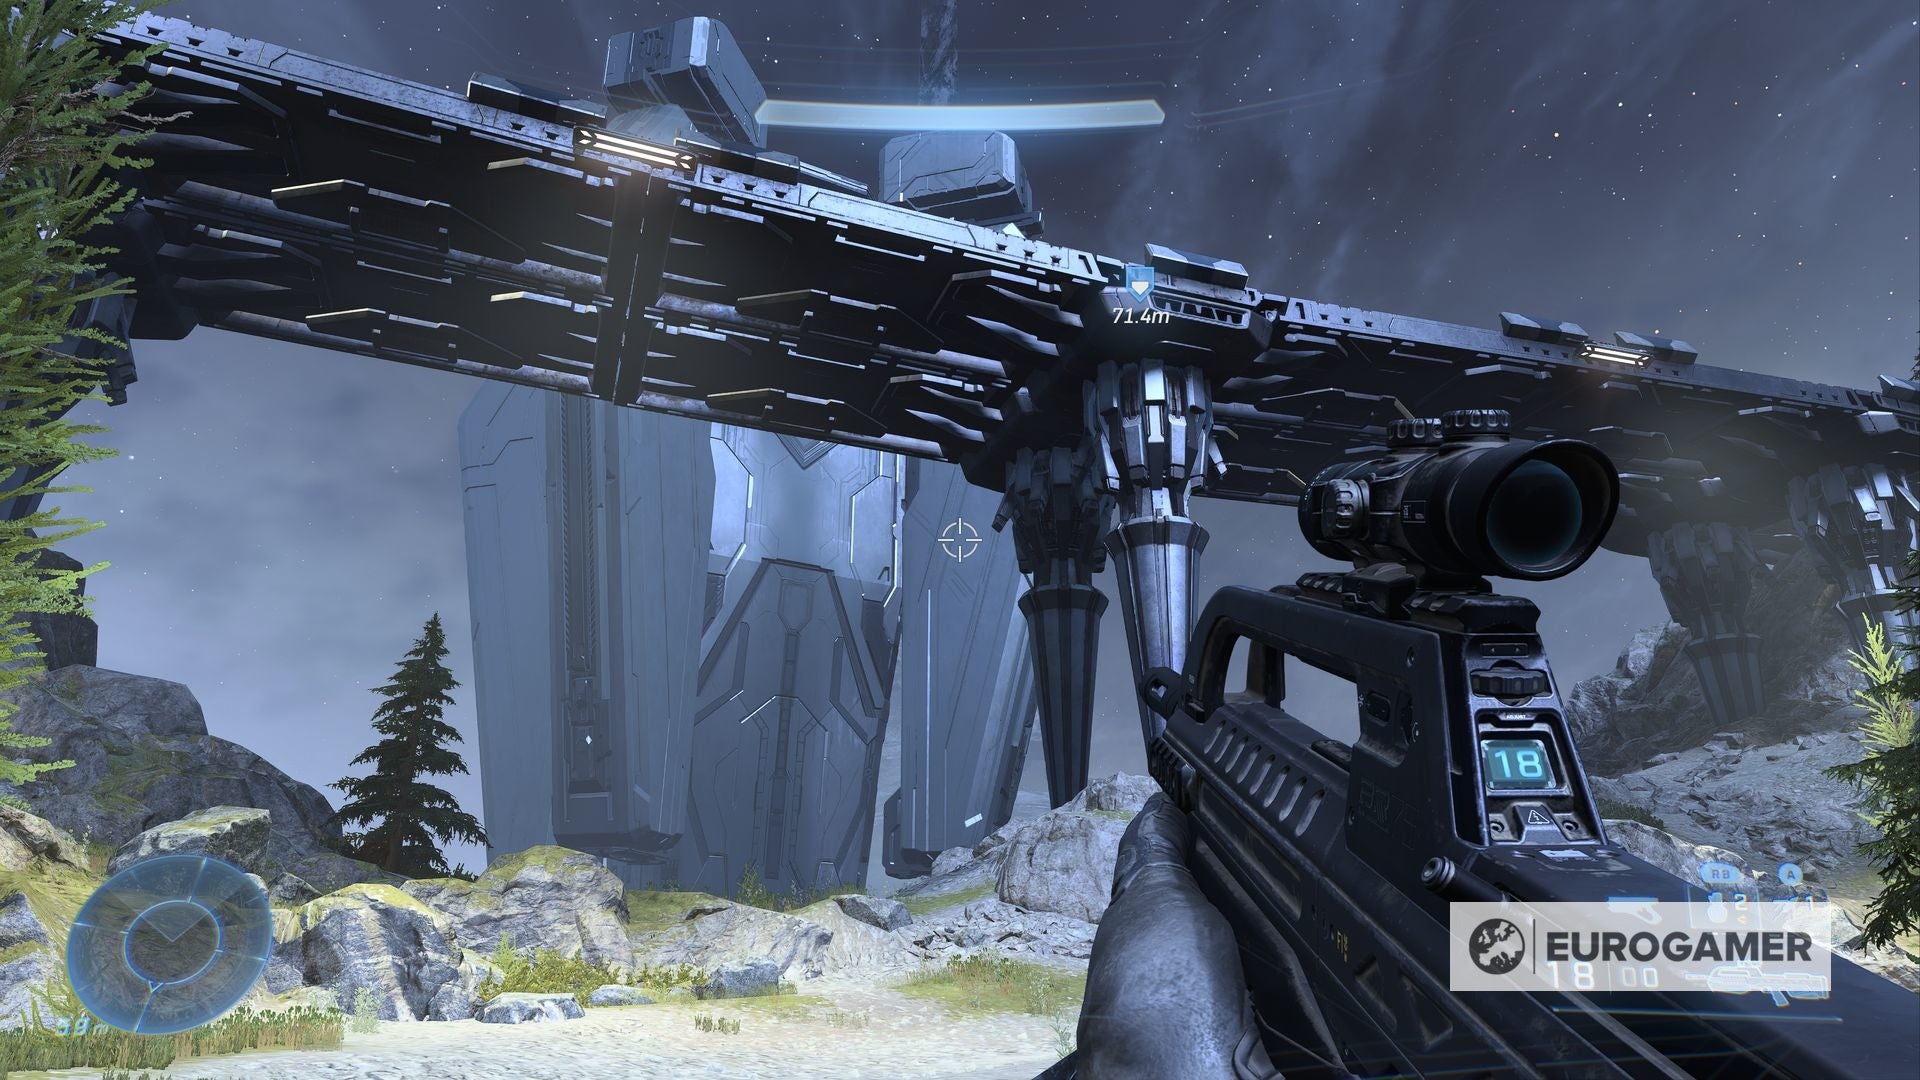
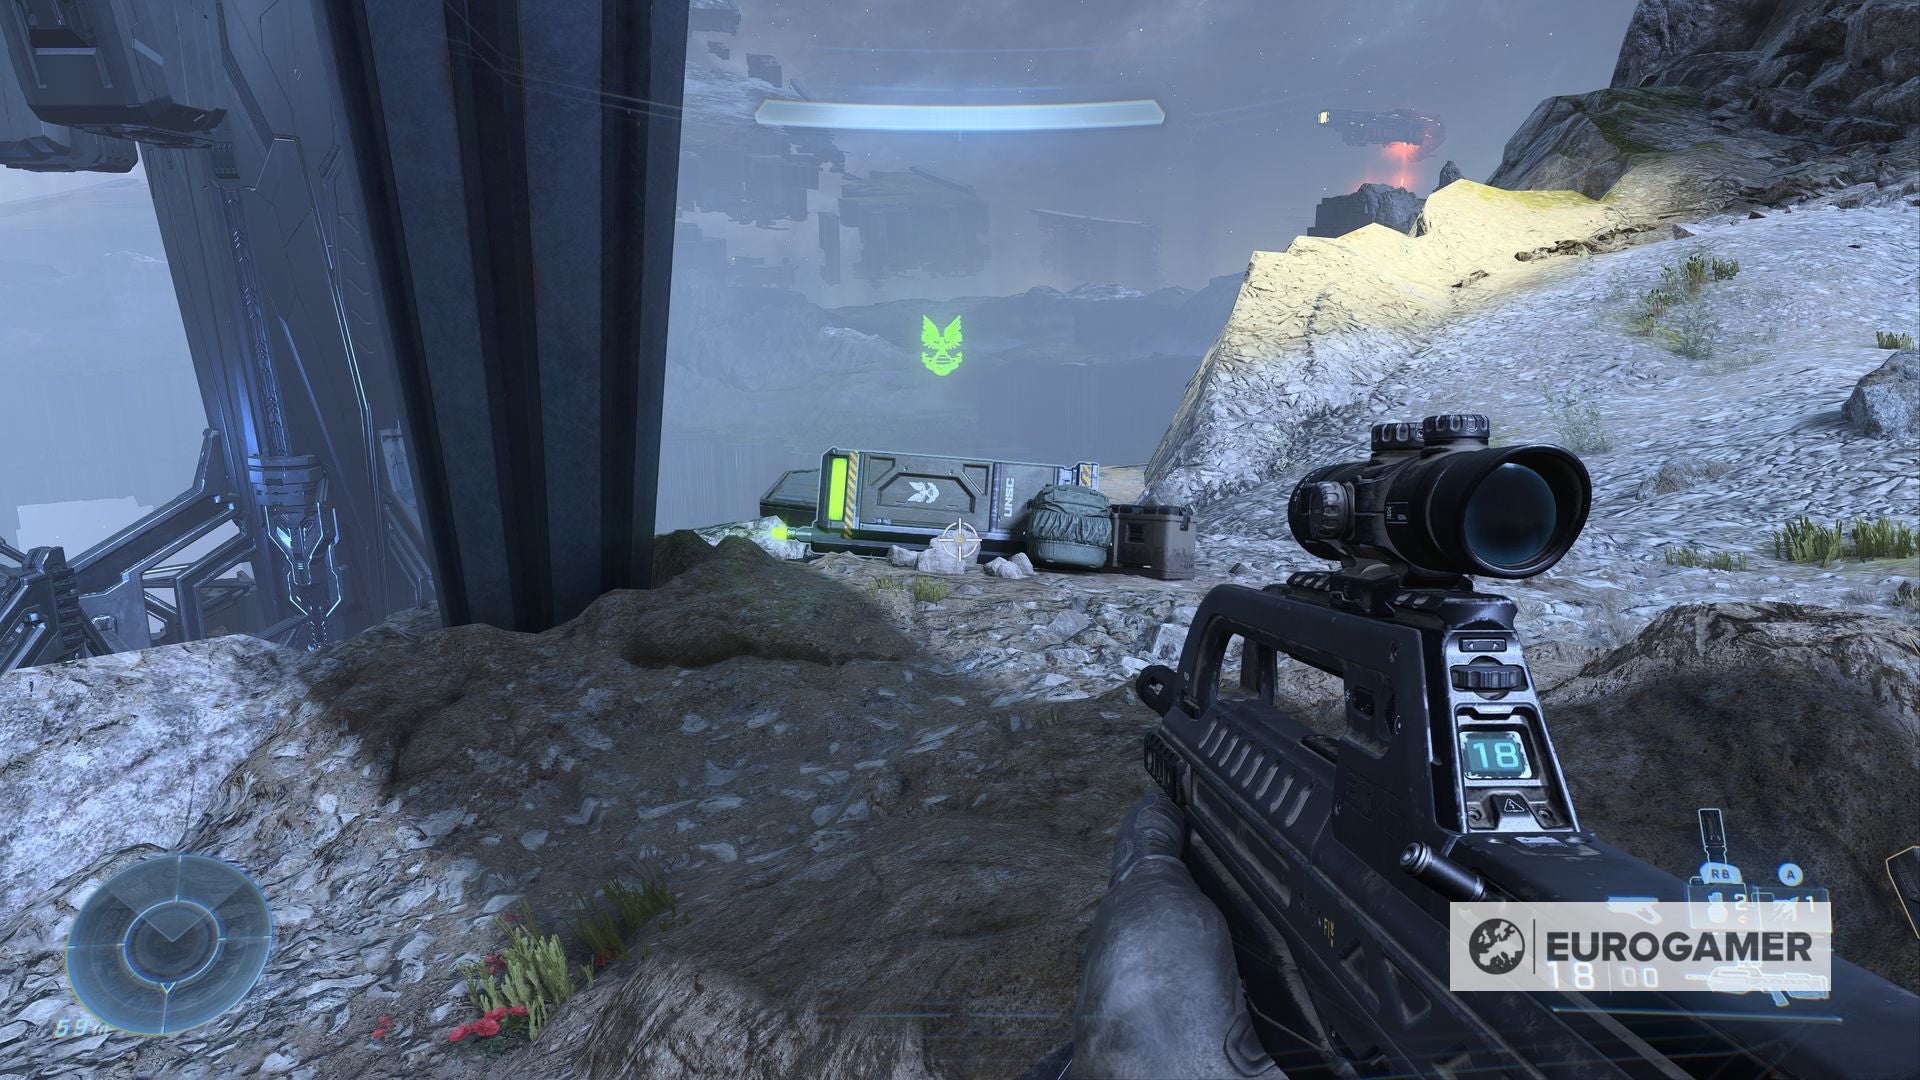
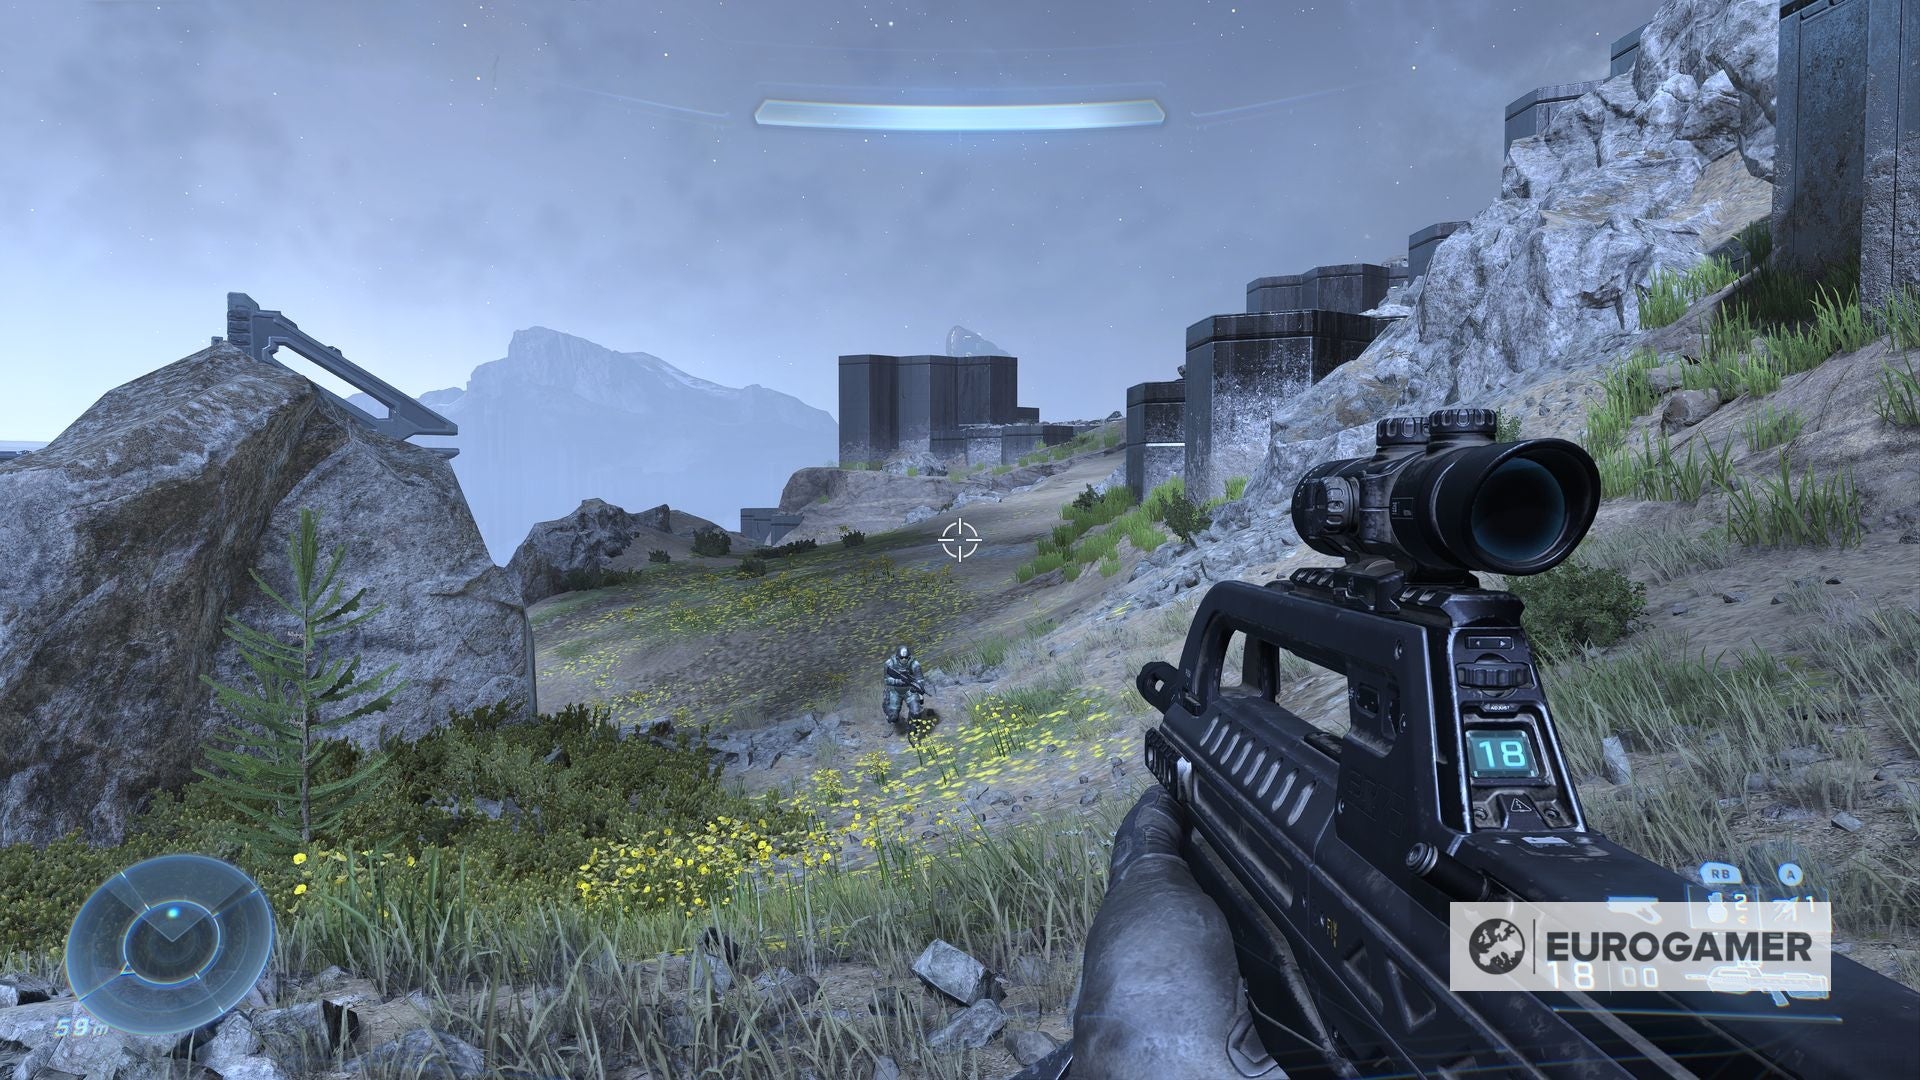
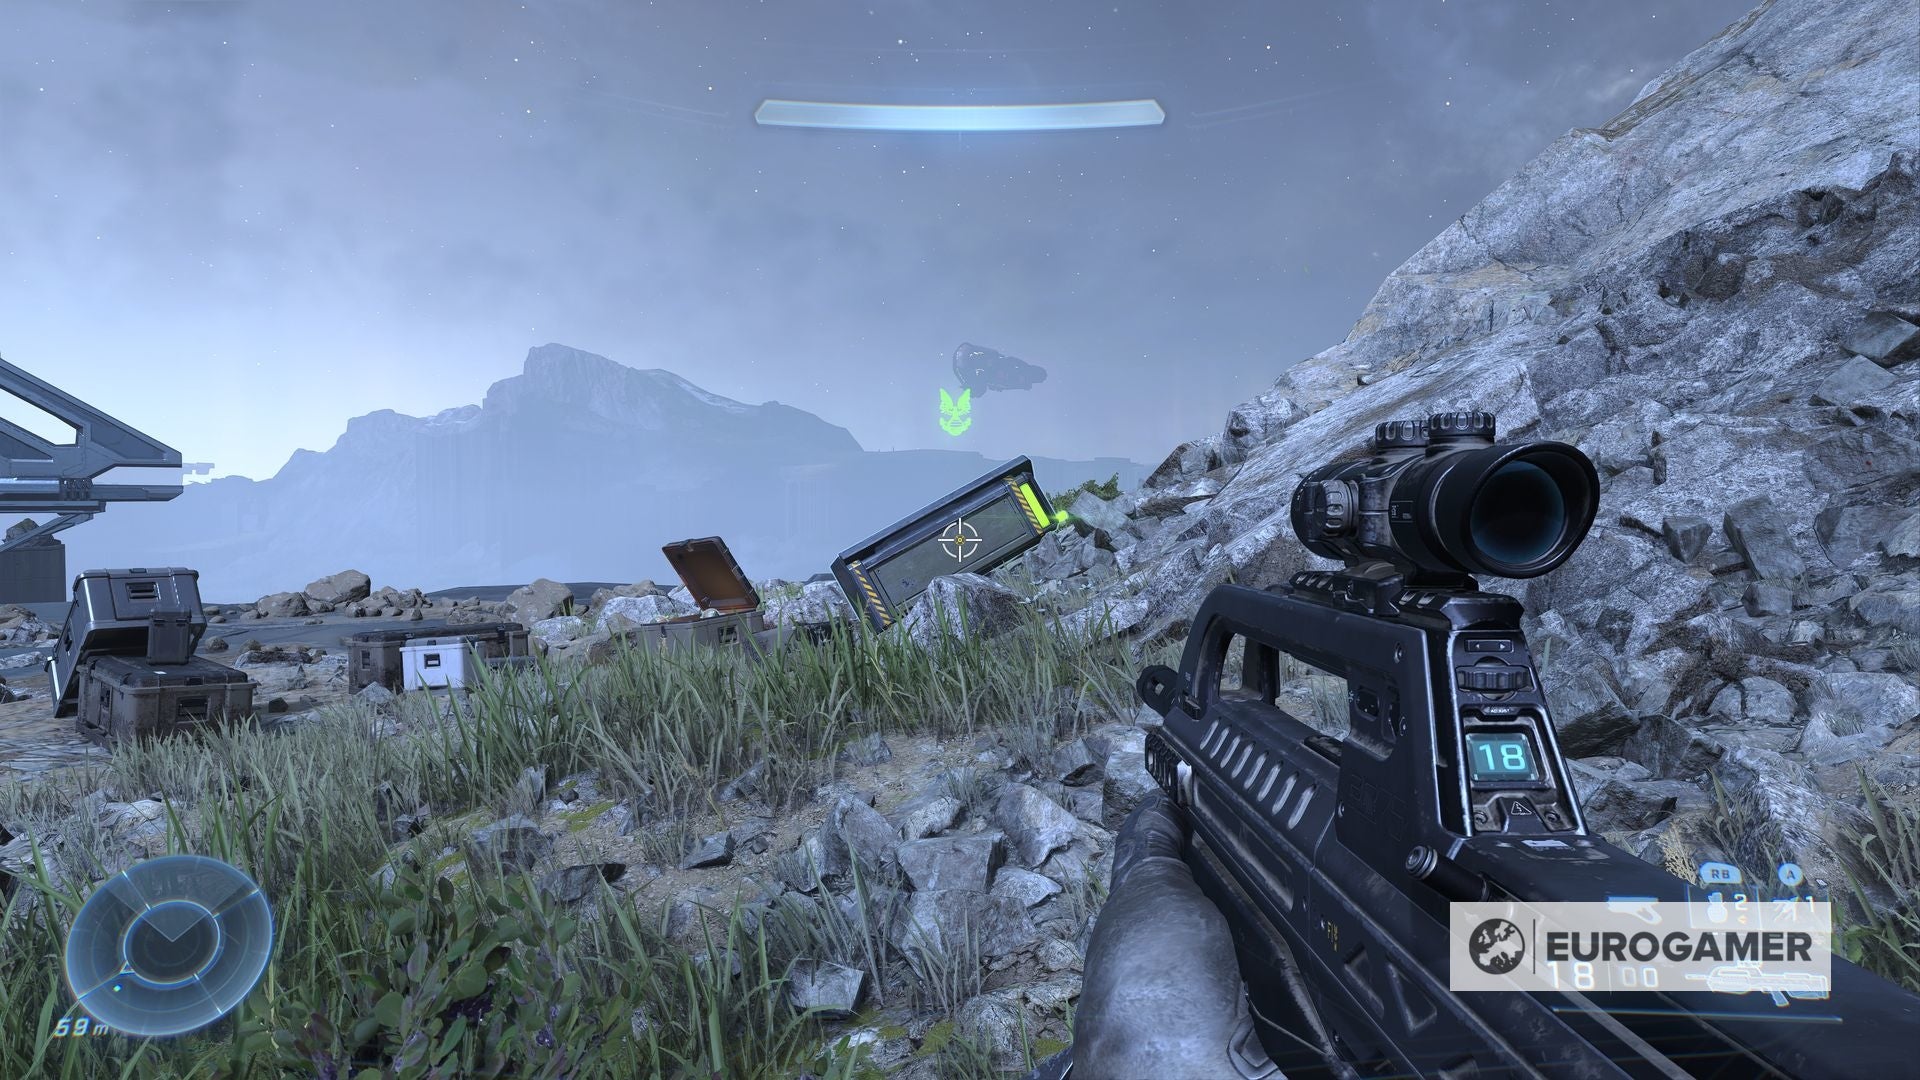
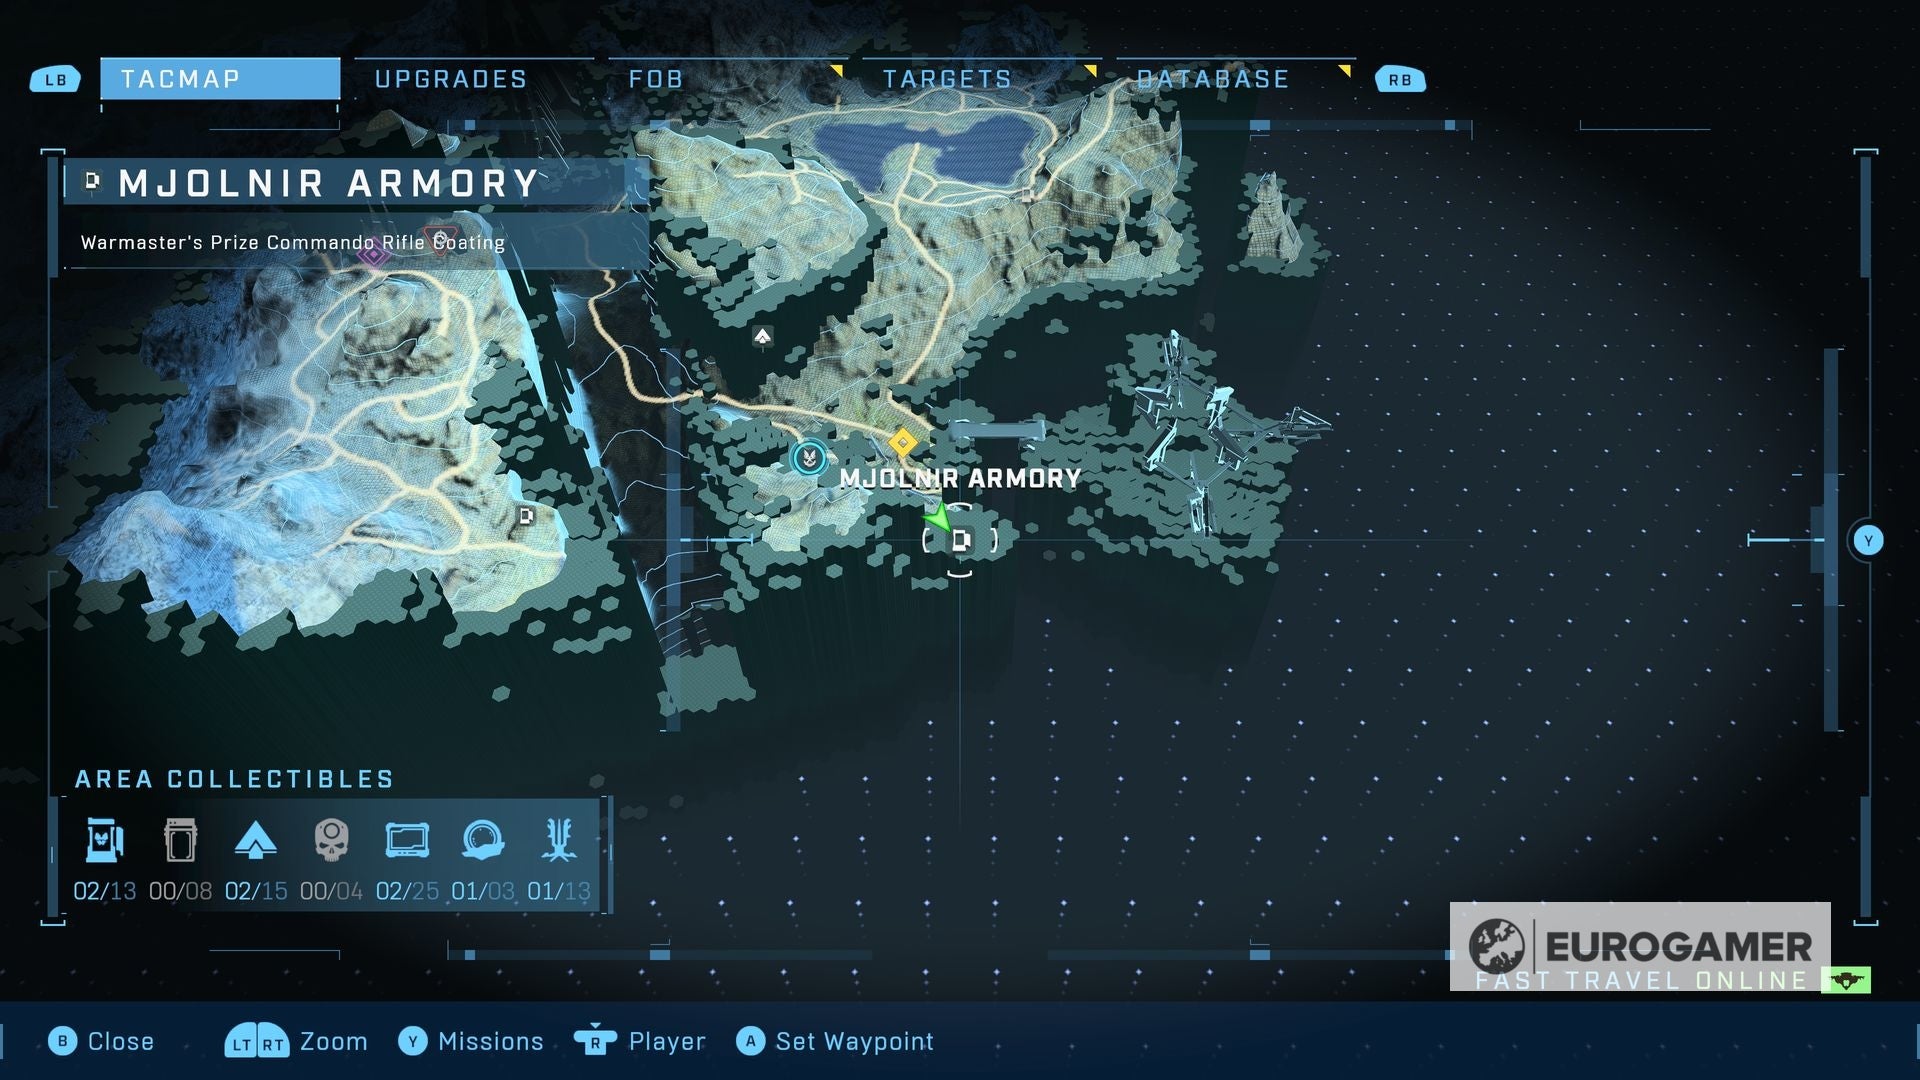
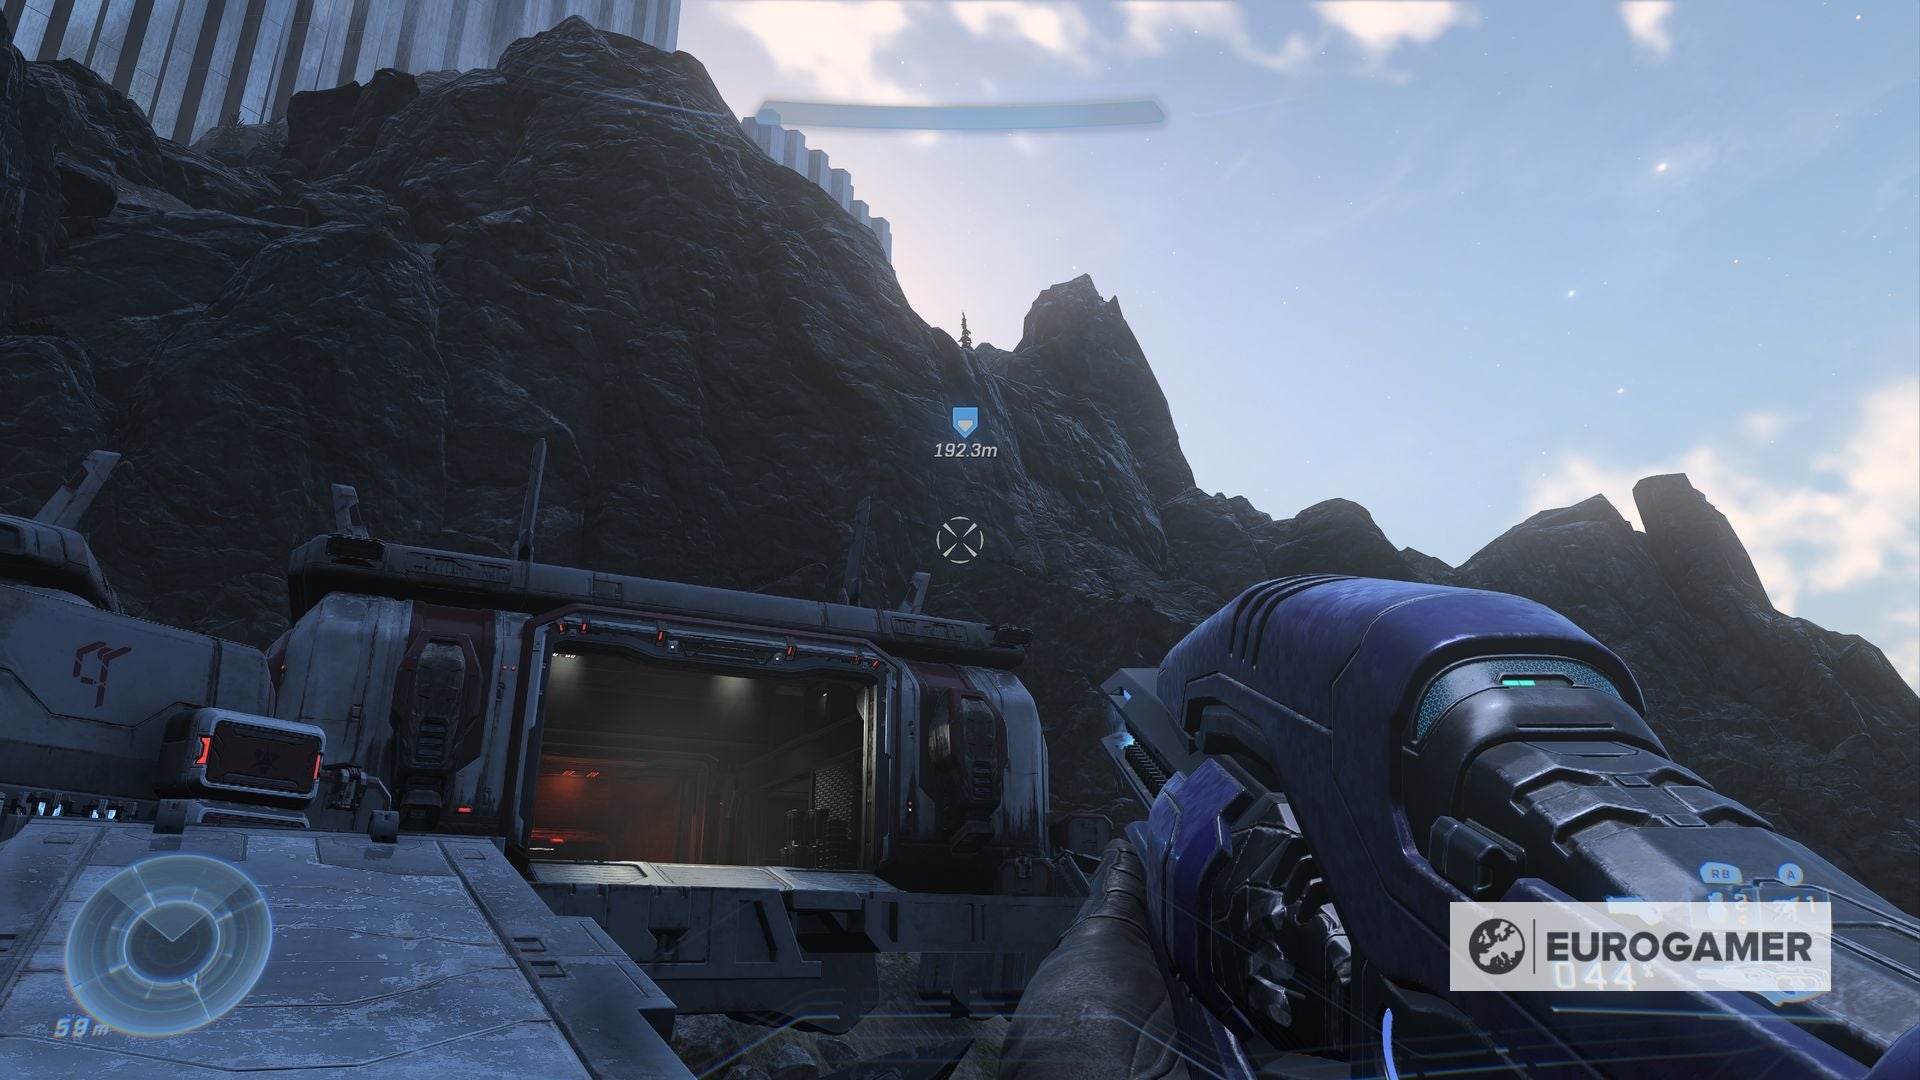
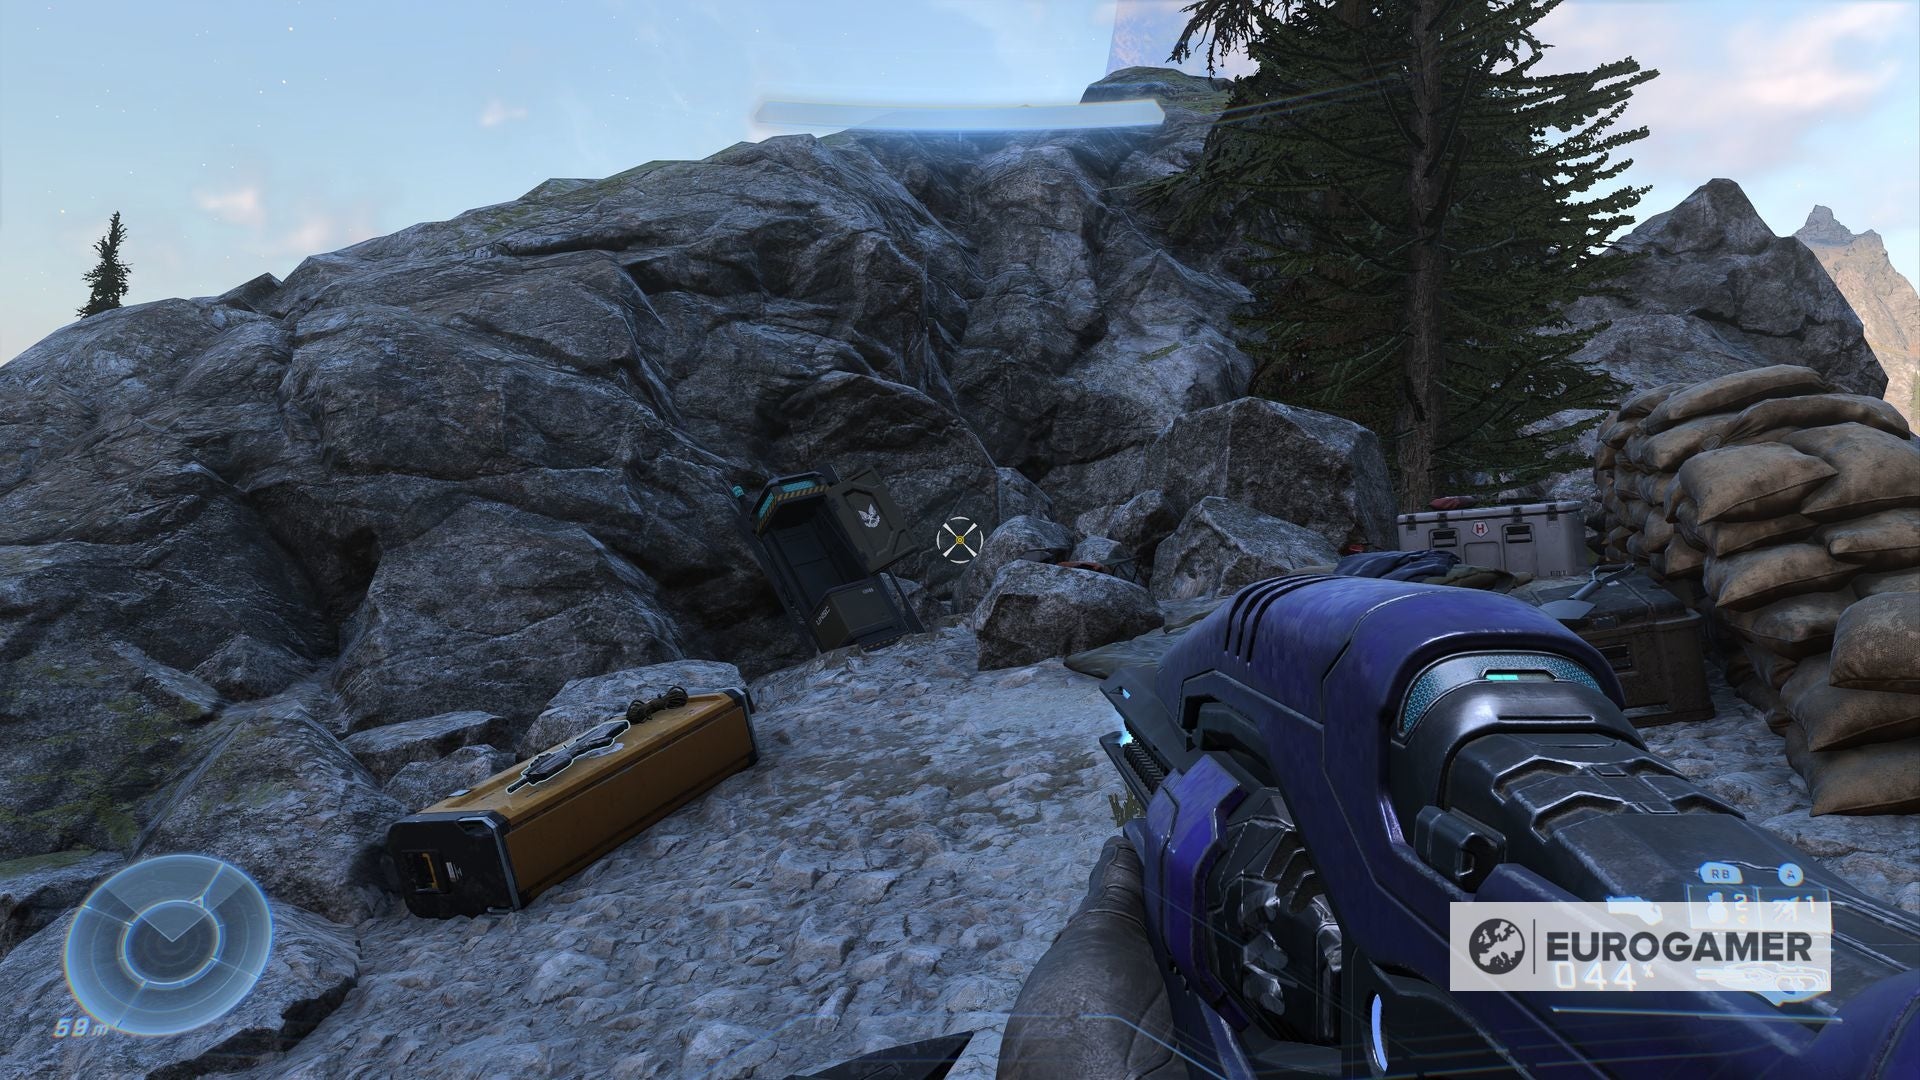
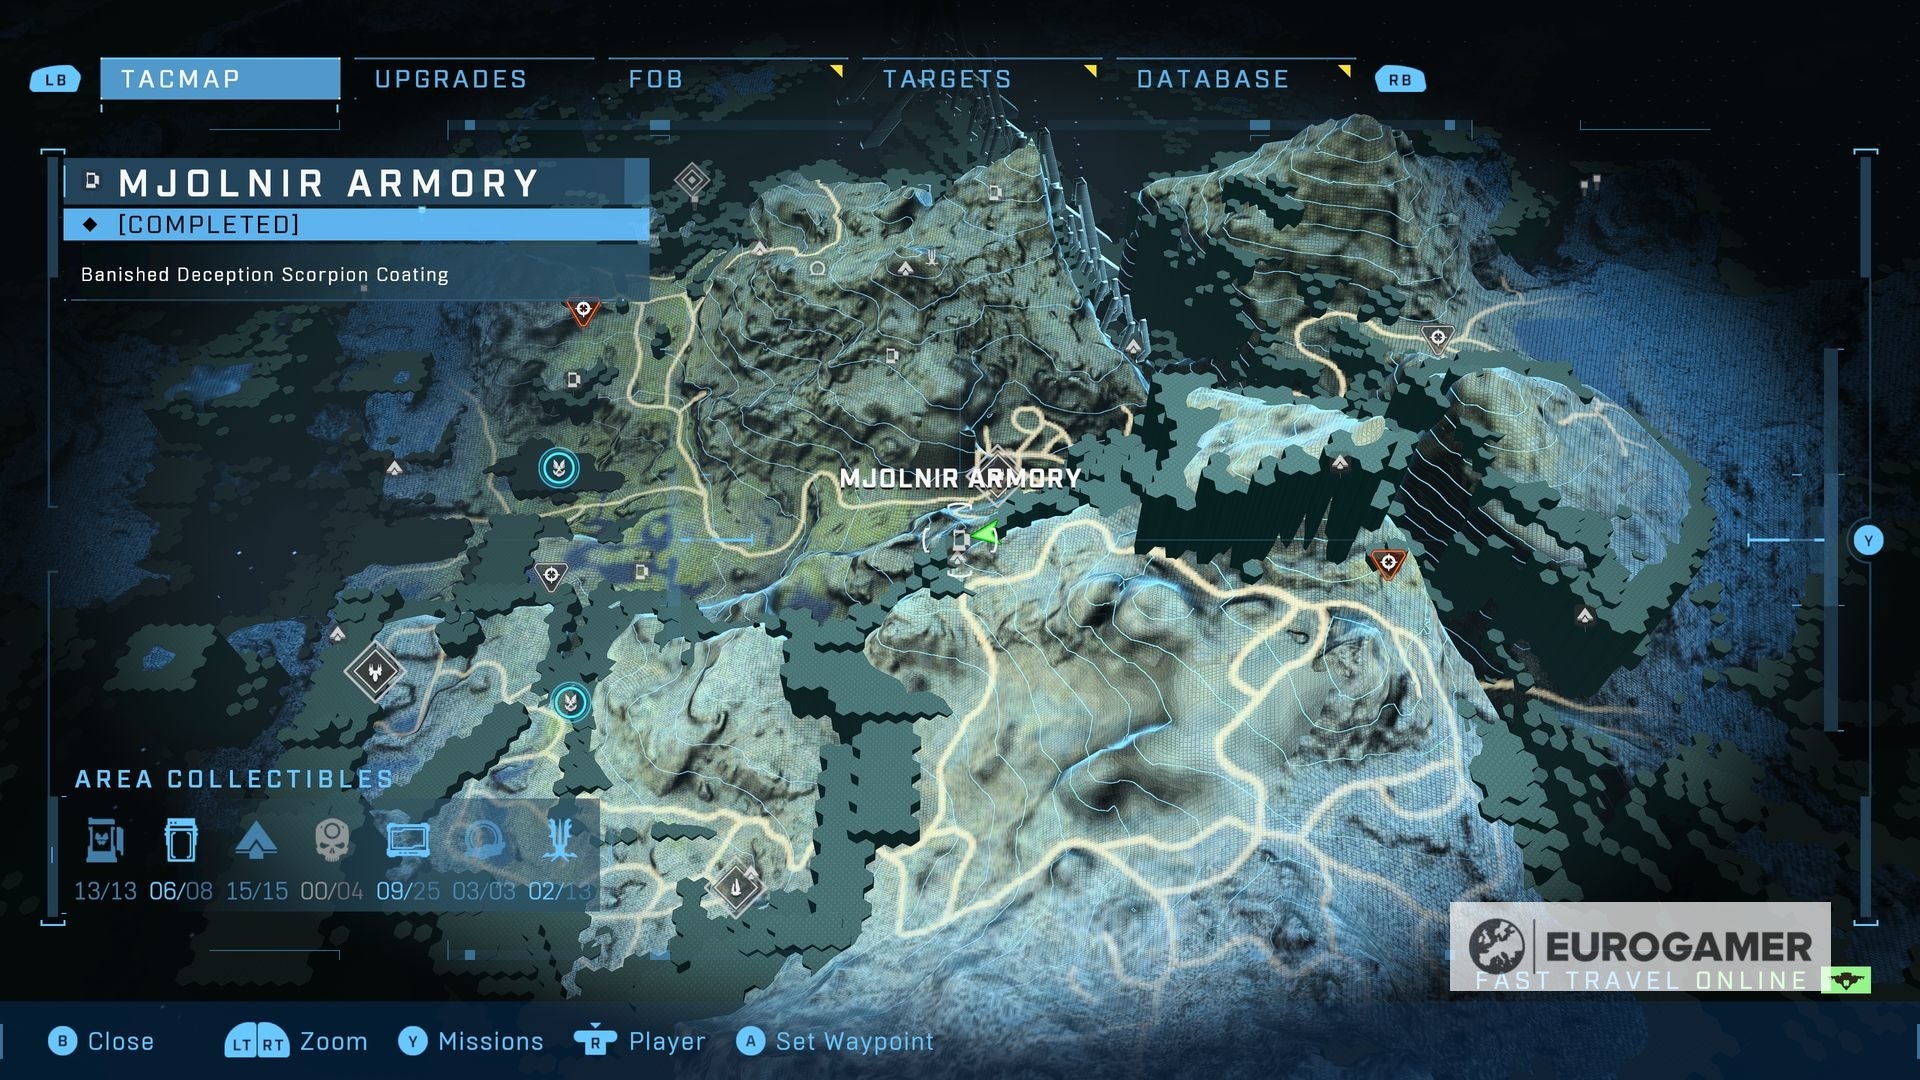
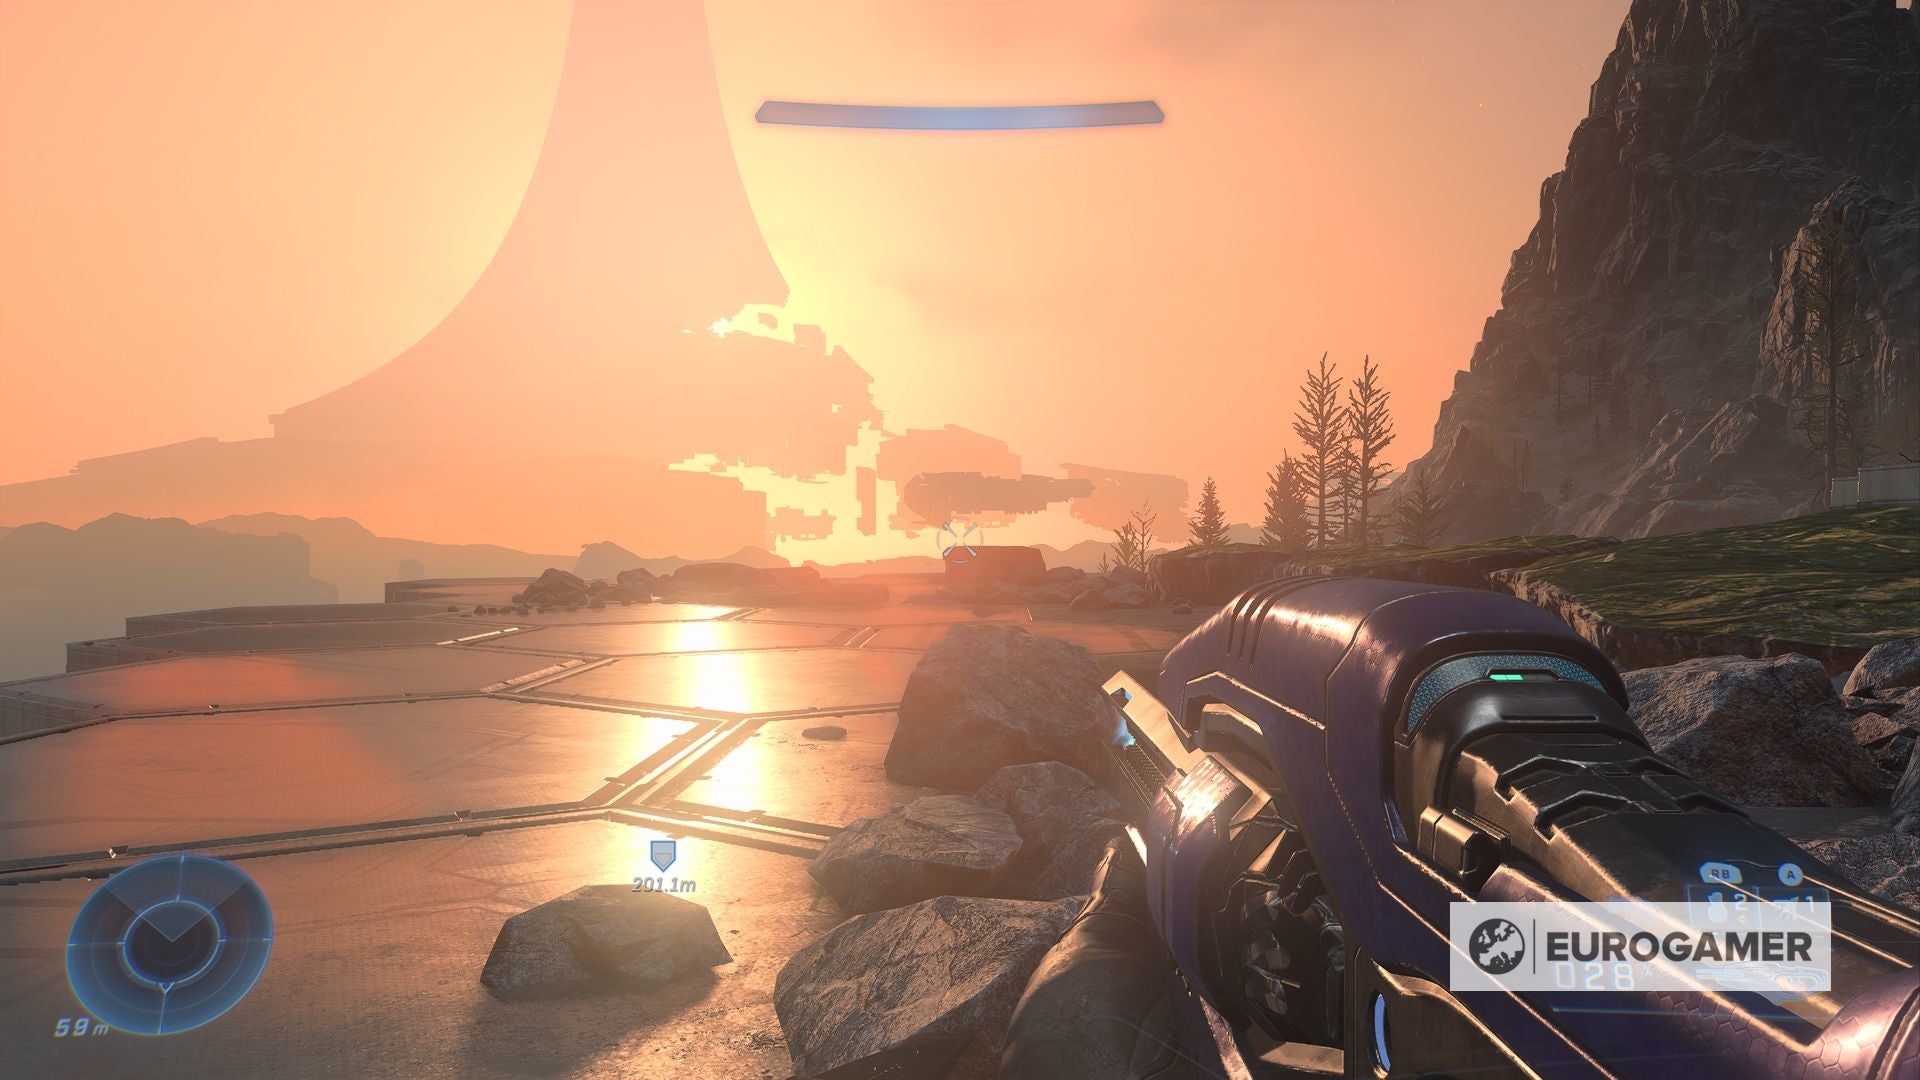
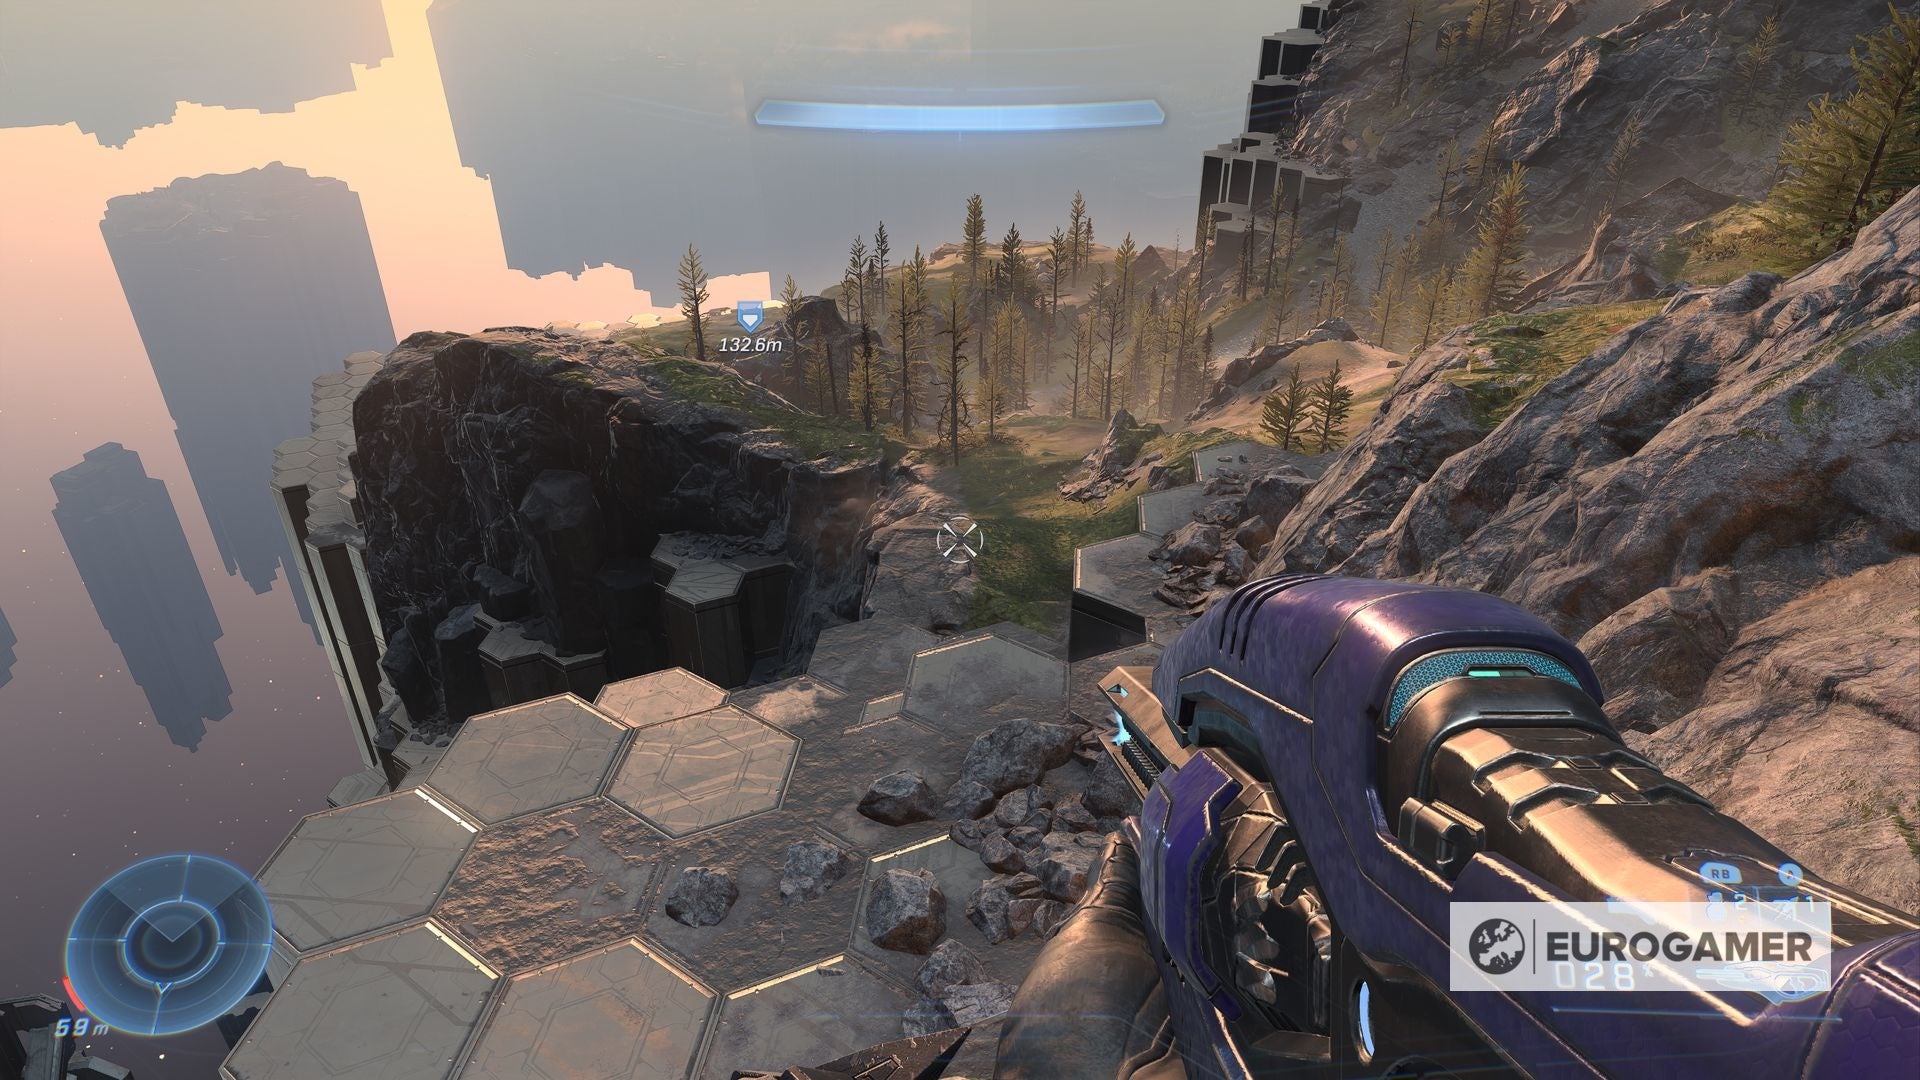
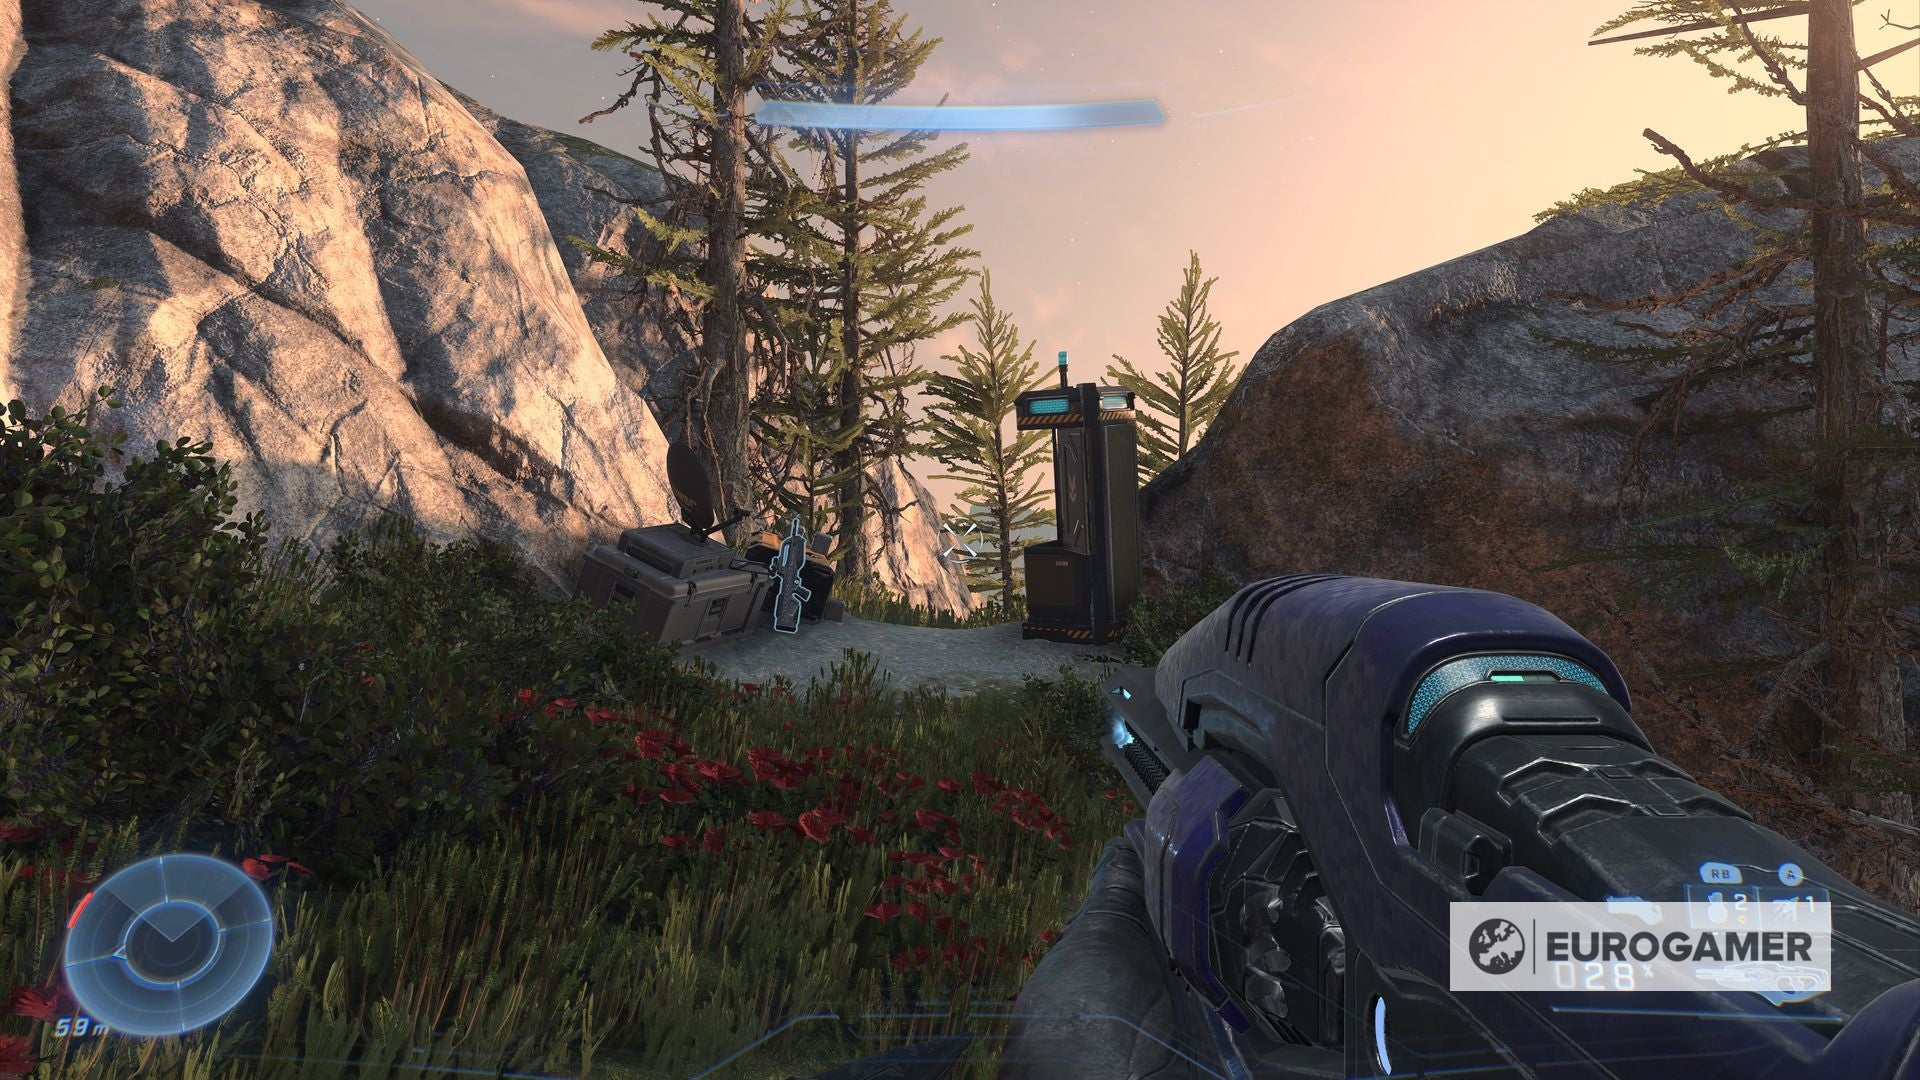
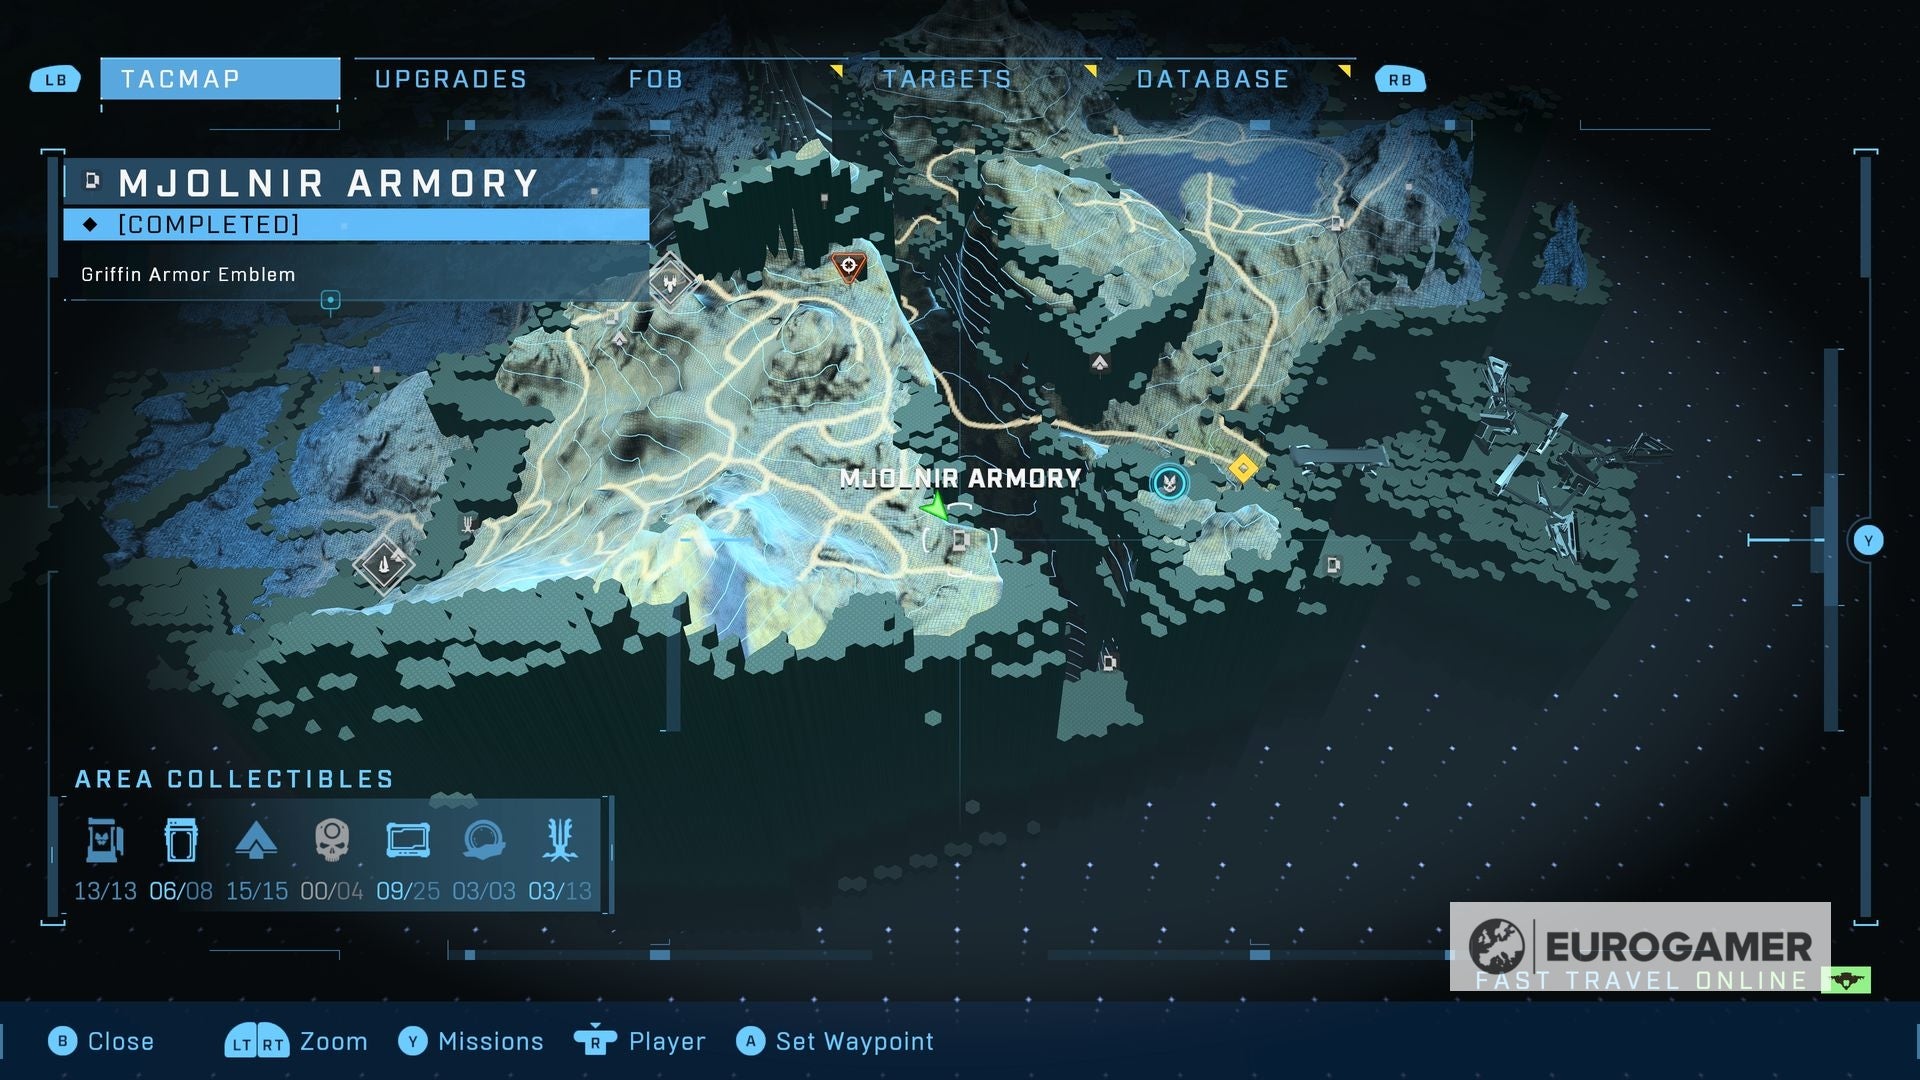
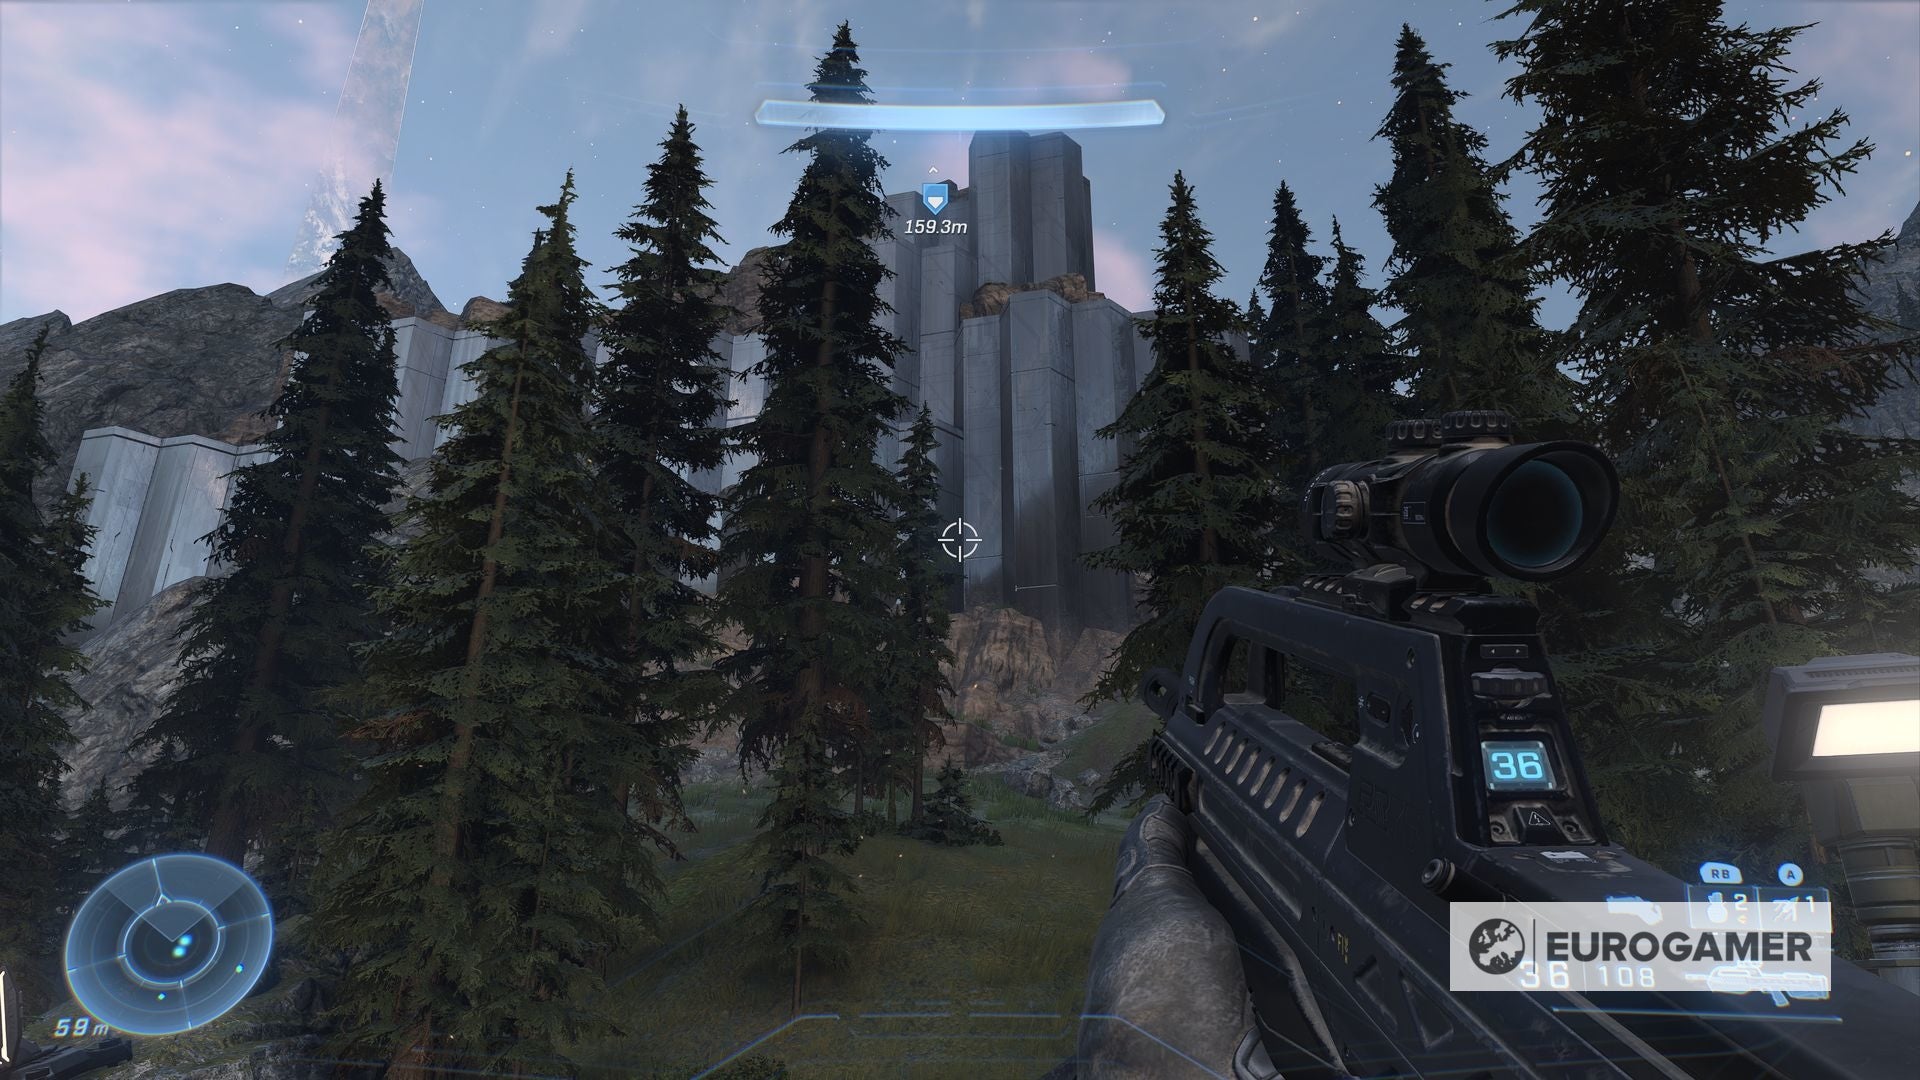
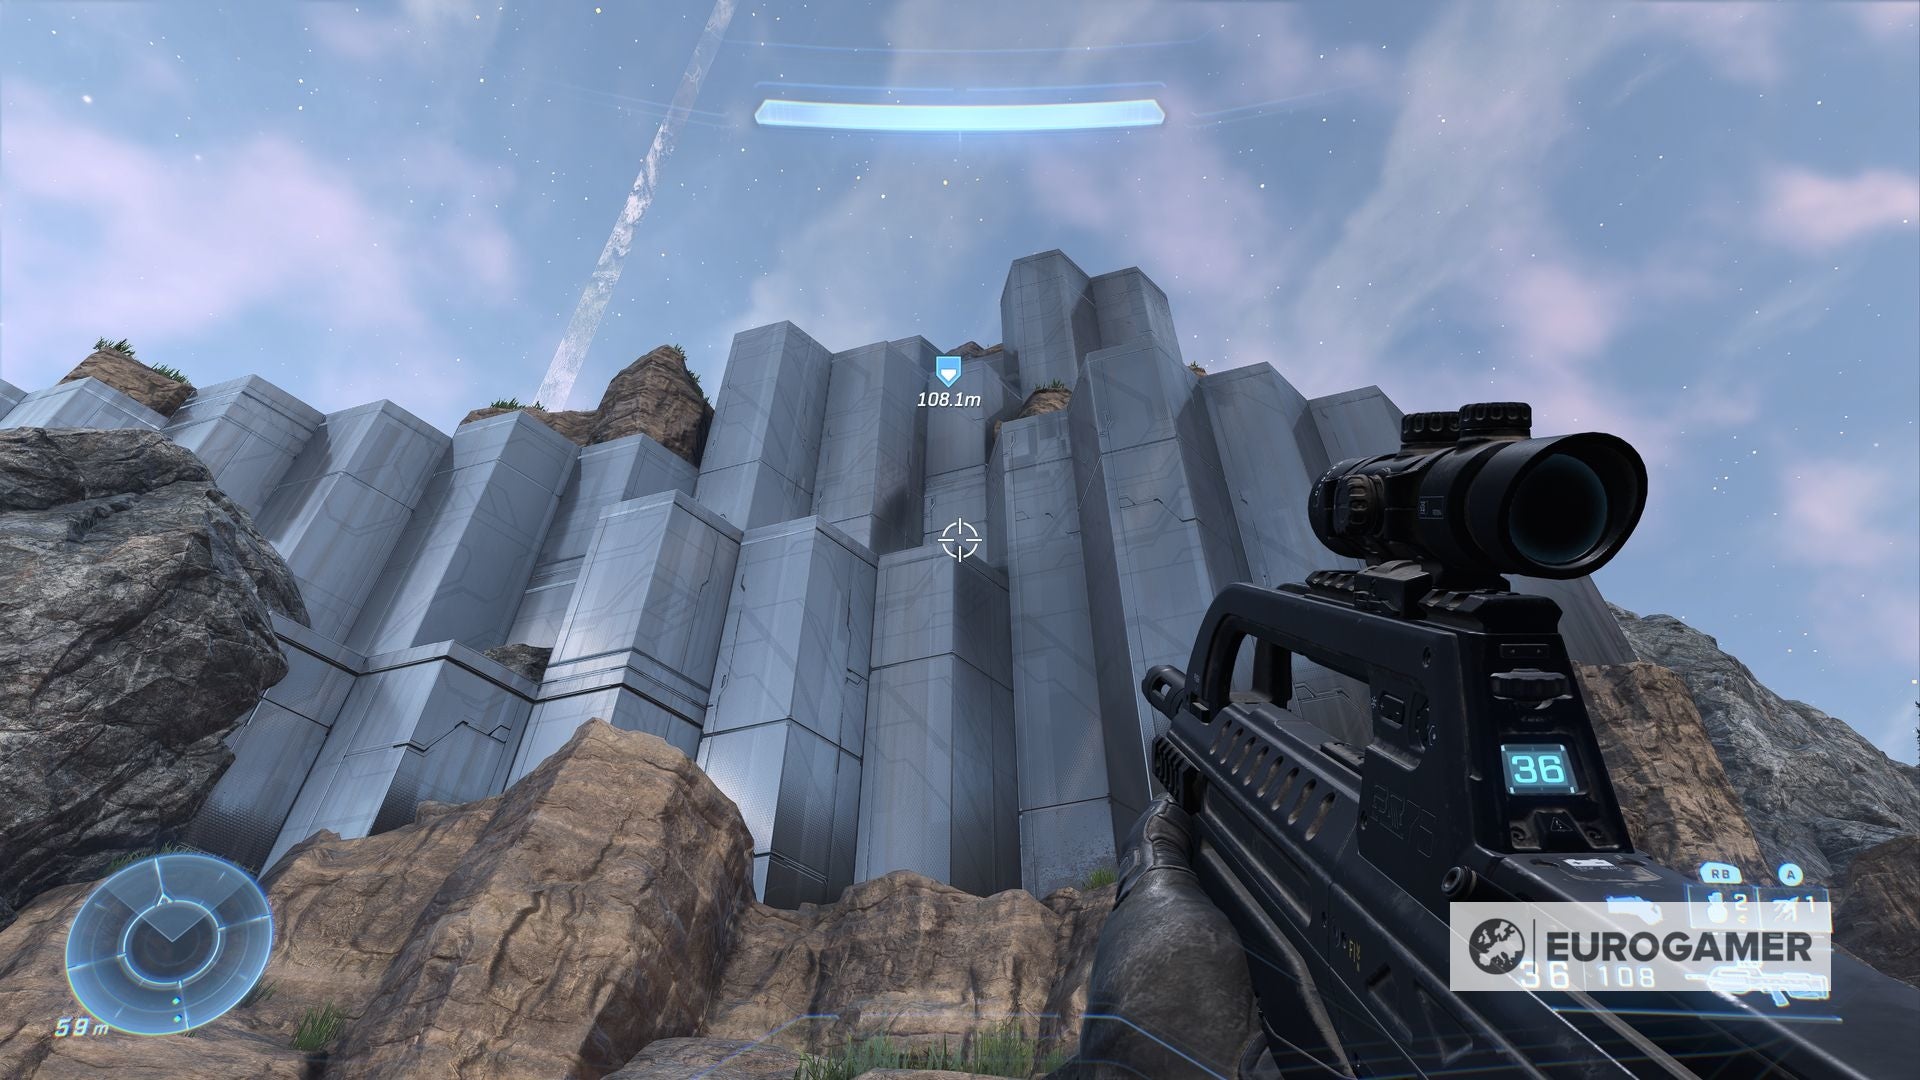
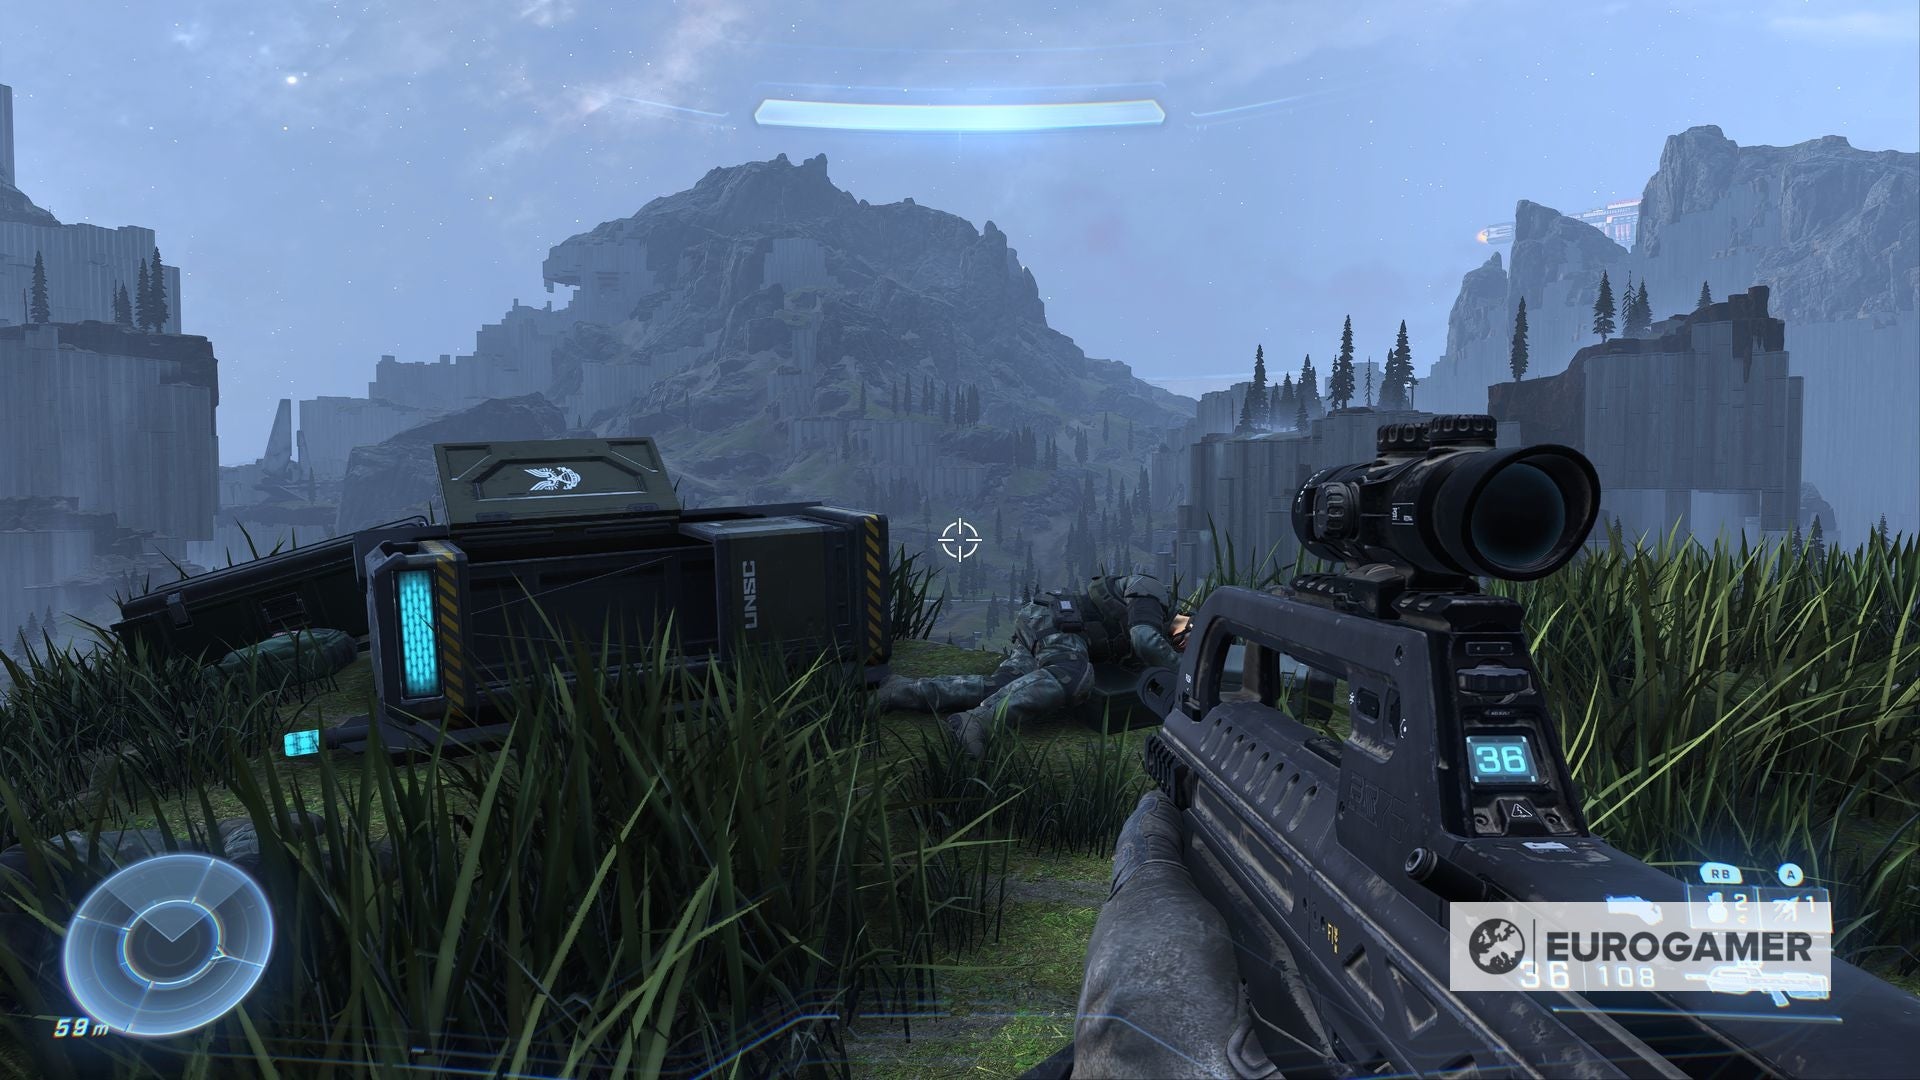
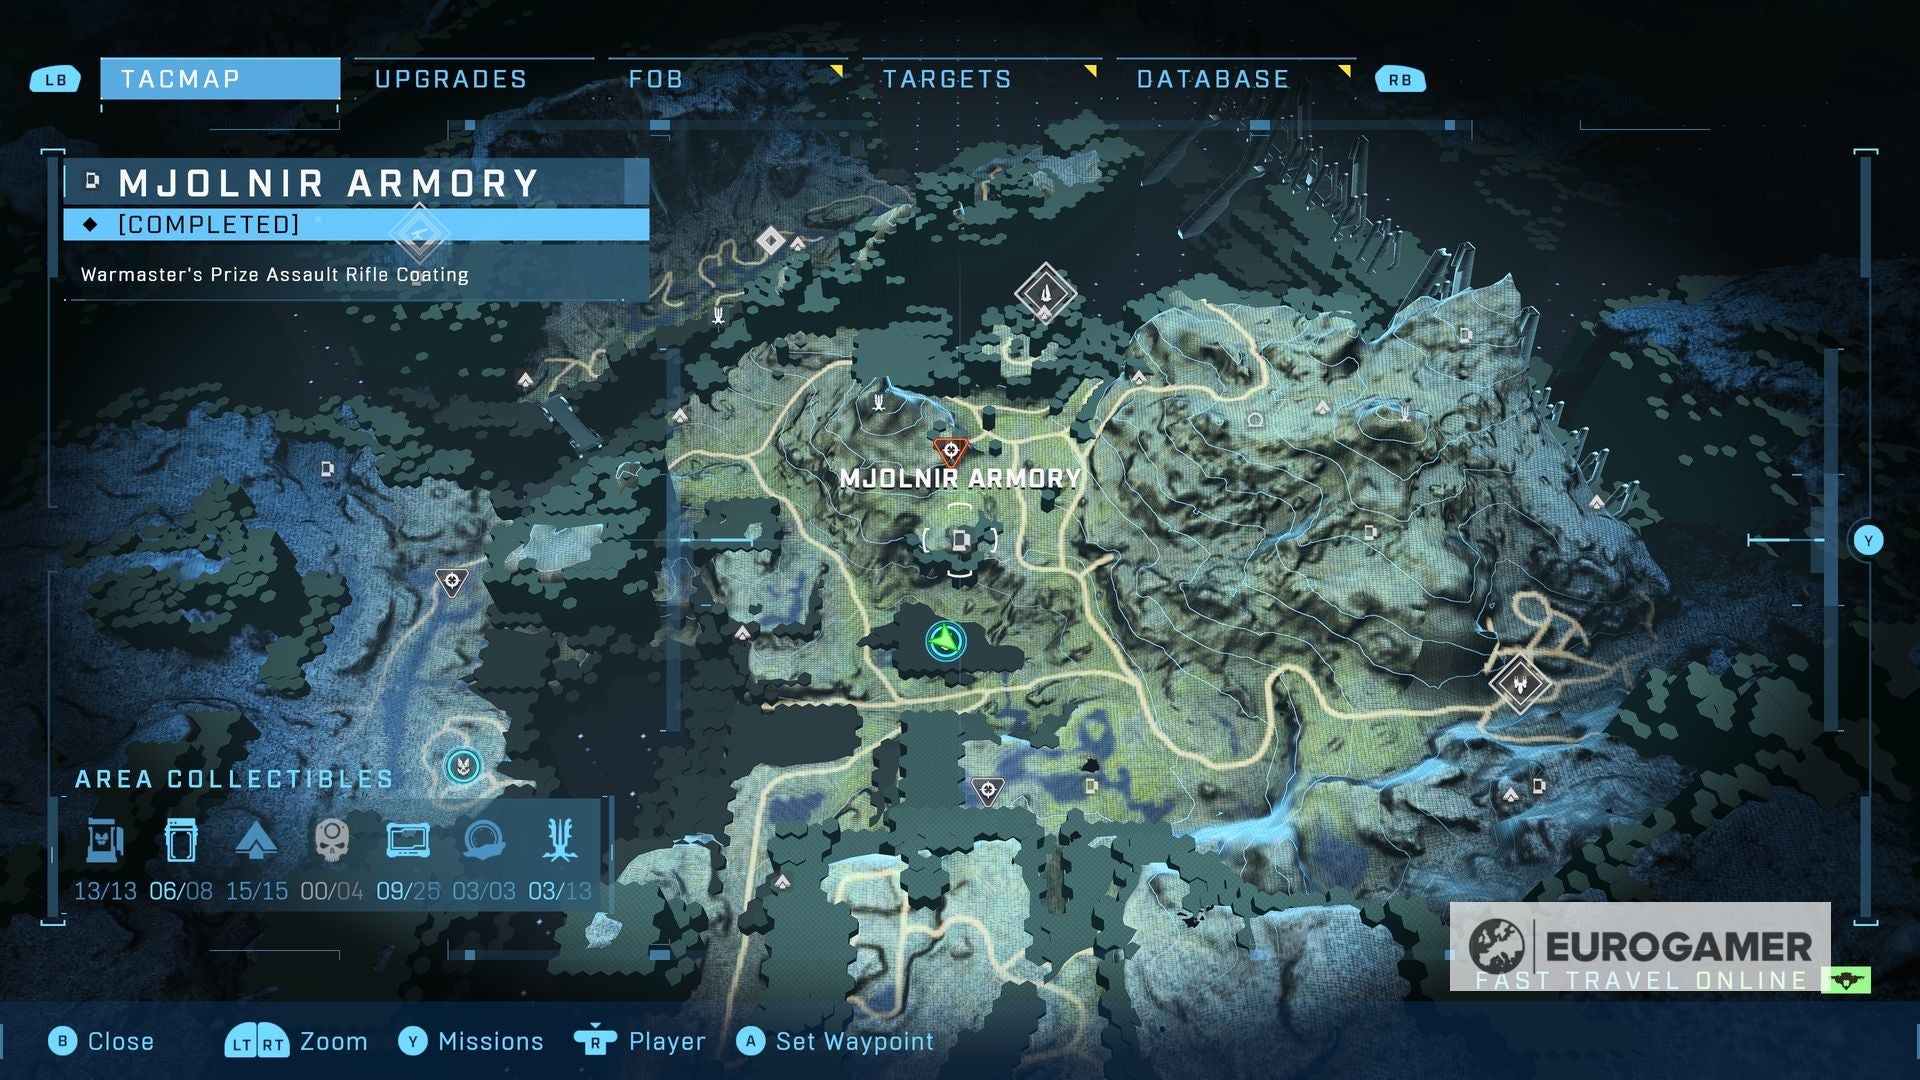
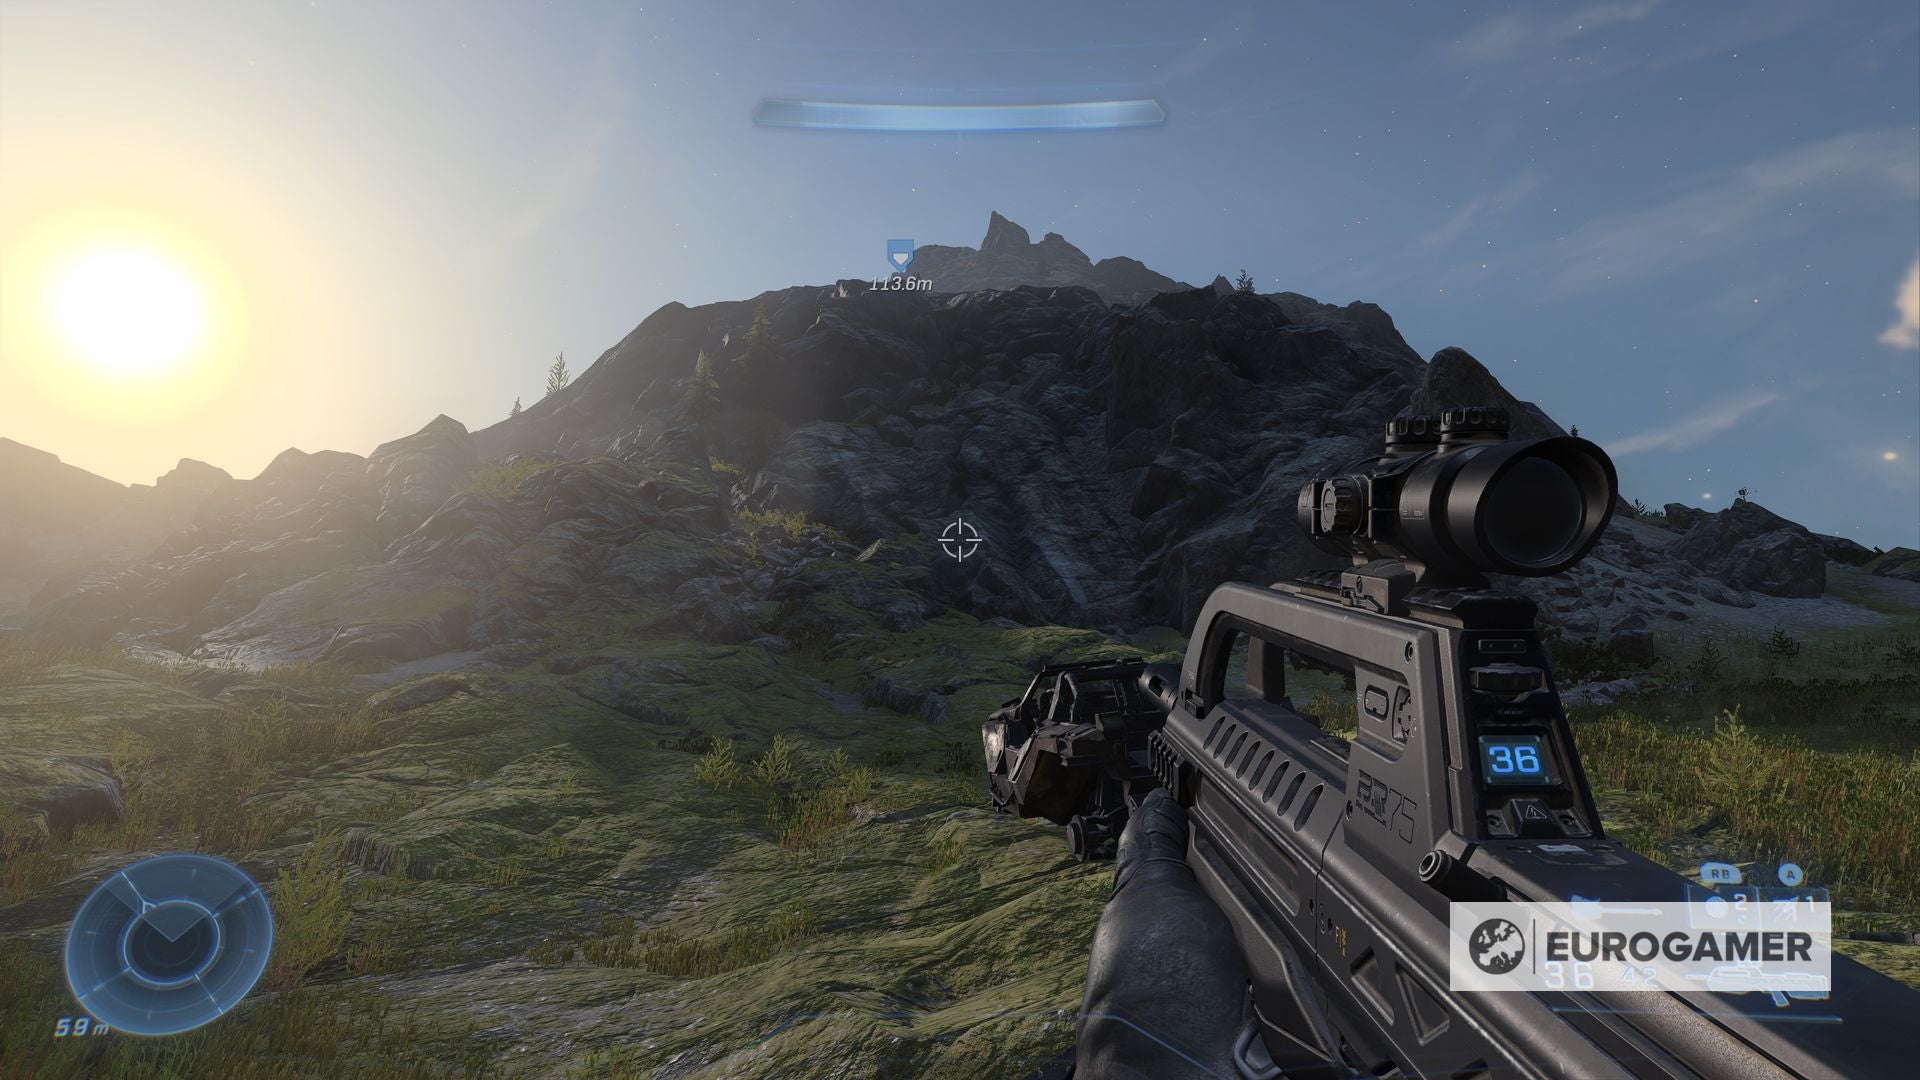
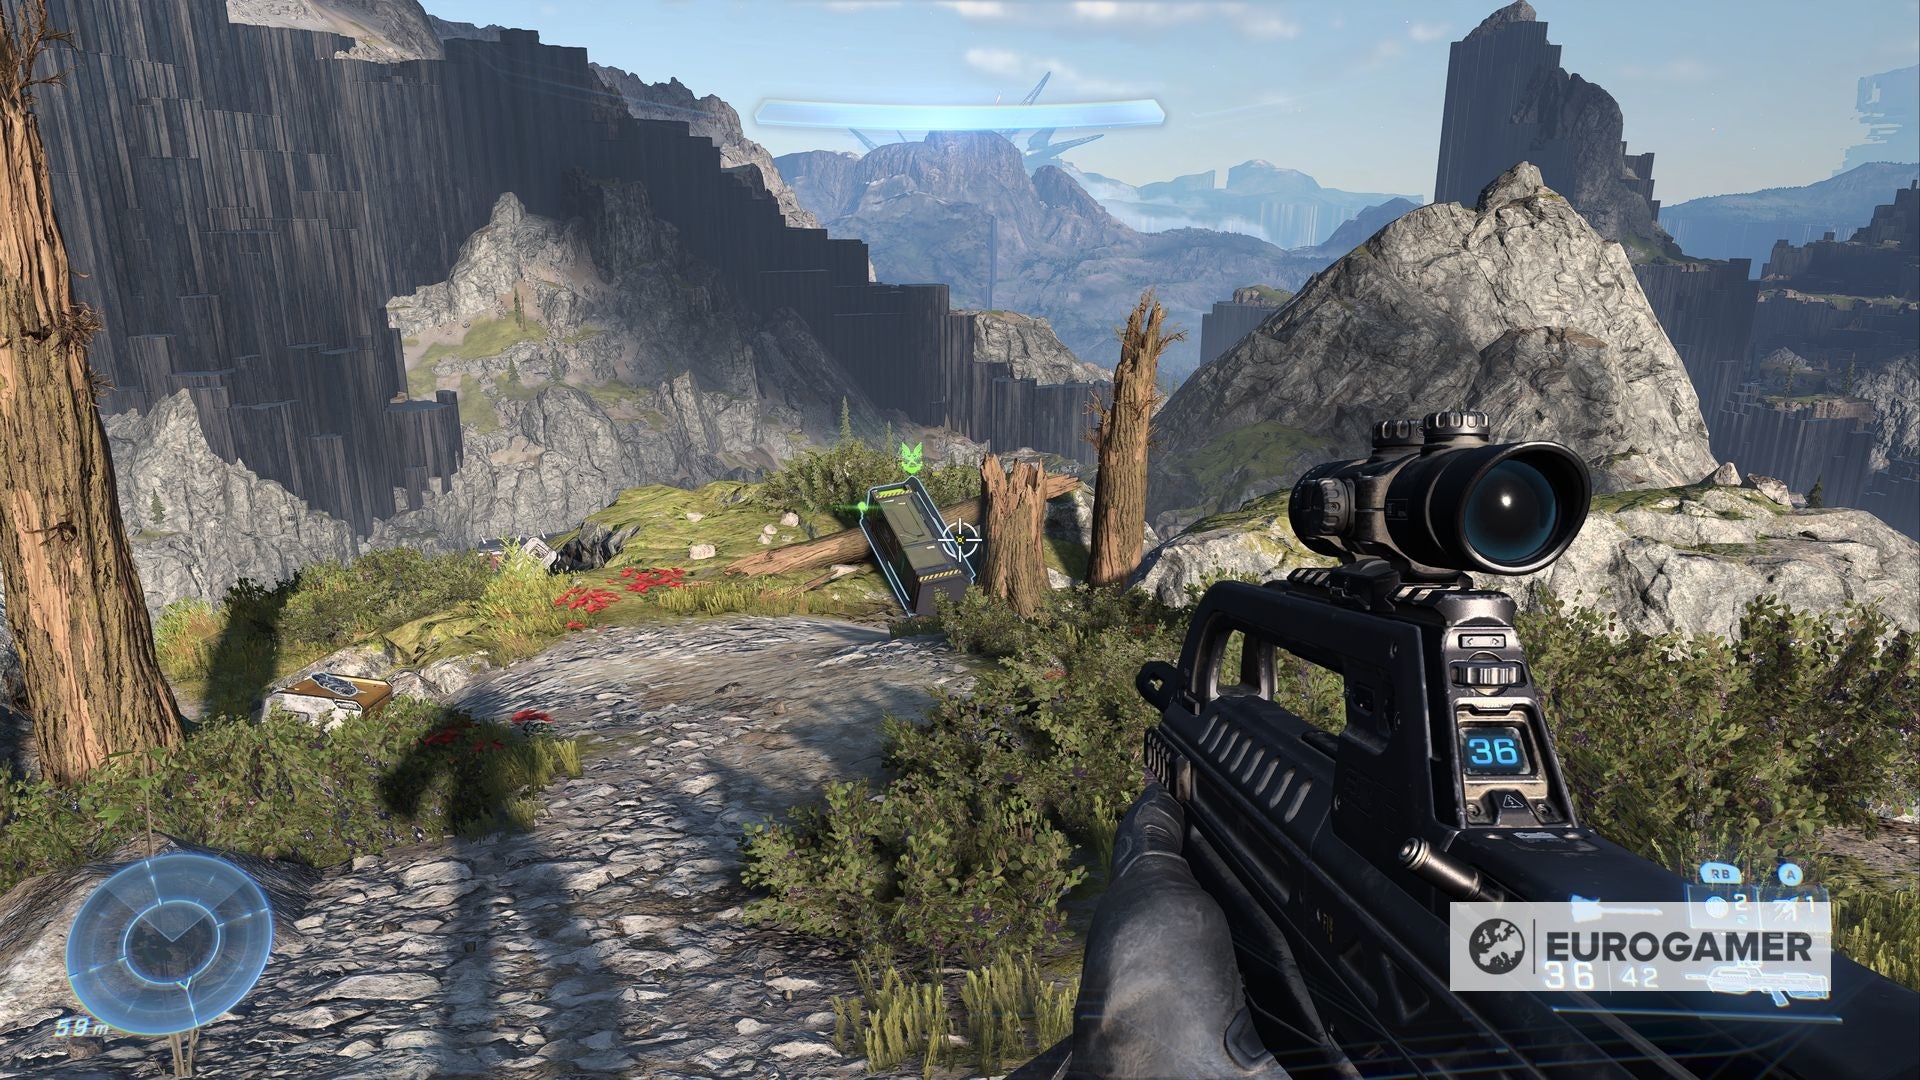
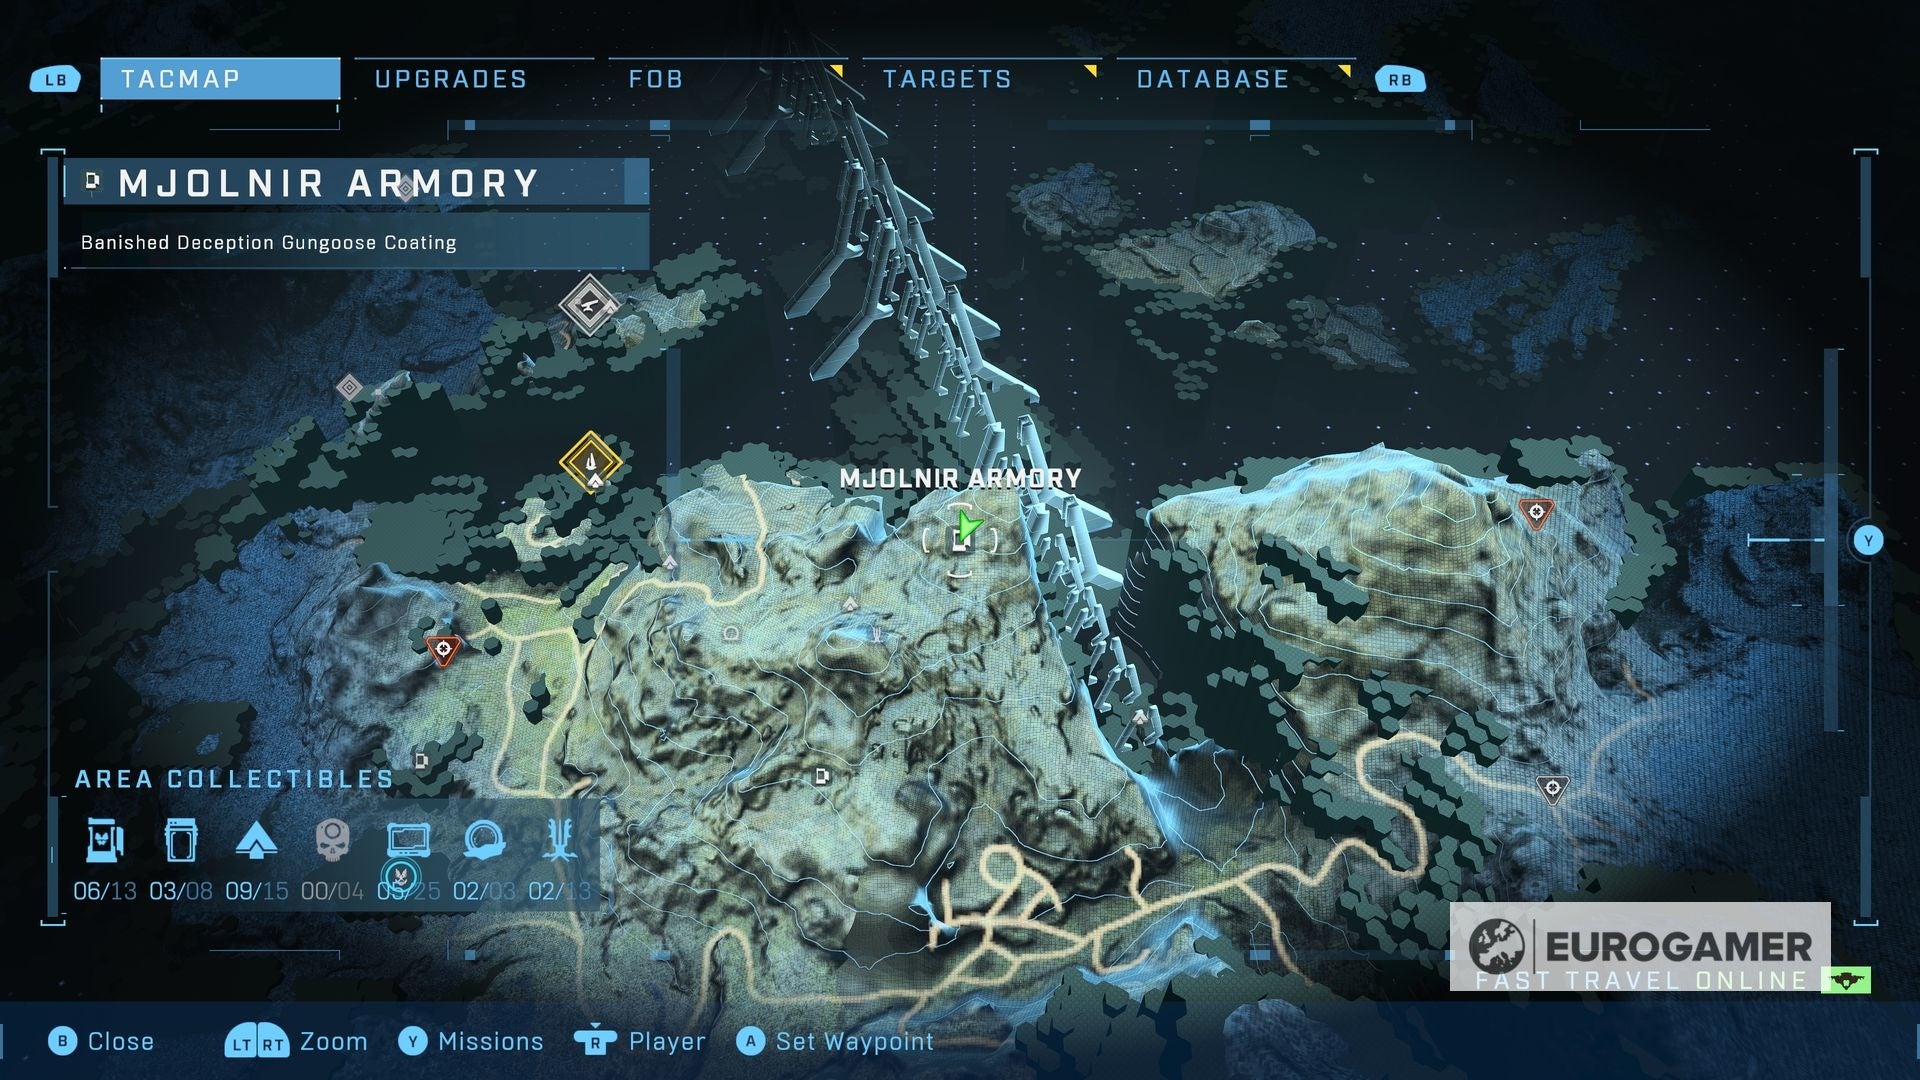
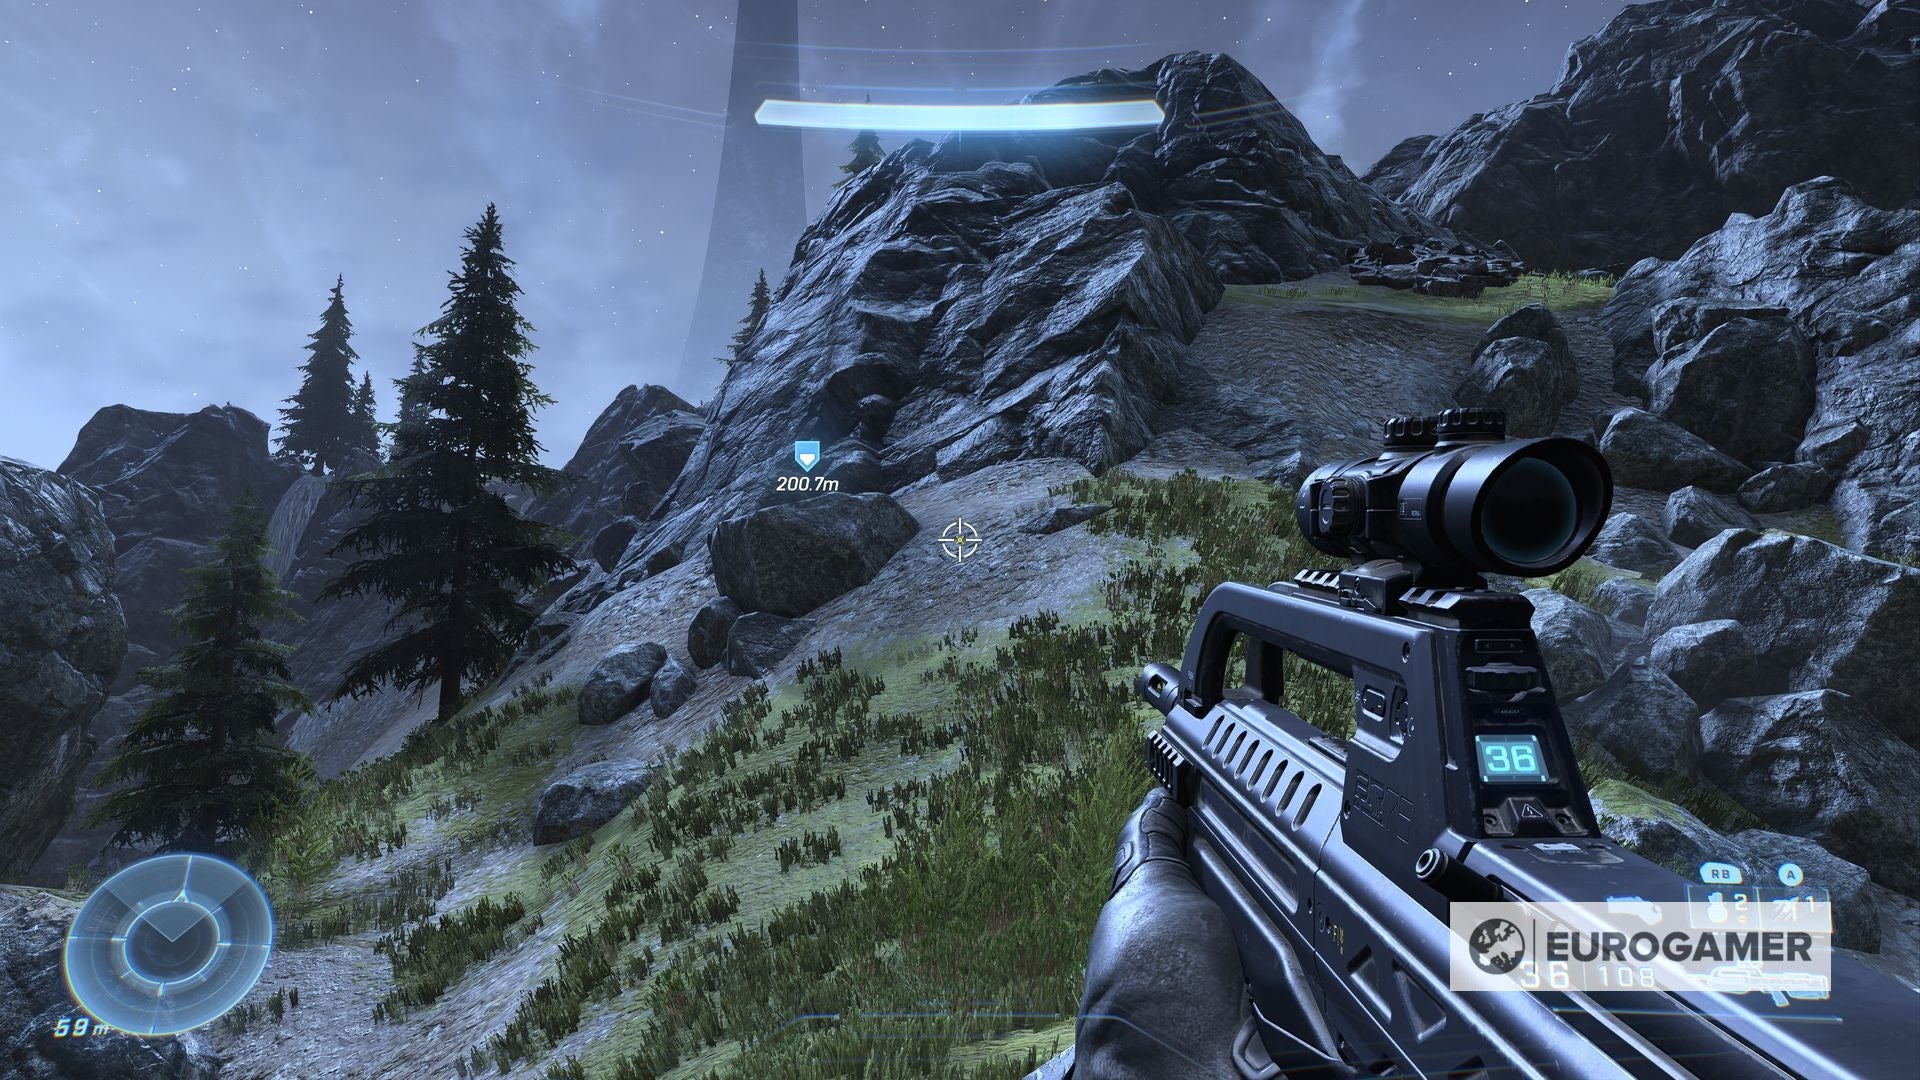
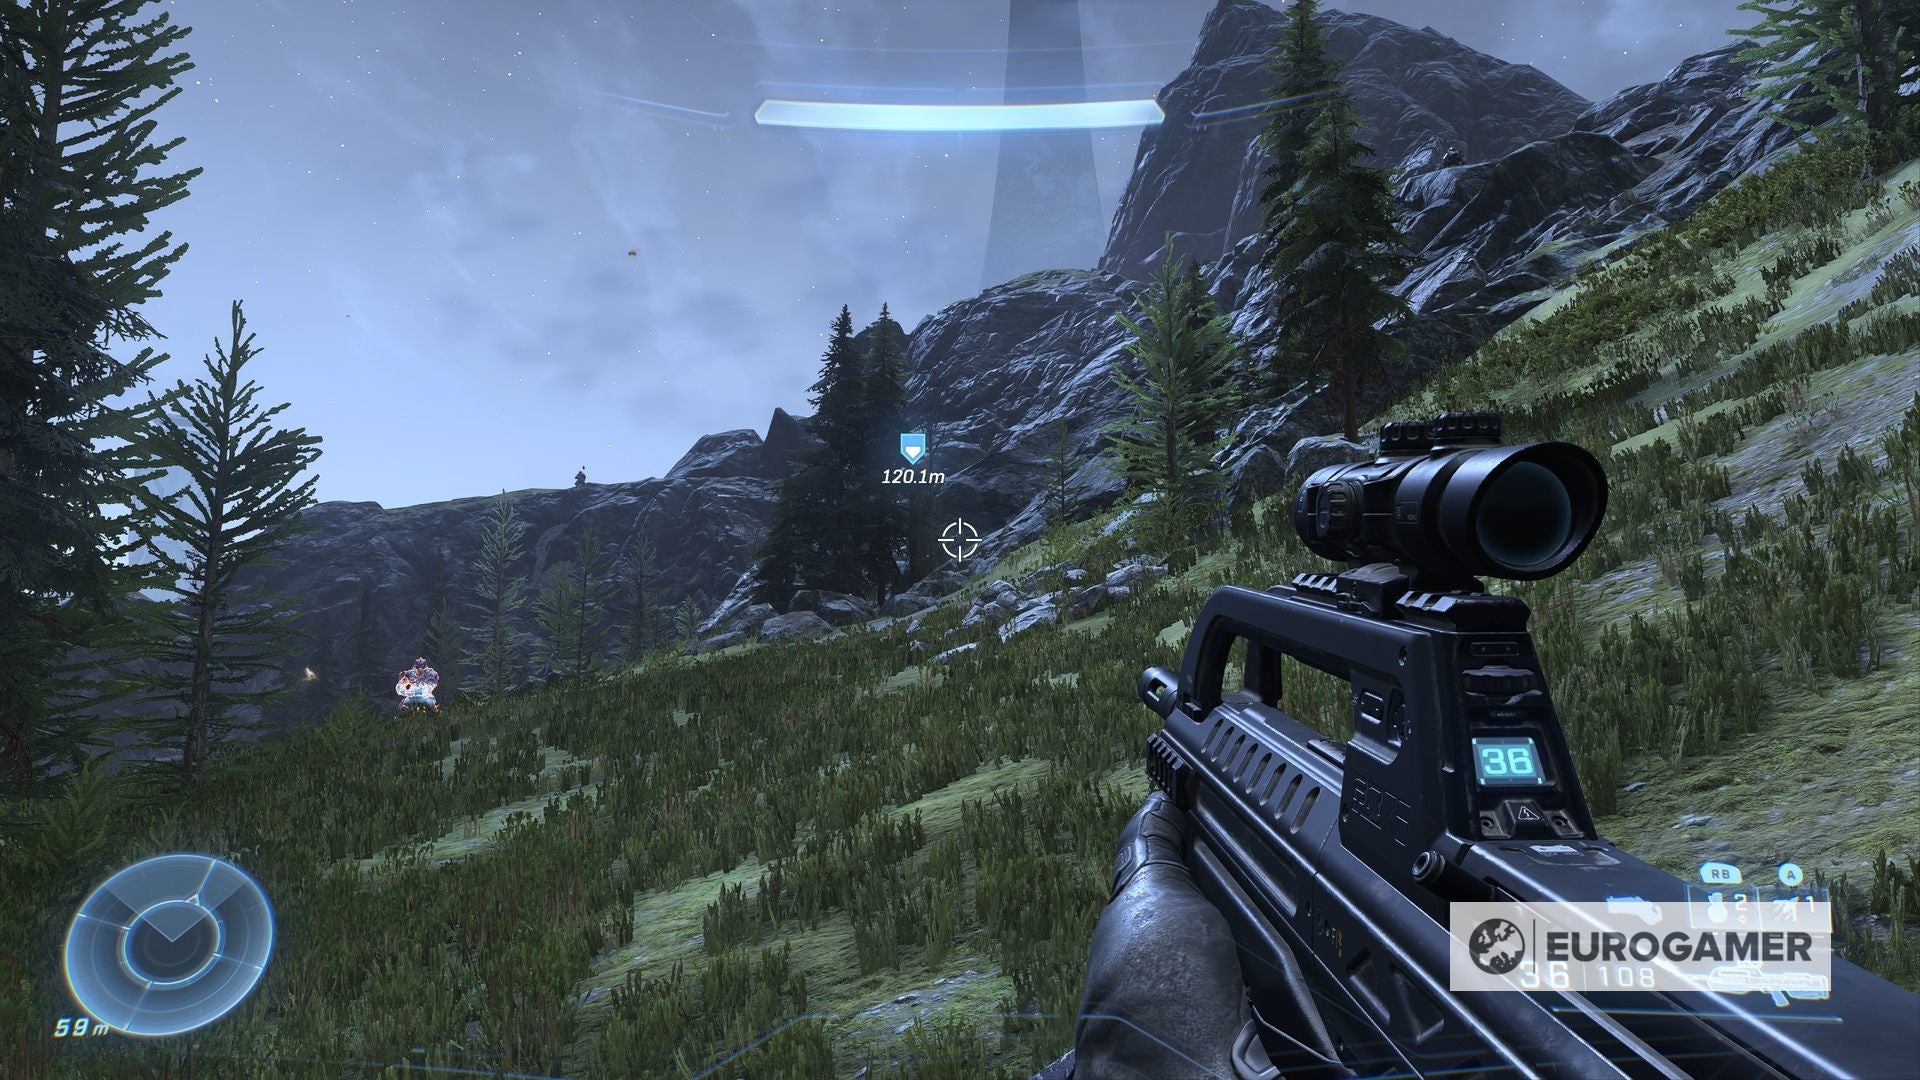
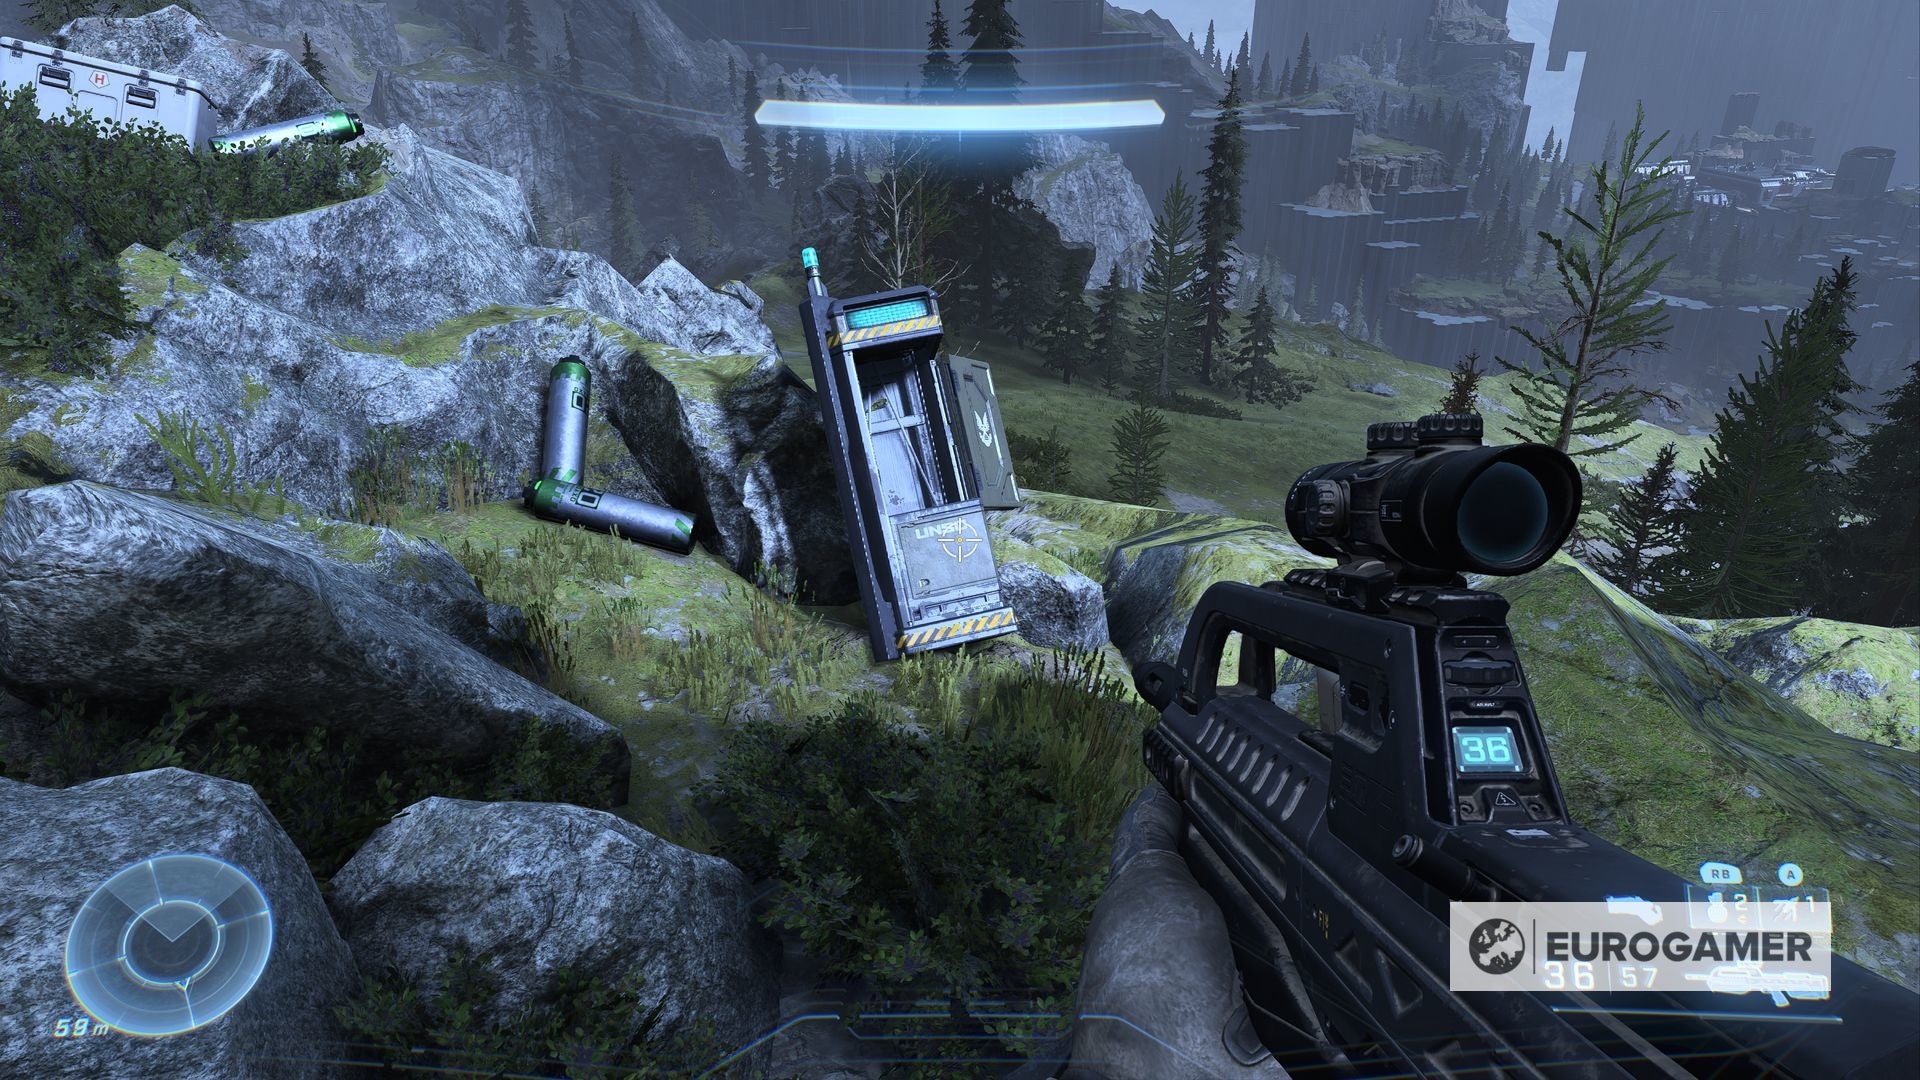
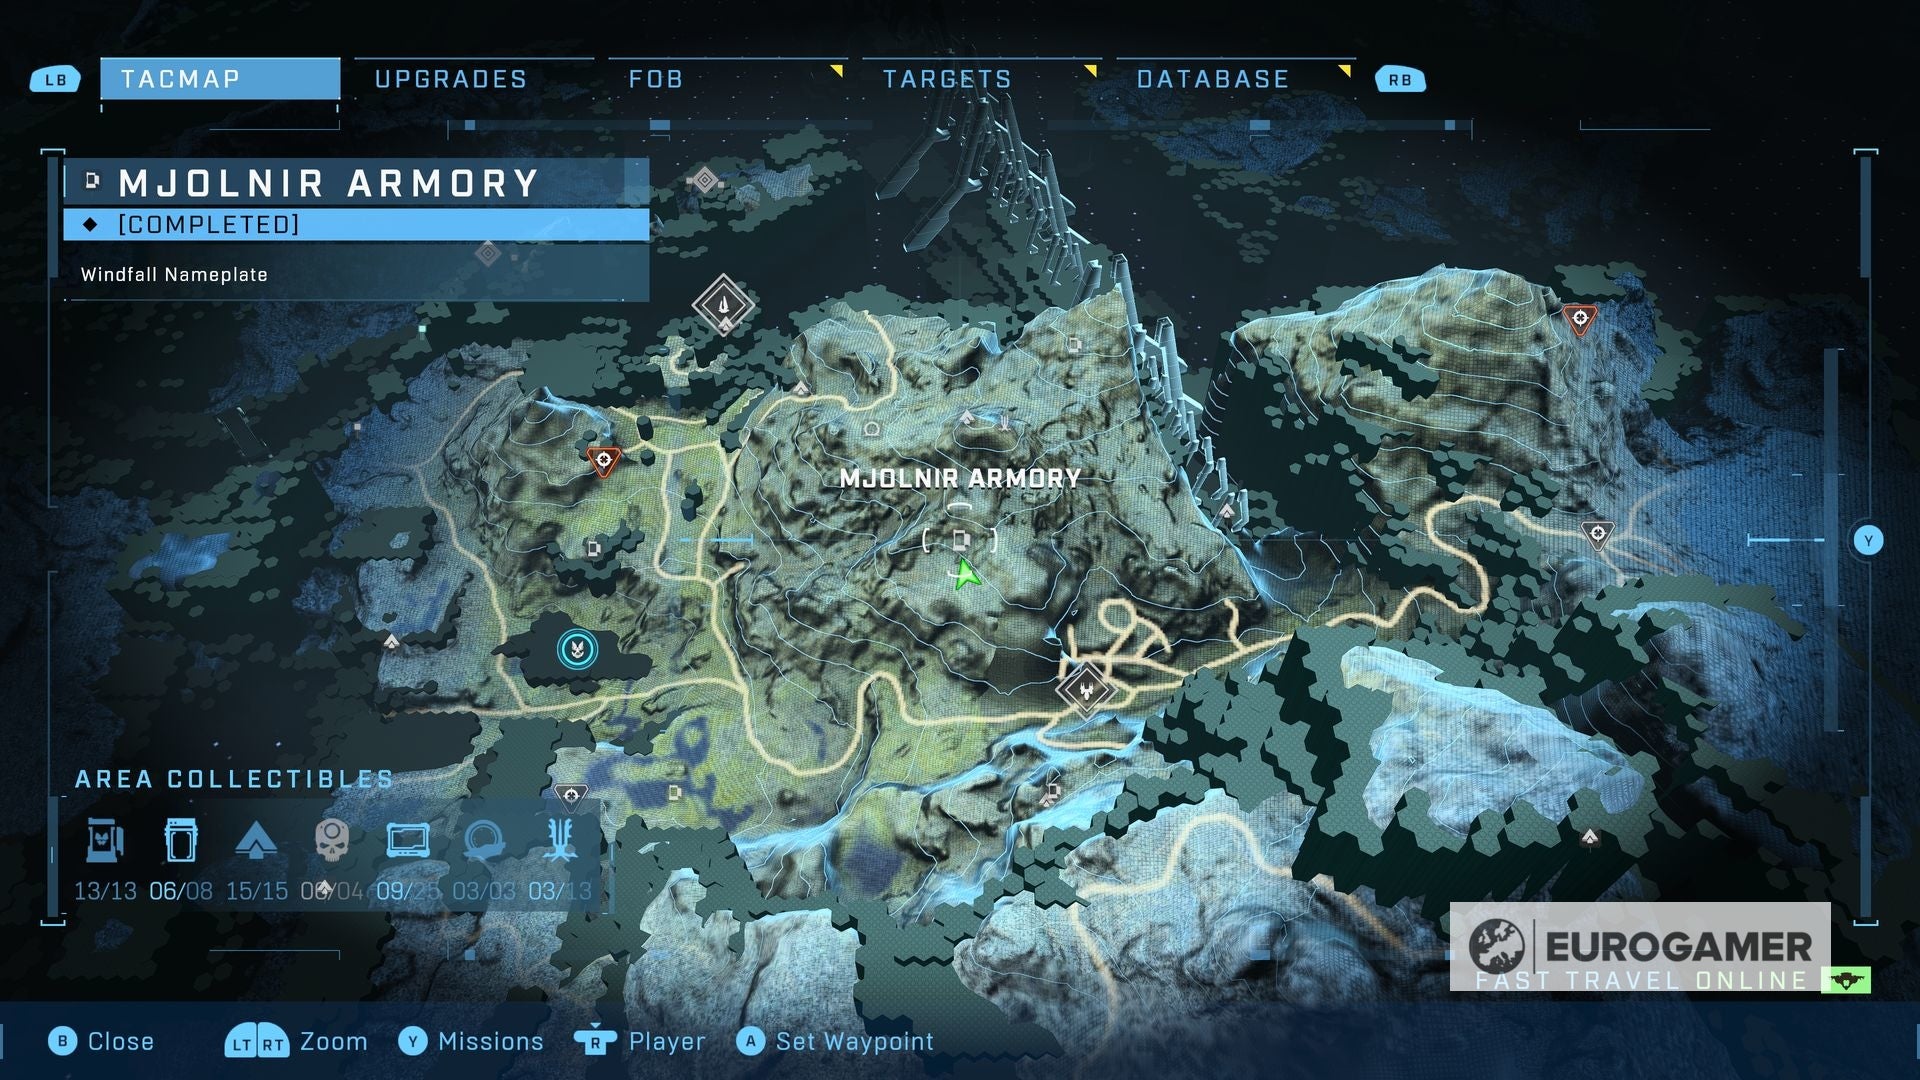
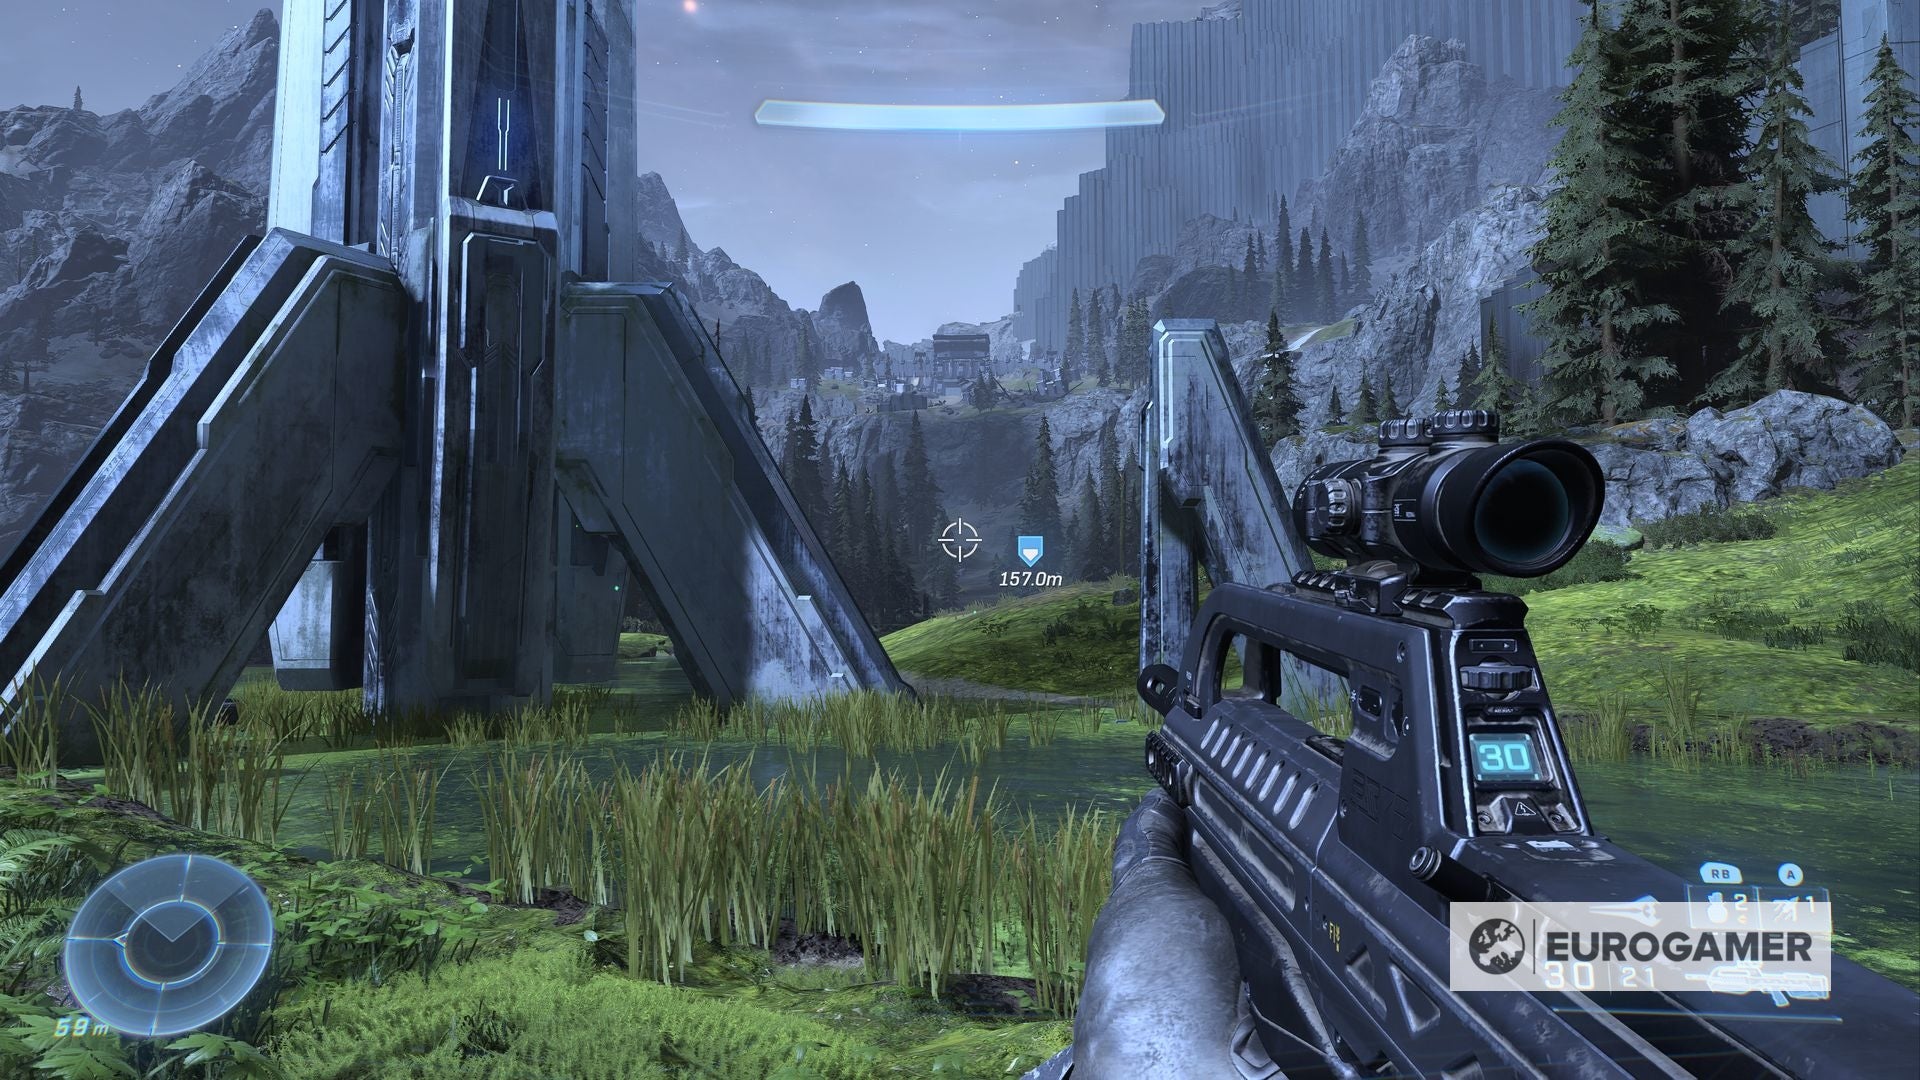
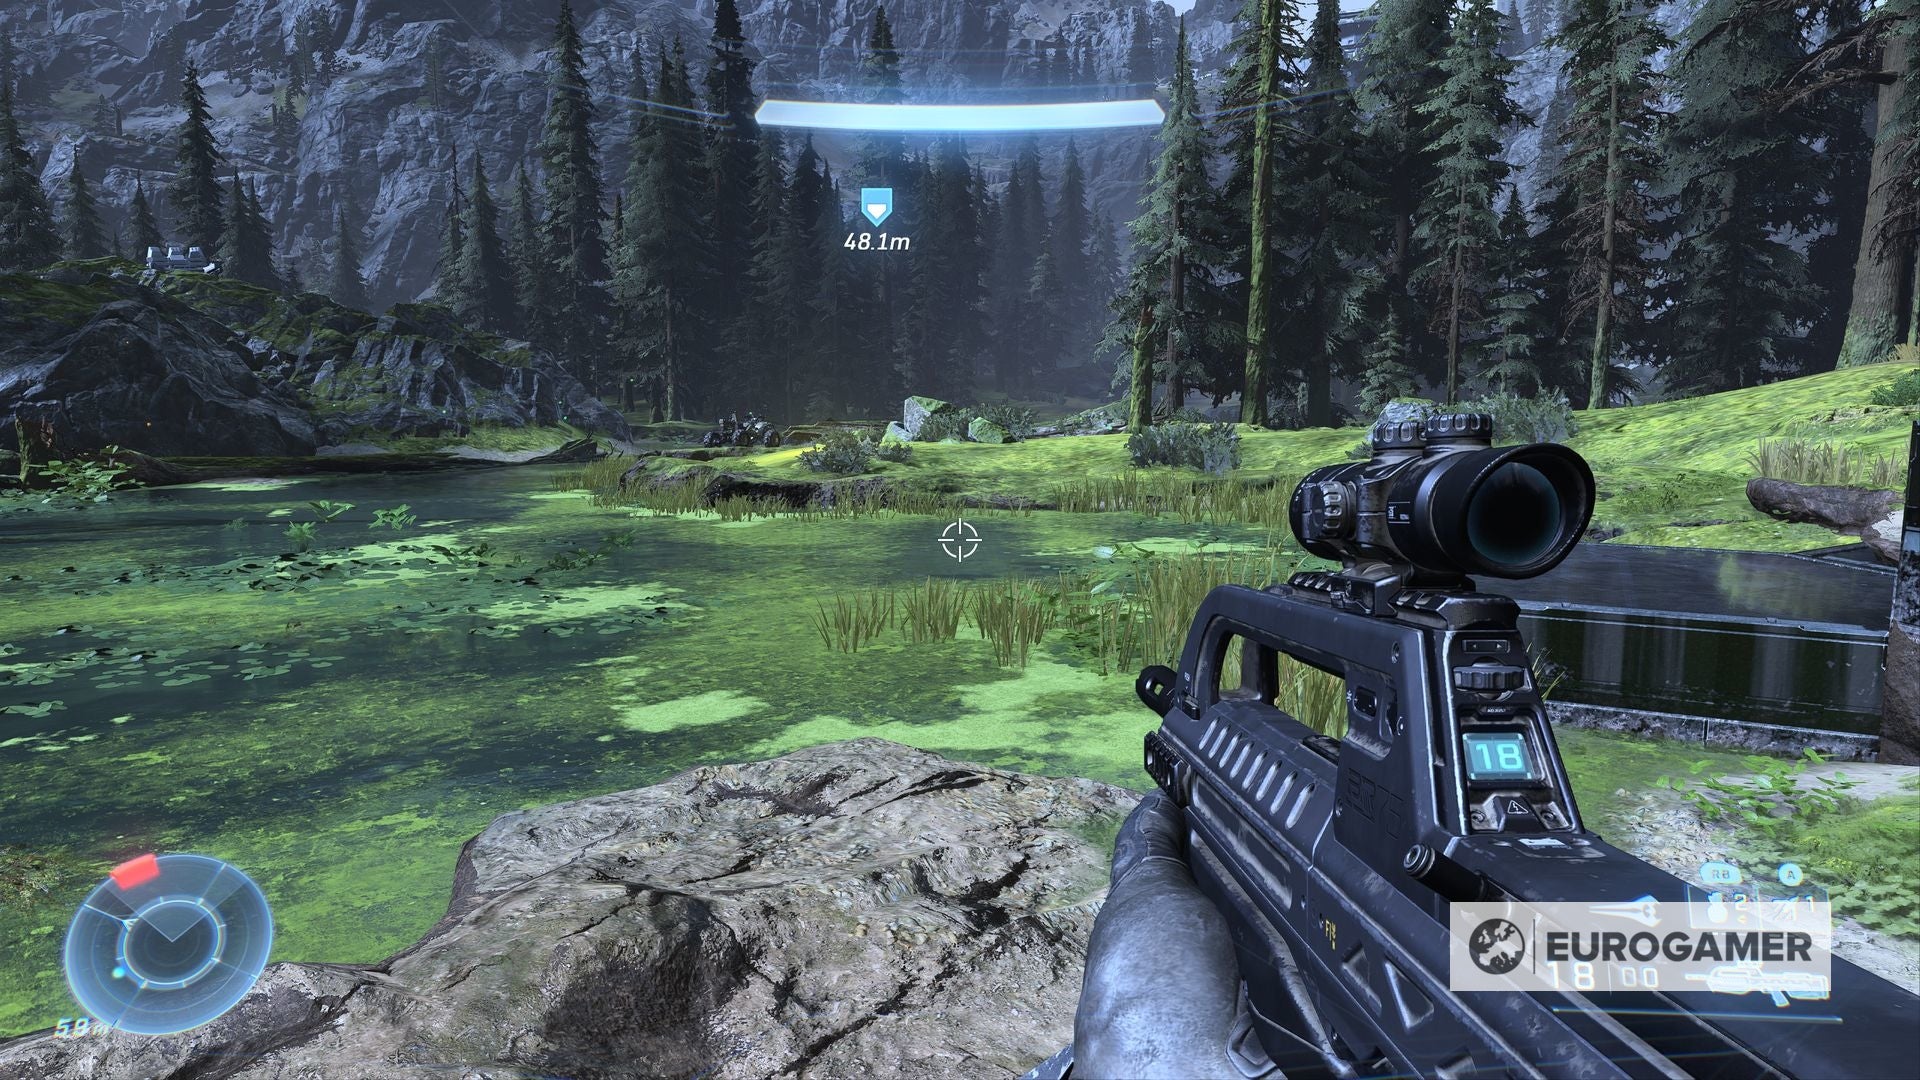
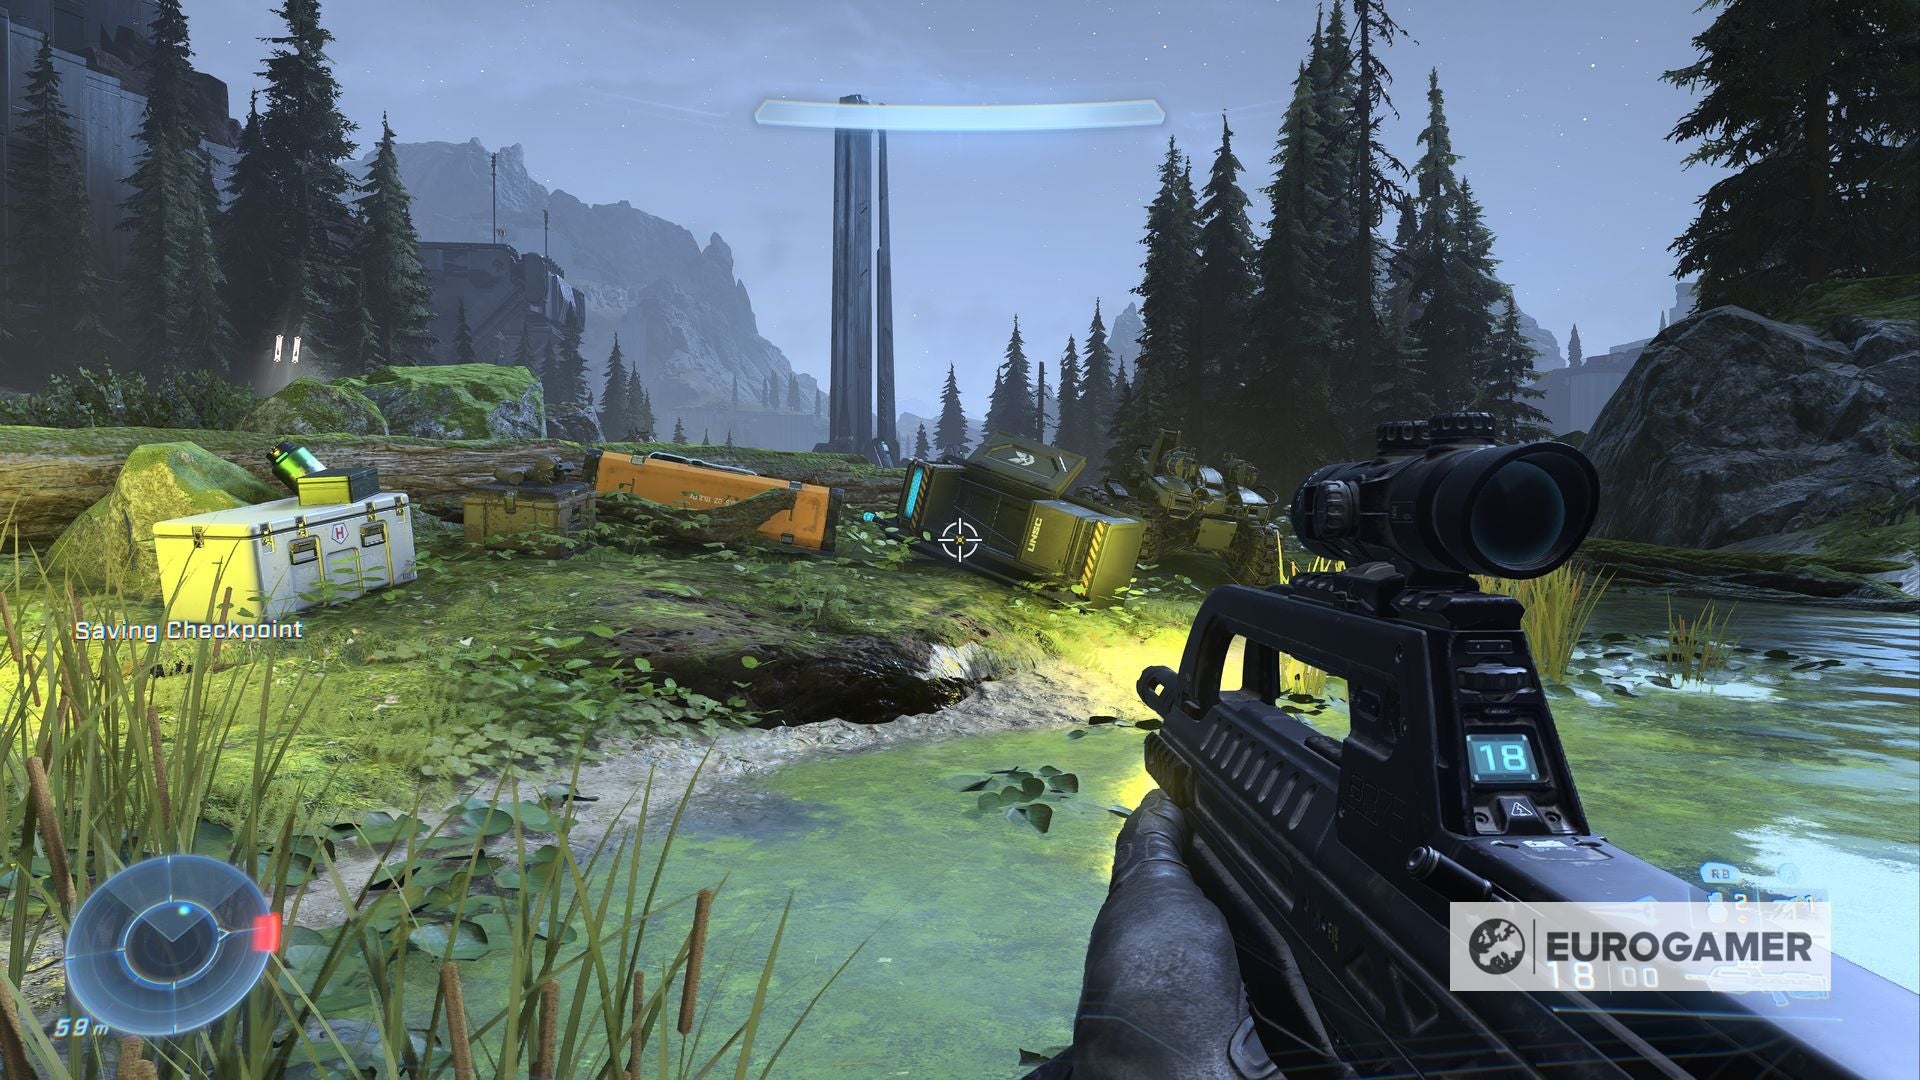
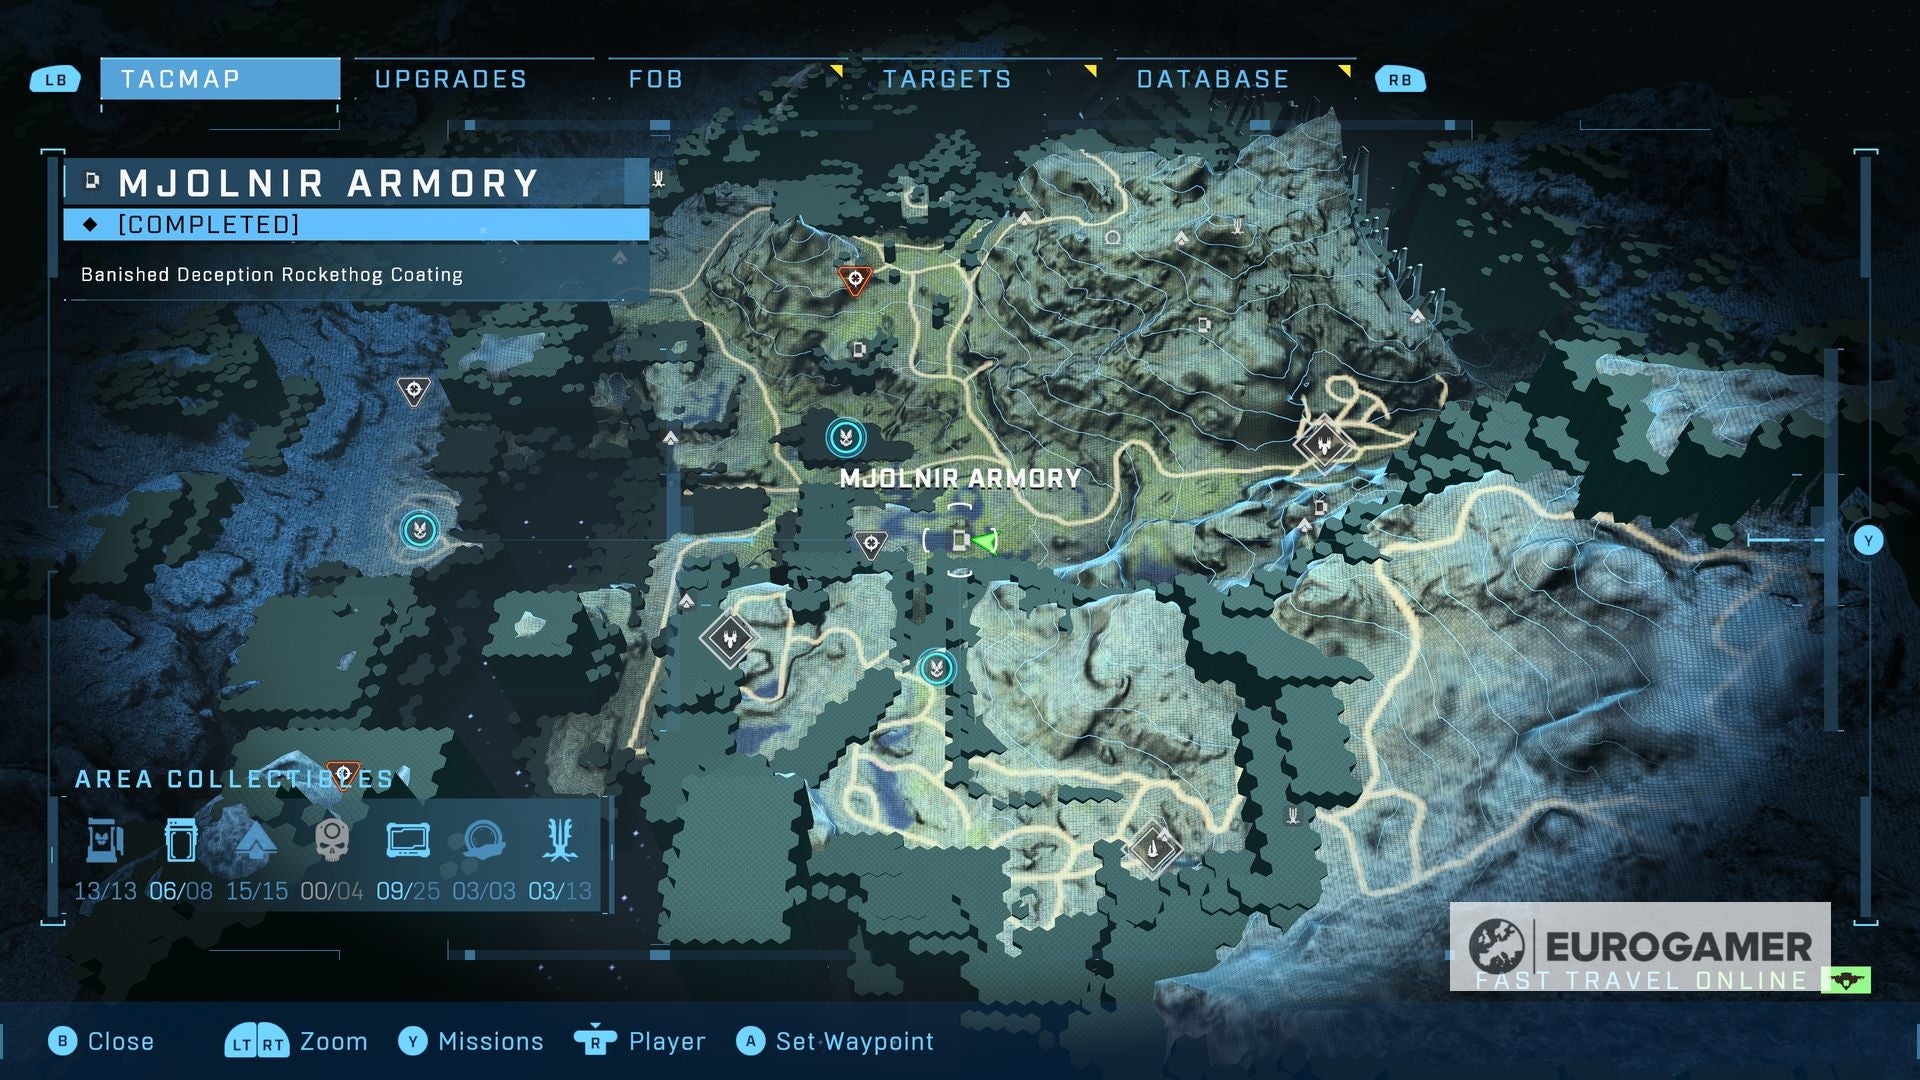
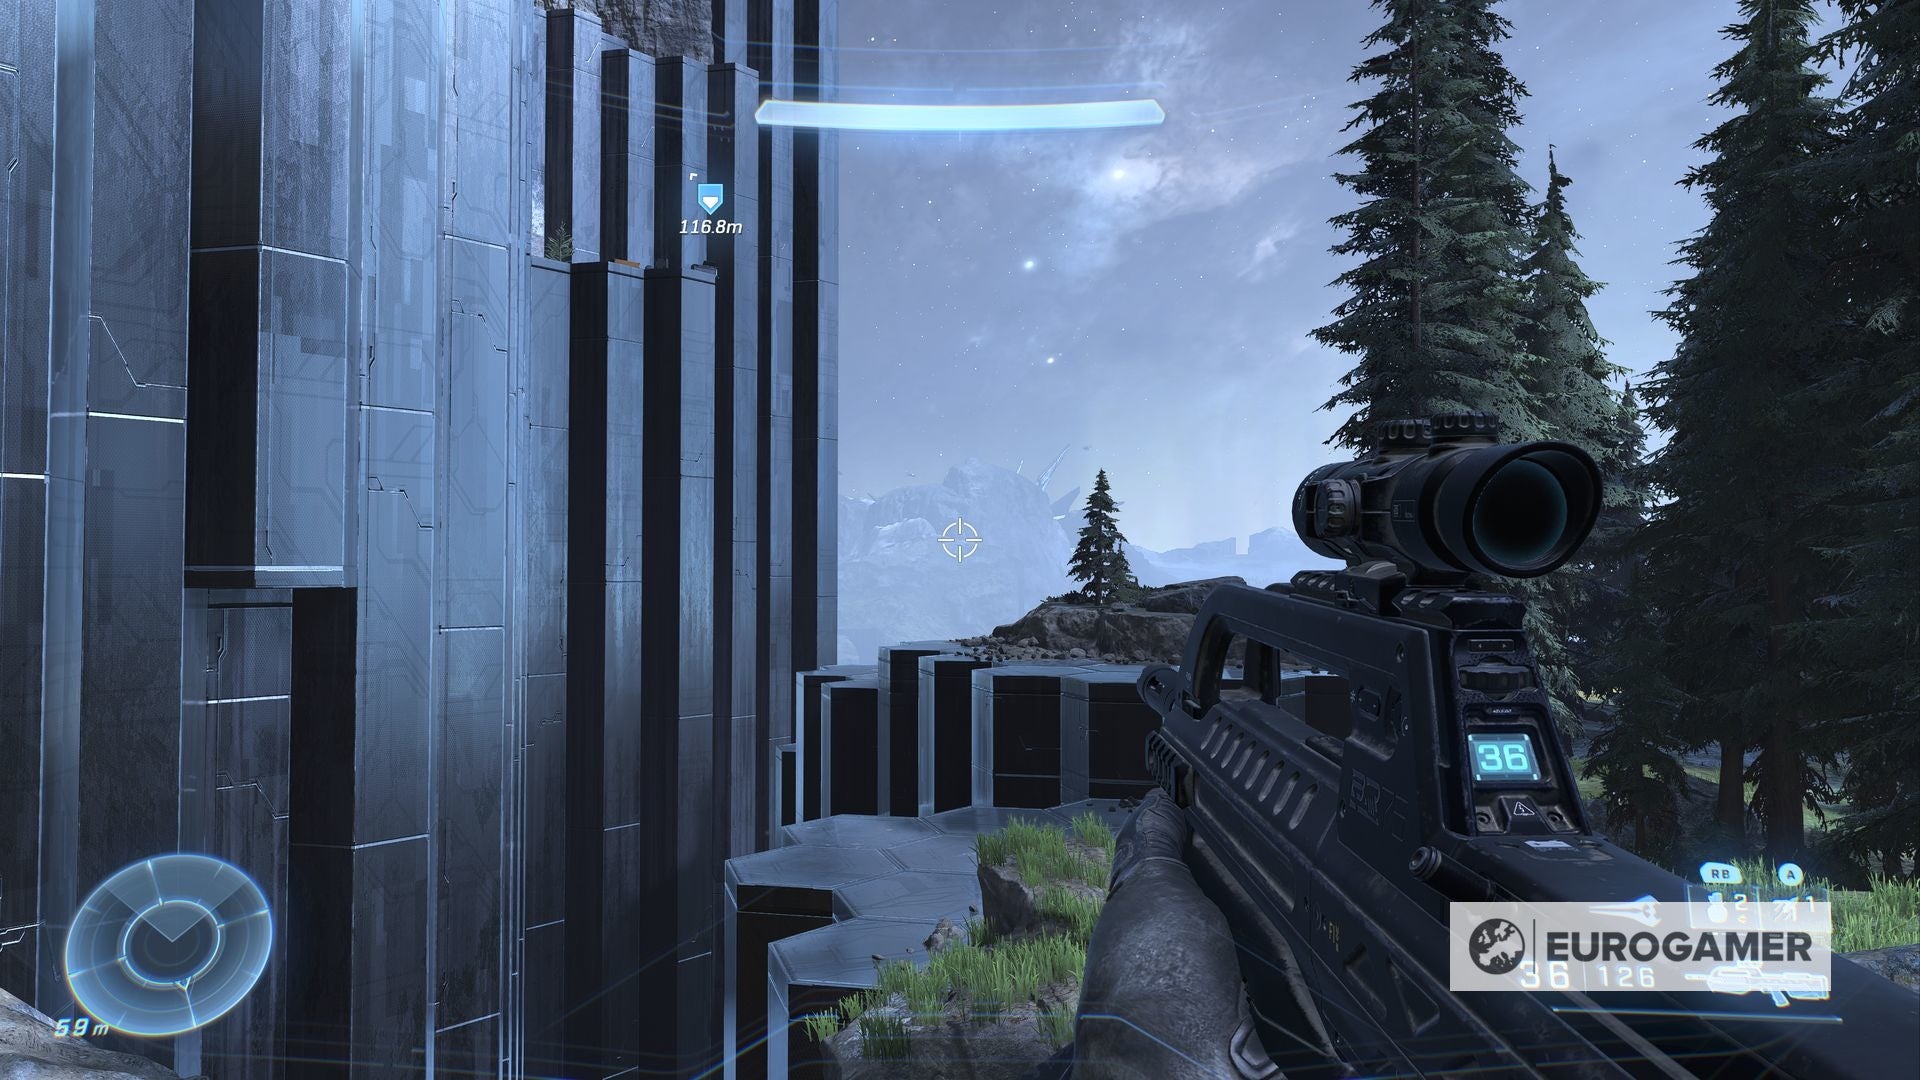
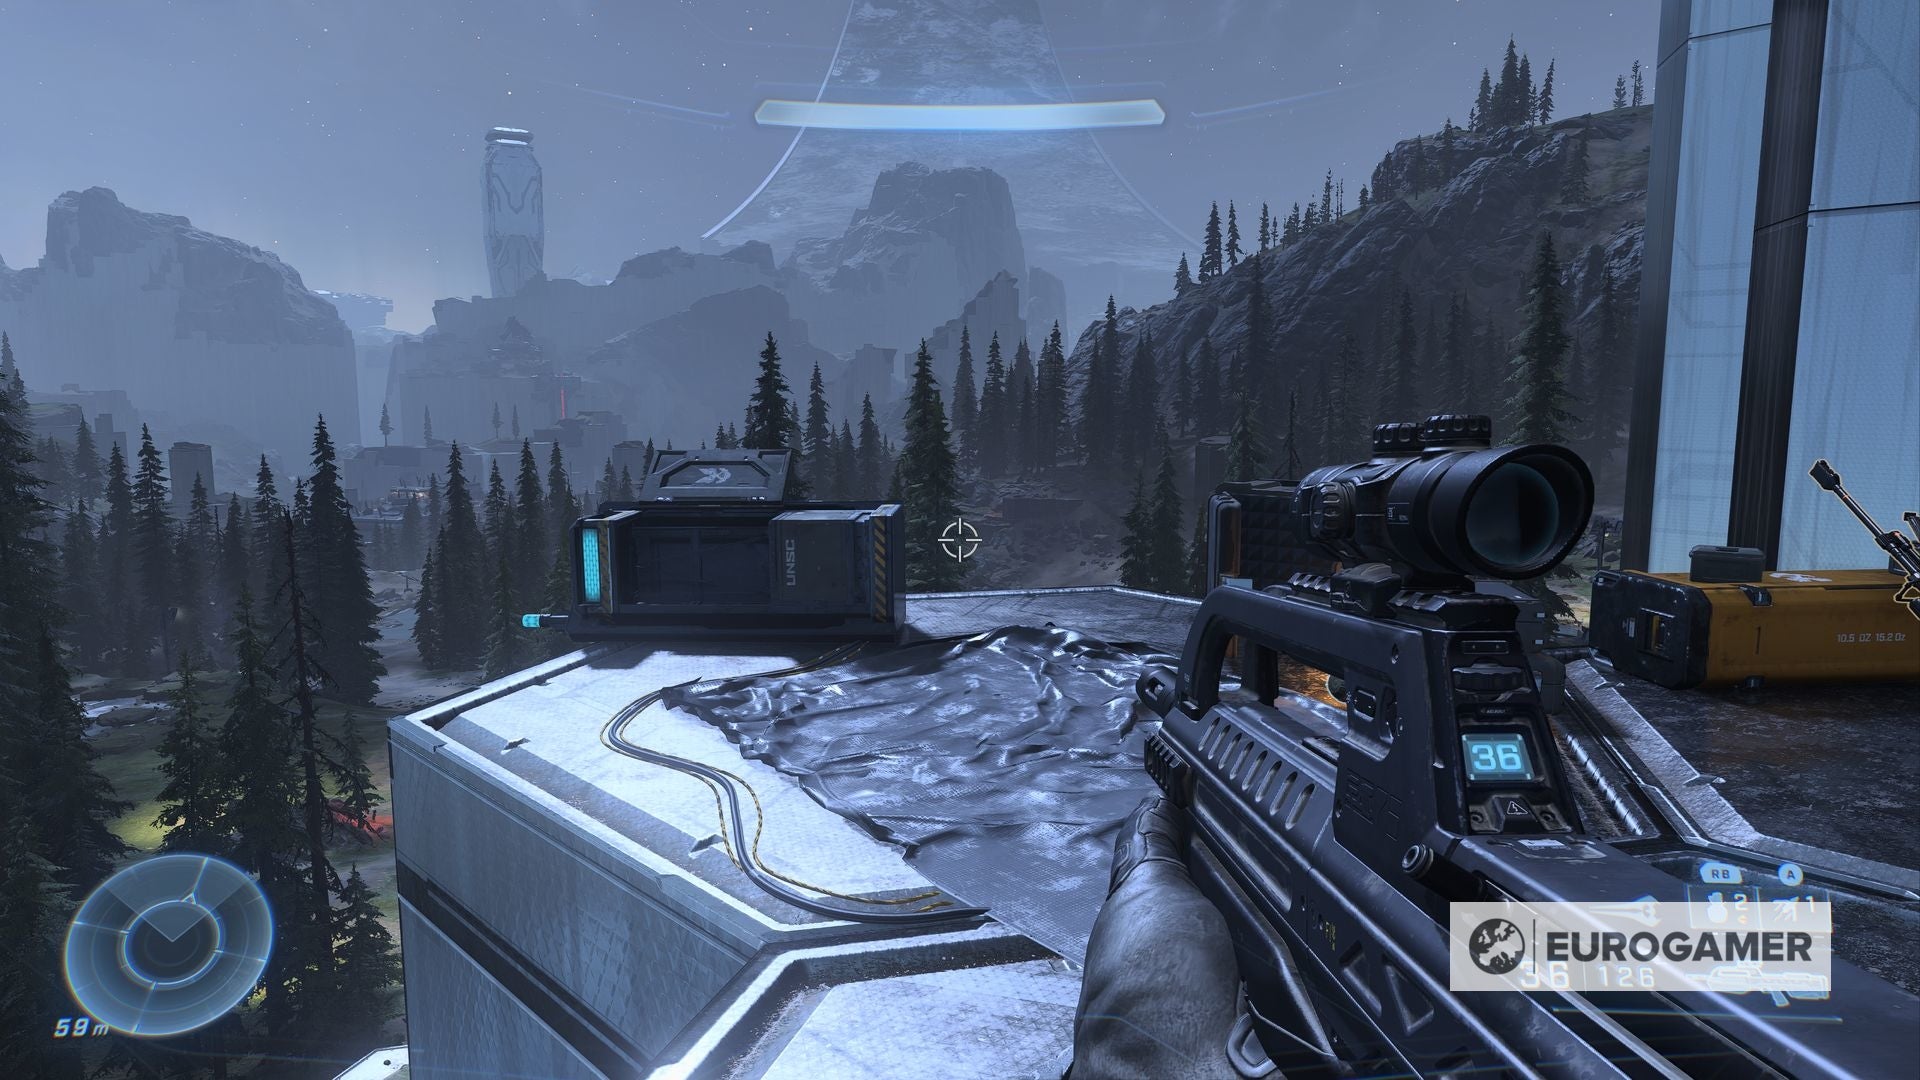
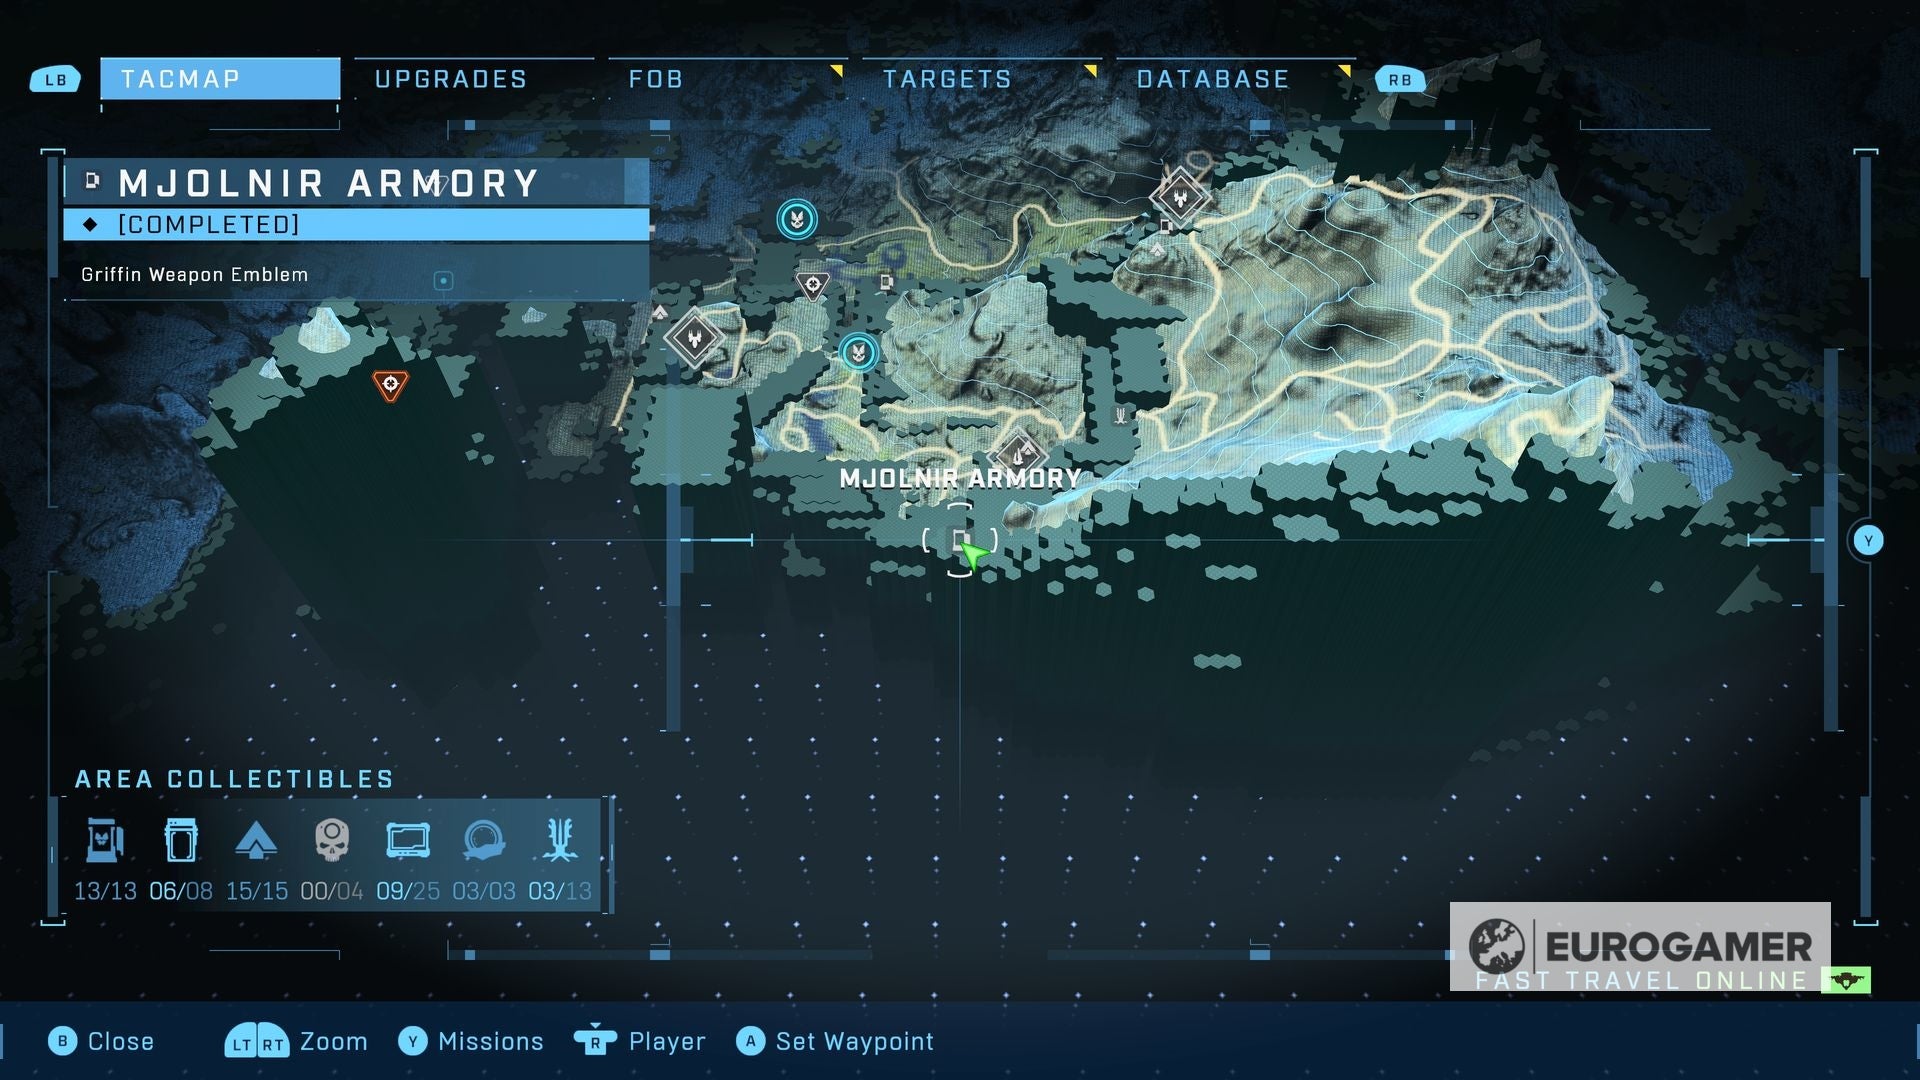
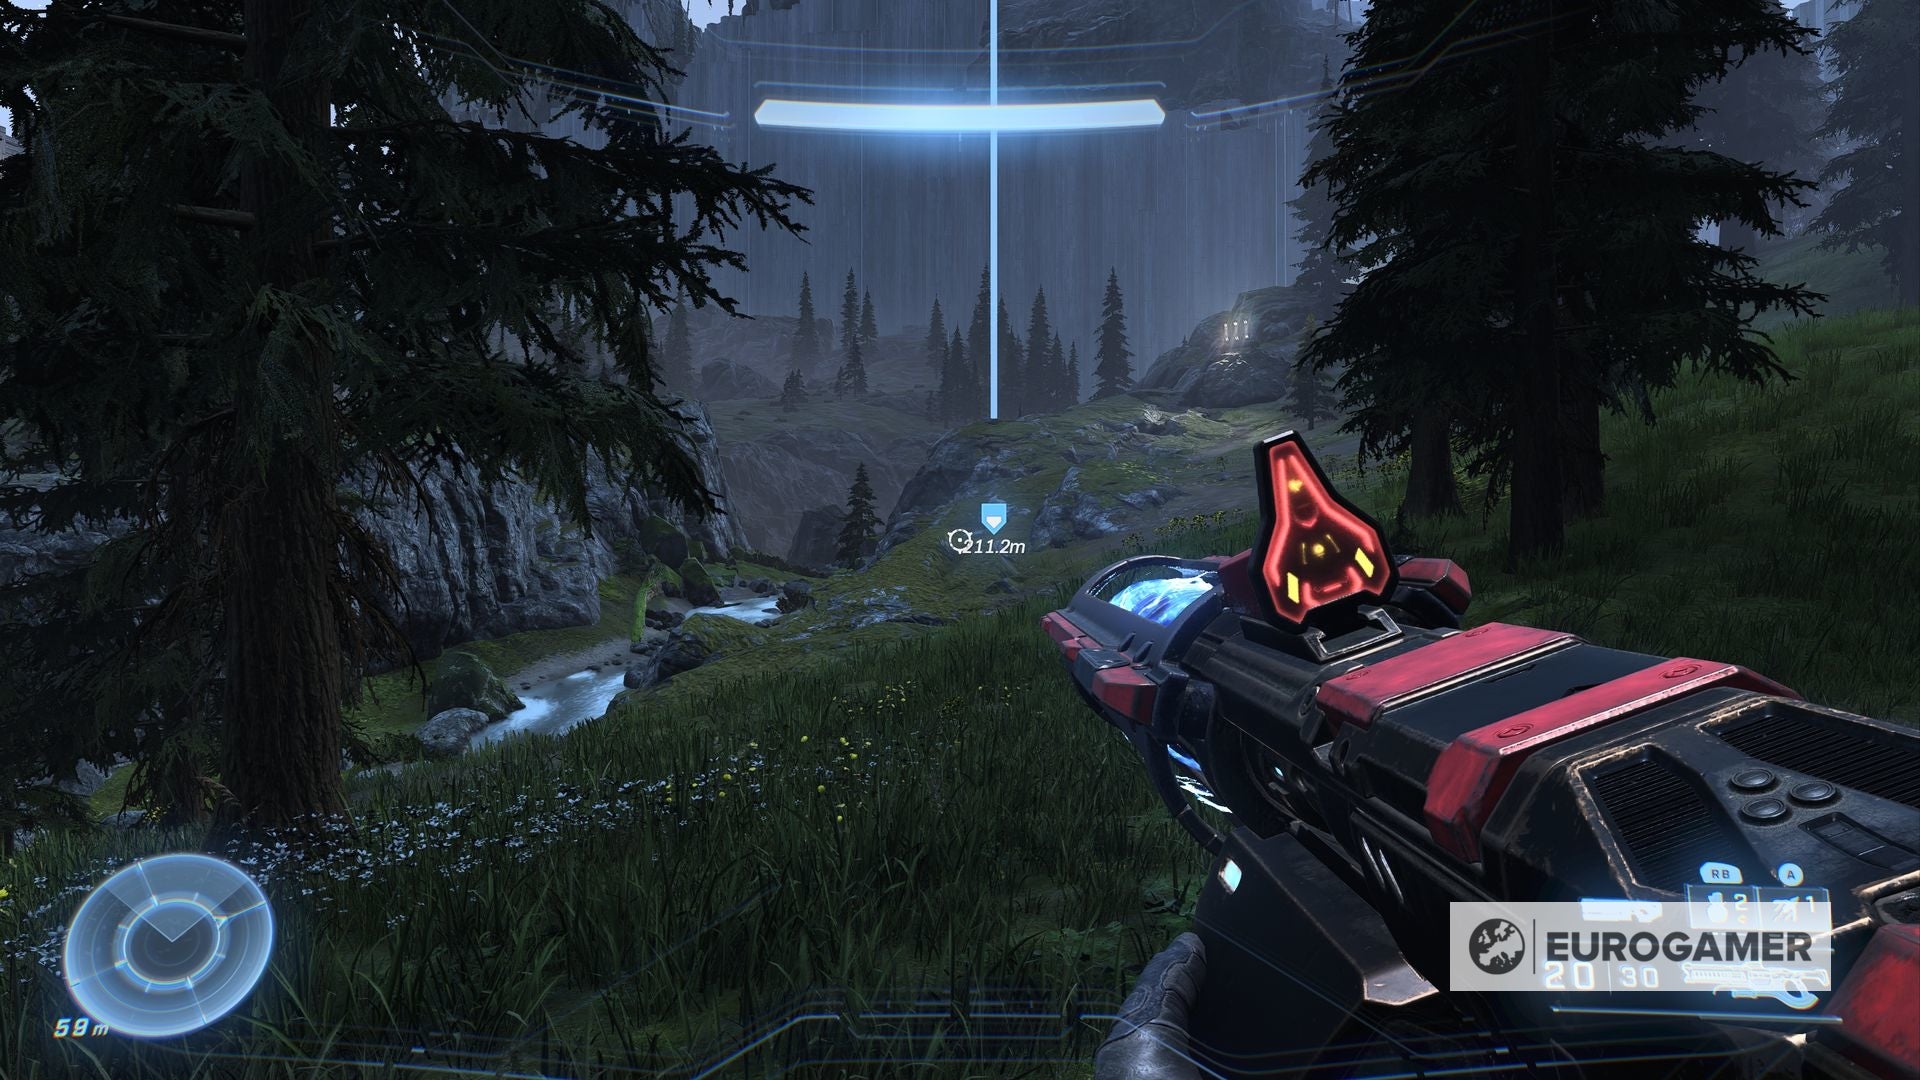
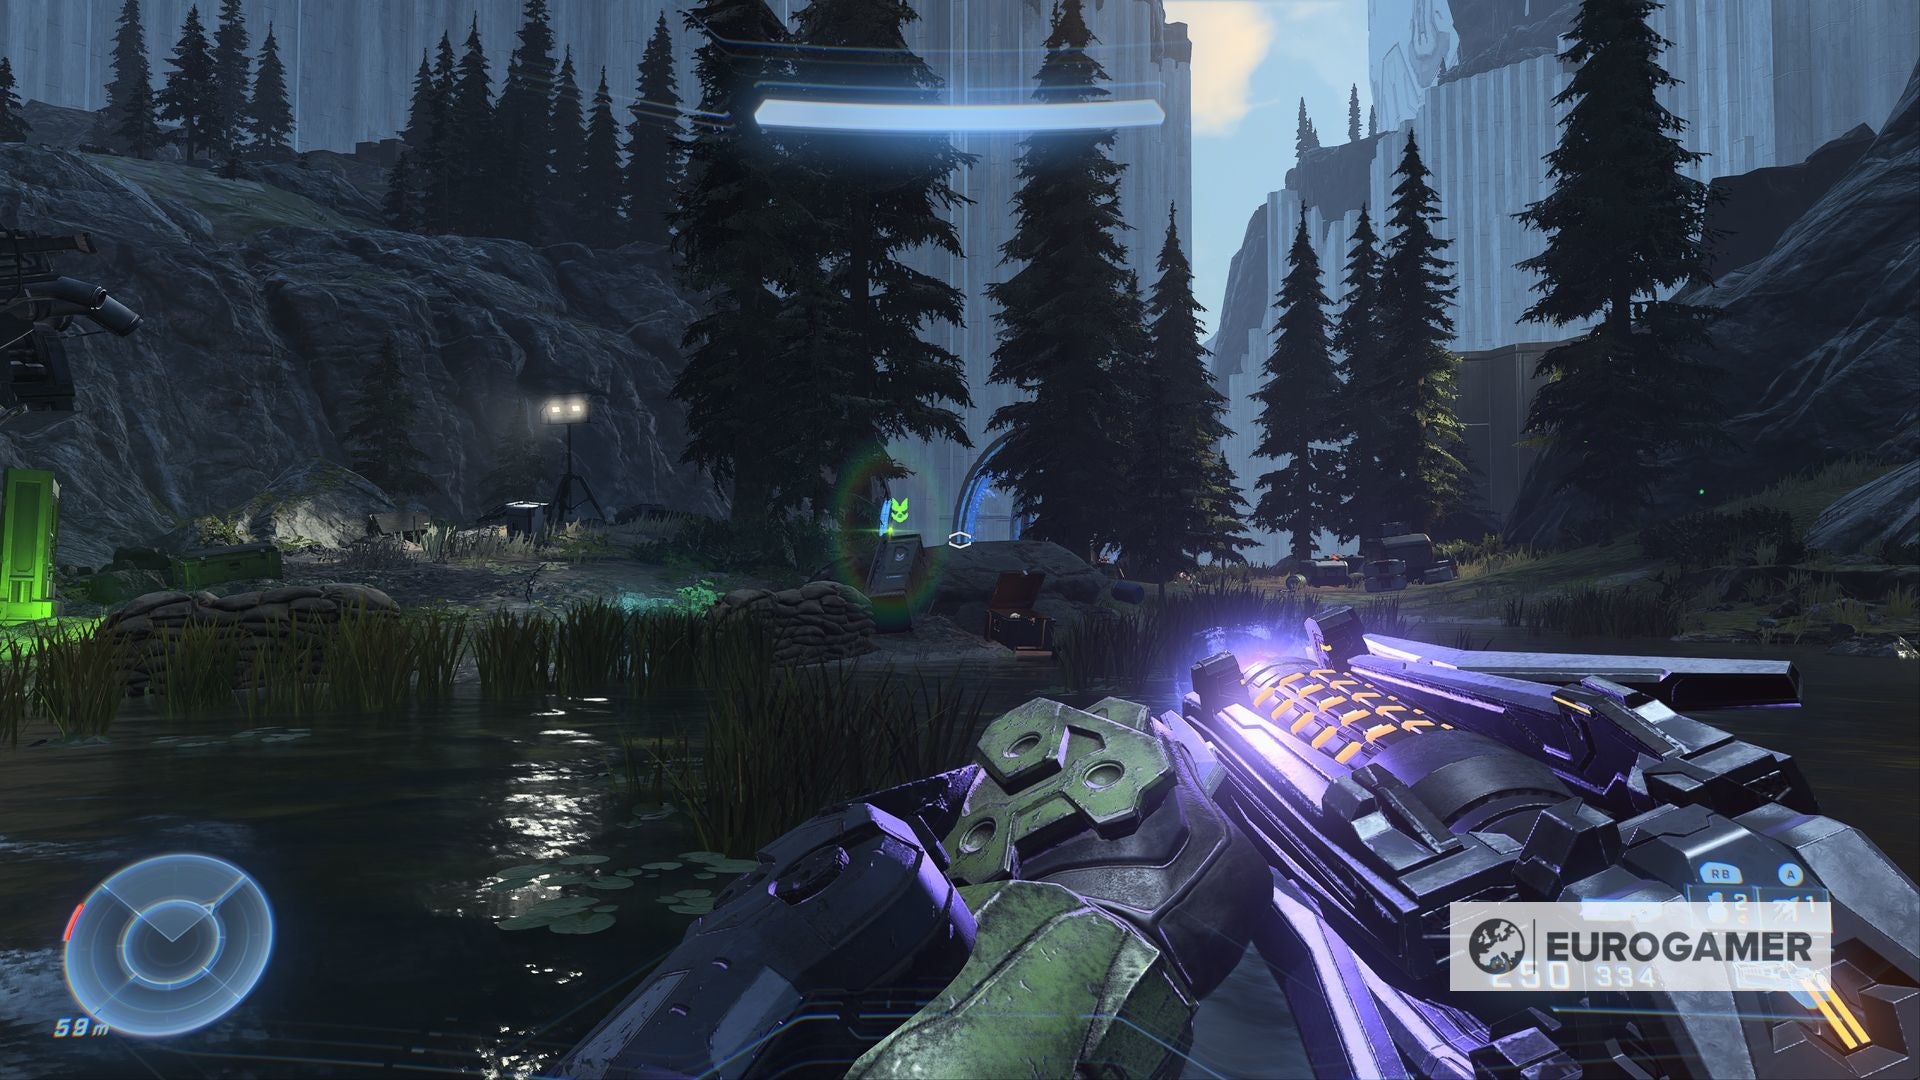
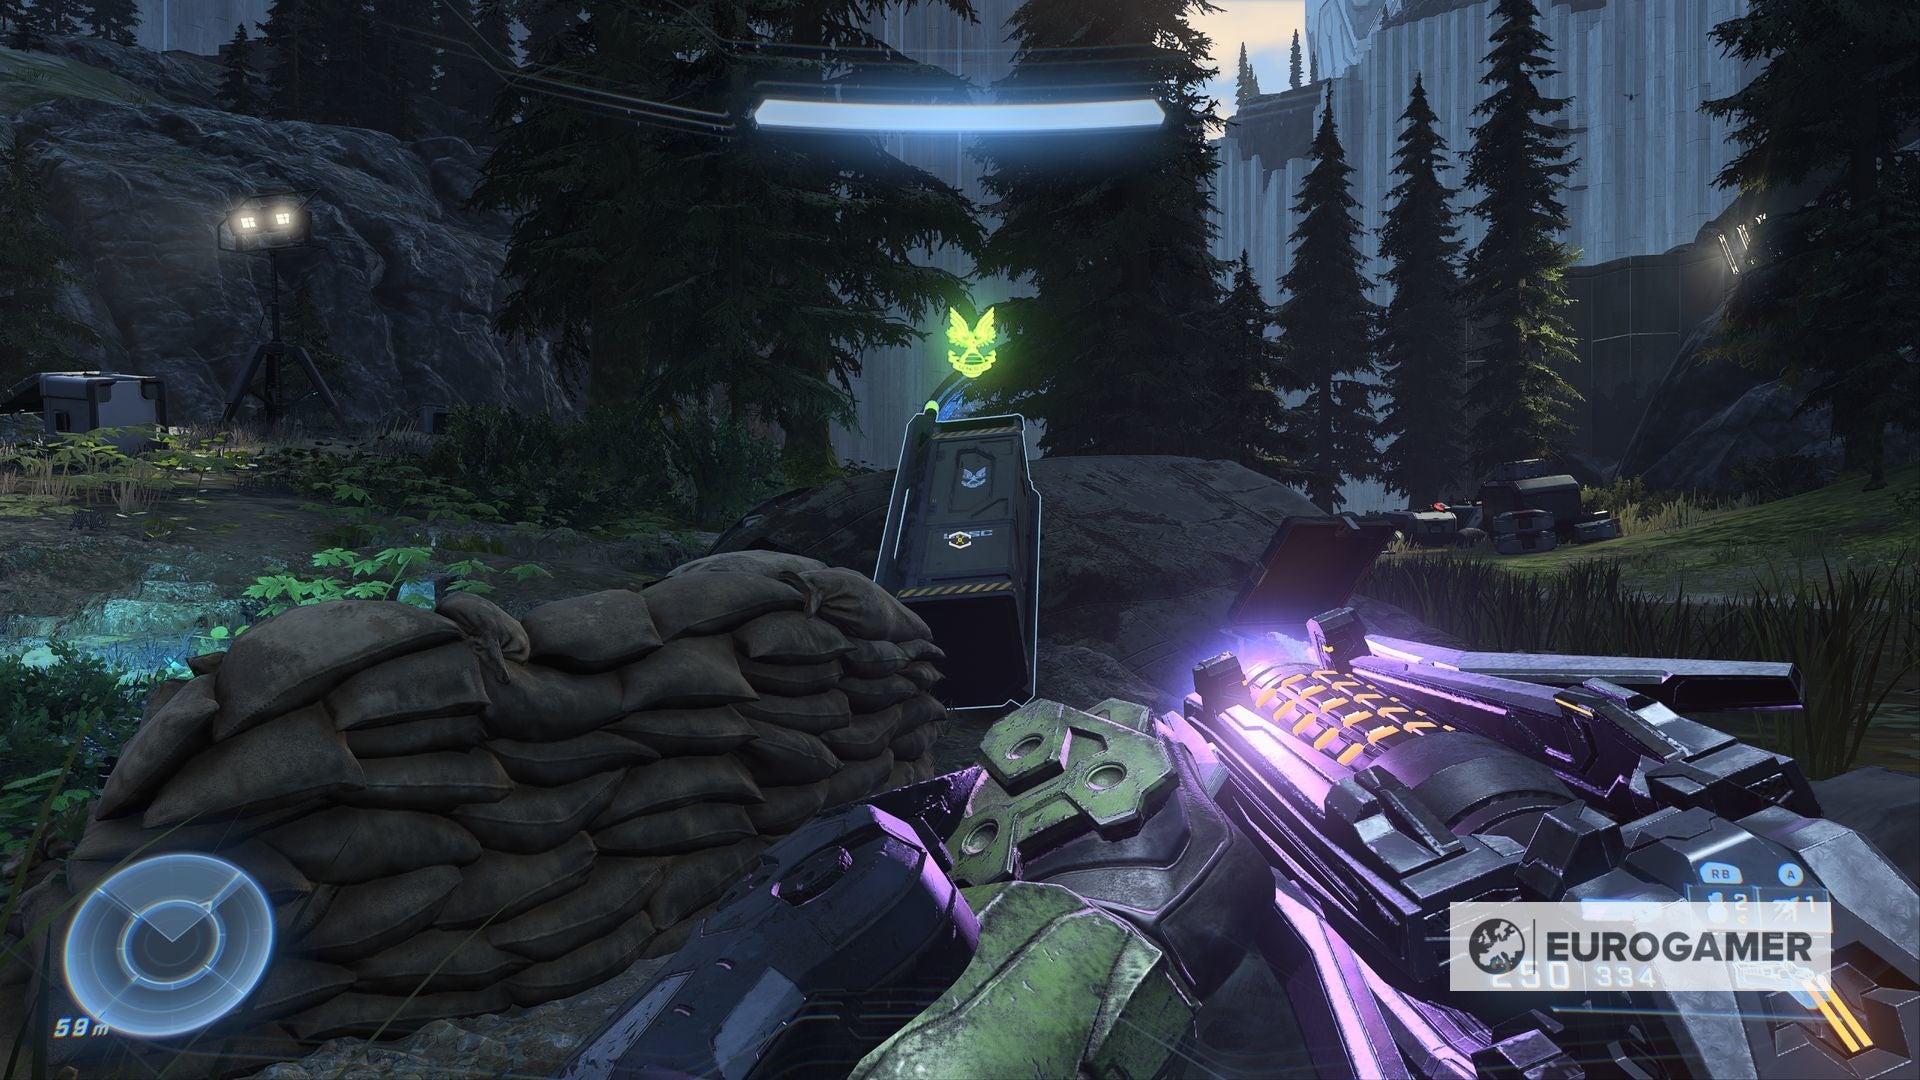
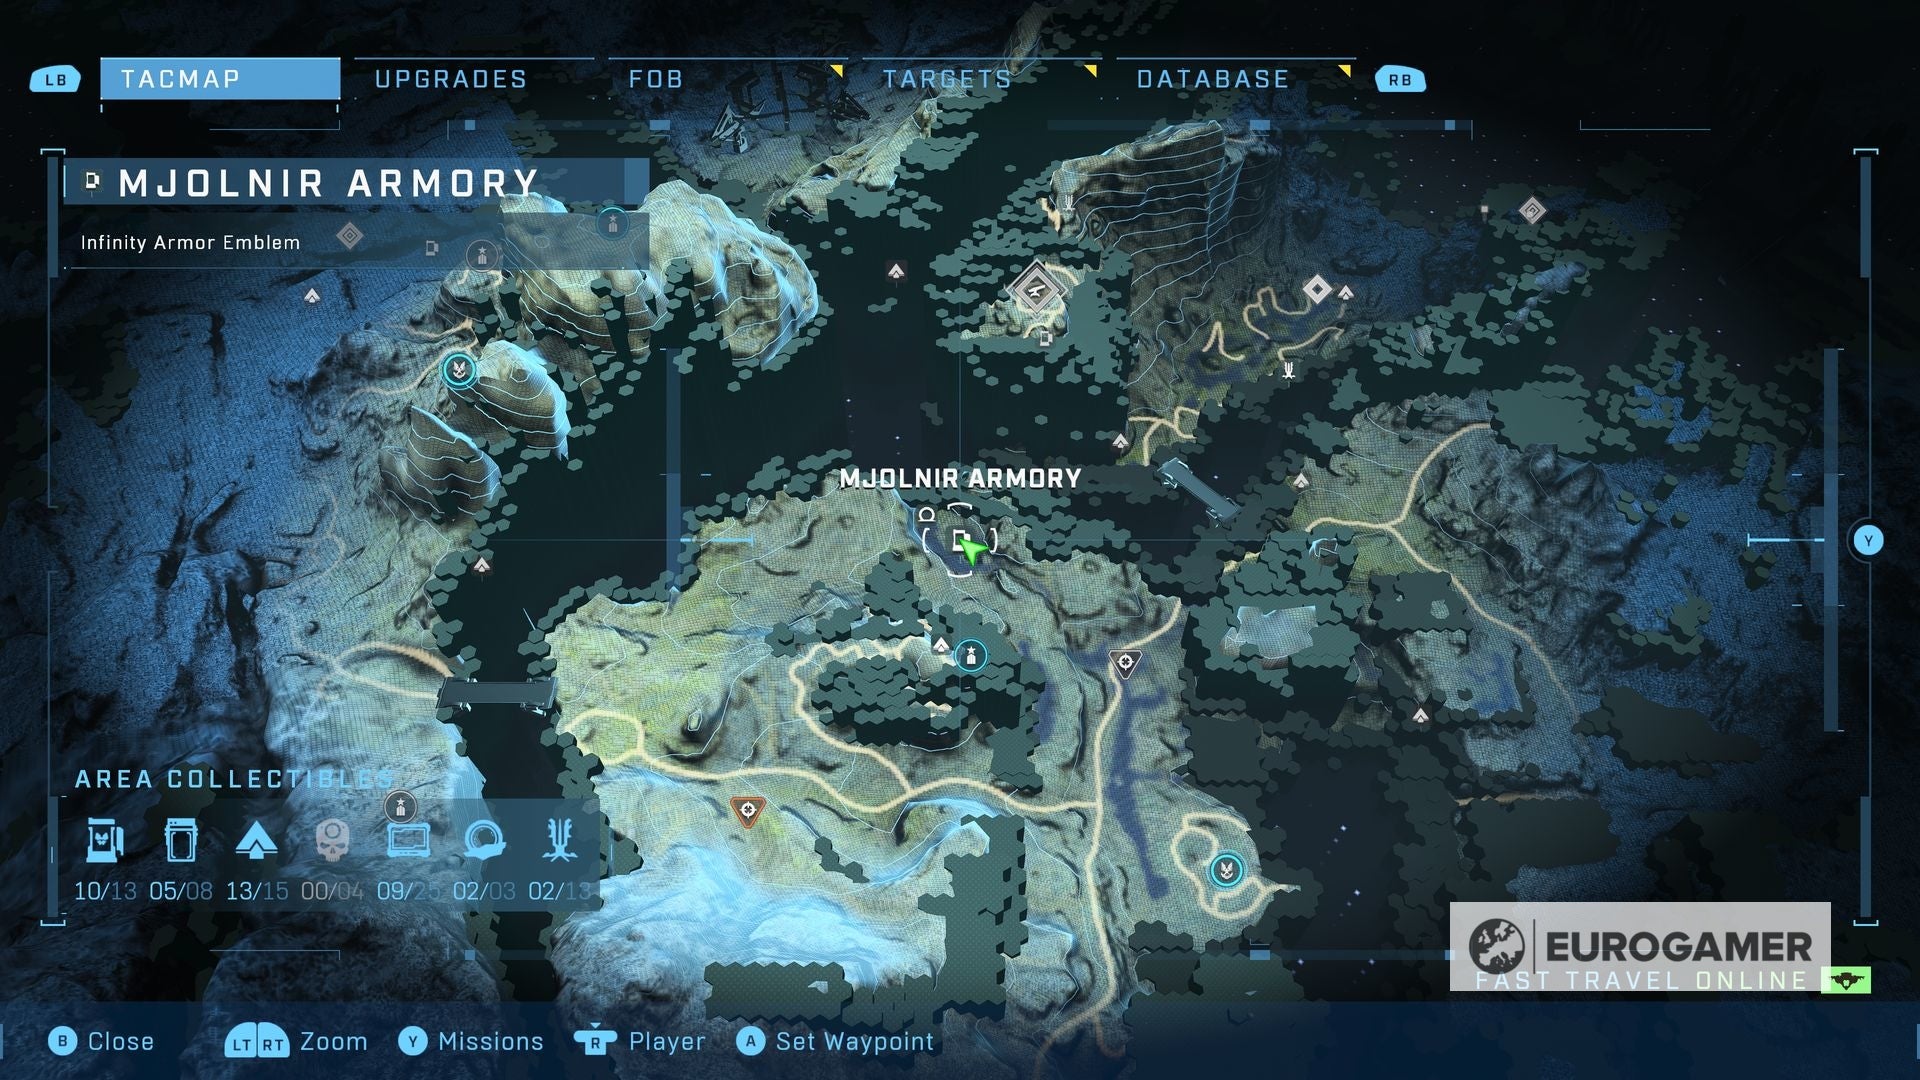
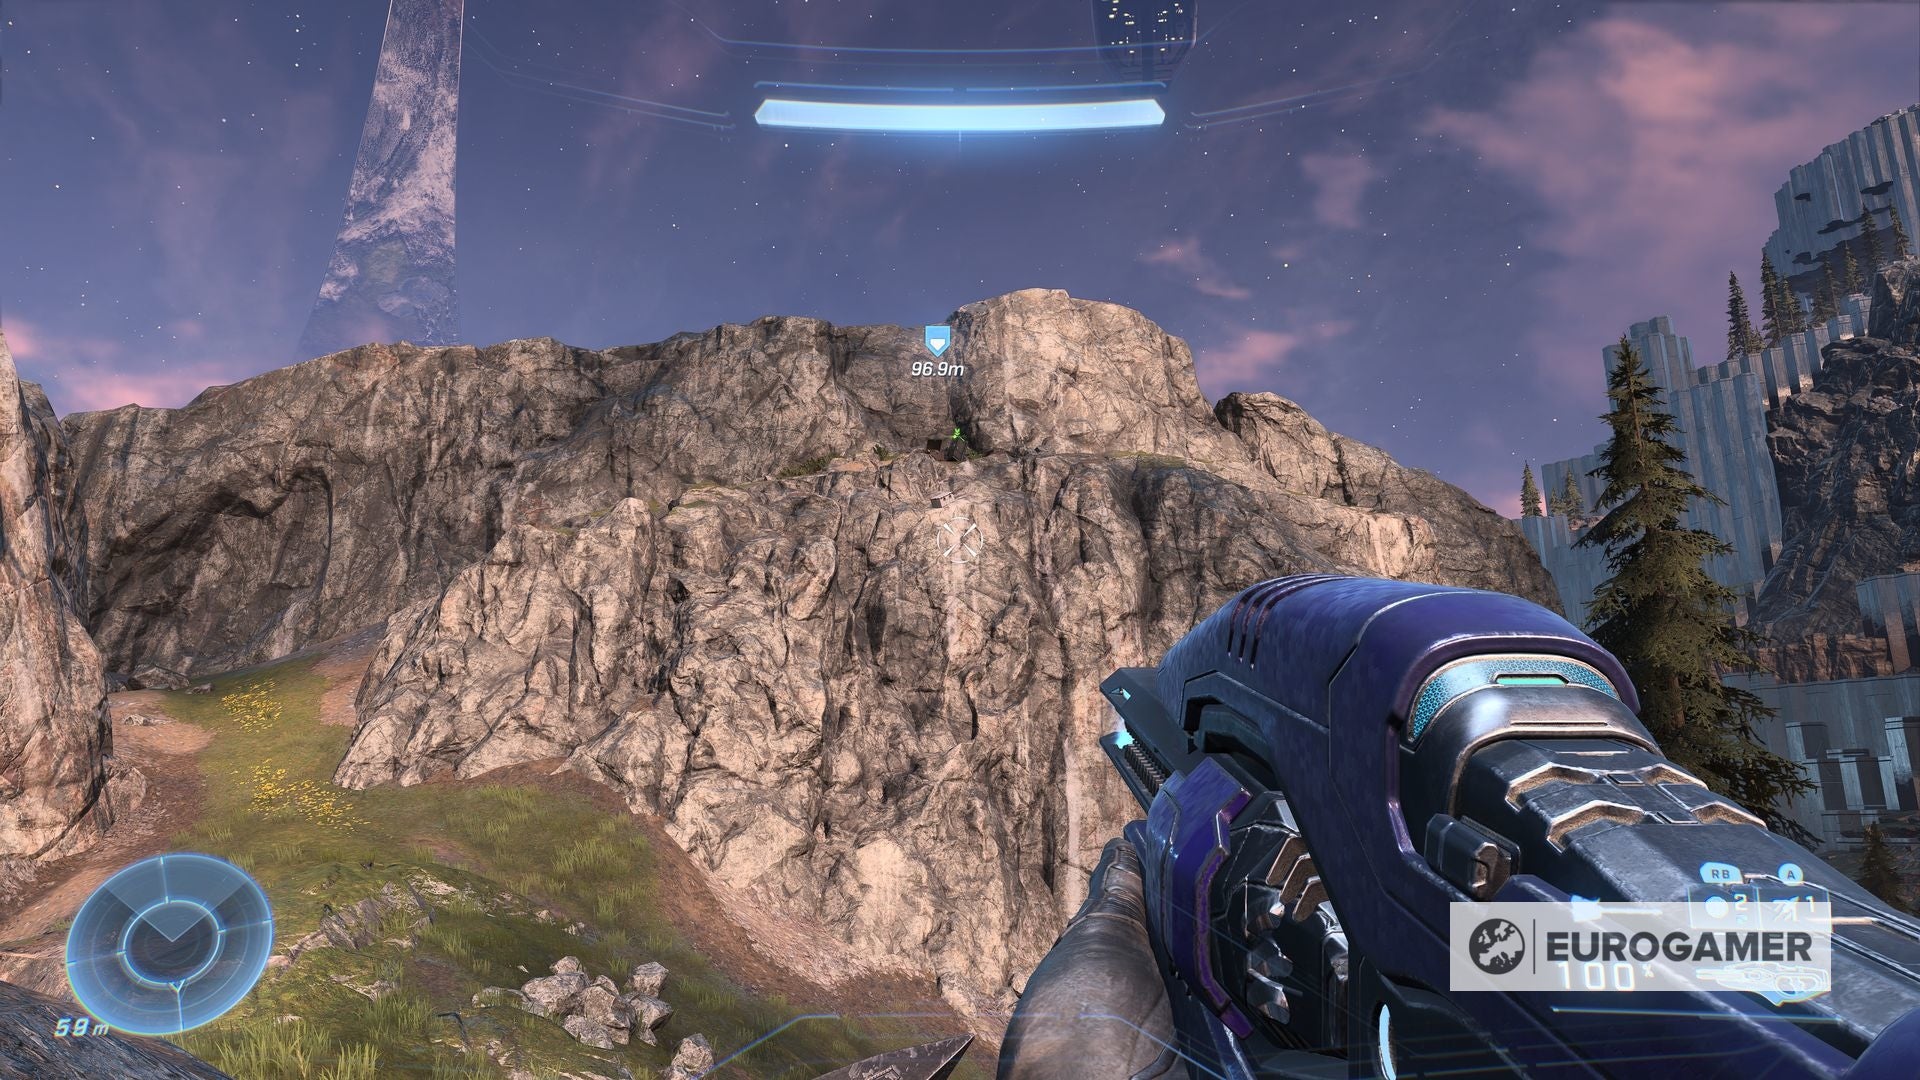
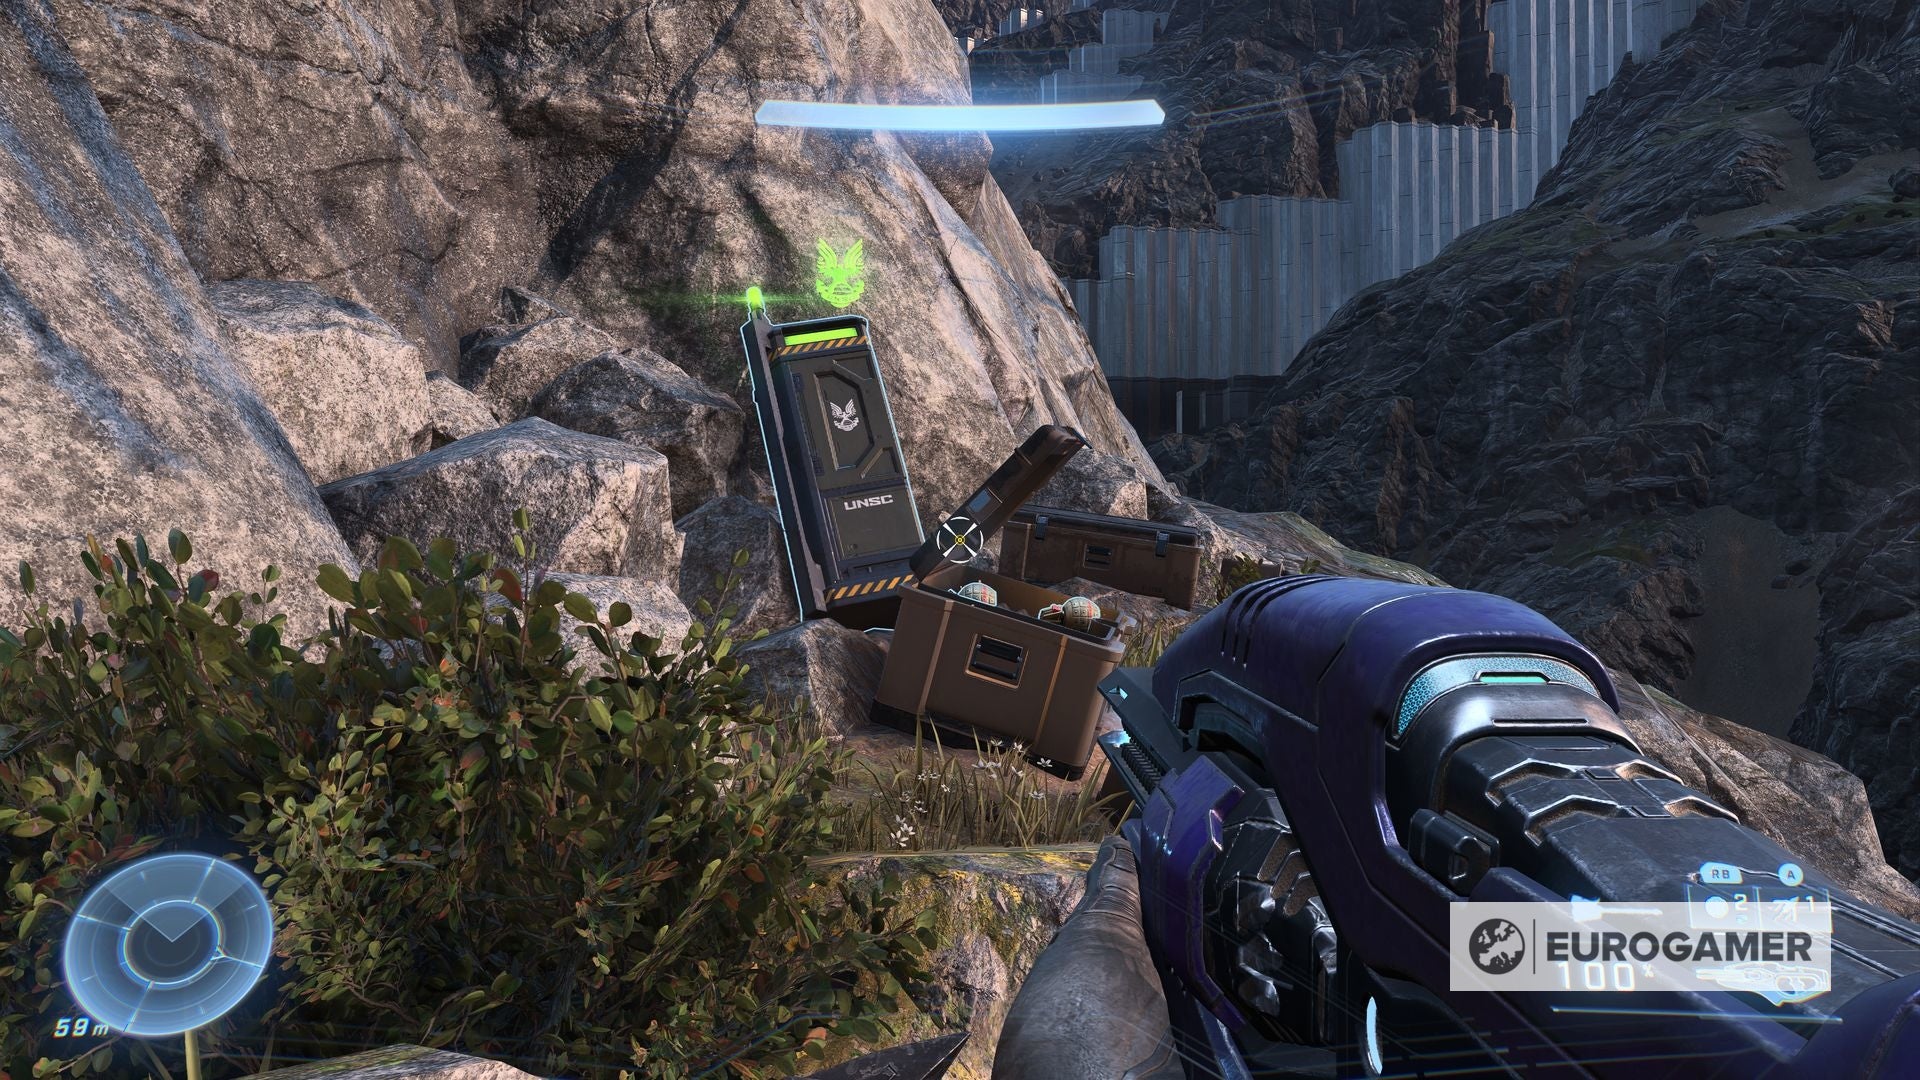
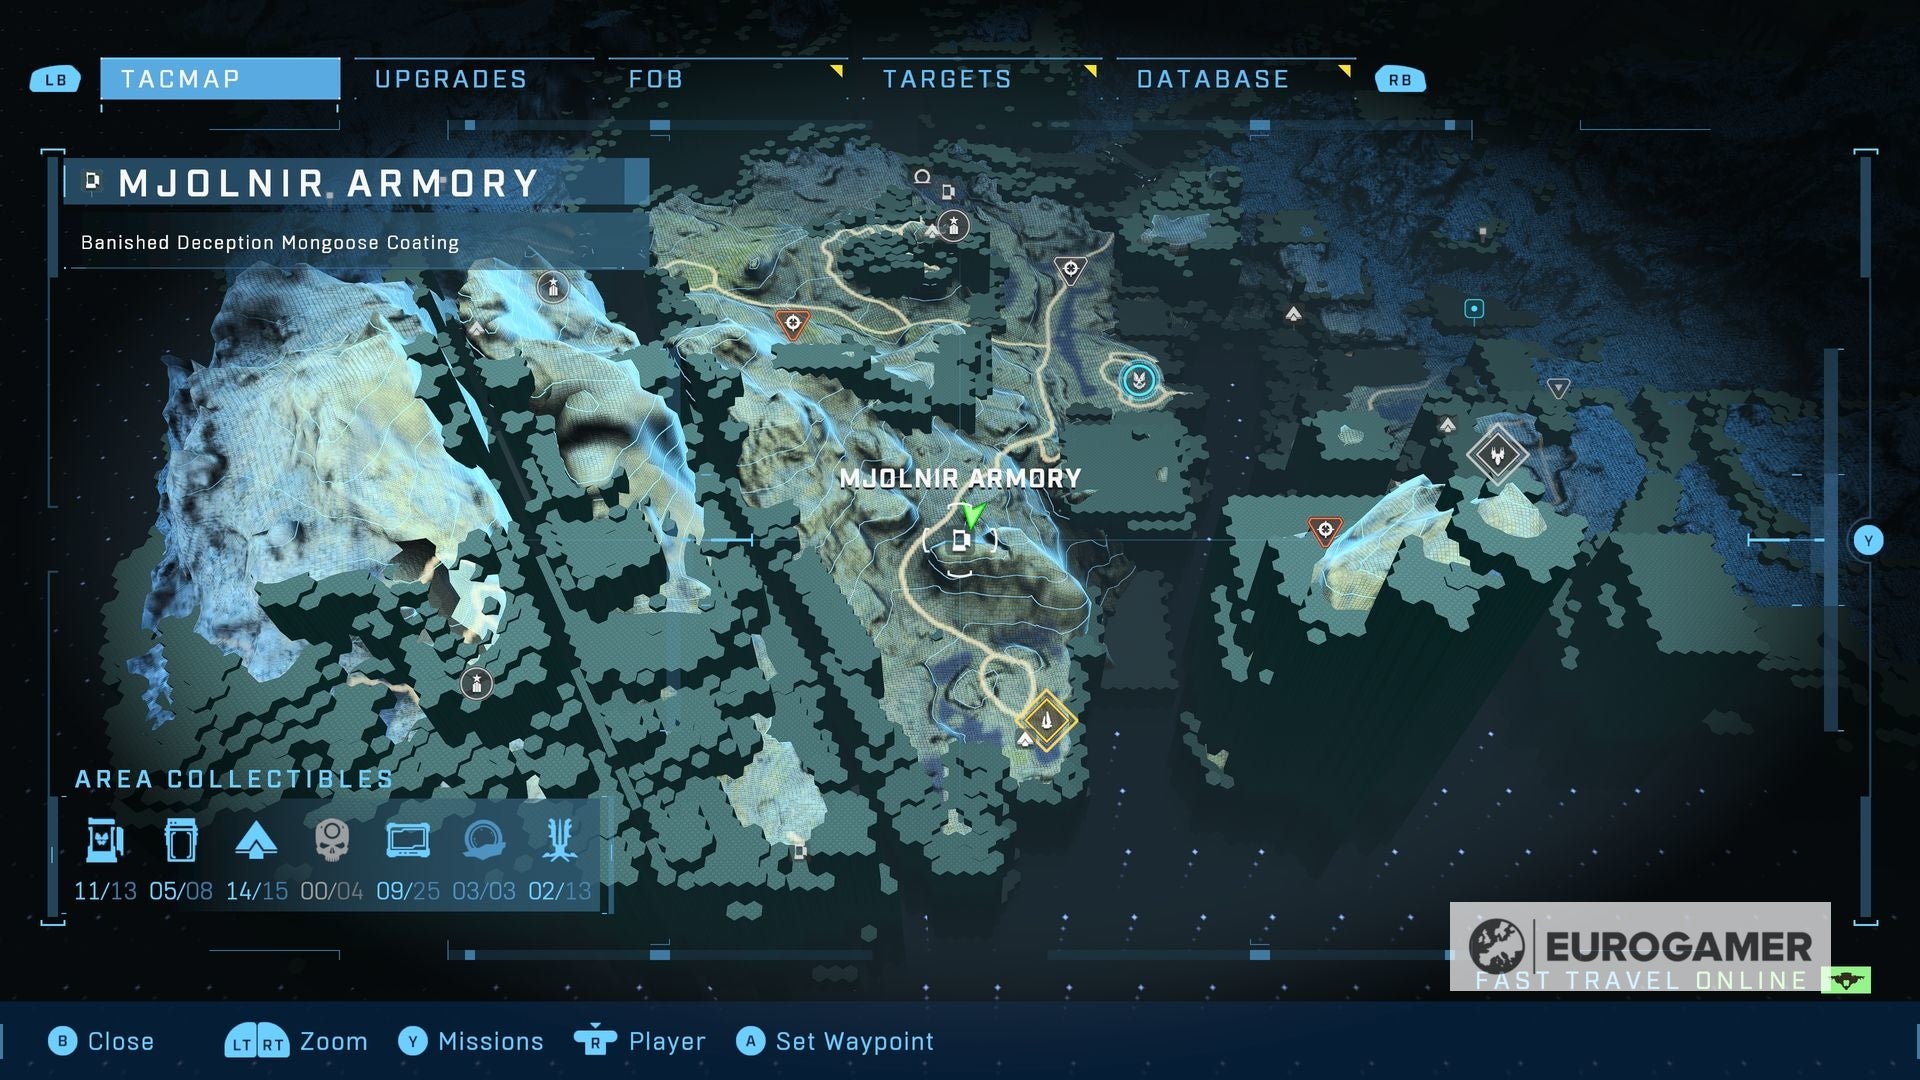
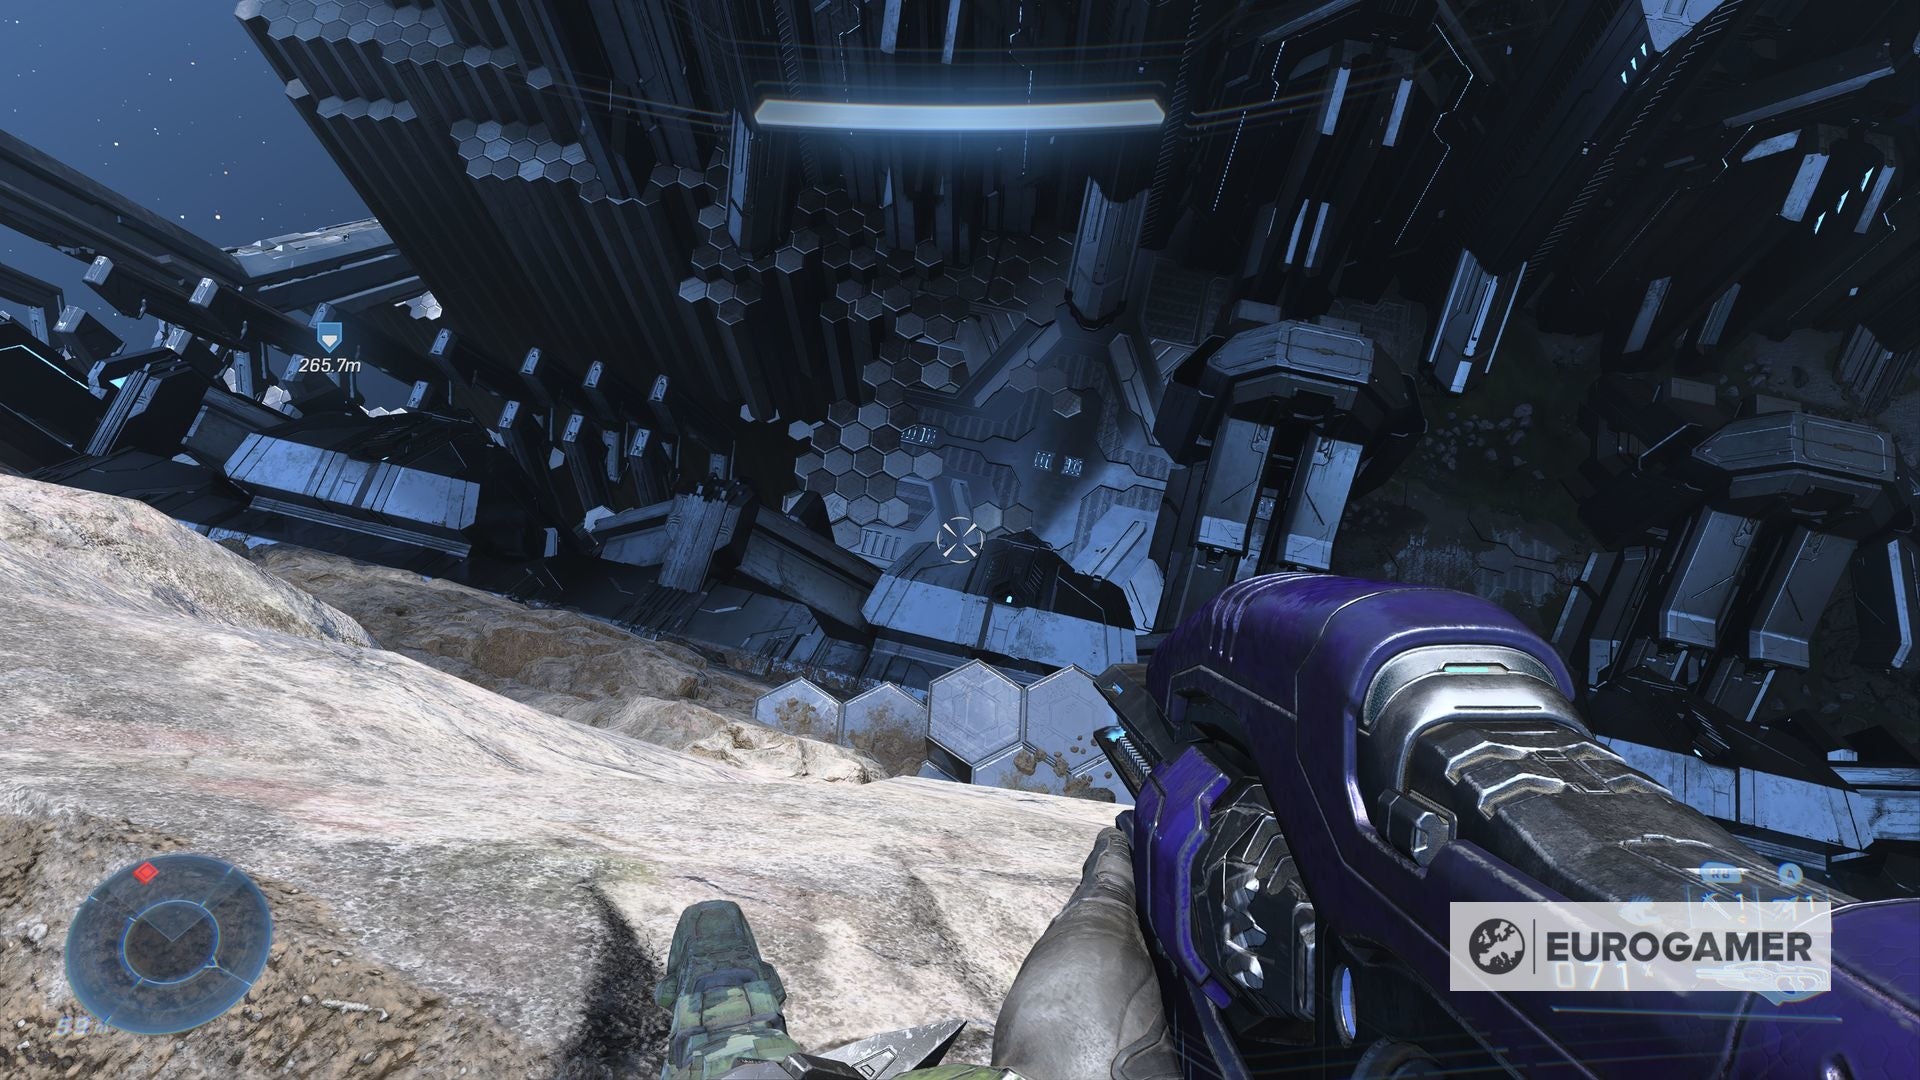
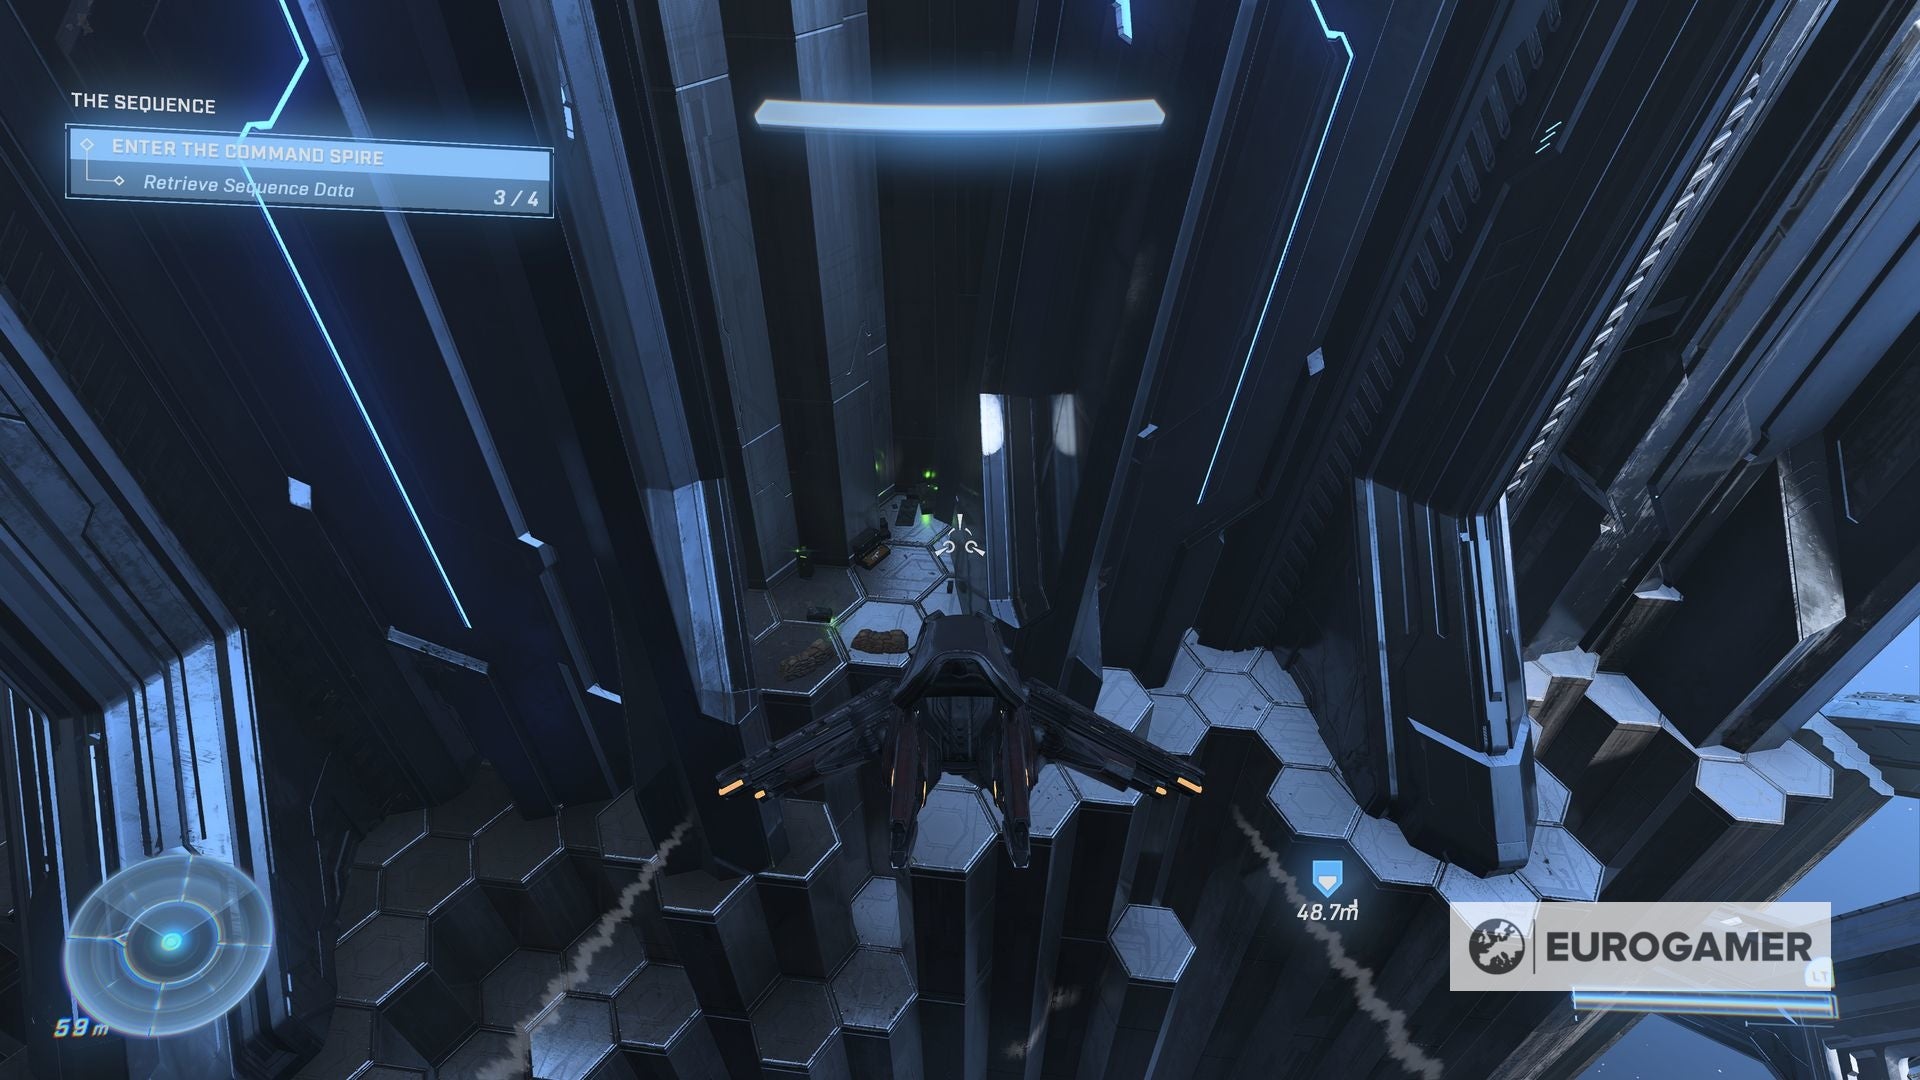
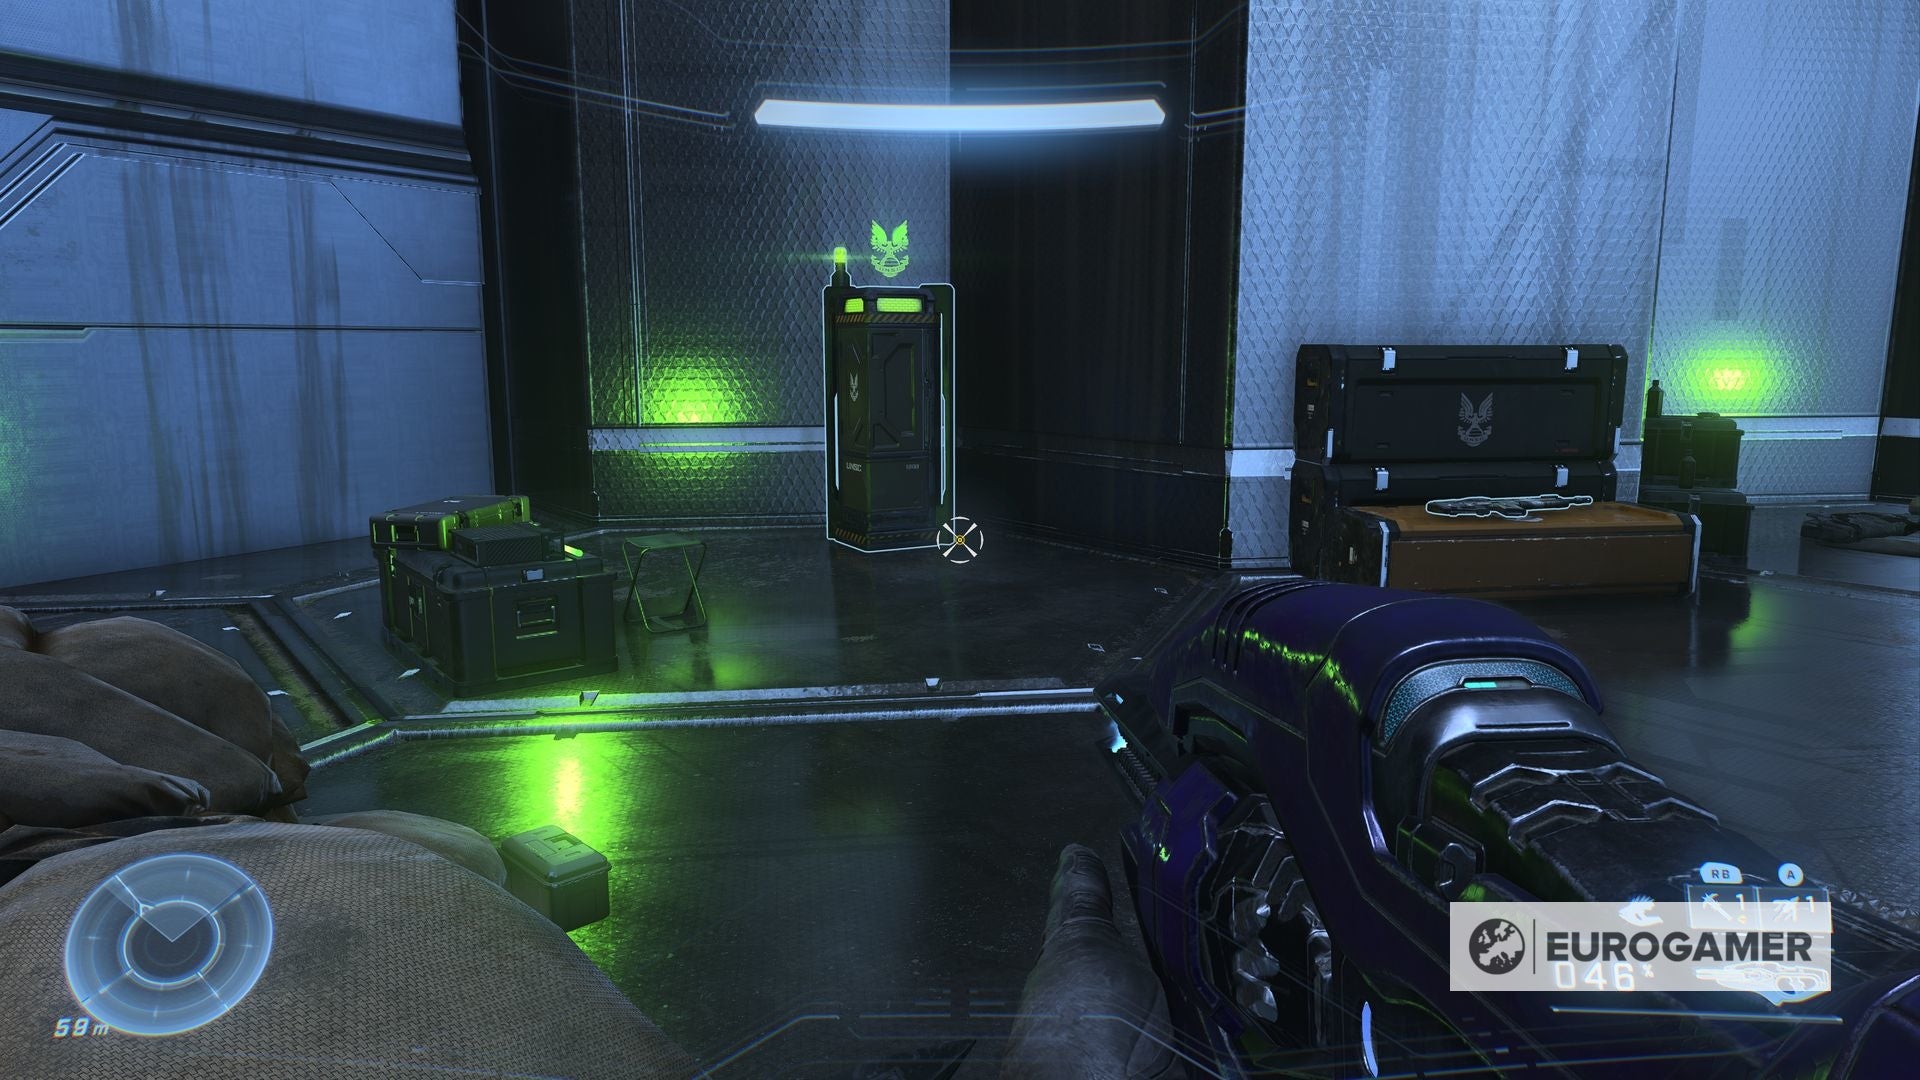
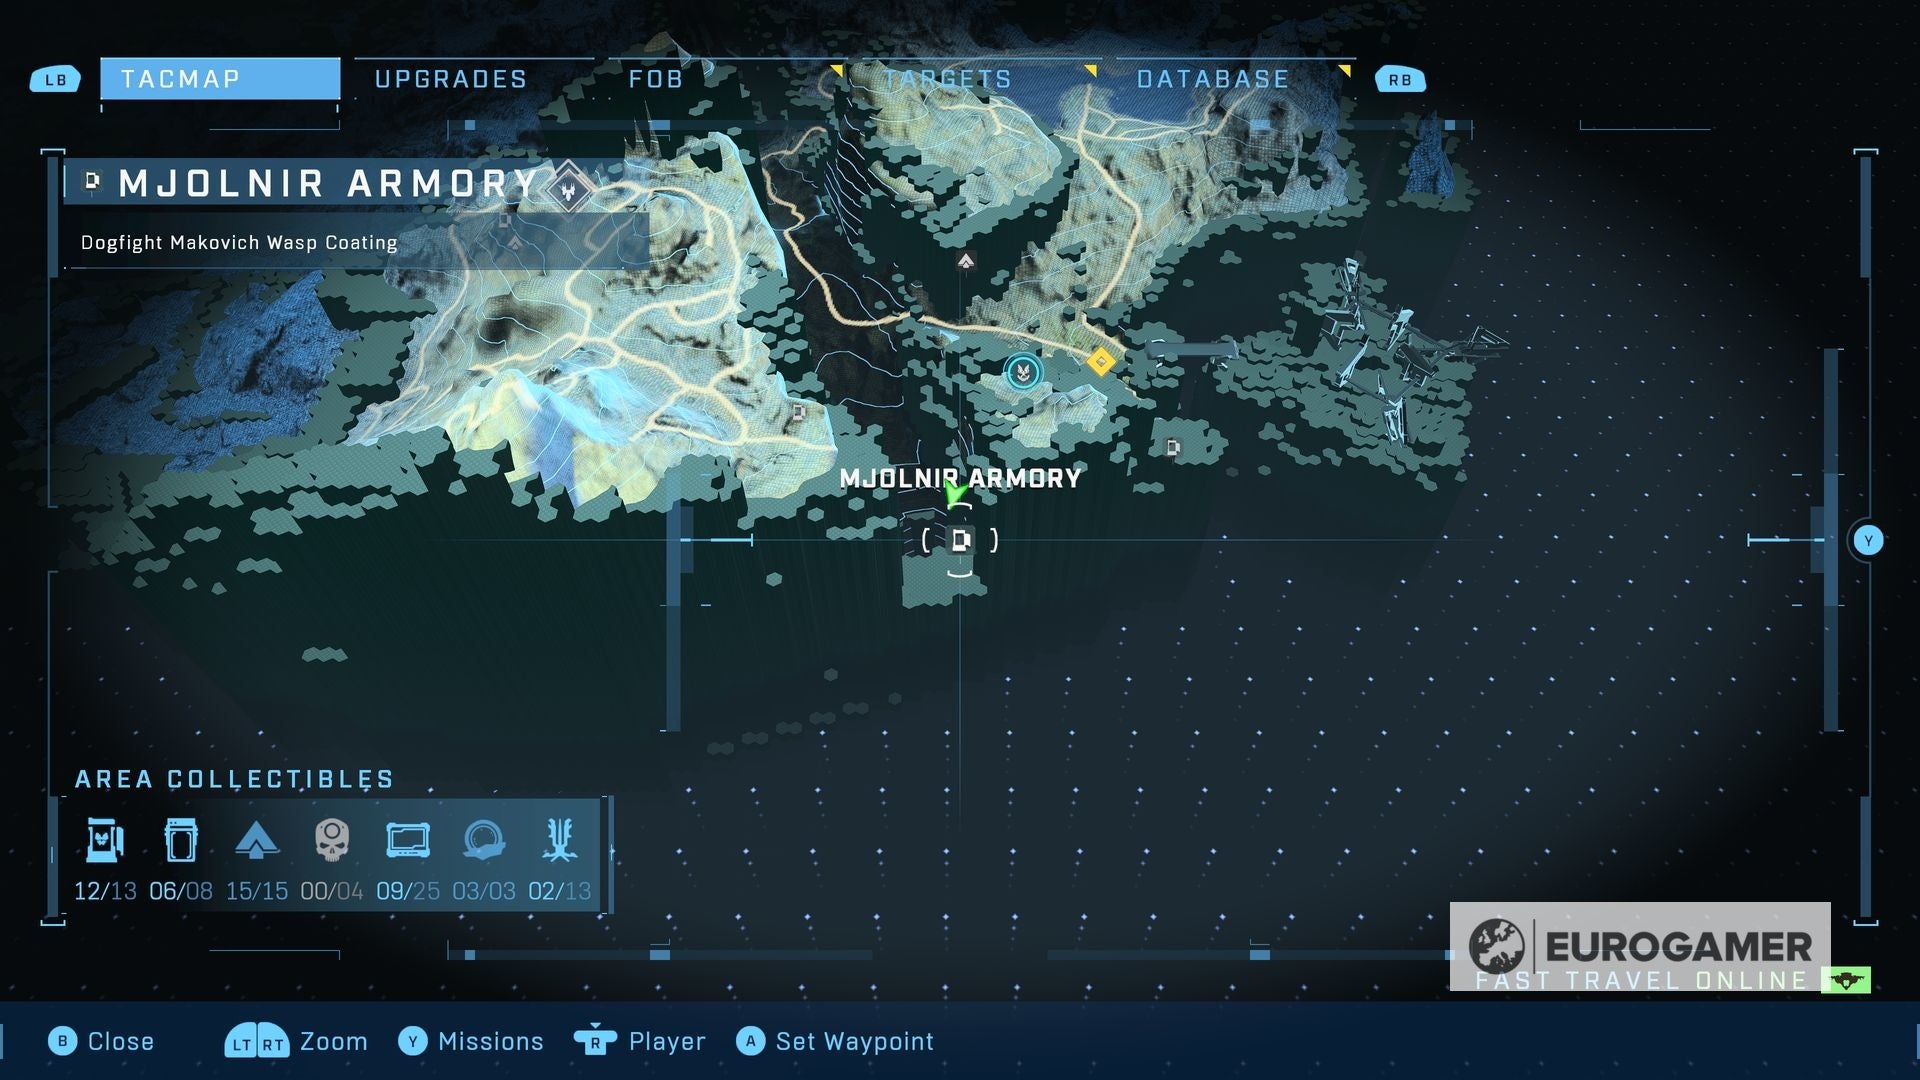
Each crate contains a different cosmetic item you can use in multiplayer to customize your spartan. If you’re serious about multiplayer, then spending the time to unlock the map and find them all is well worth doing. This page features a complete list of Halo Infinite Mjolnir Armor Locker locations, going through each area of the map as they are unlocked in the campaign. If you’re looking for more Halo Infinite collectibles, we have pages on Spartan Cores and Skull locations. On this page: As well as the following locations, you can make your search of these and any collectibles easier by capturing FOBs. Once you capture one, items near you will be marked on the island - including Mjolnir Armor Lockers. As well as this, you can activate your radar and see collectibles highlighted nearby in orange. The Lockers themselves look like so: Not only can FOBs add locations to your map, but they act as fast travel points, making the hunt for collectibles quicker if you prefer to do them in one go. Additionally, once you have enough Valor to unlock the Wasp, you can then fly around the map to make things easier still. Note that, at launch, you needed to be online to ensure each locker ‘unlocks’ properly - however, this issue has since been fixed. Mjolnir Armor Locker 1 location When you first get to explore the surface of Halo Infinite’s major island, you’ll have to defeat enemies in a settlement. Once the base is clean, soldier Echo 216 will exchange some words between Master Chief and his new AI. To continue your progress, you need to enter the soldier’s ship. Before doing that, go to the right and explore where the boarding platform starts. Here, around a small tower, you’ll see the first Mjolnir Amor Locker. It contains the Obelisk Stone MKVII Armor Coating. Mjolnir Armor Locker 2 location This one is located on the west side of the Ramson Keep - the enemy base in which you need to sabotage vehicles’ repair stations, marked with a pink icon on your map. You will find a hill crawled with enemies, especially the small white ones with shock weapons. Beat all of them and move forward. You’ll see the crate standing right next to two cut trees. It contains the collectible Olympic Stance. Mjolnir Armor Locker 3 location Located on the southwestern side of the island, right next to the limit of the map, the Banished Deception Warthog Coating is waiting for you. First of all, go to the west side of the map, like you were going to the Okro ‘Vagaduun target location. From there, go south and find a way full of pillars and cliffs, which you can climb by using your grappleshot. You have to go past the Starlight Squad post, moving to the southeast. Start descending until you find a small group of enemies with Stalker Rifles. Finish them and you will see the locker near some trees, pillars, and ammo, right near the end of the land. Mjolnir Armor Locker 4 location First of all, go to FOB Foxtrot, located on the west side of the map, near the tower you need to infiltrate for the Recovery main mission. From there, go to the southwest. You’ll have to go through some trees and climb some rocks. When near the collectible, you’ll notice two cliffs that almost touch each other. The Mjolnir Armor Locker containing Scorpion Horvath is near one of them, standing on a rock. Beware of an enemy with camouflage here, because they have an Energy Sword that can quickly end your life. Mjolnir Armor Locker 5 location From FOB Foxtrot, go to the east and follow the road to the small yellow mission icon on the map. You’ll end up near a bridge, right next to an enemy camp. After cleaning the place, jump from the bridge to the water. If you continue going right, you’ll find a locker with the Windfall Armor Emblem inside. Beware of the Banished enemy around. Mjolnir Armor Locker 6 location Infiltrate the Tower mission area, located on the north-western side of the region, but don’t get inside it using the gravitational elevator. Go to the southwest part of the zone, near the end of the platform. The objective marker will indicate that the collectible is above, but the Tower, but isn’t. Descend to the lower ground and you’ll see the crate on your right. It contains the Midnight Griffin MKVII Armor Coating. Mjolnir Armor Locker 7 location Right after you have finished the previous mission, a bridge will be activated leading you to the next region. Cross it, beating enemies in the way, and start climbing the hill on the right. The crate will be surrounded by trees. Mjolnir Armor Locker 8 location North of the Ik ‘Novus target location you’ll find a big Forerunner structure. From there, go to the northeast, following a lake. The locker will be under a bridge, containing the Warmaster’s Prize Bulldog Coating. Mjolnir Armor Locker 9 location From the previous collectible, continue the lake’s path in front of you. You’ll pass under another bridge and be right in front of a waterfall. The locker will be below, on a rock. It contains the Banished Weapon Emblem. Before jumping, beware of enemies that will attack from your left. Mjolnir Armor Locker 10 location This locker is located east of the Courier Squad. Simply follow the objective indicator by walking and the collectible will be near some rocks. This Mjolnir Armor Locker contains the Infinity Nameplate. Mjolnir Armor Locker 11 location Go to FOB Delta, located on the west side of the region. From here, walk to the northwest and follow the path near the mountains. At the end of the way, there will be some enemies and a Mongoose. Next to the vehicle, the locker will be waiting. It contains the Shadow Sorel MKVII Armor Coating. Mjolnir Armor Locker 12 location From the Pronto Squad area, move to the north. You can start by following the yellow road on your map on foot, then you’ll have to begin climbing using your grappleshot. Follow the path and beware of falling pods with enemies inside. The locker, containing the Blood Shadow MKVII Armor Coating, will be behind some trees on a hill. Mjolnir Armor Locker 13 location Start from the previous zone and climb to the Foxhound Squad, east of your position. You’ll have to climb a bit of your way, but the path is pretty straightforward. The objective is near some covers and ammo, right on the border of the map. By collecting this locker, you’ll get the Wild Kovan MKVII Armor Coating. Mjolnir Armor Locker 14 location This locker is on an open field near some rocks. It’s west of the Excavation Site objective and south of Lancer Squad. The crate is around some weapons and it contains the Banished Weapon Charm. Mjolnir Armor Locker 15 location Another wrongly marked collectible. From the FOB Alpha zone, go a few meters to the north. Here will be a cave entrance. The marker will indicate that the locker is above it, but you need to enter the cave. Go inside and beware of some grunts walking around. The locker contains the Warmaster’s Prize SPNKr Coating. Mjolnir Armor Locker 16 location From the banished outpost Horn of Abolition, go to the northeast. You need to reach the border of the map, full of pillars. The locker will be around, near a flipped vehicle. It contains the Banished Armor Emblem. Mjolnir Armor Locker 17 location This locker is located on the west of the high-value target Thav ‘Sebarim, near the Excavation Site’s main objective. You can reach this area by just walking. The collectible is inside a small forest full of trees, near a grenade box. By opening the crate, you’ll get the Dogfight Makovich MKVII Armor Coating. Mjolnir Armor Locker 18 location From Paladin Squad, located on the north-western side of the region, go to the northeast. You’ll find a lake with a Forerunner Artifact around. Get near the small piece of land with an enemy on it and beat them. There will be a locker containing the Crimson Vettel MKVII Armor Coating. However, beware of enemies attacks, on your left. Mjolnir Armor Locker 19 location For this locker, you need to start your way from FOB Bravo and go to the northwest. You can follow the yellow road on your map to reach the correct hill easier. Then, you’ll need to climb using your hook. Beware of three enemies with plasma shields wandering around. The crate contains the Banished Deception MKVII Armor Coating. Mjolnir Armor Locker 20 location While progressing through the Excavation Site mission, you’ll have to destroy some banished devices. On the western side of the area, you’ll notice one of these devices and a zone with metal covers. Go behind those barriers you’ll see the crate. The Mjolnir Armor Locker is below a Shade Turret and it contains a Banished Nameplate. Mjolnir Armor Locker 21 location Head to the anti-air cannon based on the western side of the region. Here you need to go south, near the pillars’ border on the map. There will be a small weapon storage a few meters in front of a Shade Turret. The locker will be right next to the weapons and it’ll contain the Warmaster’s Prize Battle Rifle Coating. Halo Infinite Winter Update is here, ushing in the Halo Infinite co-op release date. Starting the story? Learn how to download and install the Halo Infinite campaign and lists of skull locations, Mjolnir Armor Lockers and Spartan Cores. including those for the commando rifle, fusion coil and a killing spree. If you’re looking to step up the challenge, then Halo Infinite’s ranking system is waiting. Mjolnir Armor Locker 22 location On the northeastern side of the area, near a lake, there’s a FOB named November. From there, continue the yellow road to the north and to the left when it opens sides. The locker will be near the border of the map, behind a mountain. You’ll find the Griffin Nameplate here and also an Assault Rifle. Mjolnir Armor Locker 23 location If you go to the southeast from FOB November, you’ll find a bridge. This is passing the main lake in the area. There will be a bridge in front of you. While the objective marker will indicate that the crate is above the bridge, it’s actually below it. This locker contains the Dogtag Weapon Charm. Mjolnir Armor Locker 24 location From FOB Lima, go to the southeast. This will be right at the border of the map, in a region full of pillars and rocks. The locker contains the Warmaster’s Prize Commando Rifle Coating. Mjolnir Armor Locker 25 location When you’re inside the banished outpost Riven Gate, climb to the south, near the building that has a generator you most explode. You won’t be able to see the locker from this perspective because it’s near rocks and trees. It contains the Banished Deception Scorpion Coating. Mjolnir Armor Locker 26 location This locker is located on the south of Barroth, a high-value target. Follow the path of low pillars in front of you. You’ll find the collectible near some trees and rocks. However, beware of an enemy patrol wandering around. Mjolnir Armor Locker 27 location From FOB Juliet, based in the center of this region, go north. Climb the pillars in front of you. The locker will be on a cliff, near a fallen soldier. It contains the Warmaster’s Prize Assault Rifle Coating. Mjolnir Armor Locker 28 location It’s time to head to Riven Gate again. Go north the outpost and start climbing rocks. You’ll have to move forward for a few miles. The collectible will be right next to some broken trees. With this, you’ll get the Banished Deception Gungoose Coating. Mjolnir Armor Locker 29 location From the previous locker, go southwest, getting near Riven Gate one more time. This will be a path full of rocks and cliffs. By collecting this you’ll get the Windfall Nameplate. Mjolnir Armor Locker 30 location Go east of the Myriad target location, but beware of alerting these two hunters. It’s recommended to first defeat the enemy camp. Then you need to go through a small swamp. The crate will be near weapons and a vehicle, containing Mjolnir Armor Locker 31 location During the main mission’s objective, you’ll have to visit four beacons. For this locker, go to the one on the south. From the beacon, start going south, near the pillar’s border. You’ll notice a platform on your left. While using an air vehicle will make this easier, you can also climb this place by using your grappleshot. Just use it as soon as it’s available. The locker contains the Griffin Weapon Emblem. Mjolnir Armor Locker 32 location If you go north of the Fortune Squad location, you’ll find a lake with a Forerunner Artifact and elite enemies camping. Also, there’s a locker laying on a rock, near some cover. After opening this crate, you’ll get the Infinity Armor Emblem. Mjolnir Armor Locker 33 location There’s a different beacon on the southwest side of this region. From this one, you can go to the northeast and climb a small cliff. The locker will be near some grenades boxes, and it contains the Banished Deception Mongoose Coating. Mjolnir Armor Locker 34 location For the last Mjolnir Armor Locker, head to FOB Lima one more time. It’s highly recommended that you use an air vehicle like a Banshee or a Wasp. You can ask for Wasps from the FOB if you have enough Valor, and there are Banshees flying around that you can hi-jack by using your grappleshot when they are near. In case you have to do this one on foot, go southwest from the aforementioned FOB. Then you’ll have to start descending carefully into some pillars. The crate will be on the one indicated by the objective marker. And that’s every locker location in Halo Infinite - enjoy showing off every reward in multiplayer!
