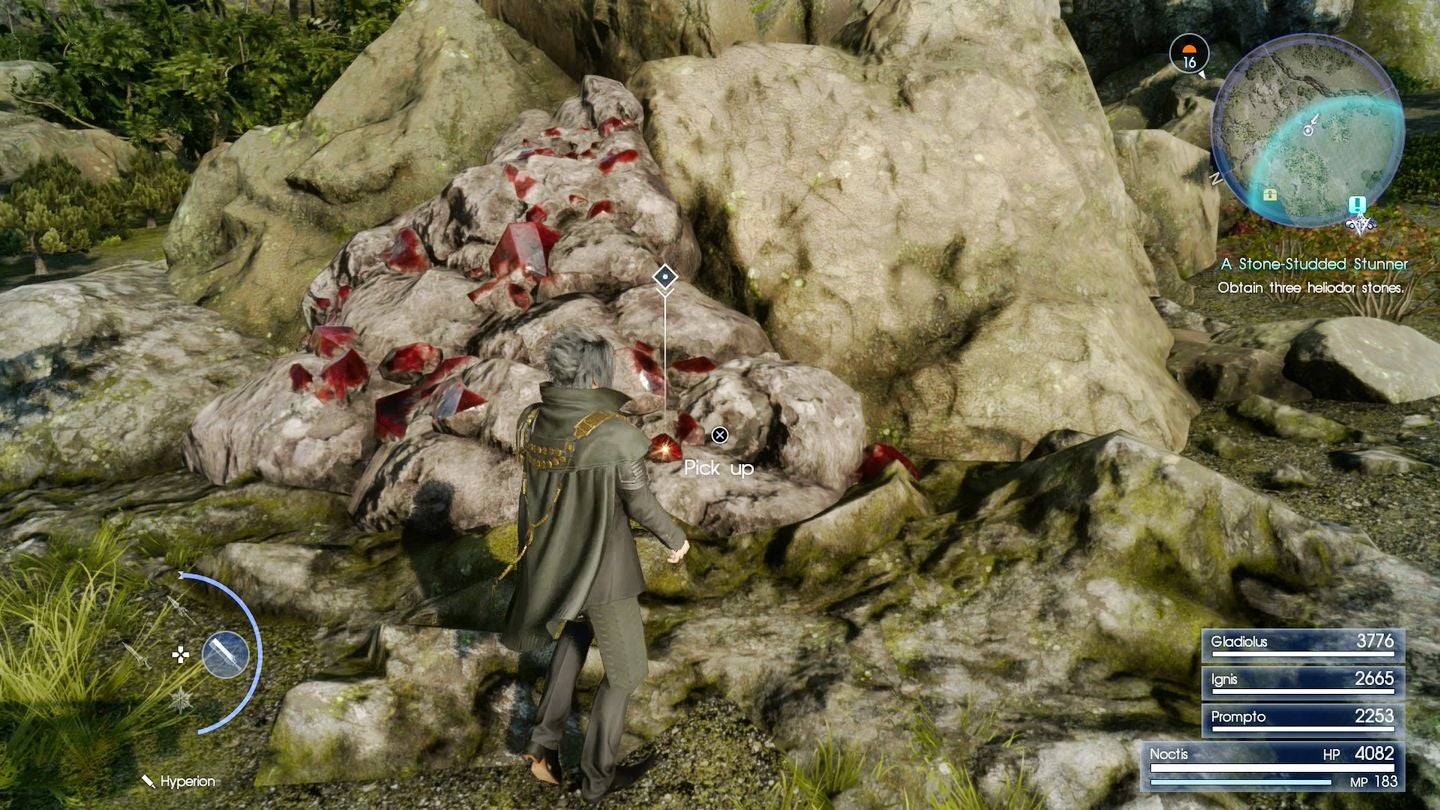
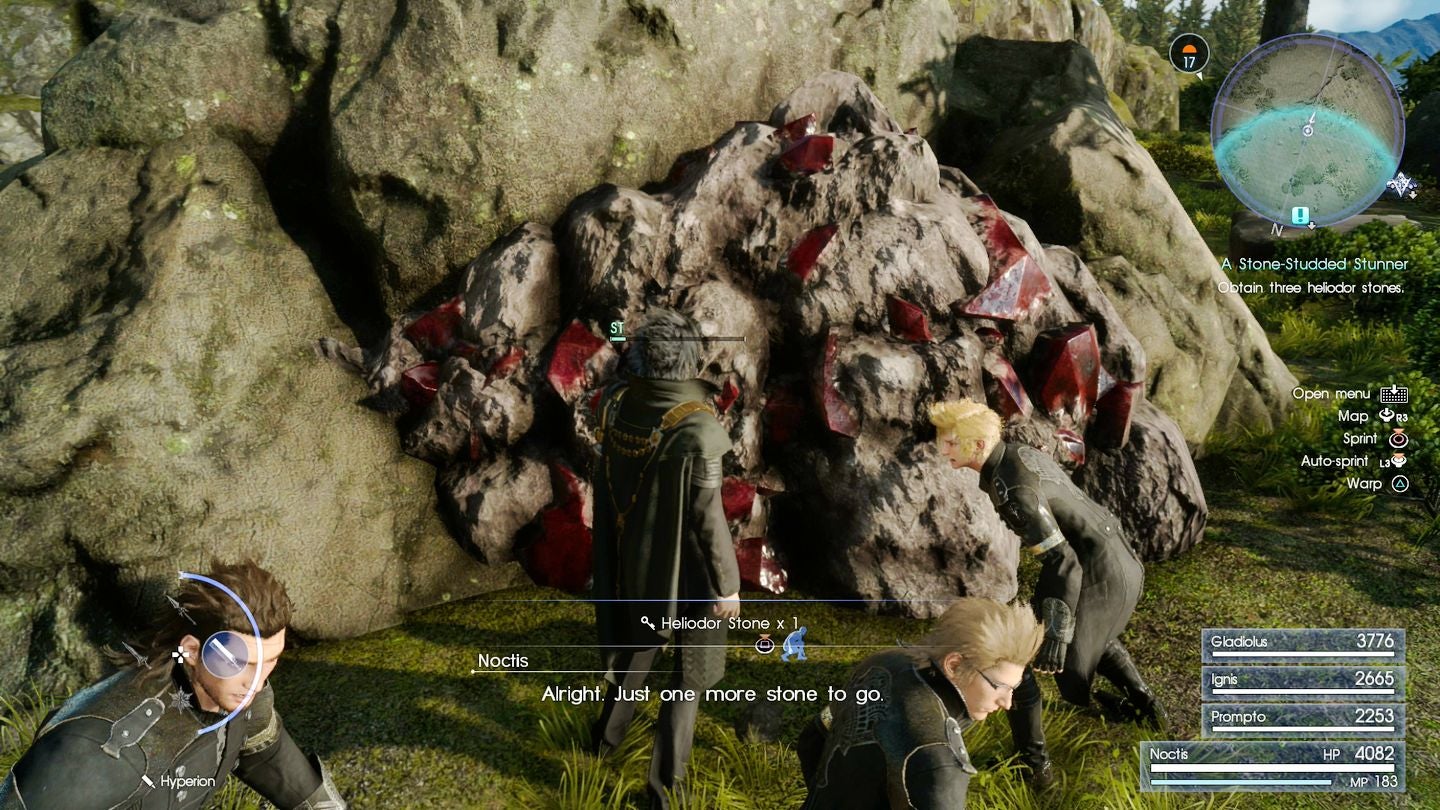
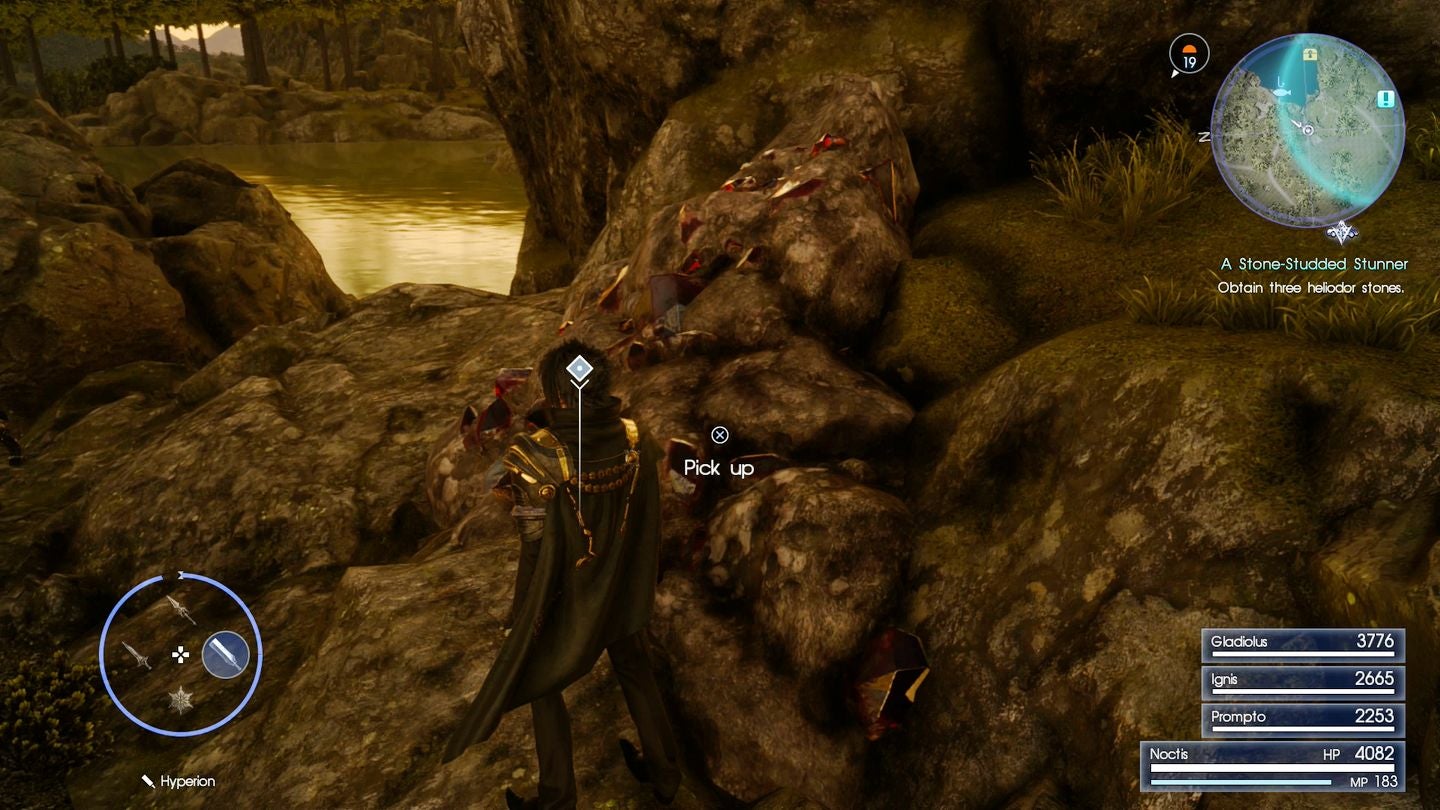
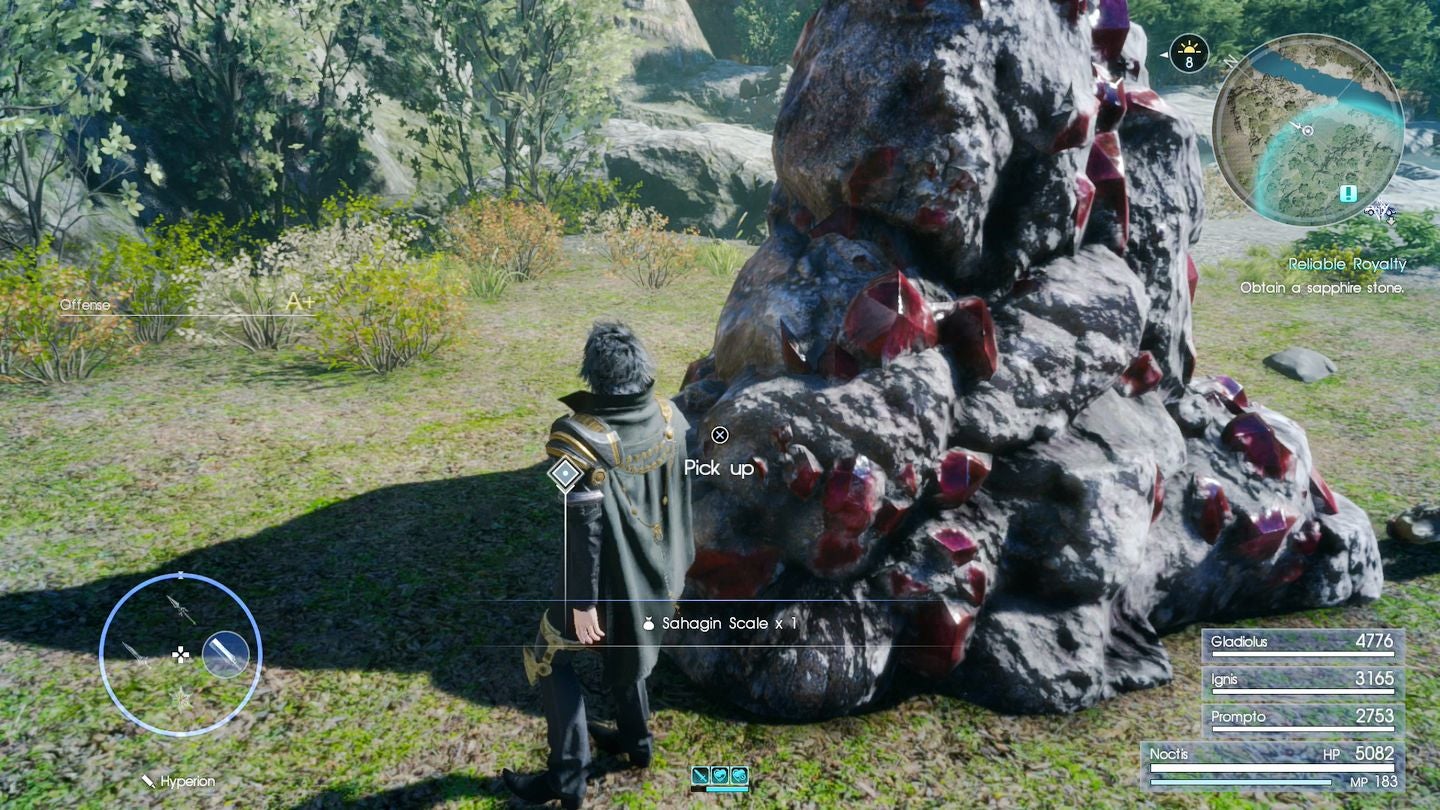
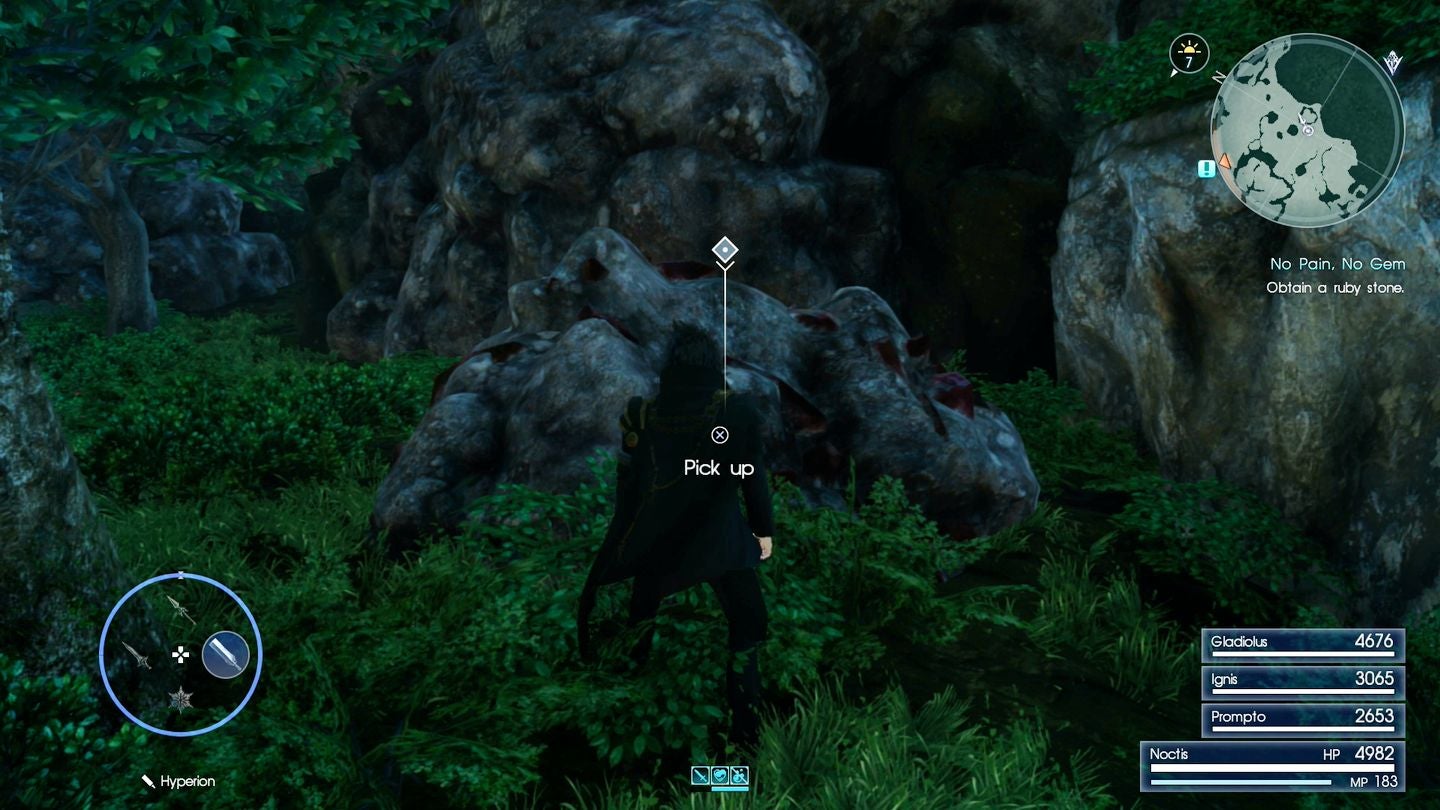
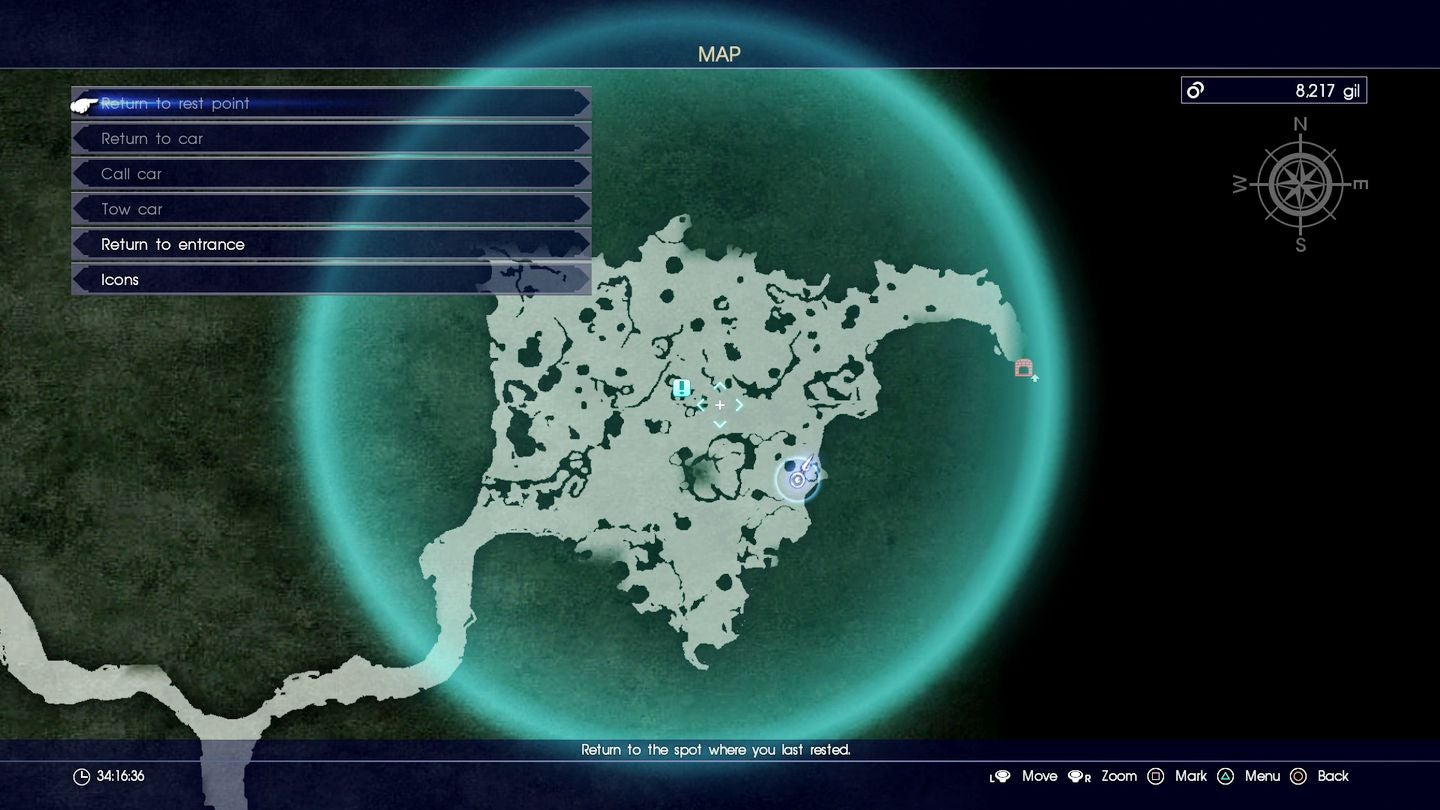
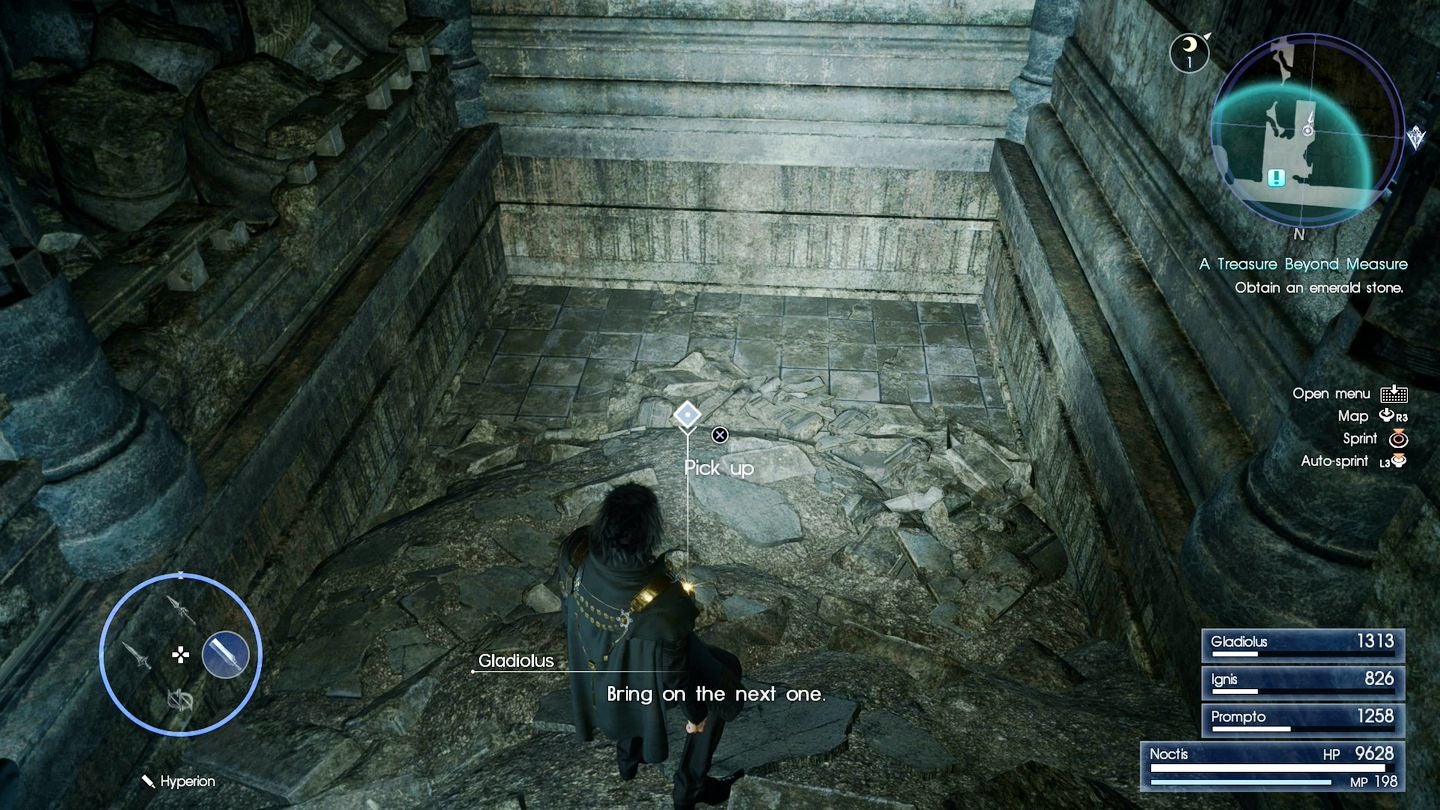
Each one gives you a dollop of EXP and a Bracelet, which each one offering increased strength over the previous mission. Head back to Galdin Quay and speak to Dino, then head for the marked area to the north. There are a couple of Dualhorns that you’ll need to tackle, and the ore can be found on the eastern edge of the search area. Return to Dino to complete the quest. Head back to Galdin Quay and speak to Dino, then head for the Kettier Highland parking space to the north west. The ores are located on the eastern edge of the search area, one on the southern edge, and the last is on the northern edge next to a fishing spot. Return to Dino to complete the quest. Head back to Galdin Quay and speak to Dino, then head for the Wennath Riverhead parking space in western Cleigne. Run just south of the parking space and take the steps down. Head towards the marked area then make your way east to the river. Follow it along to find a small open area just to the north, and the ore is in the large rock in the middle. Return to Dino to complete the quest. Head back to Galdin Quay and speak to Dino, then head for Myrlwood Dungeon (see our dungeon guide for details of where to find it). The ore is located about half way along the eastern edge of the opening wooded area. Return to Dino to complete the quest. Need more help? Our Final Fantasy 15 guide and walkthrough can provide tips on main story, as well as the open-world’s many quests and activities. Learning how to get AP fast, EXP fast and money or Gil fast will aid you in many optional dungeons and tombs - including how to open and explore their locked doors. There’s also plenty of interesting side-quests, too, such as the Scraps of Mystery and Professors Protege frog locations. And if you want to get around easier, you can rent a Chocobo, learn the infinite sprint trick and later in the game, get the flying car Regalia Type F. There’s also more to see and do with DLC, such as Episode Gladiolus and Episode Prompto. You’ll find this as you explore Costlemark Tower, which we have a walkthrough for in that previous link. It’s specifically located after you descend a couple of long spiral ramps - there are more pockets of enemies along the way, but you’ll eventually reach the bottom. Head through the exit in the north wall, crawl through the small gap, and turn left into the corridor. The Emerald Stone will be in this room.
